
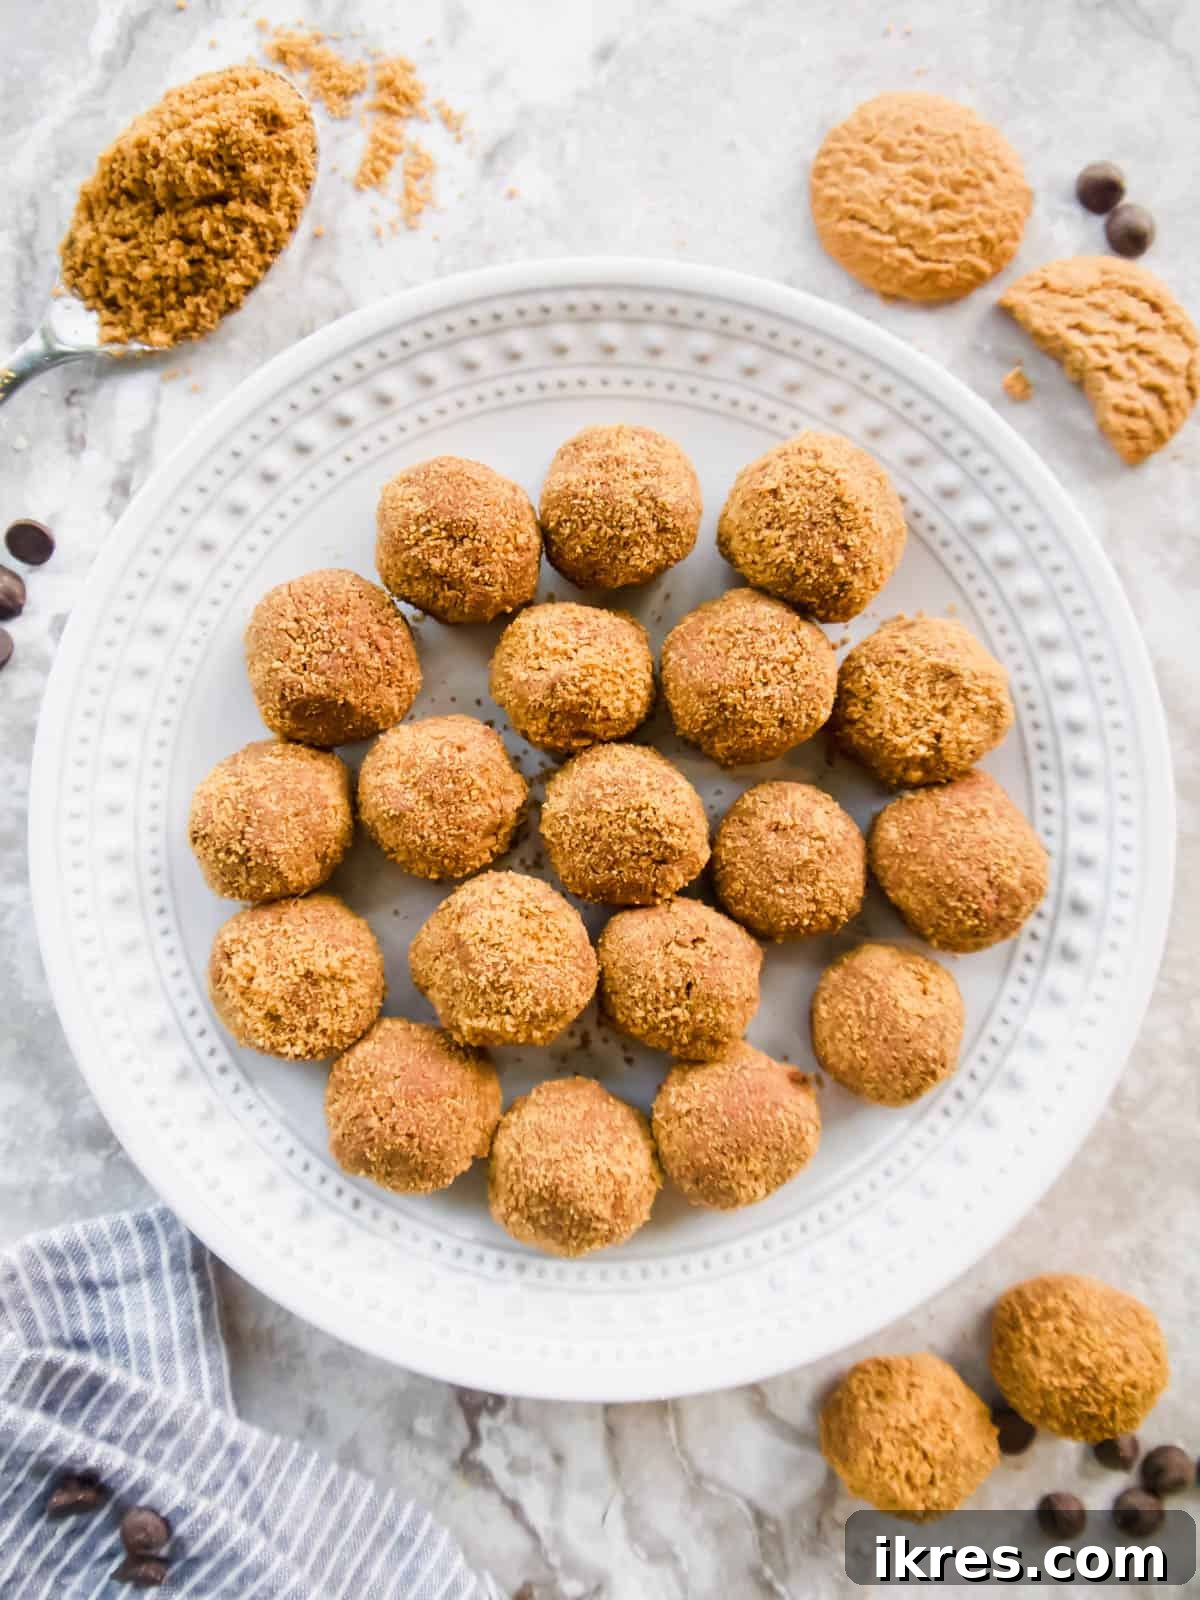
Indulge in pure chocolate bliss with these incredibly easy **Dairy-Free Chocolate Mousse Balls**! Crafted with just three essential ingredients – velvety Cocowhip, rich dairy-free chocolate, and crunchy crushed cookies – these delightful **no-bake chocolate mousse truffles** are the perfect treat for any occasion. Whether it’s a festive holiday gathering, a casual party, or simply a moment to satisfy your sweet tooth, these elegant bites promise a decadent experience without the dairy or gluten.
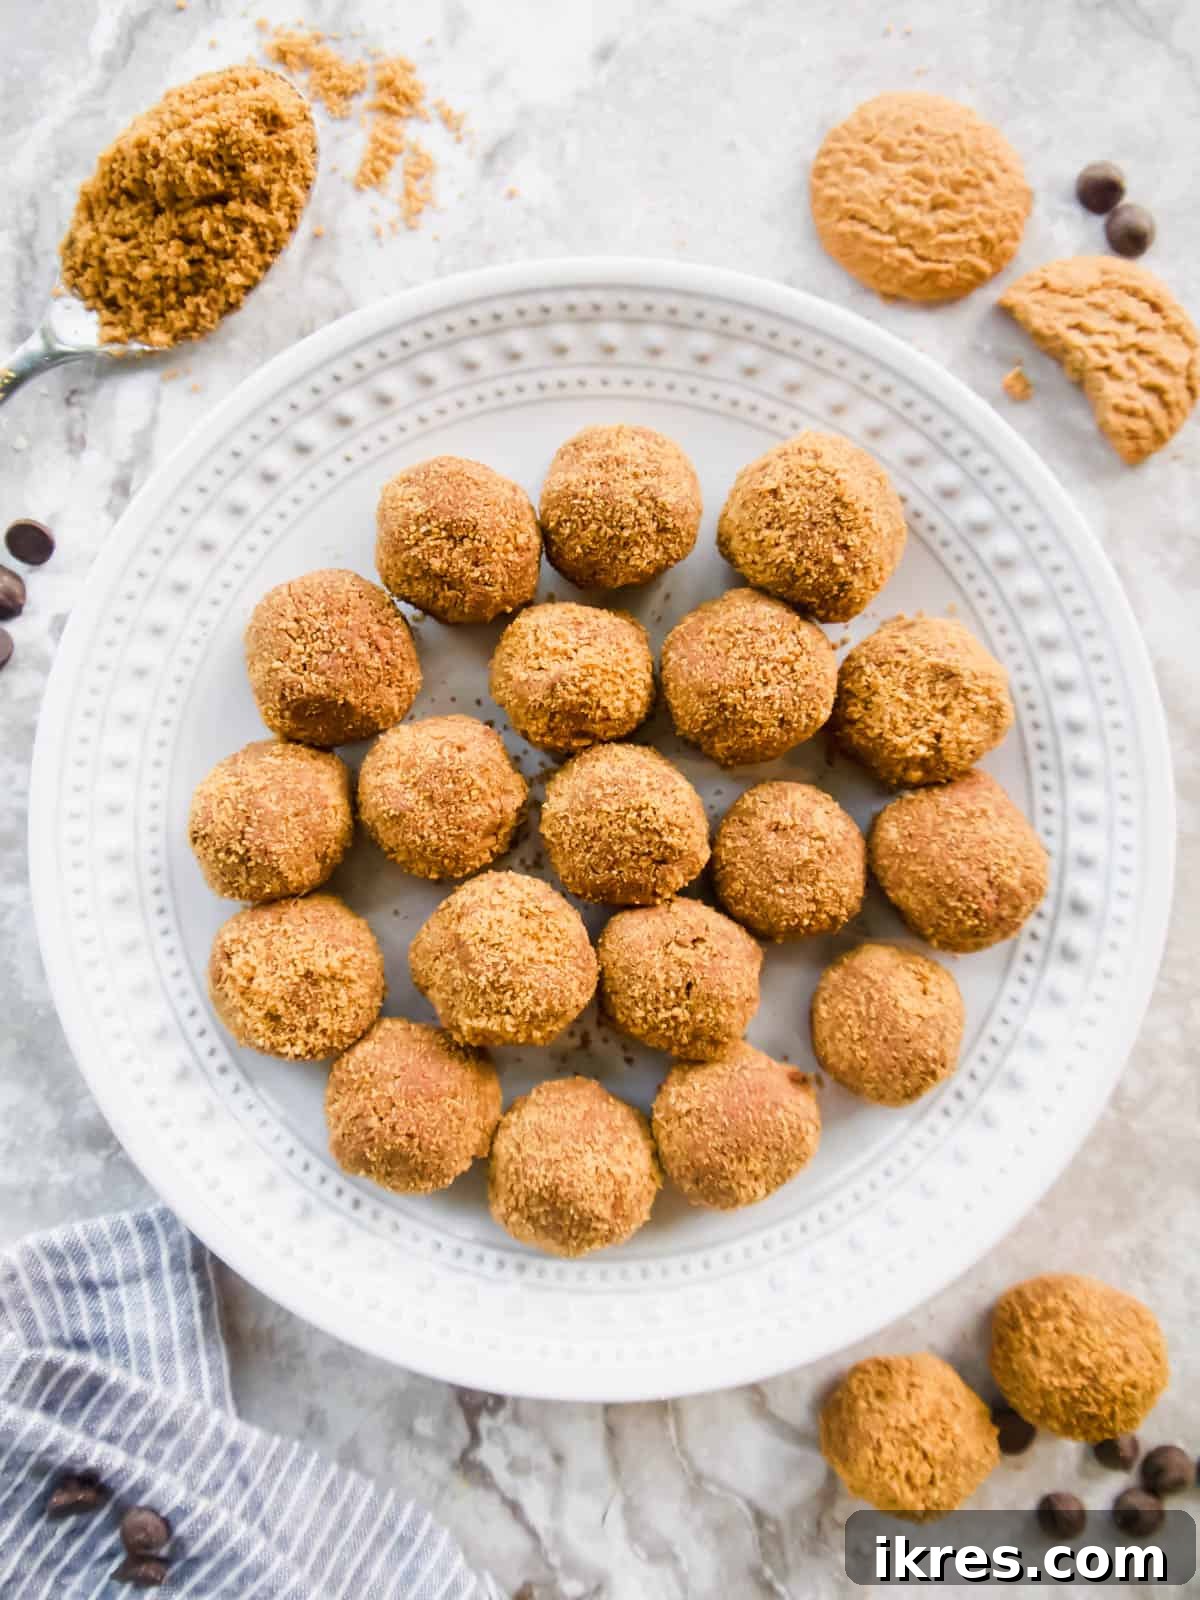
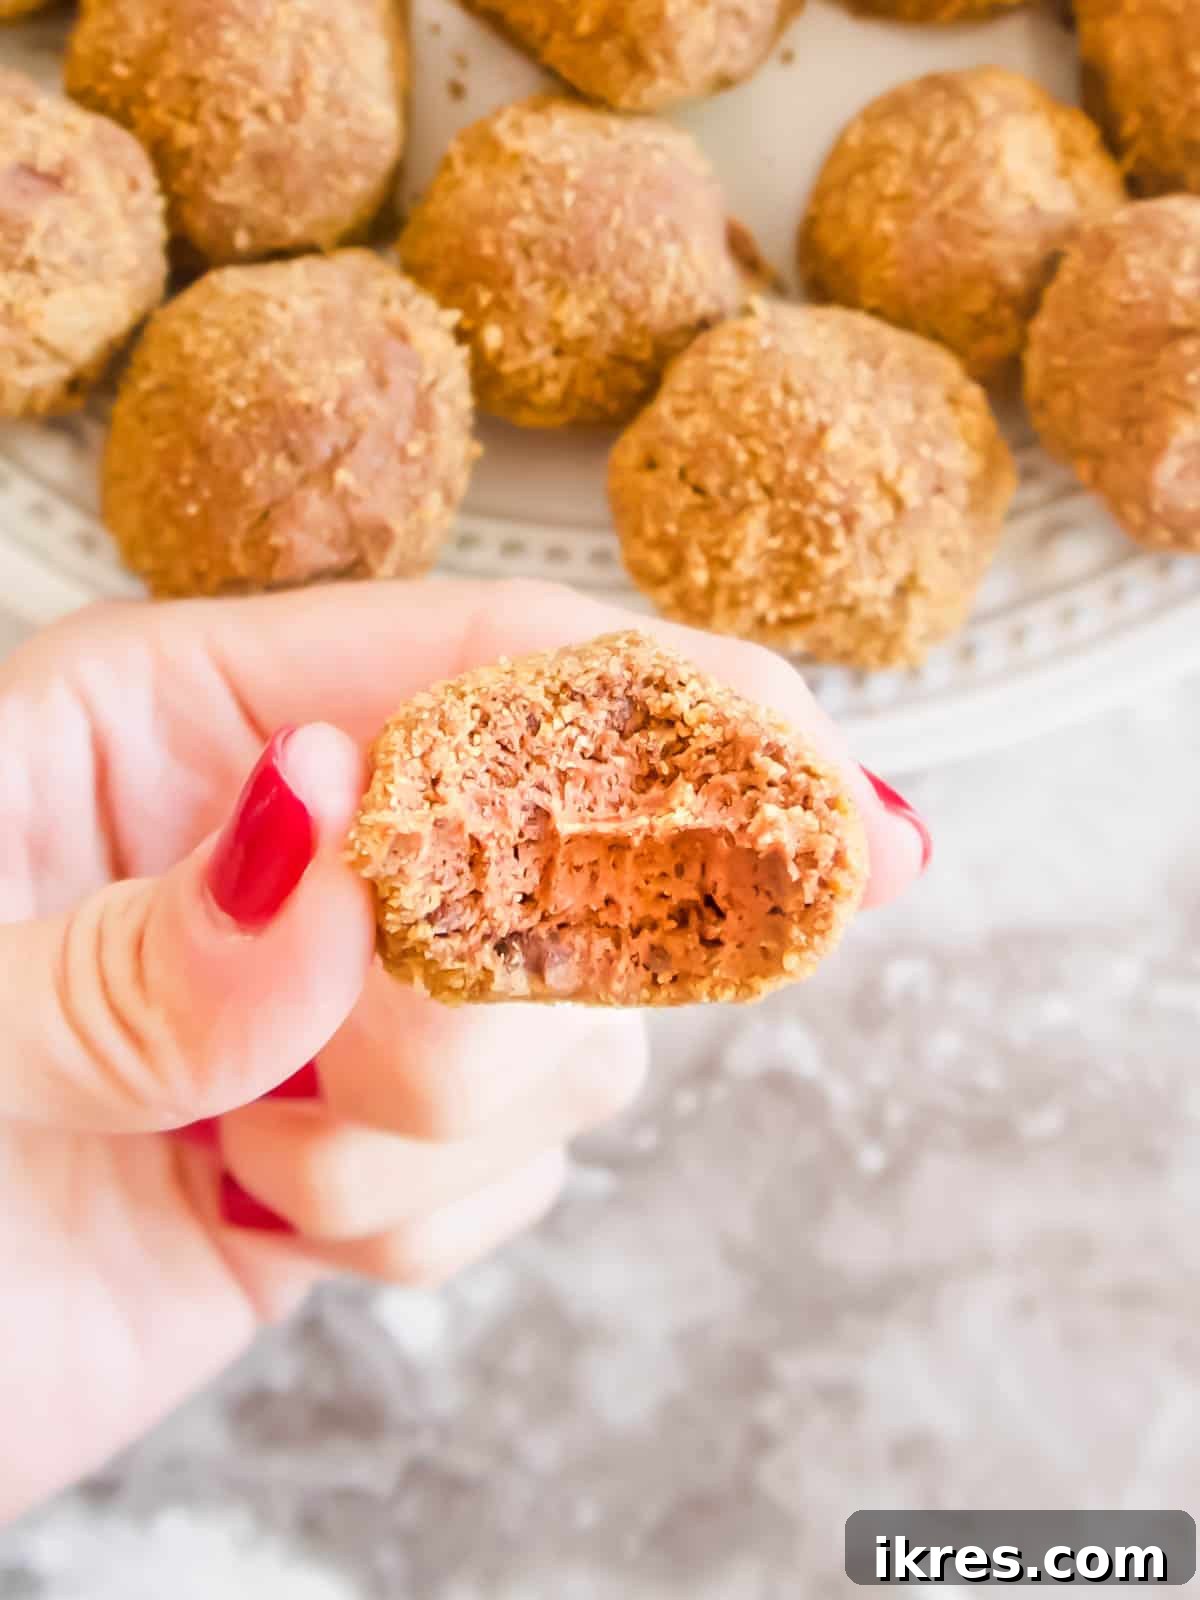
I am absolutely thrilled to share this recipe for dairy-free chocolate mousse balls! These aren’t just any dessert; they’re bite-sized spheres of luscious dairy-free chocolate mousse, lovingly rolled in a blanket of crushed gluten-free cookies. Each one tastes like a gourmet chocolate truffle, yet they are entirely dairy-free and gluten-free, making them accessible to a wider range of dietary needs. Beyond their exquisite taste, their simplicity of preparation is truly a game-changer.
These chocolate mousse truffles are the quintessential dessert to bring to any holiday party, offering a sophisticated yet easy-to-love option for all guests. Alternatively, keep a batch stashed in your fridge for whenever a craving for something sweet and chocolatey strikes. They are the epitome of a hassle-free, no-bake dessert. If you appreciate the convenience of no-bake treats, you might also enjoy my Chia Oatmeal Energy Balls, another fantastic option for wholesome snacking.
The inspiration for this recipe harks back to an old favorite: a simple mousse ball recipe I used to make years ago, featuring Cool Whip, Nilla Wafers, and Hershey’s Chocolate. Over time, as my preferences shifted towards cleaner, more wholesome ingredients and a dairy-free lifestyle, I yearned to recreate that beloved dessert with a modern twist. This quest led to the birth of these Dairy-Free Chocolate Mousse Balls, a refined version that captures all the nostalgia without compromising on dietary considerations or flavor.
Why You’ll Fall in Love with This Recipe
These dairy-free chocolate mousse balls aren’t just another dessert; they’re a revelation in simplicity and indulgence. Here’s why this recipe is destined to become a staple in your kitchen:
- Minimal Ingredients, Maximum Flavor: You only need three core ingredients to create these decadent treats. This simplicity means less shopping, less expense, and a quicker path to dessert heaven.
- Effortlessly Allergy-Friendly: Designed to be both **dairy-free and gluten-free**, these mousse balls are a fantastic option for inclusive entertaining. They cater to common dietary restrictions without sacrificing taste, ensuring everyone can enjoy a delicious treat.
- The Ultimate No-Bake Convenience: Forget preheating ovens and complex baking steps. This is a truly **no-bake dessert**, perfect for busy schedules, hot weather, or when you just want a delicious treat without the fuss. It’s ideal for those who love homemade desserts but prefer a hands-off approach.
- Remarkably Easy to Assemble: Don’t let their elegant appearance fool you; these **chocolate mousse bites** are incredibly straightforward to prepare. With minimal steps and simple techniques, even novice cooks can achieve impressive results.
- Gourmet Taste, Simple Preparation: Each bite delivers the rich, velvety texture and deep chocolate flavor of traditional chocolate mousse truffles. They taste like something you’d find in a high-end bakery, but they’re made right in your own kitchen with ease.
- Accessible Ingredients: All the components for this recipe can be readily found at most major grocery stores, including popular brands like Whole Foods. No need for specialty shops or hard-to-find items, making this recipe convenient and stress-free.
Essential Ingredients for Decadent Mousse Balls:
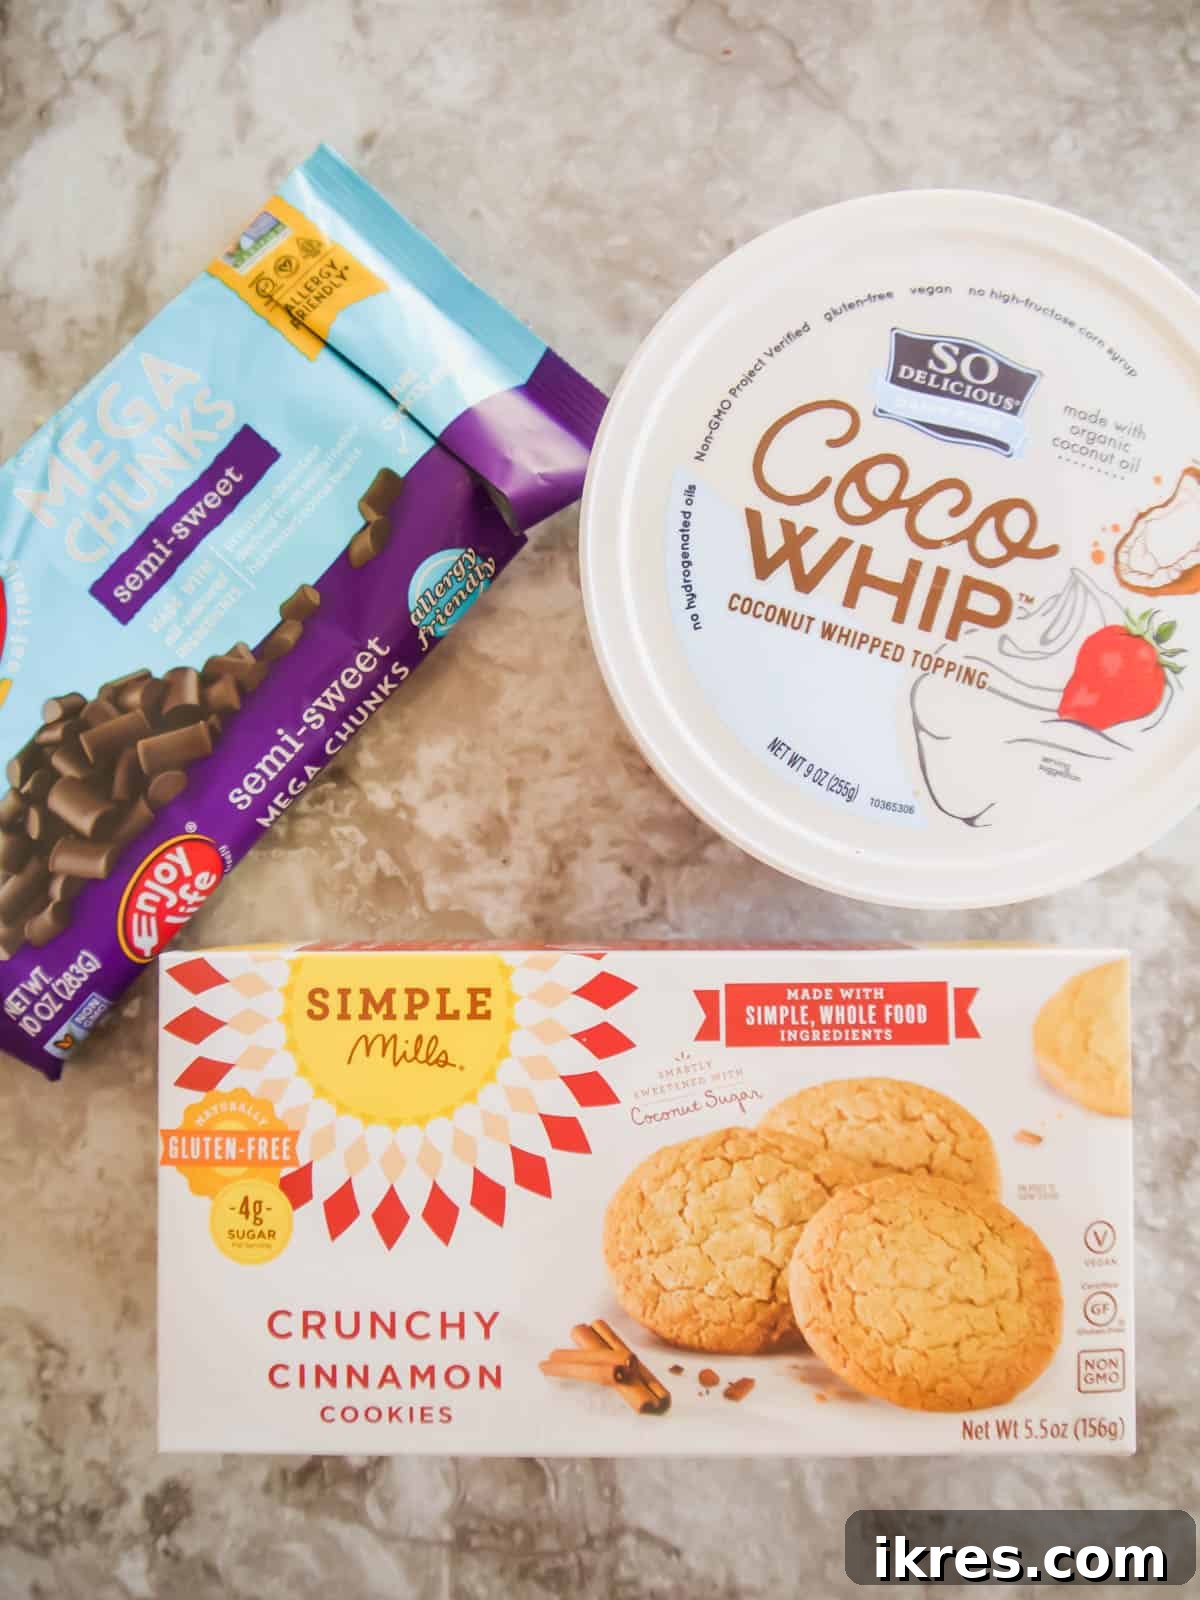
The magic of these dairy-free chocolate mousse balls lies in their simplicity, requiring only three key ingredients. Quality matters here, so choose your brands wisely to ensure the best flavor and texture:
- So Delicious CocoWhip: This coconut milk-based whipped topping is the secret to the mousse’s light, airy, and creamy texture. Ensure you get a full tub, approximately 9 ounces, and remember to thaw it completely before use for optimal mixing. Its subtle coconut flavor complements the chocolate beautifully without overpowering it.
- Simple Mills Crunchy Cinnamon Cookies (or Almond Flour Pecan Cookies): These gluten-free and often paleo-friendly cookies provide the perfect outer coating. Their crunchy texture, combined with a hint of cinnamon or the nutty depth of pecan, adds a delightful contrast to the smooth mousse. One box should yield enough crumbs. You can find these at most health-focused grocery stores or major supermarkets in the natural foods aisle. Alternatively, any other crunchy gluten-free and dairy-free cookie can be used if you prefer a different flavor profile.
- Enjoy Life Semi-Sweet Dairy-Free Mega Chunk Chocolate Chips: These chocolate chips are specifically designed to be dairy-free and gluten-free, making them an excellent choice for this recipe. Their “mega chunk” size ensures a rich, robust chocolate flavor in the mousse. One 10-ounce bag is typically sufficient. The quality of your chocolate significantly impacts the final taste, so opt for a brand you love.
I typically purchase all of these ingredients at Whole Foods, but they are widely available at various grocery stores. For instance, many major supermarket chains now carry dairy-free alternatives and gluten-free products.
Pro Tip for Shopping: To streamline your grocery trip, I highly recommend using a store locator for So Delicious CocoWhip before you head out. This simple check can save you time and ensure you don’t have to visit multiple stores to gather your ingredients. These products are often found in the freezer or dairy-alternative sections.
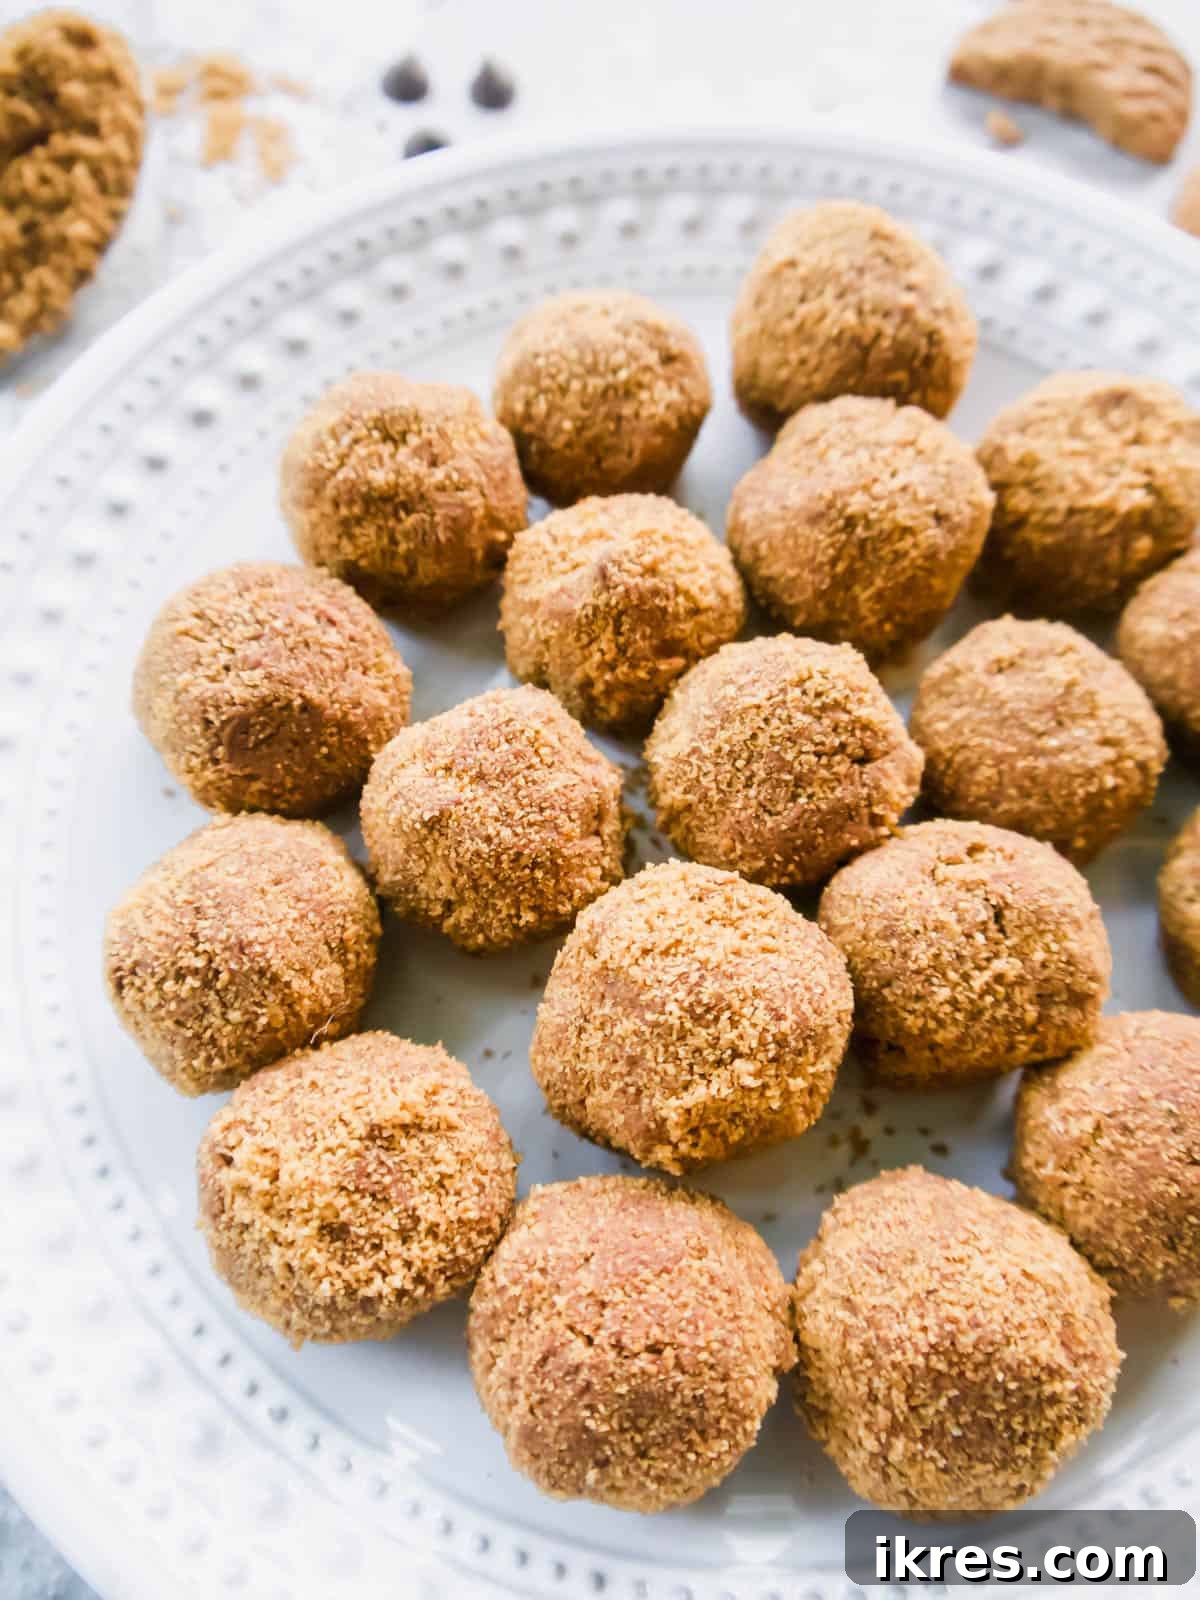
Kitchen Equipment You’ll Need:
Good news! You won’t need any fancy gadgets for these chocolate mousse balls. Most of these items are likely already in your kitchen:
- Food Processor: Essential for quickly and evenly crushing the cookies into fine crumbs. If you don’t have one, a zip-top bag and a rolling pin will also work!
- Microwave-Safe Bowl: For melting the chocolate safely and efficiently.
- Large Mixing Bowl: To combine the thawed CocoWhip and melted chocolate.
- Rubber Spatula or Spoon: Ideal for folding the ingredients together and scraping down the sides of the bowl.
- Measuring Cups and Spoons: For accurate ingredient measurements.
- Baking Sheet or Plate: Lined with parchment paper, for chilling and holding the finished mousse balls.
- Airtight Container: For proper storage of your delicious creations.
Step-by-Step Guide to Dairy-Free Chocolate Mousse Balls:
Creating these delightful dairy-free chocolate mousse balls is surprisingly simple. Follow these detailed steps to ensure perfectly formed, deliciously decadent treats every time.
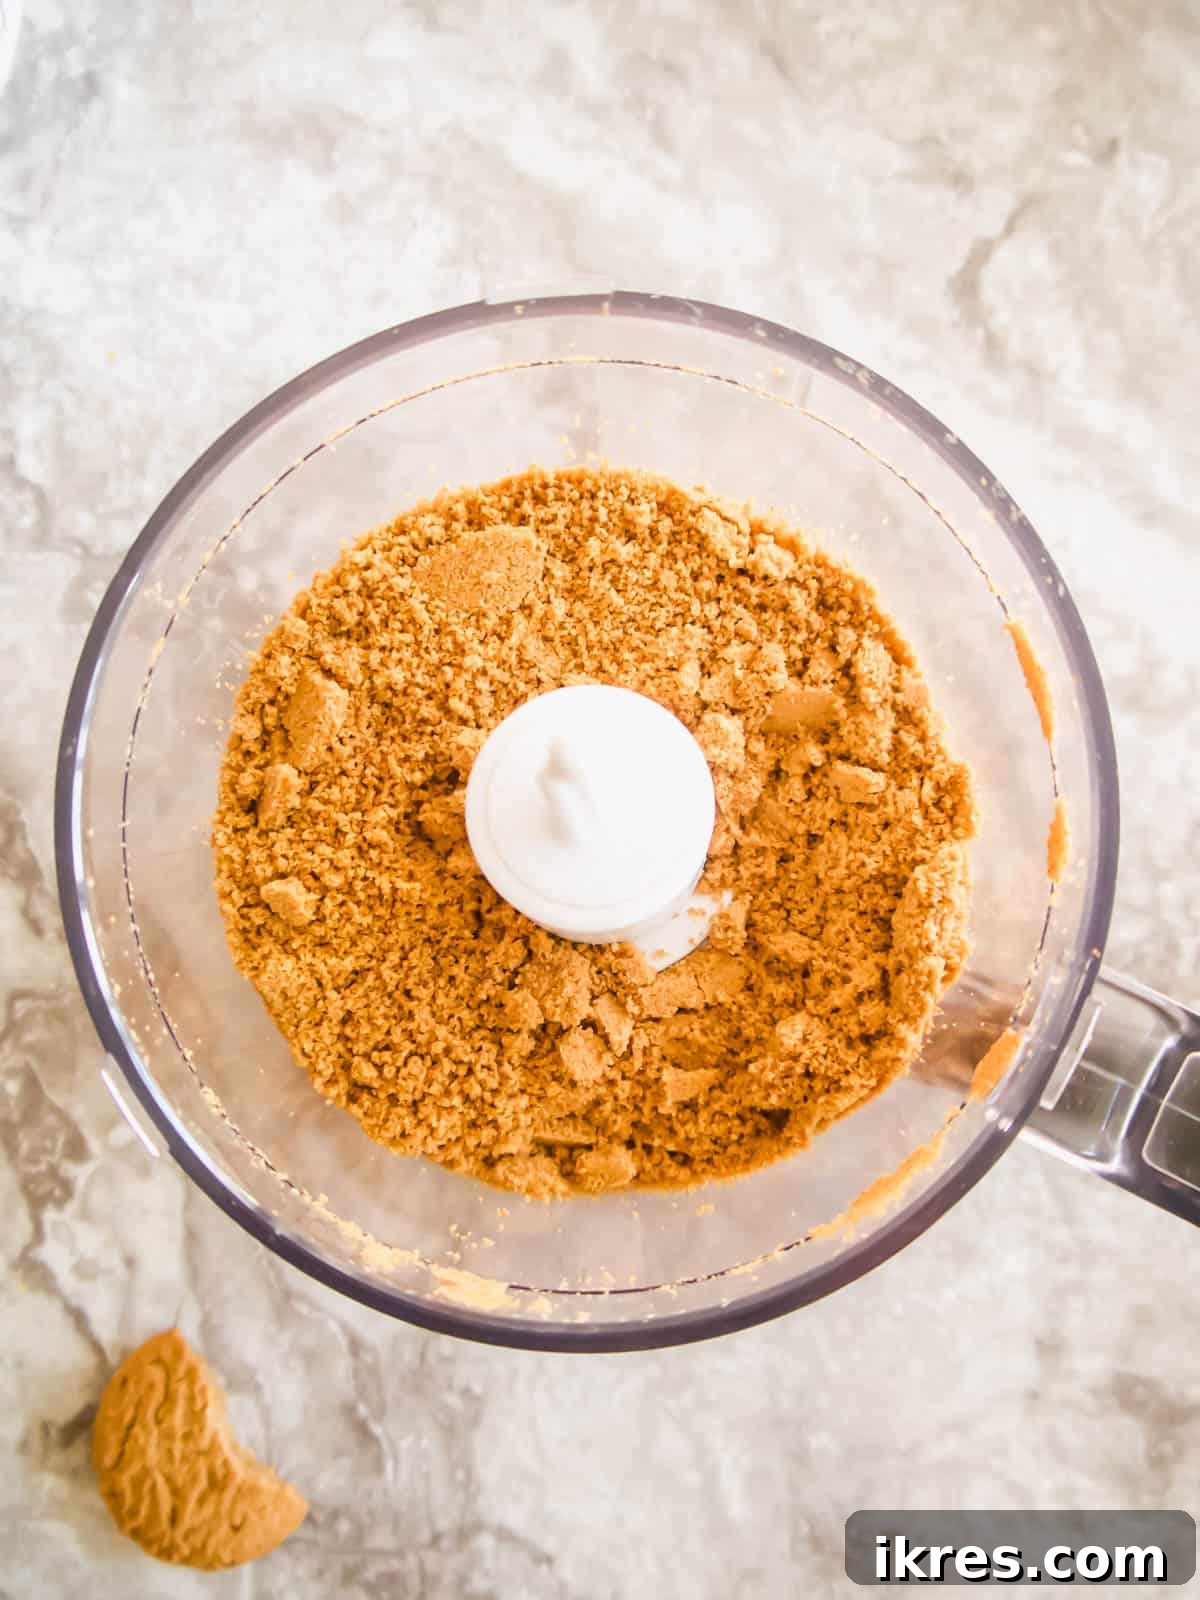
Step 1: Prepare the Cookie Crumbs and Thaw CocoWhip.
- Begin by preparing your cookie coating. Place the entire box of Simple Mills Crunchy Cinnamon Cookies (or your chosen alternative) into a food processor. Pulse until they are finely crushed into uniform crumbs. The finer the crumbs, the better they will adhere to the mousse balls. If you don’t have a food processor, you can place the cookies in a sturdy plastic bag and crush them with a rolling pin or the bottom of a heavy pan until pulverized.
- Concurrently, take your tub of So Delicious CocoWhip out of the freezer and allow it to thaw completely at room temperature. This usually takes about 1-2 hours, depending on your kitchen’s temperature. It’s crucial for it to be fully thawed and soft for proper mixing.
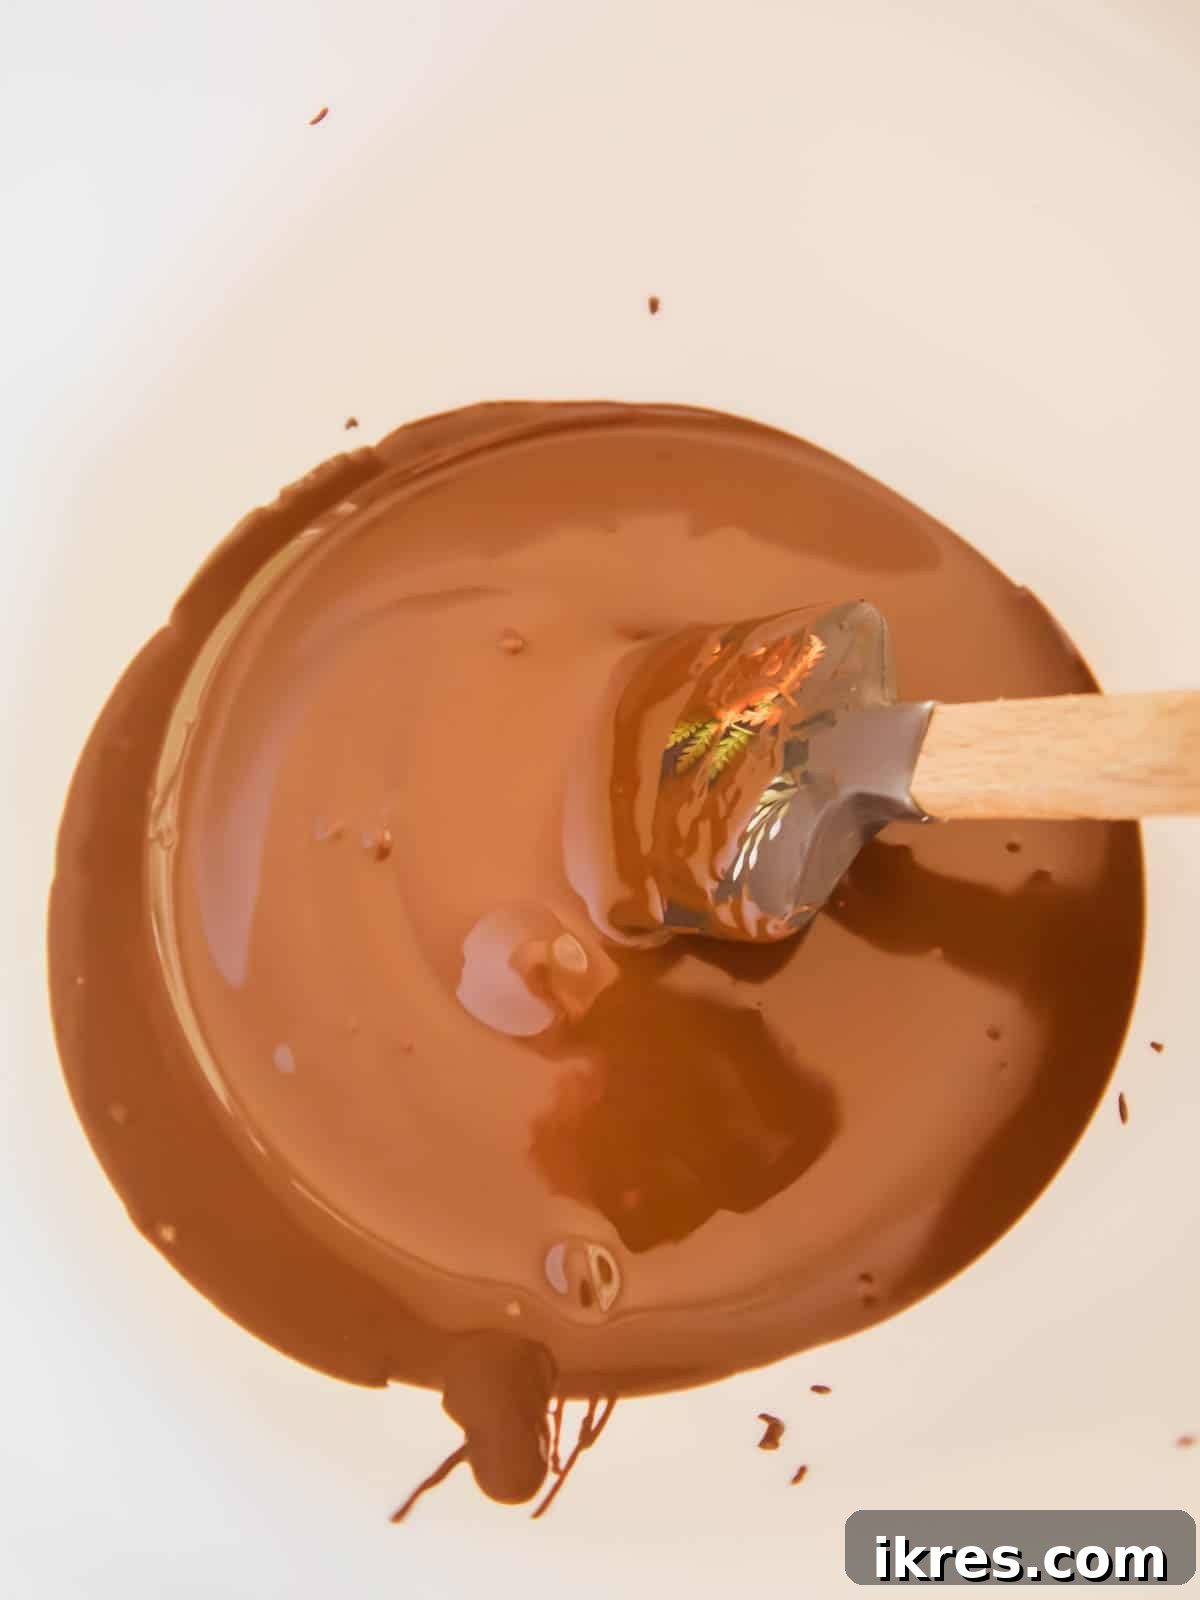
Step 2: Melt the Dairy-Free Chocolate and Allow it to Cool.
- Place your Enjoy Life Semi-Sweet Dairy-Free Mega Chunk Chocolate Chips into a microwave-safe bowl.
- Melt the chocolate in the microwave in short bursts to prevent burning. Microwave on high for 30-second intervals, stirring thoroughly after each interval. Continue this process until the chocolate is completely smooth and melted. Typically, this takes about 1 to 1.5 minutes in total, but microwave wattages vary. The stirring is key to ensure even melting and prevent scorching.
- Once melted, set the chocolate aside and let it cool completely to room temperature. This step is critical! If the chocolate is too warm when mixed with the CocoWhip, it will cause the CocoWhip to melt and the chocolate to seize and clump, resulting in a grainy, undesirable texture. Patience here will pay off with a silky-smooth mousse.
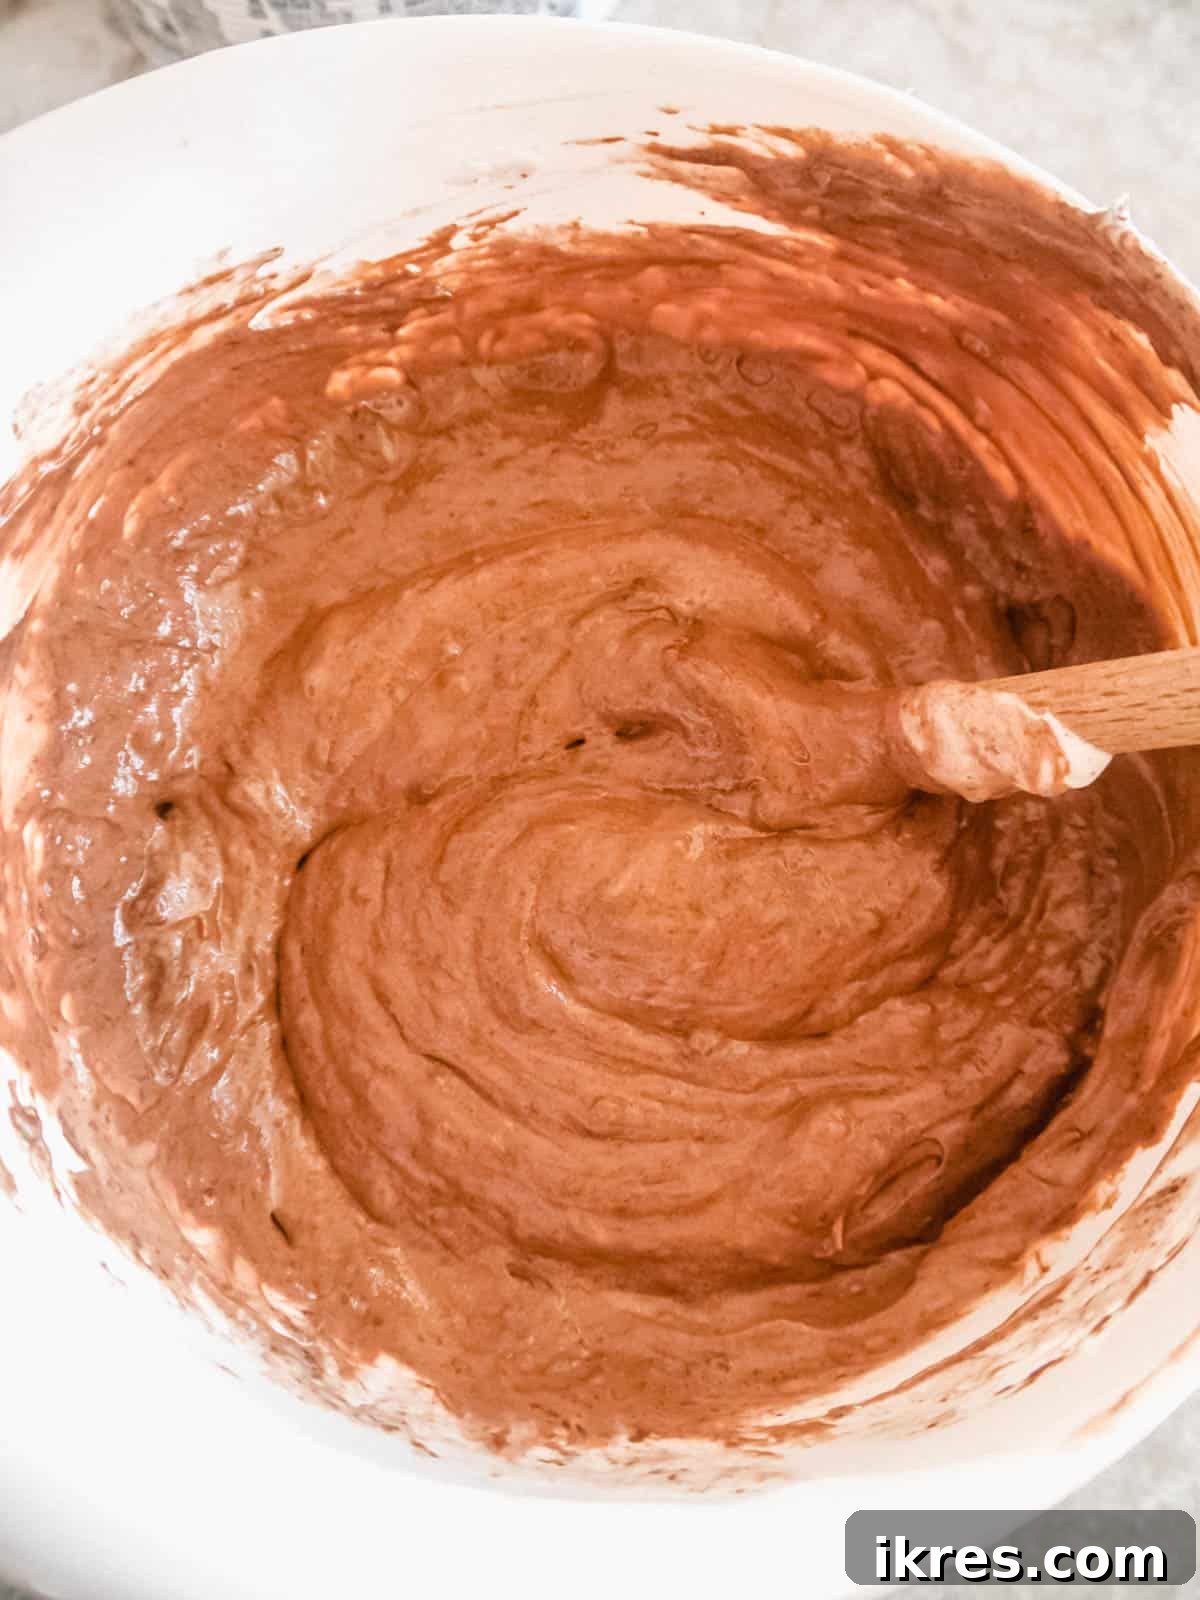
Step 3: Combine and Chill the Mousse Mixture.
- In a large mixing bowl, combine the completely thawed CocoWhip with the fully cooled melted chocolate.
- Using a rubber spatula, gently fold the chocolate into the CocoWhip. The technique of “folding” involves cutting down through the mixture with the spatula, scooping from the bottom, and folding it over the top. This incorporates the ingredients without deflating the airy texture of the CocoWhip. Continue folding until the mixture is homogenous, smooth, and a uniform chocolate color. Avoid overmixing, as this can reduce the mousse’s fluffiness.
- Important Note: Reiterate that both the CocoWhip must be thawed and the melted chocolate must be at room temperature. Any significant temperature difference will cause the chocolate to harden rapidly and create lumps, preventing a smooth mousse.
- Once thoroughly mixed, cover the bowl and refrigerate the chocolate mousse mixture for at least 2 hours. If you’re in a hurry, you can place it in the freezer for 30-45 minutes. The goal is for the mousse to firm up sufficiently, making it easier to handle and roll into balls. It should be firm enough to scoop but still pliable.
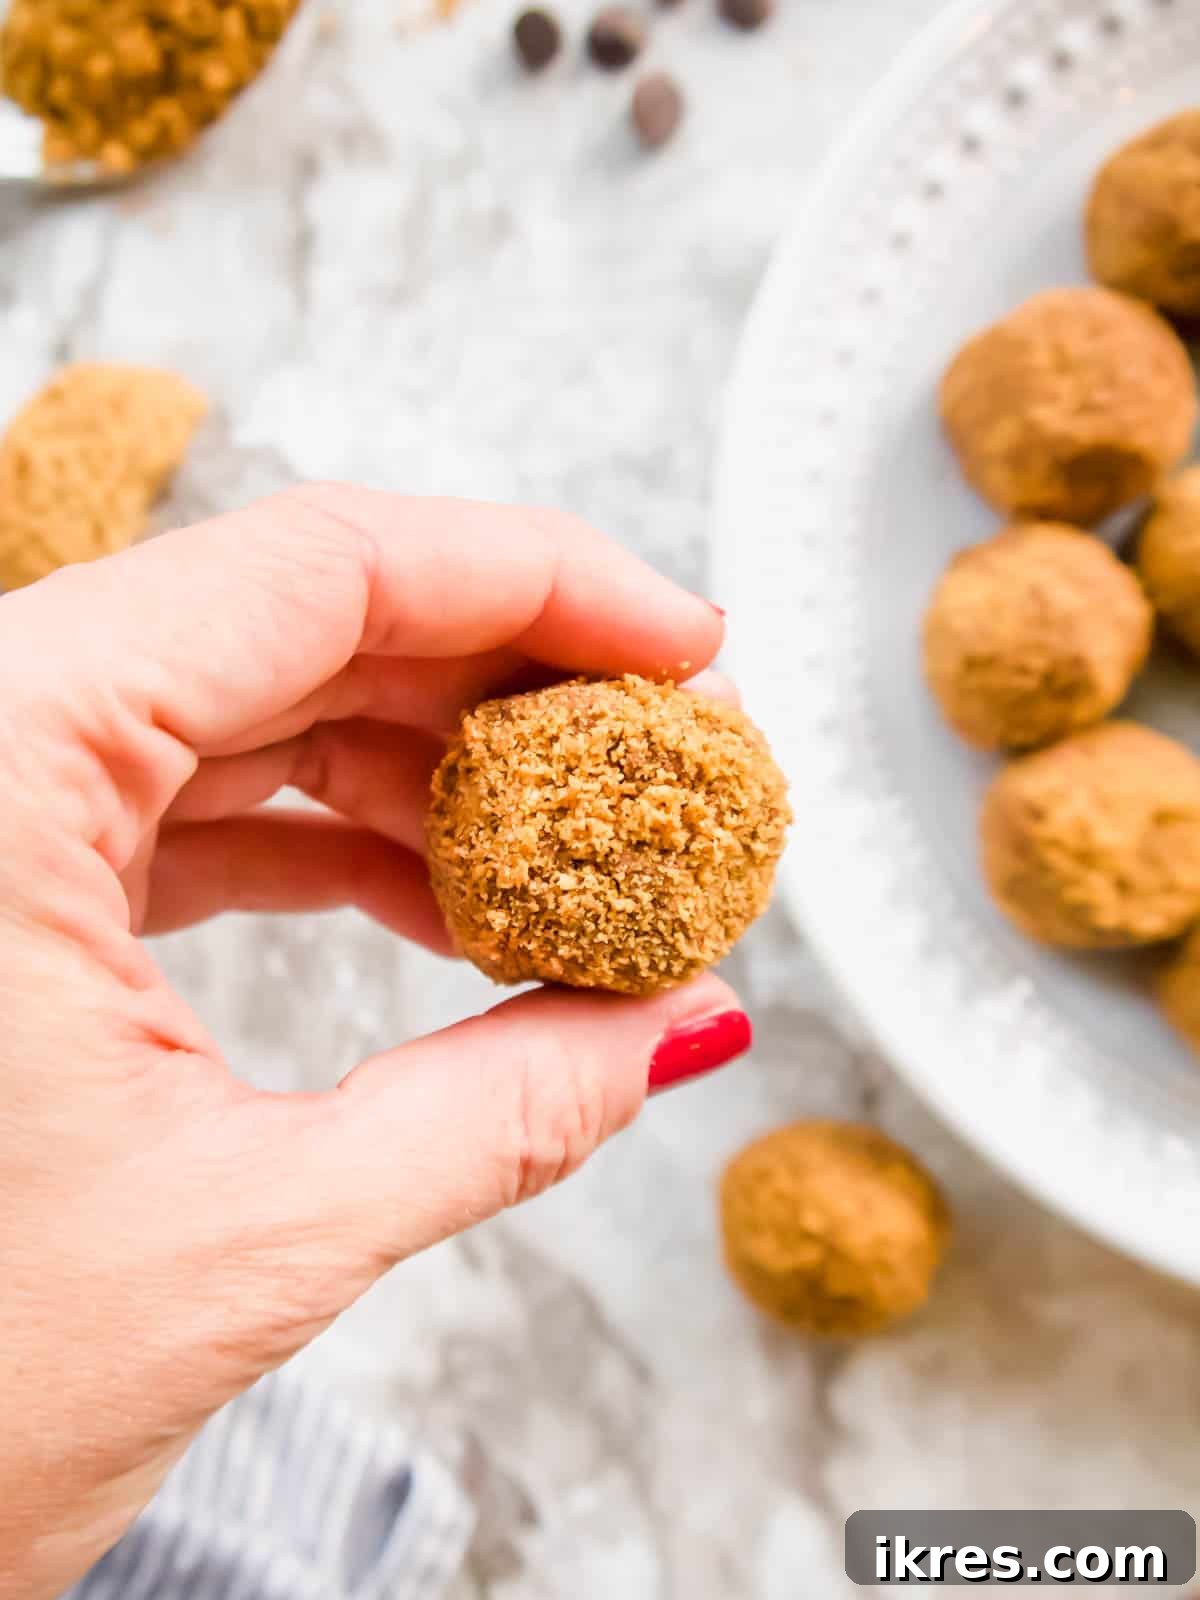
Step 4: Form and Coat the Mousse Balls.
Now comes the fun part – shaping your delicious truffles! You have two effective methods for this:
- Direct Rolling Method: Using a tablespoon or a small cookie scoop, portion out the chilled chocolate mousse. Roll each portion between your palms to form a smooth ball. Then, immediately drop the ball into the bowl of crushed cookie crumbs and gently roll it around until evenly coated.
- Spoon & Roll Method (Recommended for softer mousse): If your mousse hasn’t hardened quite as much as you’d like, this method offers a less sticky alternative. Take a tablespoon-sized amount of mousse and place it directly into the bowl of cookie crumbs. Use a spoon to gently push and cover the mousse with crumbs. Once the mousse is mostly covered, carefully pick it up and roll it between your hands to achieve a perfectly round, well-coated ball. This prevents excessive stickiness and helps maintain the mousse’s structure.
- Once you have a fully cookie-covered mousse ball, you can roll it one more time in the crumbs for an extra thick coating, if desired.
- Place the finished mousse ball on a plate or baking sheet lined with parchment paper. Continue this process until all of the chocolate mousse mixture has been used up.
Step 5: Final Chill and Serve.
After all your mousse balls are formed and coated, place the plate or baking sheet back into the refrigerator for at least 30 minutes. This final chill helps the coating set and firms up the mousse even further, ensuring a perfect texture when served.
That’s it! Your decadent dairy-free chocolate mousse balls are ready to enjoy. Keep these delightful treats stored in an airtight container in the refrigerator to maintain their freshness and texture. They’re perfect for surprising guests, gifting to friends, or simply savoring as a personal indulgence.
Recipe FAQs for Dairy-Free Chocolate Mousse Balls:
What can I use if I can’t find CocoWhip?
If So Delicious CocoWhip isn’t available in your area, you have a few excellent alternatives. TruWhip offers a healthier, often vegan-friendly, whipped topping option that works wonderfully. They have various formulations, including vegan ones, so check their labels. Another option is to use homemade coconut whipped cream, made by chilling a can of full-fat coconut milk and whipping the solid cream part. For those who can consume dairy, traditional Cool Whip would also work, though it would negate the dairy-free aspect of the recipe.
What other types of cookies can I use for the coating?
The beauty of this recipe is its adaptability! While Simple Mills Crunchy Cinnamon Cookies or Almond Flour Pecan Cookies provide a fantastic flavor and texture, feel free to experiment. Any “crunchy” style cookie that is dairy-free and gluten-free will work well. For example, other crunchy varieties from Simple Mills are great. You could also try The Greater Goods Snickerdoodles for a different spiced flavor. For a more intense chocolate experience, crushed gluten-free chocolate cookies would be delightful. Just ensure they are firm enough to crush into fine crumbs.
Can I use milk chocolate instead of dairy-free chocolate?
Absolutely! If you don’t have dairy sensitivities and can enjoy dairy products, feel free to use your favorite brand of milk chocolate chips or chopped milk chocolate in place of the dairy-free variety. This will still result in delicious mousse balls, though they will no longer be dairy-free. Dark chocolate can also be used for a richer, less sweet flavor profile.
How long do these chocolate mousse balls last?
When stored properly in an airtight container in the refrigerator, these dairy-free chocolate mousse balls will stay fresh and delicious for up to 5-7 days. For optimal texture and flavor, consume them within the first 3-4 days.
Can I freeze these mousse balls?
Yes, you can! These mousse balls freeze beautifully. Once they are fully chilled and firm, transfer them to an airtight, freezer-safe container, separating layers with parchment paper to prevent sticking. They can be stored in the freezer for up to 1 month. When ready to enjoy, simply thaw them in the refrigerator for a few hours or at room temperature for about 15-20 minutes for a softer texture.
What if my mousse mixture is too sticky to roll?
If your mousse mixture is too soft or sticky, it means it hasn’t chilled enough. Place the bowl back in the refrigerator for another 30-60 minutes, or in the freezer for 15-20 minutes, until it’s firm enough to handle. You can also lightly dust your hands with a little cocoa powder or powdered sugar before rolling to help prevent sticking.
Other Dairy-Free Chocolate Recipes to Explore:
If you’re a fan of these delightful dairy-free chocolate mousse balls, you’ll love exploring more chocolatey, allergy-friendly treats:
Discover these Dairy-free Vegan Chocolate Truffles from Food Faith Fitness. They genuinely look like they came straight from a professional chocolatier!
My Fudgy Chocolate Chunk Brownies are incredibly ooey-gooey and rich. You’d never guess they were both Paleo and dairy-free.
Beware, this Edible Eggless Chocolate Chip Cookie Dough is dangerously addictive. Once I make it, it’s hard to stop eating!
For the ultimate chocolate indulgence, try these Chocolate Chocolate Chip Sea Salt Cookies. They’re a symphony of sweet and savory.
These Paleo Chocolate Truffles offer a similar concept but feature an entirely homemade approach for each component.
This Vegan Chocolate Pudding is an astonishingly quick and easy dairy-free dessert that comes together in just 5 minutes.
Did you try this recipe? Please leave me a ⭐ review below! Your feedback is greatly appreciated!
Dairy-Free Chocolate Mousse Balls (Gluten-free)

Ingredients
- 1 9 ounce tub of CocoWhip, (So Delicious brand), thawed
- 1 cup Simple Mills Crunchy Cinnamon Cookies, (1 box), crushed into crumbs
- 10 ounces Enjoy Life chocolate chips semi-sweet mega chunks, (1 bag)
Instructions
- Thaw the CocoWhip. While it is thawing, put the cookies into a food processor to turn into cookie crumbs.
- Next, melt the chocolate in the microwave. Put the chocolate into a microwave-safe bowl, then microwave for 30 seconds, and mix. Microwave for another 30 seconds and mix. Repeat once more if needed. I needed to microwave the chocolate for a total of 1.5 minutes to achieve a smooth consistency.
- Let the melted chocolate cool completely to room temperature. Note: if the chocolate is too hot, it will become chunky and seize when mixed into the CocoWhip.
- Gently fold the thawed CocoWhip and the cooled melted chocolate together until fully mixed and smooth. Start by folding to incorporate, then stir gently until uniform.
- Refrigerate the chocolate mixture for at least 2 hours. Alternatively, you can put it into the freezer for 30-45 minutes to firm it up faster. The mousse should be firm enough to handle and roll.
- Next, roll the mousse into balls and dunk them into the cookie crumbs. You can do this in two ways: 1) roll the mousse into balls directly with your hands and then drop them into the cookie crumbs, or 2) take a tablespoon amount of the mousse, place it into the cookie crumbs, use a spoon to cover the mousse with more crumbs, then pick it up and roll it into a ball between your hands. I prefer option 2, especially if the mousse hasn’t hardened enough in the fridge, as it helps prevent sticking.
- Once you have your cookie-covered mousse ball, you may dunk it one more time in the cookie crumbs for an extra thick coating.
- Place each finished ball on a plate or baking sheet lined with parchment paper and repeat until all the mousse is used up.
- Refrigerate the formed mousse balls for at least 30 minutes before serving to allow the coating to set and the mousse to firm up. Store them in the refrigerator in an airtight container.
- This recipe yields approximately 35 delicious mousse balls.
Notes
- Ensure your CocoWhip is fully thawed to a soft, whipped consistency for the best results.
- Always let the melted chocolate cool completely to room temperature before mixing. This prevents the chocolate from clumping and ensures a smooth, uniform mousse.
- These chocolate mousse balls must be kept refrigerated after preparation to maintain their structure and freshness.
Nutrition
Calories: 84 kcal
Carbohydrates: 9.3 g
Protein: 0.7 g
Fat: 5.3 g
Nutrition information is automatically calculated and should only be used as an approximation.