
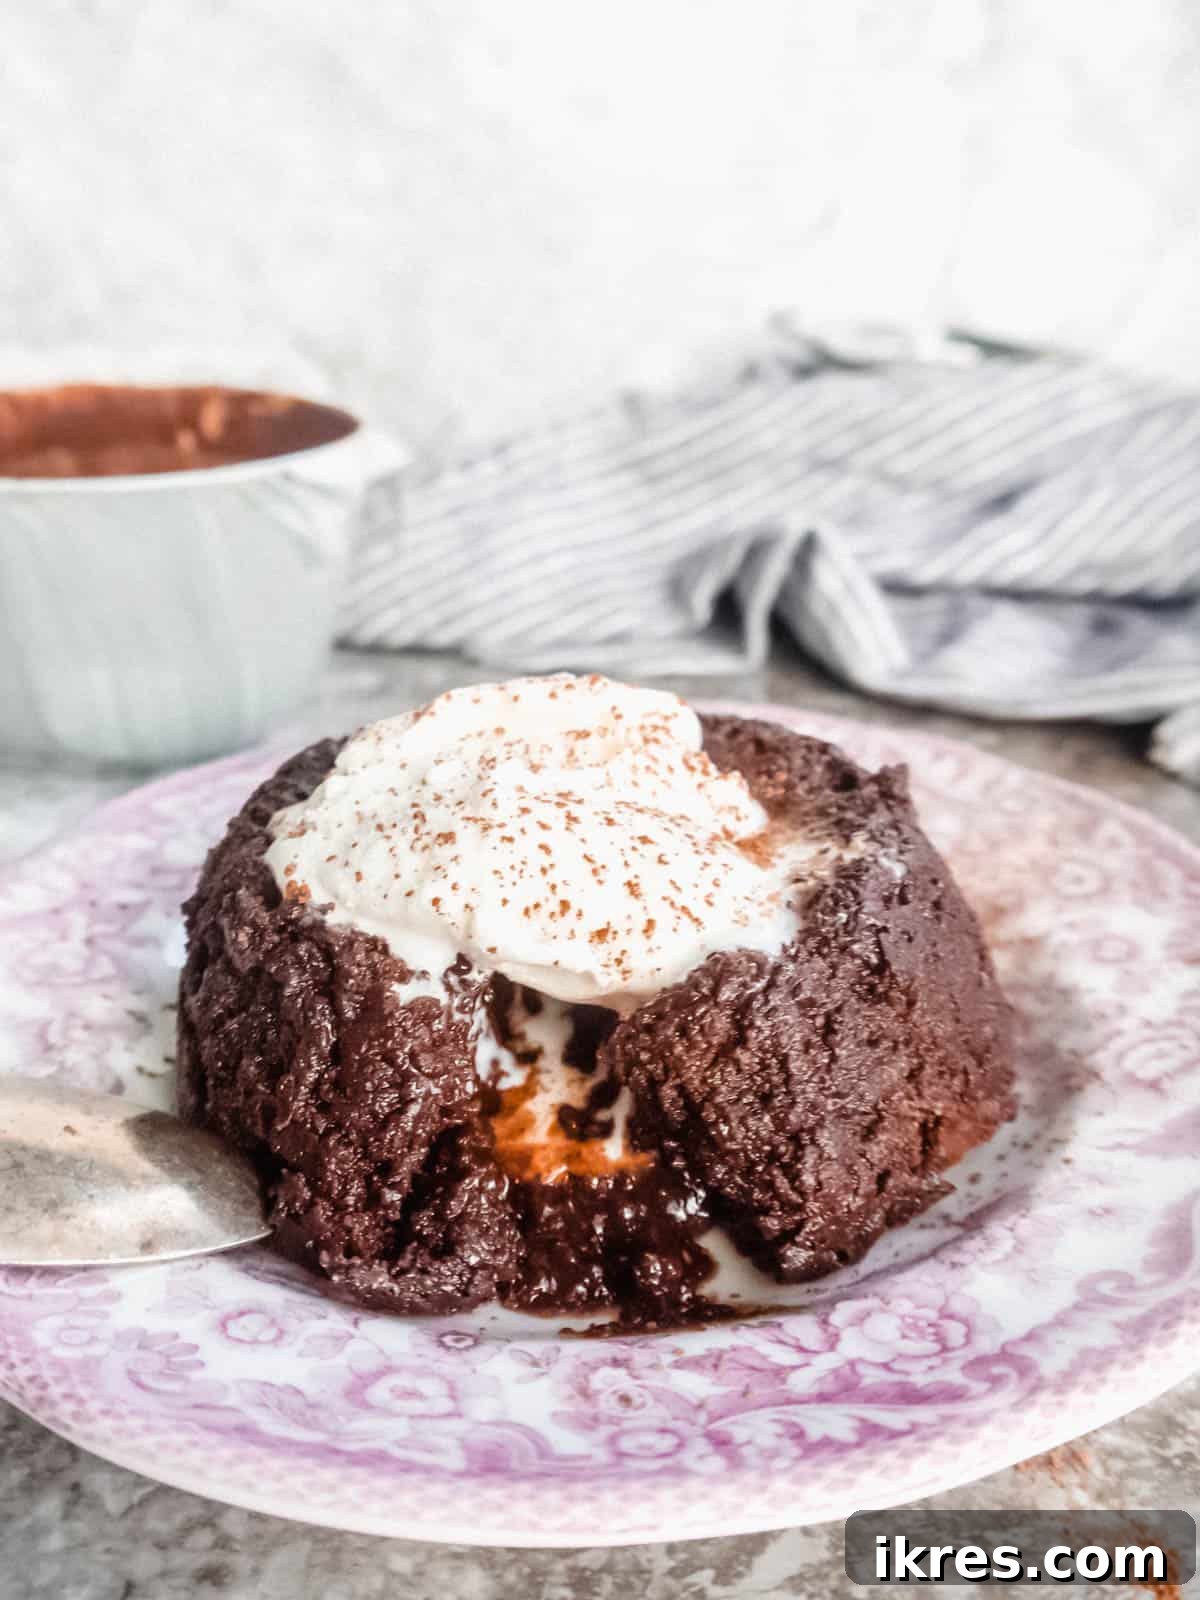
Discover the Secret to Irresistible Chocolate Molten Lava Cakes: Naturally Dairy-Free, Gluten-Free, Grain-Free, and Paleo!
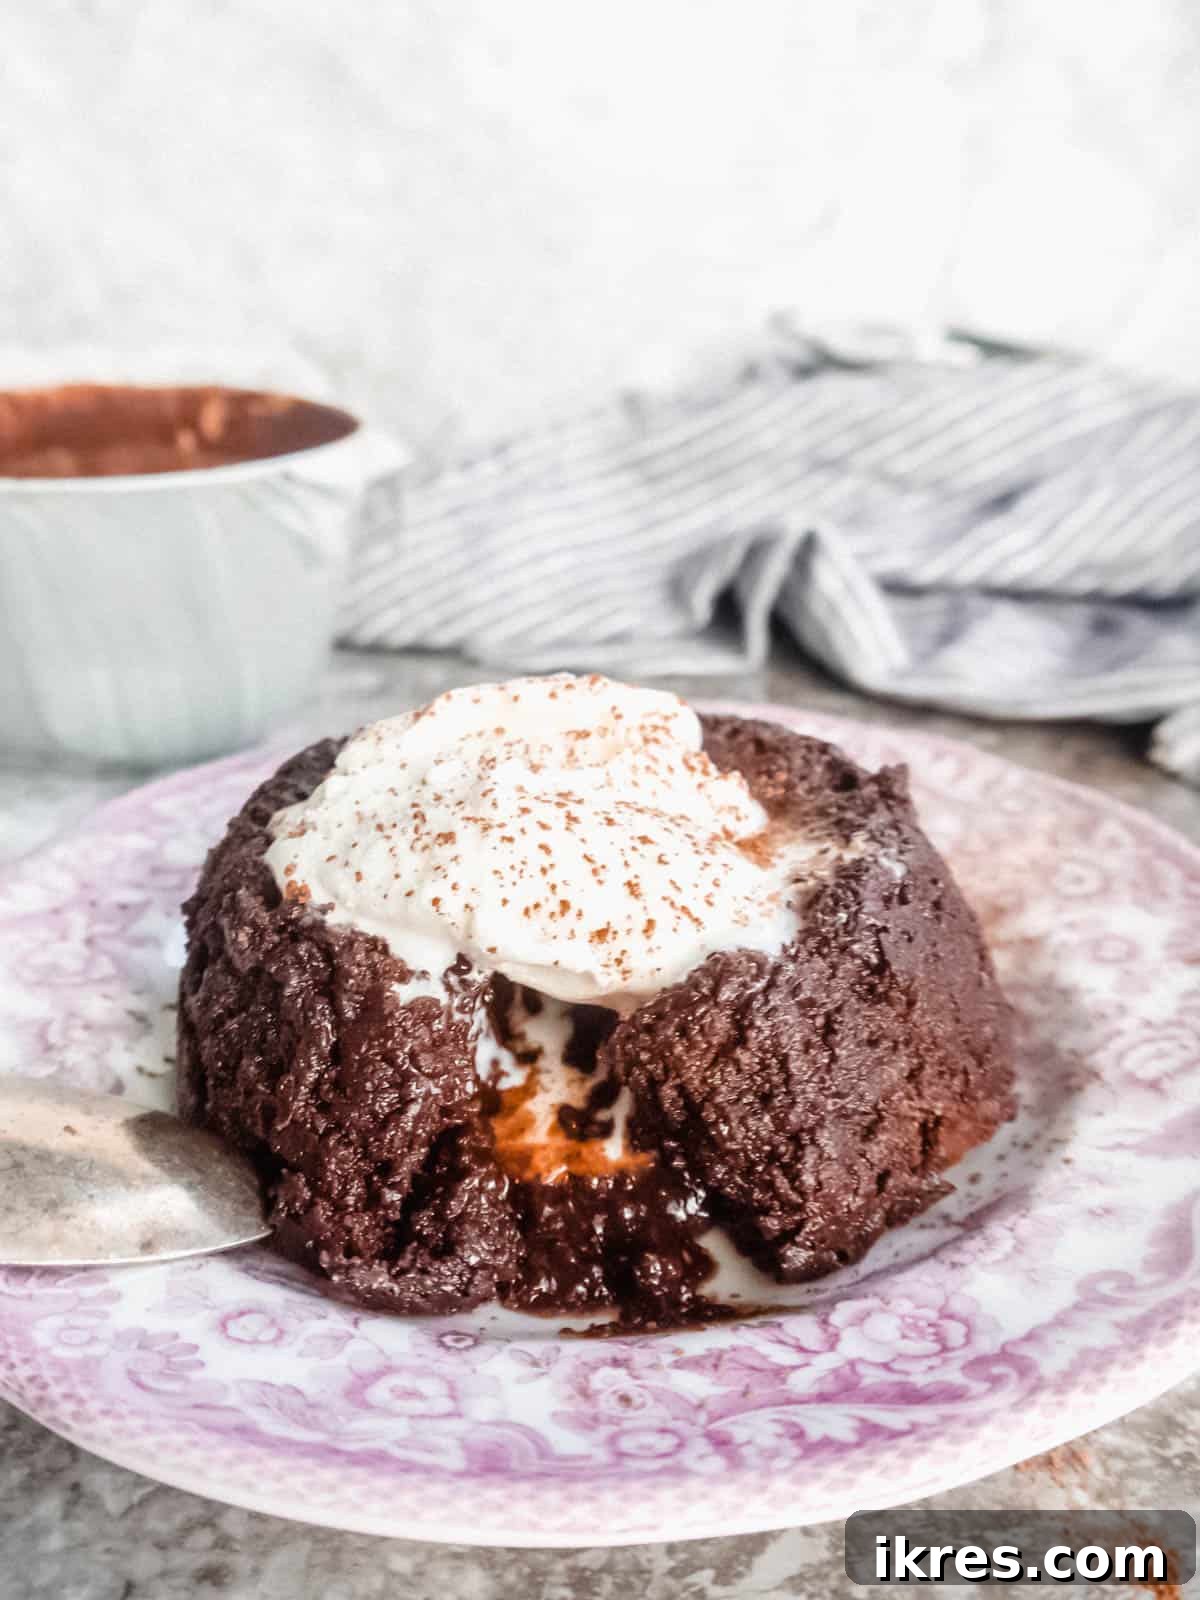
Indulge in Gooey Perfection: Dairy-Free Chocolate Molten Lava Cakes
There’s a magic to biting into a warm chocolate dessert, especially one with a luscious, melted center that spills out with every spoonful. Molten lava cakes have always held a special place in my heart, a pinnacle of dessert decadence. Few things compare to the rich, gooey chocolate combined with a scoop of melting ice cream, creating a symphony of textures and temperatures that truly feels like heaven on a plate.
This recipe is a lovingly perfected rendition of my earlier Paleo Fondant au Chocolat et Cerises—For Two! It was born from a desire to create a molten lava cake that not only met strict dietary requirements but also offered the classic “flip-over” presentation, showcasing its perfect form and irresistible molten core. The goal was simple: provide an utterly delicious chocolate experience that’s naturally dairy-free, gluten-free, grain-free, and Paleo, without ever compromising on the incredible flavor or texture that makes these cakes so beloved.
Whether you’re managing allergies, following a specific diet, or simply seeking a healthier alternative to traditional desserts, these Dairy-Free Chocolate Molten Lava Cakes are designed to deliver pure, unadulterated chocolate bliss. Get ready to impress your taste buds and your guests with this effortlessly elegant and delightfully decadent treat.
Table of Contents
- Why This Recipe Is a Must-Try
- The Simple Ingredients You’ll Need
- Customize Your Lava Cake: Additions and Substitutions
- Step-by-Step Guide to Perfect Molten Lava Cakes
- More Dairy-Free & Paleo Chocolate Desserts to Explore
- Full Recipe: Paleo Dairy-Free Chocolate Molten Lava Cakes (Gluten-Free)
Why This Recipe Is a Must-Try: Health-Conscious Indulgence
This recipe isn’t just another chocolate cake; it’s a carefully crafted dessert designed to meet a variety of dietary needs without sacrificing the indulgence factor. Here’s why these molten lava cakes will become your new favorite:
- Naturally Gluten-Free, Dairy-Free, and Paleo: We understand the challenges of finding truly decadent desserts that fit these specific dietary frameworks. By thoughtfully selecting each ingredient, we’ve created a recipe that adheres to these principles, ensuring everyone can enjoy a luscious treat.
- Ideal for Allergy Sufferers: For individuals with common allergies to gluten or dairy, this recipe offers a safe and incredibly delicious option. You can enjoy a classic dessert without worrying about adverse reactions, making it perfect for sharing with friends and family who have dietary restrictions.
- Supports Specific Diets: Whether you’re committed to a gluten-free lifestyle, managing lactose intolerance, or following the Paleo diet, this recipe seamlessly integrates into your eating plan. It proves that healthy eating doesn’t mean giving up on rich, satisfying desserts.
- Quick and Easy to Prepare: Despite its gourmet appearance, these molten lava cakes come together surprisingly fast. With minimal prep time and straightforward steps, you can whip up this impressive dessert in under 30 minutes, making it perfect for impromptu cravings or last-minute entertaining.
- Unleashes Your Inner Chocoholic: Let’s be honest, sometimes you just need chocolate. This recipe is an absolute powerhouse for satisfying those intense chocolate cravings. The deep, rich flavor of the chocolate, combined with the warm, gooey center, provides an unparalleled sensory experience that will leave you utterly content.
- No Compromise on Flavor or Texture: The biggest win of this recipe is that it doesn’t taste “healthy” or “alternative.” You get all the luxurious taste and delightful texture of a classic molten lava cake, but with the added benefits of being free from common allergens and refined sugars. It’s a true guilt-free pleasure!
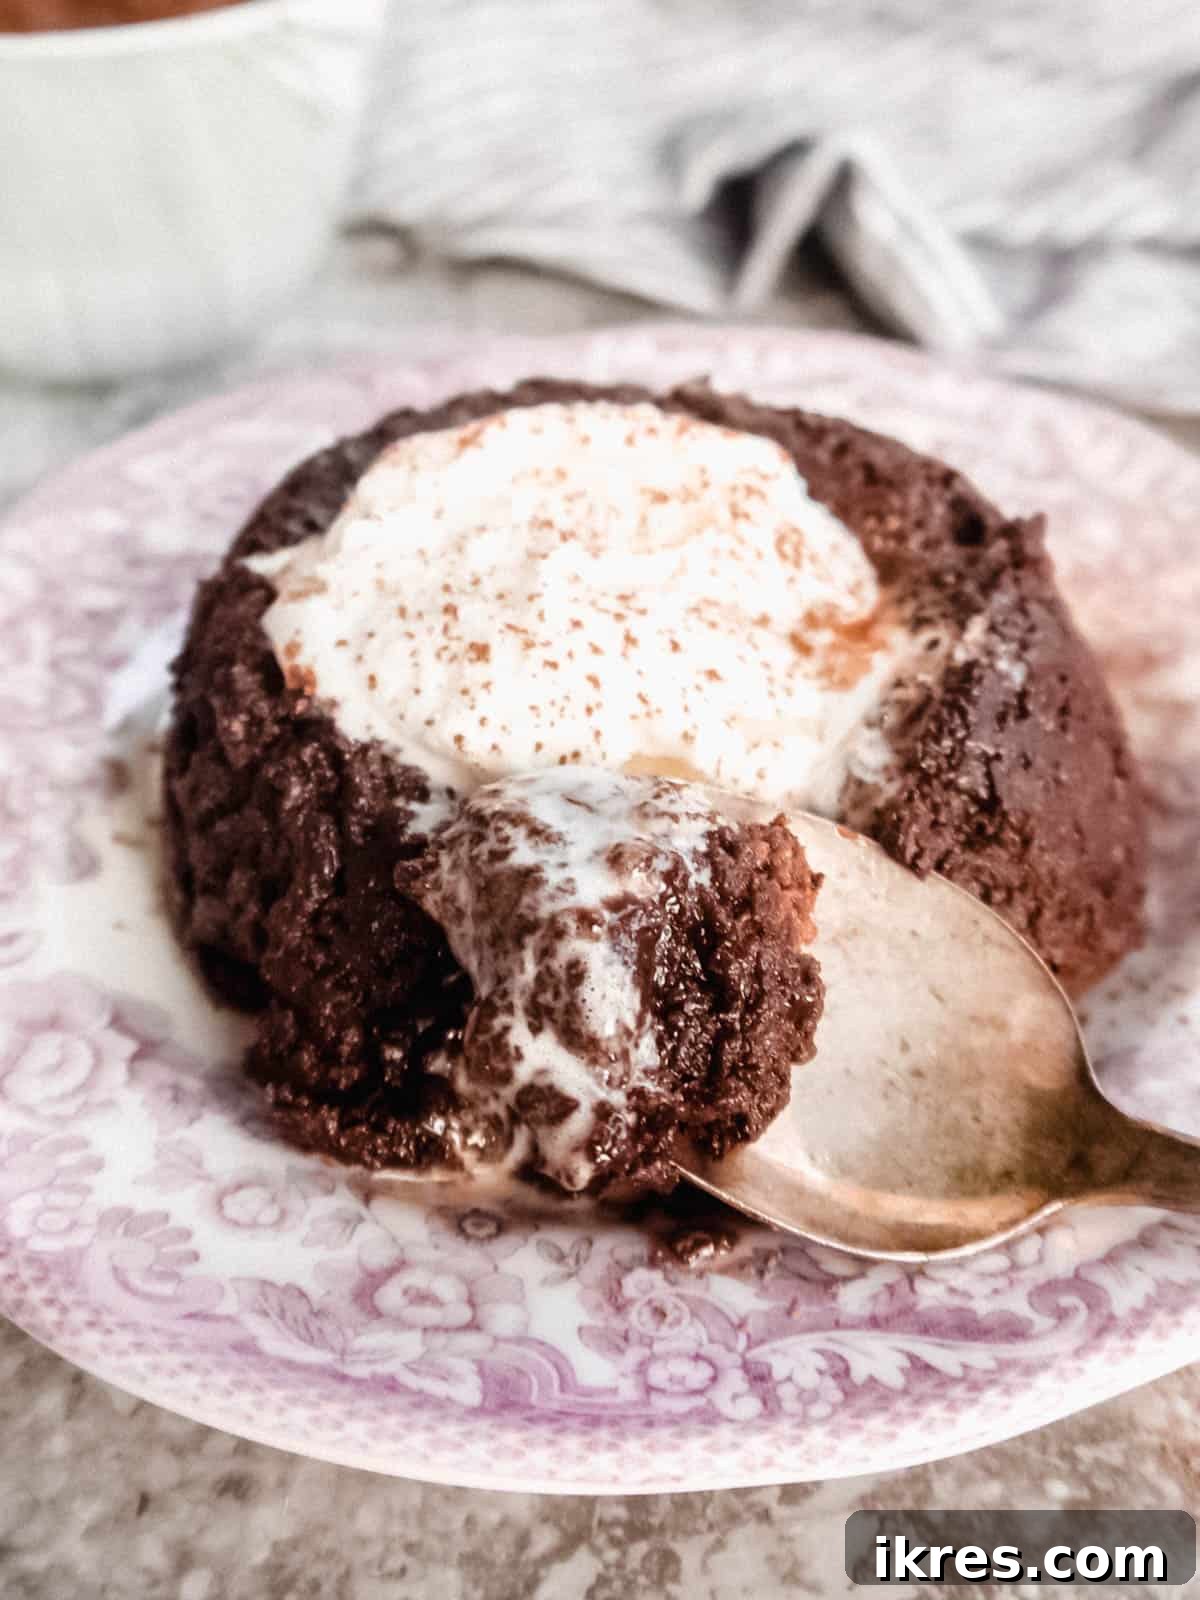
The Simple Ingredients You’ll Need for Decadent Results
Creating these exquisite dairy-free and gluten-free molten lava cakes requires only a handful of readily available ingredients, each chosen for its flavor and adherence to Paleo principles. Here’s a closer look at the stars of this recipe:
- Coconut Oil: This healthy fat serves as our dairy-free butter alternative, providing moisture and a rich base for the chocolate. It melts beautifully with chocolate chips, contributing to the smooth batter.
- Dairy-Free Chocolate Chips: The heart and soul of our molten lava cake. Choose a high-quality brand like Enjoy Life mini chocolate chips for the best flavor and texture. Ensure they are certified dairy-free to meet dietary needs.
- An Egg and Egg Yolk: Eggs are crucial for structure and richness in these cakes. The extra egg yolk adds a luxurious, velvety texture to the molten center, enhancing its gooey appeal.
- Maple Syrup: As our natural, Paleo-friendly sweetener, maple syrup provides a delicate sweetness that perfectly complements the rich chocolate without the need for refined sugars. Its liquid form also helps maintain the batter’s consistency.
- Almond Flour: This finely ground nut flour is the perfect gluten-free and grain-free alternative to traditional wheat flour. It contributes to a tender cake crumb and helps achieve that slightly firm exterior while keeping the inside perfectly molten.
- Vanilla Extract: A touch of vanilla elevates the chocolate flavor, adding warmth and complexity to the overall profile of the cake. Don’t skip this essential flavor enhancer!
- Cocoa Powder (for dusting ramekins): This isn’t just for greasing; dusting your ramekins with cocoa powder instead of flour ensures an extra layer of chocolate flavor and helps the cakes release easily, creating a beautiful, dark exterior.
- A Pinch of Salt: Often overlooked, salt is vital in chocolate desserts. It balances the sweetness, intensifies the chocolate flavor, and prevents the cake from tasting flat.
Customize Your Lava Cake: Additions and Substitutions
While this recipe is fantastic as written, feel free to experiment and make it your own! Here are a few ideas for additions and substitutions to suit your preferences or what you have on hand:
- For Coconut Oil: If you’re not a fan of coconut oil or prefer a different healthy fat, light olive oil can be used as a direct substitute. Ensure it’s a light-tasting variety so it doesn’t impart a strong olive flavor to your dessert. Melted ghee (if dairy is tolerated but not dairy-free) could also work, though it wouldn’t be fully dairy-free.
- For Maple Syrup: This recipe works well with other natural liquid sweeteners. Date syrup offers a deeper, caramel-like note, while honey (if Paleo-approved for your diet) can also be used. Adjust sweetness to your liking, as the intensity can vary between sweeteners.
- A Hint of Coffee: Add 1/4 teaspoon of instant espresso powder or strong brewed coffee (cooled) to the chocolate mixture to deepen the chocolate flavor without making it taste like coffee.
- Citrus Zest: For a refreshing twist, grate a bit of orange or tangerine zest into the batter. Chocolate and orange is a classic pairing!
- Spicy Kick: A tiny pinch of cayenne pepper can add an unexpected and delightful warmth to the chocolate.
- Nut Butter Swirl: For an extra layer of richness, swirl a teaspoon of almond butter or cashew butter into the center of each ramekin before baking.
- Different Chocolate Types: While mini chocolate chips are ideal for melting, you can also use finely chopped dairy-free chocolate bars for a richer, more artisanal feel.
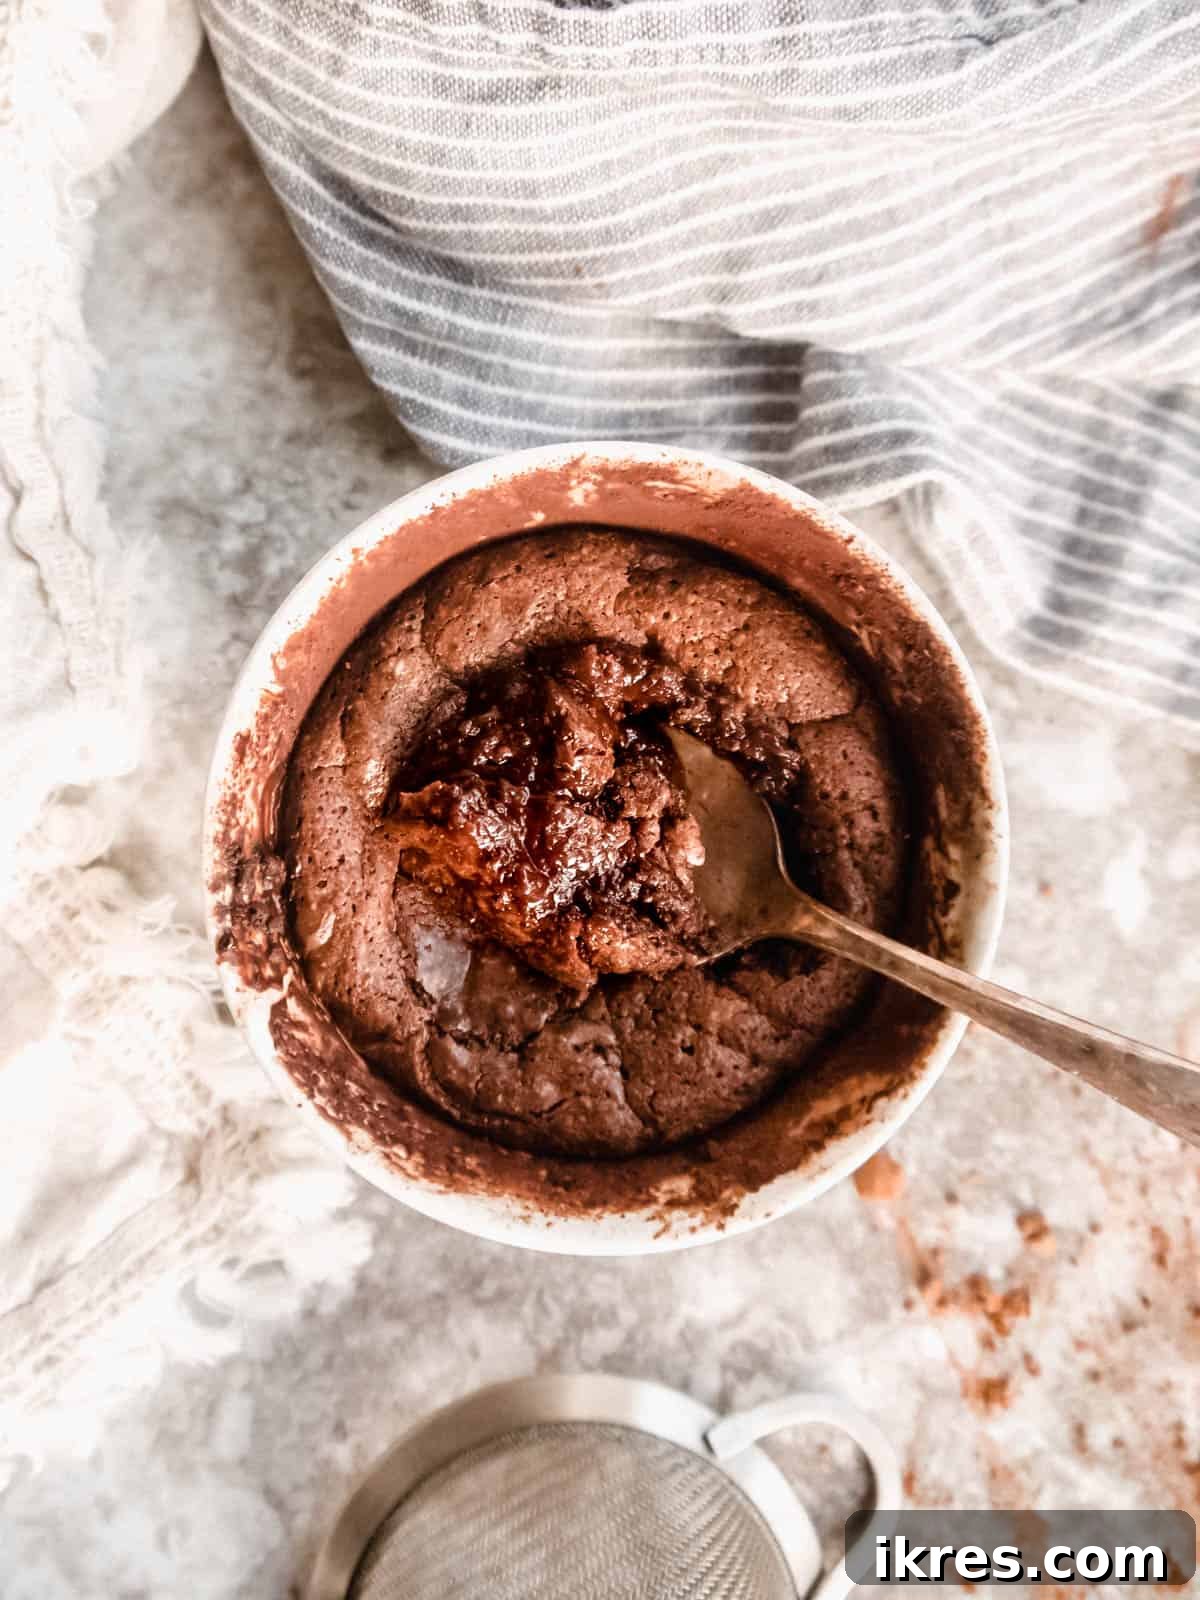
Step-by-Step Guide to Perfect Molten Lava Cakes
Creating these gorgeous molten lava cakes is simpler than you might think. Follow these detailed steps to ensure a flawless, gooey dessert every time!
Step 1: Prepare Your Ramekins for Success
The first and arguably most crucial step is properly preparing your ramekins. Generously grease two 8-ounce ramekins with your chosen oil (an olive oil spray works wonderfully for even coverage). After greasing, liberally sprinkle cocoa powder inside each ramekin, rotating and tapping it around to ensure the entire surface—bottom and sides—is thoroughly coated. This cocoa layer is vital not only for adding an extra chocolatey flavor but, more importantly, it prevents sticking, guaranteeing your cakes will effortlessly release and flip beautifully, revealing their perfect shape.
Step 2: Expertly Melt the Chocolate and Coconut Oil
Combine your dairy-free chocolate chips with the melted coconut oil in a microwave-safe bowl. The key to melting chocolate perfectly is patience and short bursts of heat. Microwave the mixture in 30-second intervals, stirring thoroughly after each interval. This prevents the chocolate from burning or seizing. For most microwaves, the chocolate should be completely smooth and melted after about 1 to 1.5 minutes. Stir until no lumps remain and the mixture is glossy and uniform.
Step 3: Combine All Ingredients for a Smooth Batter
Once your chocolate mixture is smooth, swiftly add the egg, egg yolk, and maple syrup. It’s important to mix these in immediately after adding them to the warm chocolate. This quick action helps prevent the coconut oil from solidifying when it comes into contact with the cooler eggs, ensuring a perfectly smooth batter. Continue mixing until everything is well combined and the mixture is emulsified.
Next, incorporate the salt, vanilla extract, and almond flour into the chocolate mixture. Mix gently until the almond flour is fully incorporated and the batter begins to thicken. Be careful not to overmix, as this can develop gluten-like properties in the almond flour and lead to a tougher cake. You’re looking for a thick, uniform batter consistency that resembles a rich brownie mix.
Step 4: Bake to Molten Perfection!
Now for the exciting part! Divide the batter evenly between your two prepared ramekins. Place them on a baking sheet and bake in a preheated 400°F (200°C) oven for 13-15 minutes. The baking time can vary slightly depending on your oven’s calibration – some ovens run hotter than others. My oven tends to be on the warmer side, so I usually aim for the shorter end of the baking window.
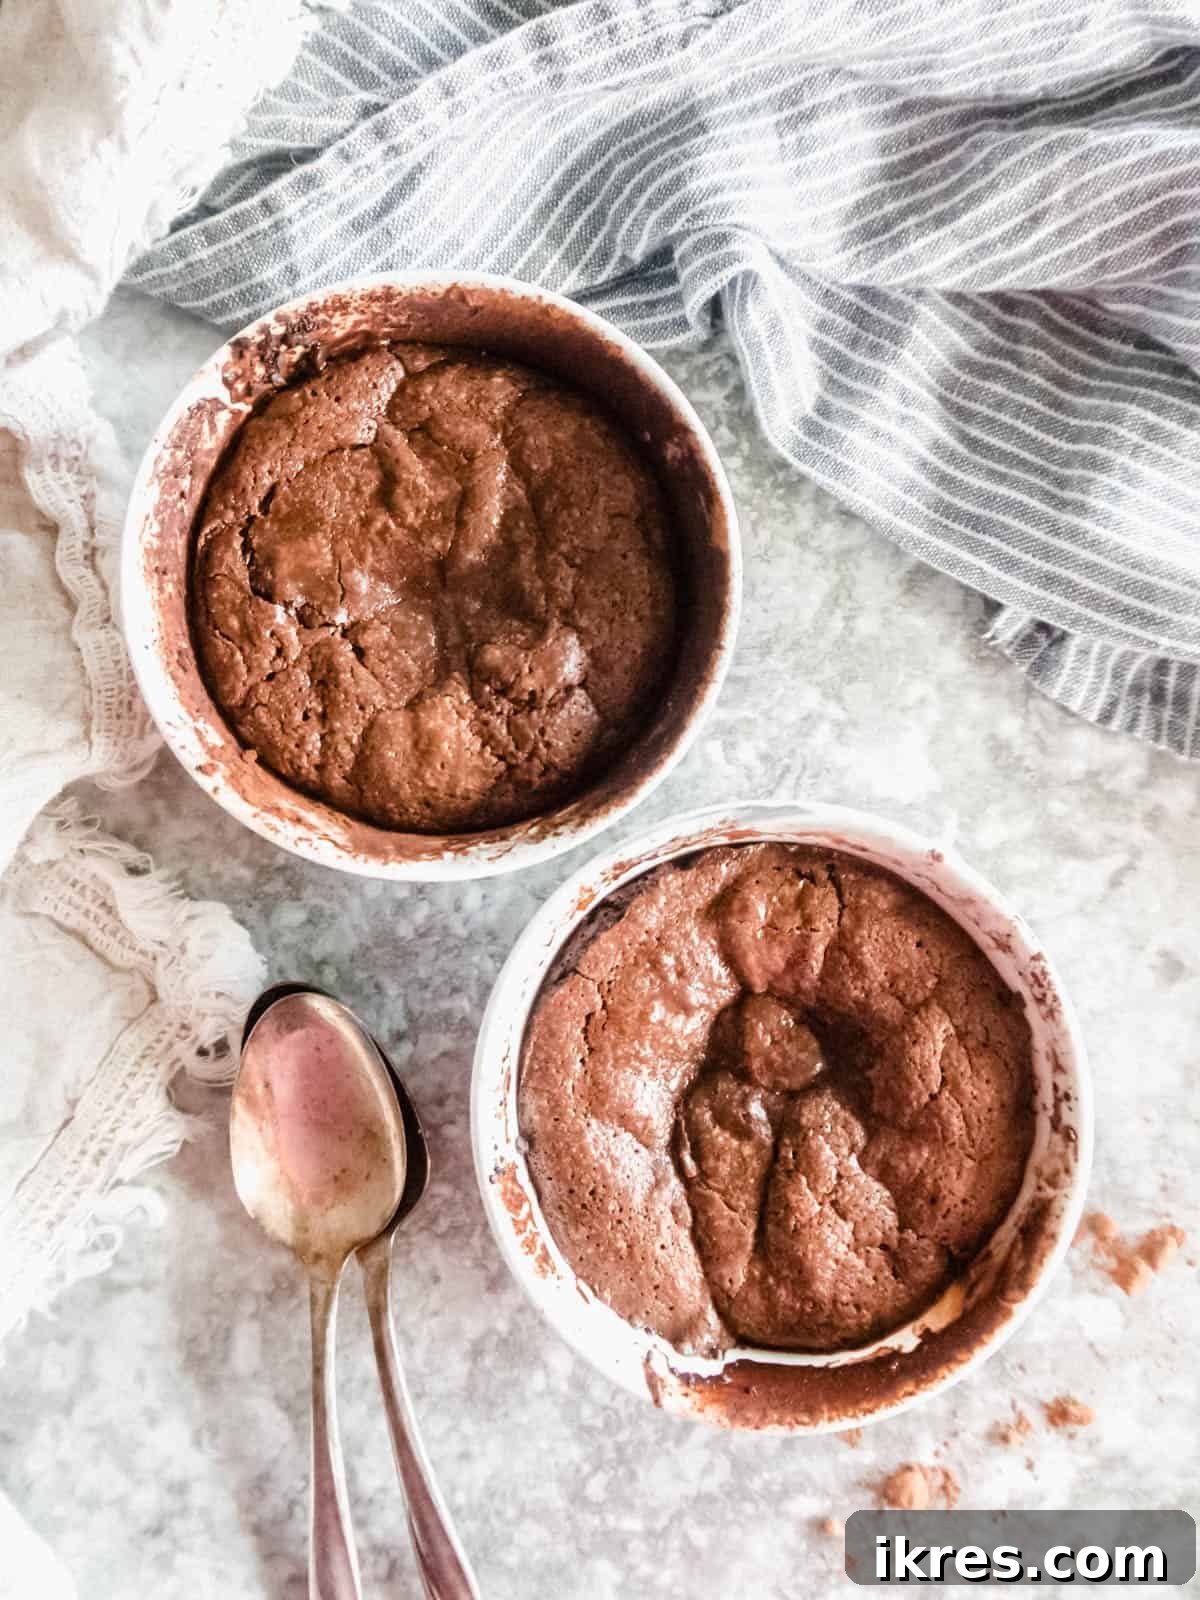
You’ll know they’re done when the edges of the cakes near the ramekin look set and slightly firm, with a delicate crust forming on the top. The center, however, should still appear soft and slightly “wet” when gently touched. It will still have a hardened coating on top, meaning your finger won’t come away with raw batter. Remember, these cakes continue to cook slightly even after they’re removed from the oven, so it’s better to err on the side of slightly undercooked for that ultimate molten center.
If you suspect they’re a little overcooked, dive in immediately (carefully, of course!) to enjoy them while they’re still warm and gooey. If they seem a bit undercooked, allow them to rest for an additional 10-15 minutes after removing them from the oven; the residual heat will continue to set the edges while preserving that desirable molten core.
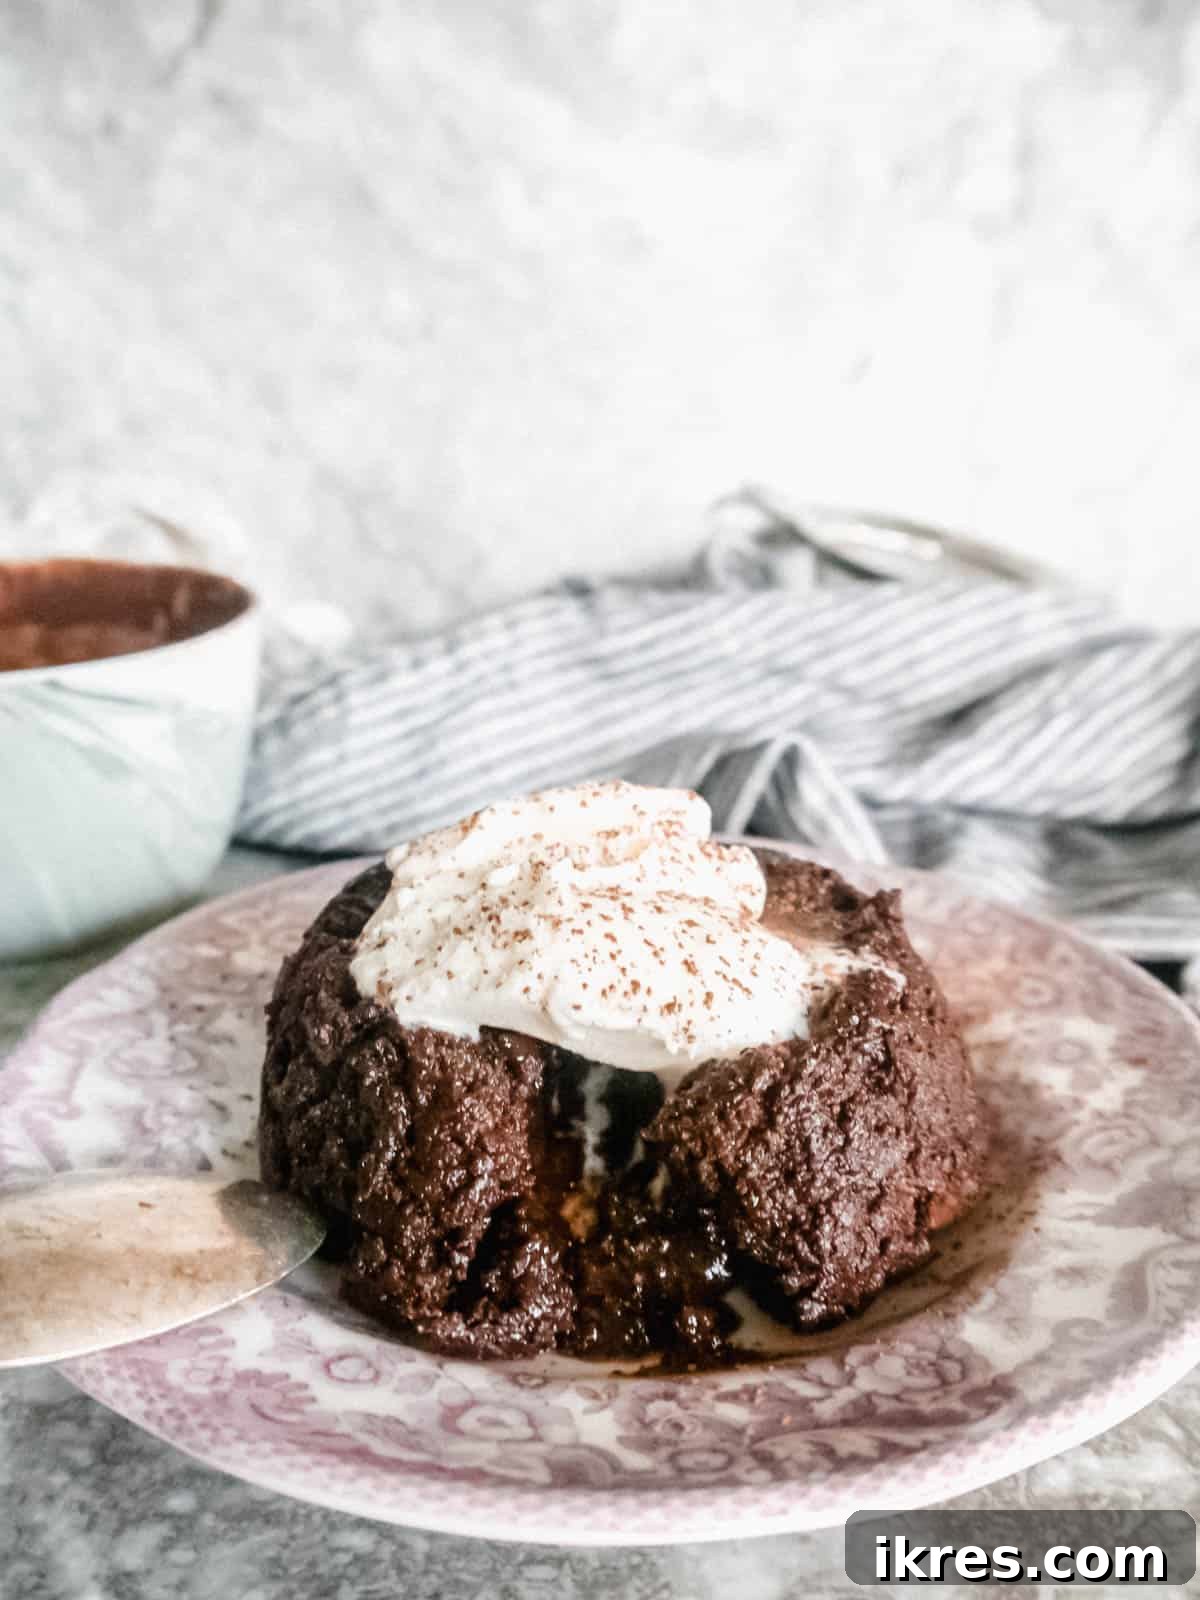
Serving Suggestions: For the ultimate experience, serve these molten lava cakes warm, perhaps with a dusting of powdered sugar (ensure it’s cornstarch-free for Paleo), a dollop of dairy-free coconut whipped cream, fresh berries, or a scoop of your favorite dairy-free vanilla ice cream. The contrast of hot chocolate and cold ice cream is truly divine!
Storage Tips: If you happen to have any leftovers (unlikely!), these cakes are best enjoyed fresh. However, if needed, you can cover and refrigerate them for up to 2-3 days. Reheat gently in the microwave for 20-30 seconds until the center becomes gooey again.
Other Dairy-Free & Paleo Chocolate Desserts You’ll Love:
If you’re a fan of rich, chocolatey treats that cater to dietary restrictions, you’ll adore these other recipes:
- Fudgy Chocolate Chunk Brownies (Paleo, GF)
- Almond Flour Chocolate Cake Cupcakes (Paleo, GF)
- Chocolate Chocolate Chip Sea Salt Cookies (Paleo, GF)
- Paleo Chocolate Mousse Truffles
Did you try this recipe? Please leave me a ⭐ review below!
⭐
⭐
⭐
☆
Paleo Dairy-Free Chocolate Molten Lava Cakes (Gluten-Free)
Dominique
2
10 mins
20 mins
30 mins
Share by Email
Print Recipe
Ingredients
- 2 Tbs melted coconut oil
- 1/2 cup Enjoy Life mini chocolate chips (dairy-free chocolate)
- 1 egg
- 1 egg yolk
- 1/4 cup maple syrup
- 1/8 tsp salt
- 1/4 cup almond flour
- 1 tsp vanilla
- 1 Tbs cocoa powder to sprinkle onto ramekin
Instructions
- Preheat the oven to 400 degrees Fahrenheit (200°C). Grease 2 ramekins thoroughly and then cover their entire interior surface with cocoa powder. (8-ounce ramekins are recommended).
- Add the dairy-free chocolate chips and melted coconut oil to a microwave-safe bowl. Heat for 30 seconds in the microwave, then stir well. Heat for another 30 seconds and mix again. Continue in 15-30 second intervals until the chocolate is fully melted and smooth.
- Add the egg, egg yolk, and maple syrup to the melted chocolate mixture and mix immediately until well combined and smooth.
- Add the salt, vanilla extract, and almond flour to the chocolate mixture and mix gently until just combined and a thick batter forms. Avoid overmixing.
- Divide the batter evenly, pouring half into one prepared ramekin and the other half into the second.
- Bake for 13-15 minutes. The edges of the cakes should look set and slightly hardened, while the center should still appear soft and gooey. The top will puff slightly and may crack.
- If you plan to flip the cakes over for presentation, let the ramekins cool on a wire rack for 3-5 minutes before carefully inverting them onto serving plates.
- Alternatively, you can enjoy these delicious cakes straight from the ramekin. Allow them to cool slightly to your desired temperature before digging in to prevent burning.
Nutrition
Calories:
719kcal
Carbohydrates:
64g
Protein:
11g
Fat:
52g
Saturated Fat:
27g
Polyunsaturated Fat:
1g
Monounsaturated Fat:
3g
Trans Fat:
0.01g
Cholesterol:
179mg
Sodium:
158mg
Potassium:
148mg
Fiber:
8g
Sugar:
19g
Vitamin A:
249IU
Calcium:
122mg
Iron:
5mg
Nutrition information is automatically calculated, so should only be used as an approximation.
Additional Info
Dessert
American
Tried this recipe?
Mention @perchancetocook or tag #perchancetocook!