
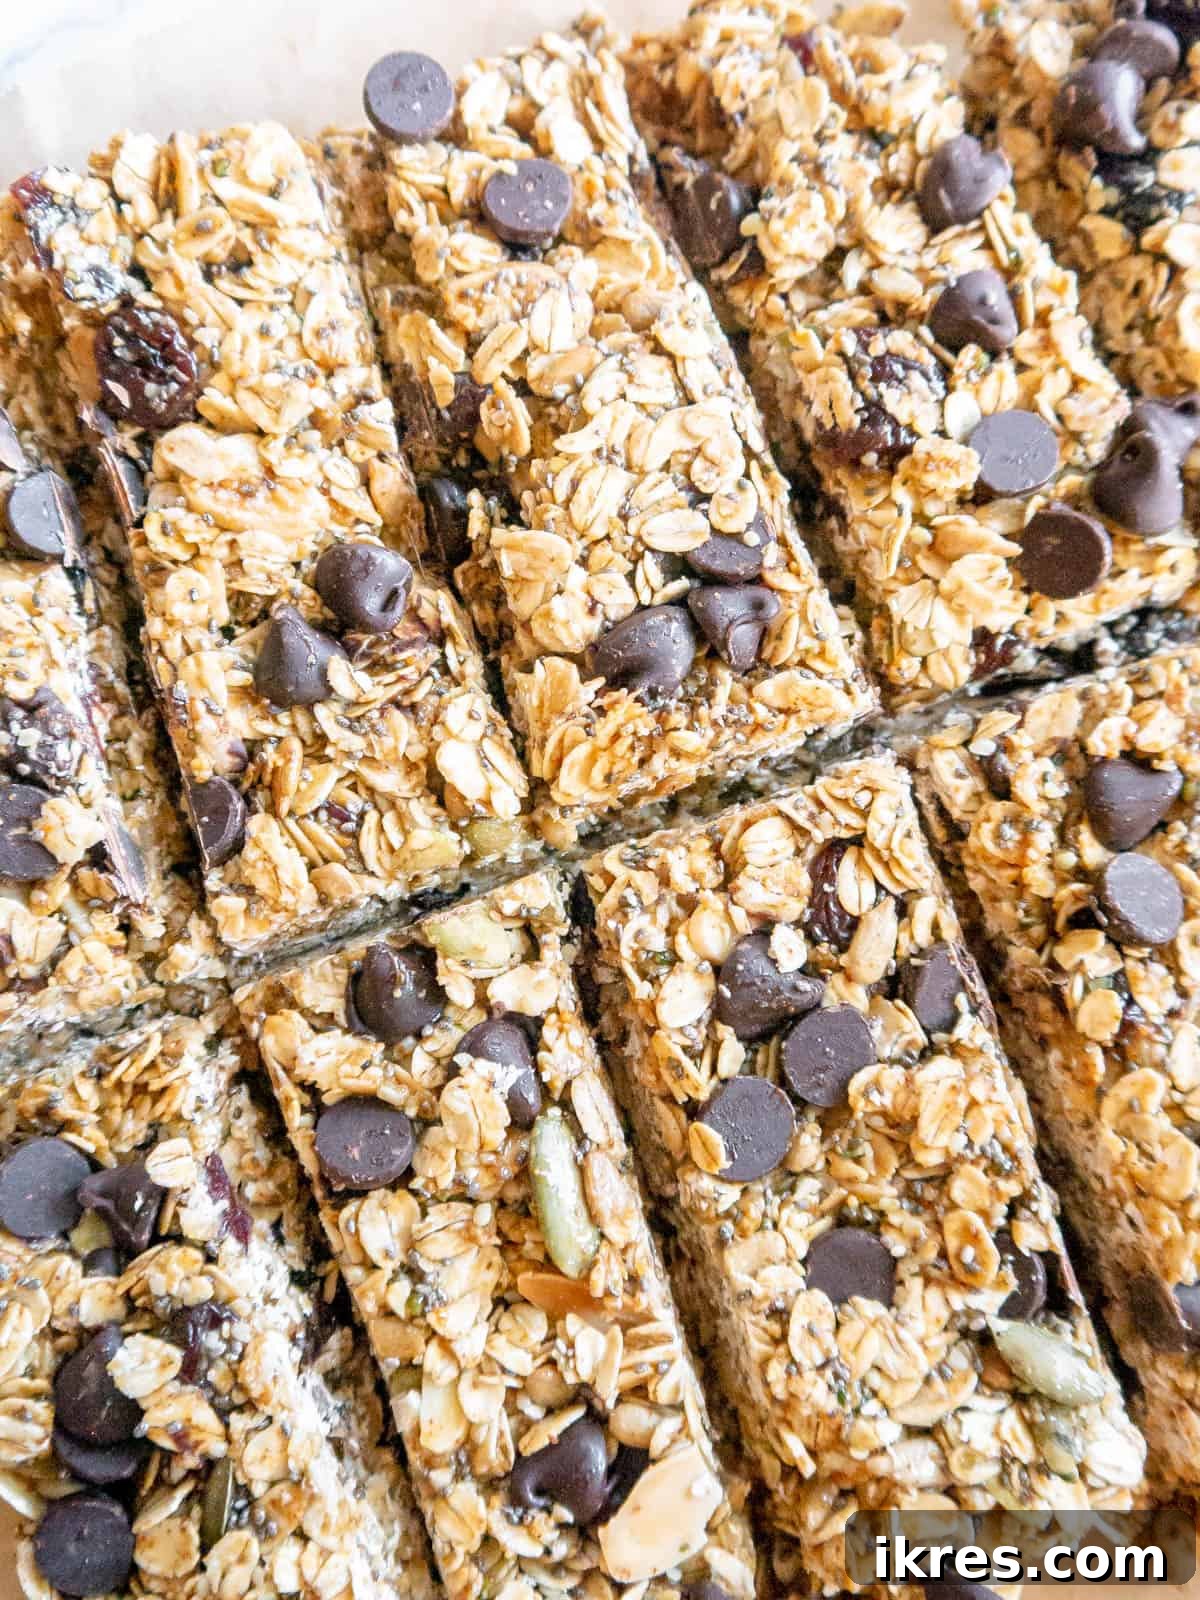
These no-bake almond butter granola bars are truly my favorite homemade granola bar recipe! They come together quickly and effortlessly, offer incredible versatility for customization, and make for the perfect satisfying snack or a convenient breakfast option. Crafted to be both nutritious and delicious, these bars are a staple in my kitchen, providing a wholesome energy boost whenever I need it.
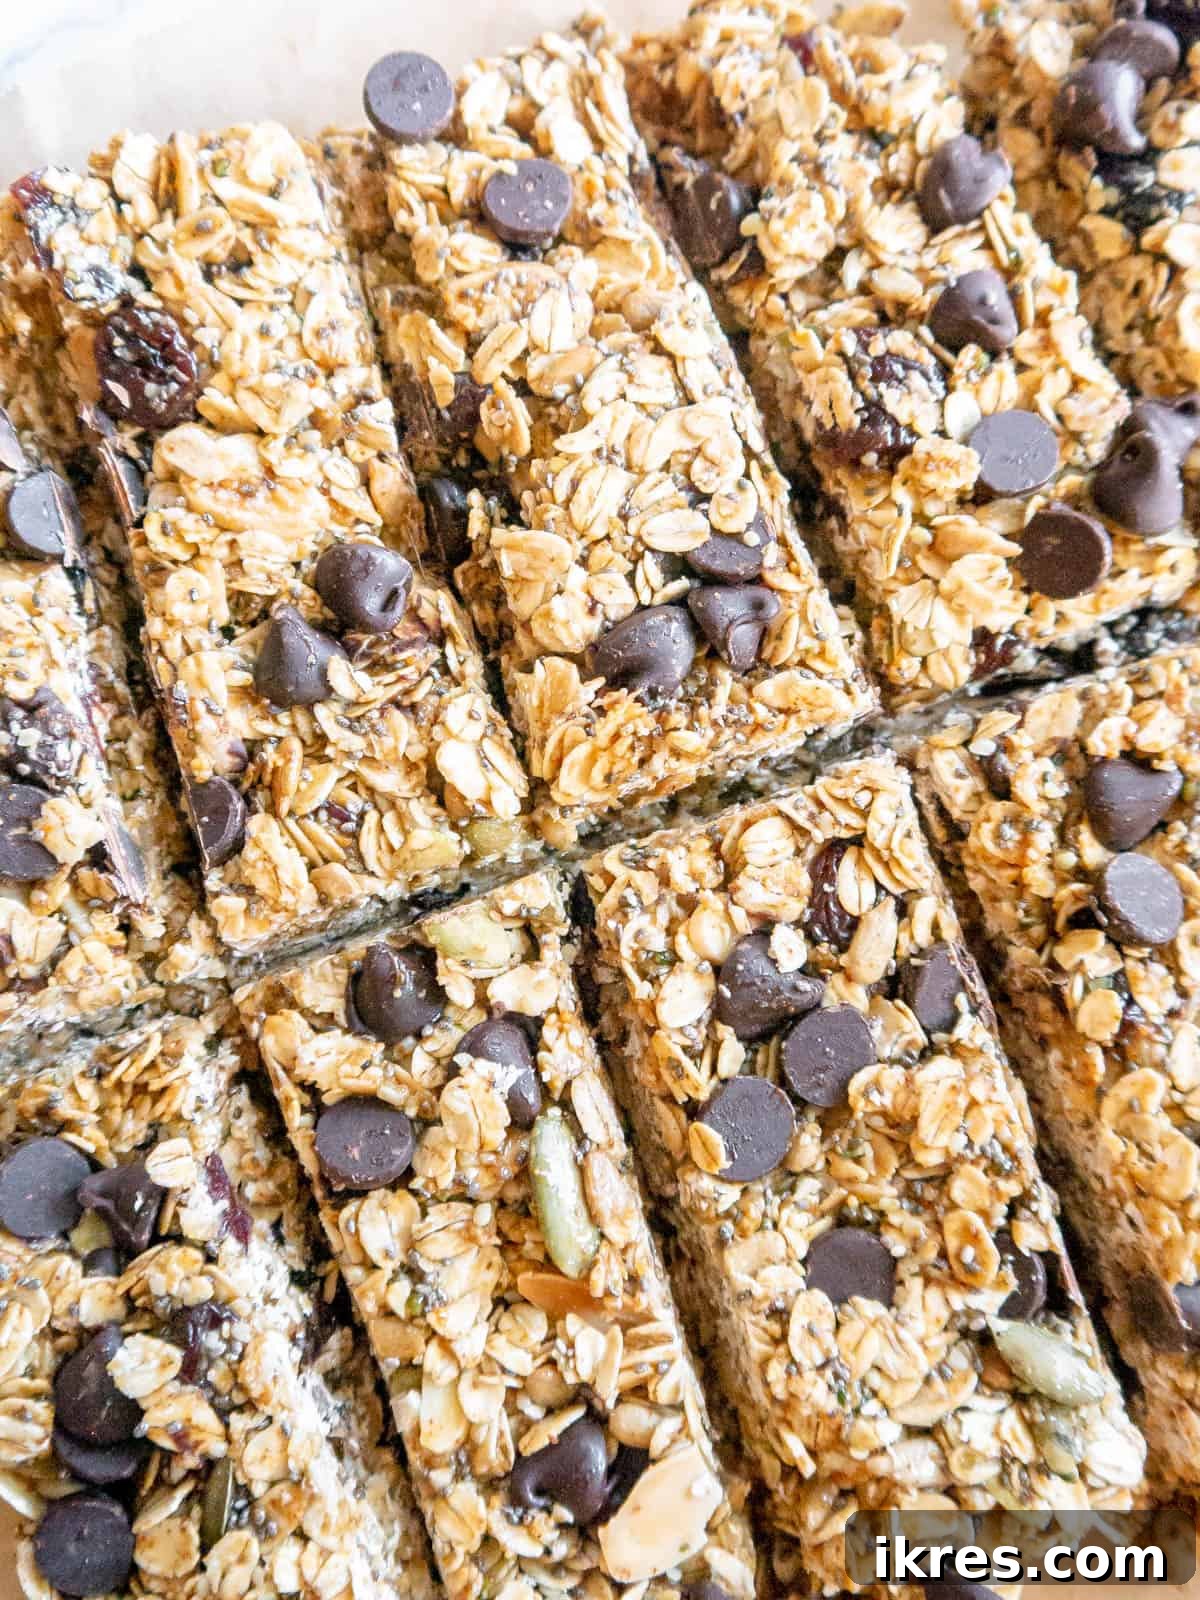
I absolutely love having healthy, readily available snacks in my fridge. There’s something incredibly reassuring about knowing a wholesome treat is waiting to curb those midday cravings or provide a quick burst of energy. Recipes like these delightful almond butter granola bars, or other favorites such as Chia Oatmeal Chocolate Chip Energy Balls and Apple Pie Energy Balls, make healthy eating effortless and enjoyable.
These **gluten-free granola bars** are a regular feature in my snack rotation because they consistently hit the spot. They are not only highly nutritious and incredibly filling but also exceptionally delicious. Packed with a bounty of wholesome ingredients, including fiber-rich oats, protein-packed chia and hemp seeds, crunchy sunflower and pumpkin seeds, and rich almonds, they offer a complex texture and flavor profile. Their versatility means you can savor them as a quick breakfast on busy mornings, a satisfying snack to power through your day, or even a guilt-free dessert after a meal.
Table of Contents
- Why These Almond Butter Granola Bars Are a Must-Try
- Essential Ingredients for Your Homemade Granola Bars
- Creative Additions and Substitutions to Customize Your Bars
- Step-by-Step Guide to Making No-Bake Granola Bars
- Expert Tips for Perfect Granola Bars Every Time
- Other Oat Recipes You’ll Love
- Recipe Card: No Bake Gluten-free Almond Butter Granola Bars
Why These Almond Butter Granola Bars Are a Must-Try
These **no-bake almond butter granola bars** stand out for several compelling reasons, making them a fantastic addition to anyone’s healthy eating routine. Here’s why this recipe deserves a permanent spot in your kitchen:
- Effortlessly Customizable: One of the greatest advantages of this recipe is its incredible flexibility. You can easily adapt it using whatever nuts, seeds, dried fruits, or chocolate chips you have on hand or prefer. This not only helps you use up pantry staples but also allows you to tailor the bars to specific taste preferences or dietary requirements, ensuring you never get bored!
- Ideal On-the-Go Snack: In today’s fast-paced world, having convenient and healthy grab-and-go options is essential. These **homemade granola bars** are perfect for busy mornings, school lunches, pre- or post-workout fuel, hiking trips, or simply to keep hunger at bay during errands. Their sturdy, compact nature makes them easy to pack without worrying about mess.
- Naturally Gluten-Free and Dairy-Free: For individuals with dietary sensitivities or those choosing gluten-free and dairy-free lifestyles, finding delicious and safe snacks can be a challenge. This recipe naturally fits the bill, offering a delightful treat free from common allergens. Just ensure you select certified **gluten-free rolled oats** to avoid cross-contamination for strict diets.
- Incredibly Easy to Make: The “no-bake” aspect of this recipe is a huge time-saver and makes it accessible to cooks of all skill levels, even those without an oven. With minimal equipment and straightforward steps, you can whip up a batch in under 15 minutes of active preparation time.
- Packed with Nourishing Ingredients: Beyond just tasting good, these bars are a nutritional powerhouse. They are brimming with beneficial seeds and nuts, which contribute healthy fats, essential proteins, and dietary fiber. This makes them a truly satiating and nutrient-dense snack that supports sustained energy levels and overall well-being.
Essential Ingredients for Your Homemade Granola Bars
Creating the perfect batch of **healthy homemade granola bars** starts with selecting high-quality ingredients. Each component plays a crucial role in both the flavor and binding of these delicious treats:
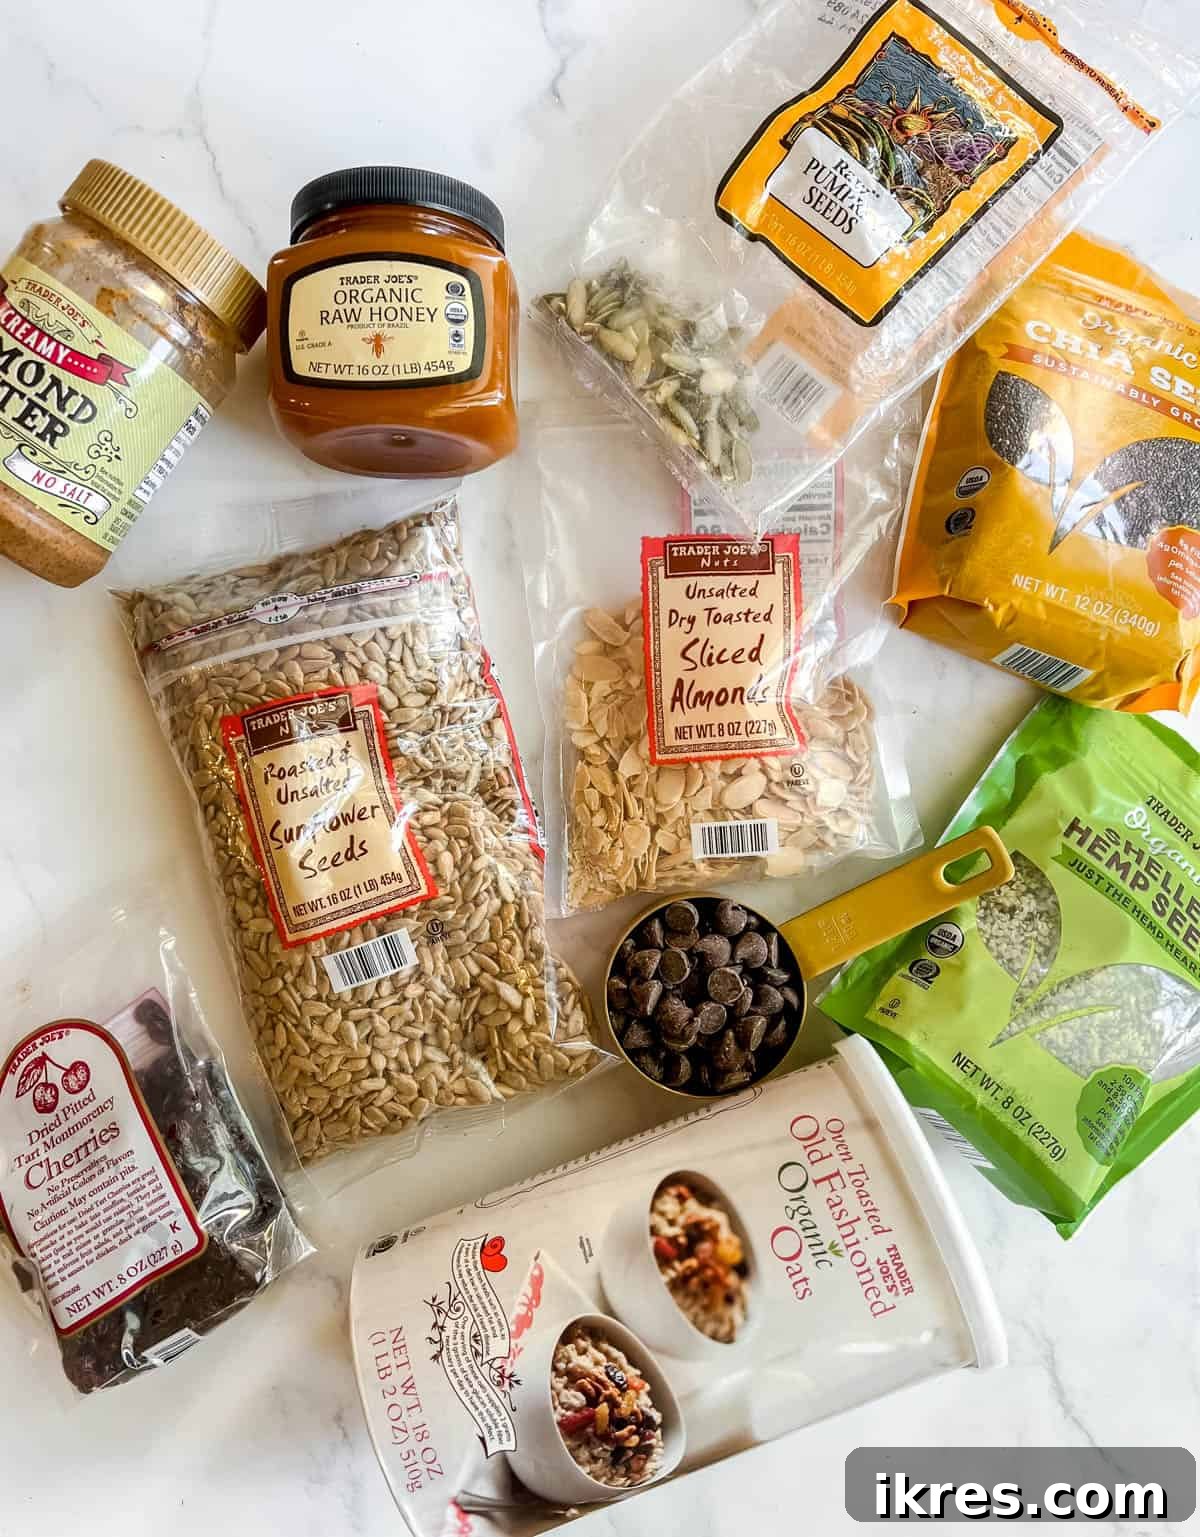
- Rolled Oats: It’s crucial to use old-fashioned, large-flake rolled oats, not quick oats. Old-fashioned oats provide a chewier texture and better structure for the bars, preventing them from becoming mushy. If it’s essential for your recipe to be **gluten-free**, always opt for certified gluten-free rolled oats to guarantee no cross-contamination during processing. Oats are also an excellent source of dietary fiber, promoting digestive health and sustained energy.
- Chia Seeds and Hemp Seeds: These tiny powerhouses are not just for crunch! They significantly boost the nutritional profile of your bars. Chia seeds are renowned for their high content of omega-3 fatty acids, fiber, and plant-based protein, contributing to a feeling of fullness and sustained energy. Hemp seeds offer similar benefits, providing a complete protein, healthy fats, and vital minerals like magnesium and zinc. Their inclusion adds a delightful texture and makes these bars truly nourishing.
- Pumpkin Seeds, Sunflower Seeds, Sliced Almonds: This trio of seeds and nuts adds incredible texture, depth of flavor, and a wealth of nutrients to your granola bars. Pumpkin seeds (pepitas) are rich in magnesium and antioxidants, sunflower seeds offer Vitamin E, and sliced almonds provide healthy monounsaturated fats and additional protein. Together, they create a satisfying crunch and a complex nutty flavor that perfectly complements the other ingredients.
- Almond Butter: The secret to well-bound, chewy granola bars lies in using a good quality, drippy, creamy almond butter. Natural almond butters, often with a thin layer of oil on top, work best as their runnier consistency acts as the primary binder for all the dry ingredients. Avoid overly stiff or processed almond butters, which can make the bars crumbly. It also contributes a rich, nutty flavor and a healthy dose of fats and protein.
- Vanilla Extract: A splash of vanilla extract might seem small, but it plays a significant role in enhancing the overall flavor profile of these bars. It adds a warm, aromatic note that beautifully complements the sweetness of the honey and the richness of the chocolate chips.
- Honey: This natural sweetener is essential for both flavor and function. Honey provides a delicious, natural sweetness and, crucially, acts as a sticky adhesive that helps hold all the ingredients together. Any type of honey works well, but for a vegan option, you can easily substitute it with maple syrup or agave nectar.
- Dried Cherries: These vibrant dried fruits add a wonderful burst of tart-sweet flavor and a delightful chewiness. Beyond their taste, dried cherries are also packed with antioxidants, adding another layer of health benefits. Their natural sugars also contribute to the binding process.
- Semi-Sweet Chocolate Chips: While optional, chocolate chips elevate these bars to a truly indulgent treat. They melt slightly into the warm mixture, creating delicious pockets of gooey chocolate. You can use any kind of chocolate chip that suits your preferences or dietary needs, such as dark chocolate, milk chocolate, or dairy-free varieties.
For a full list of precise ingredients and measurements, please refer to the recipe card below.
Creative Additions and Substitutions to Customize Your Bars
One of the best features of this **almond butter granola bar** recipe is its adaptability. Feel free to get creative with these additions and substitutions to make them uniquely yours or to cater to specific ingredients you have on hand:
- Seed Swaps: If you don’t have both chia and hemp seeds, you can certainly omit one or use more of the other. You can also use **only** pumpkin seeds or only sunflower seeds if that’s all you have available. For an extra nutritional punch, consider adding a tablespoon or two of ground flaxseeds.
- Nut Alternatives: Instead of sliced almonds, feel free to substitute with other nuts like chopped walnuts, pecans, cashews, or even hazelnuts. For a different flavor profile, you could even make these **peanut butter granola bars** by swapping almond butter for natural peanut butter.
- Dried Fruit Variations: The dried cherries provide a lovely tang, but you can easily swap them for other dried fruits. Popular choices include dried cranberries, chopped dried apricots, raisins, or even finely diced dates. Just make sure larger dried fruits are chopped into small pieces for even distribution.
- Chocolate & Sweetener Options: Instead of semi-sweet chocolate chips, experiment with white chocolate chips, dark chocolate chunks, or even colorful chocolate candies for a fun twist. For the sweetener, maple syrup or agave nectar are excellent vegan alternatives to honey and will provide a similar binding quality. Brown rice syrup also works well.
- Flavor Boosters: A pinch of sea salt can really enhance the flavors and balance the sweetness. Adding a teaspoon of ground cinnamon or a touch of nutmeg can introduce warm, comforting notes, especially delicious with apple pie spices.
- Extra Protein: For an added protein boost, you can mix in a scoop of unflavored or vanilla protein powder. Be aware that this might slightly alter the texture and require a tiny bit more liquid binder to maintain consistency.
Step-by-Step Guide to Making No-Bake Granola Bars
Making these **no-bake granola bars** is incredibly simple and requires just a few easy steps. Follow this guide to create perfect, chewy bars every time:
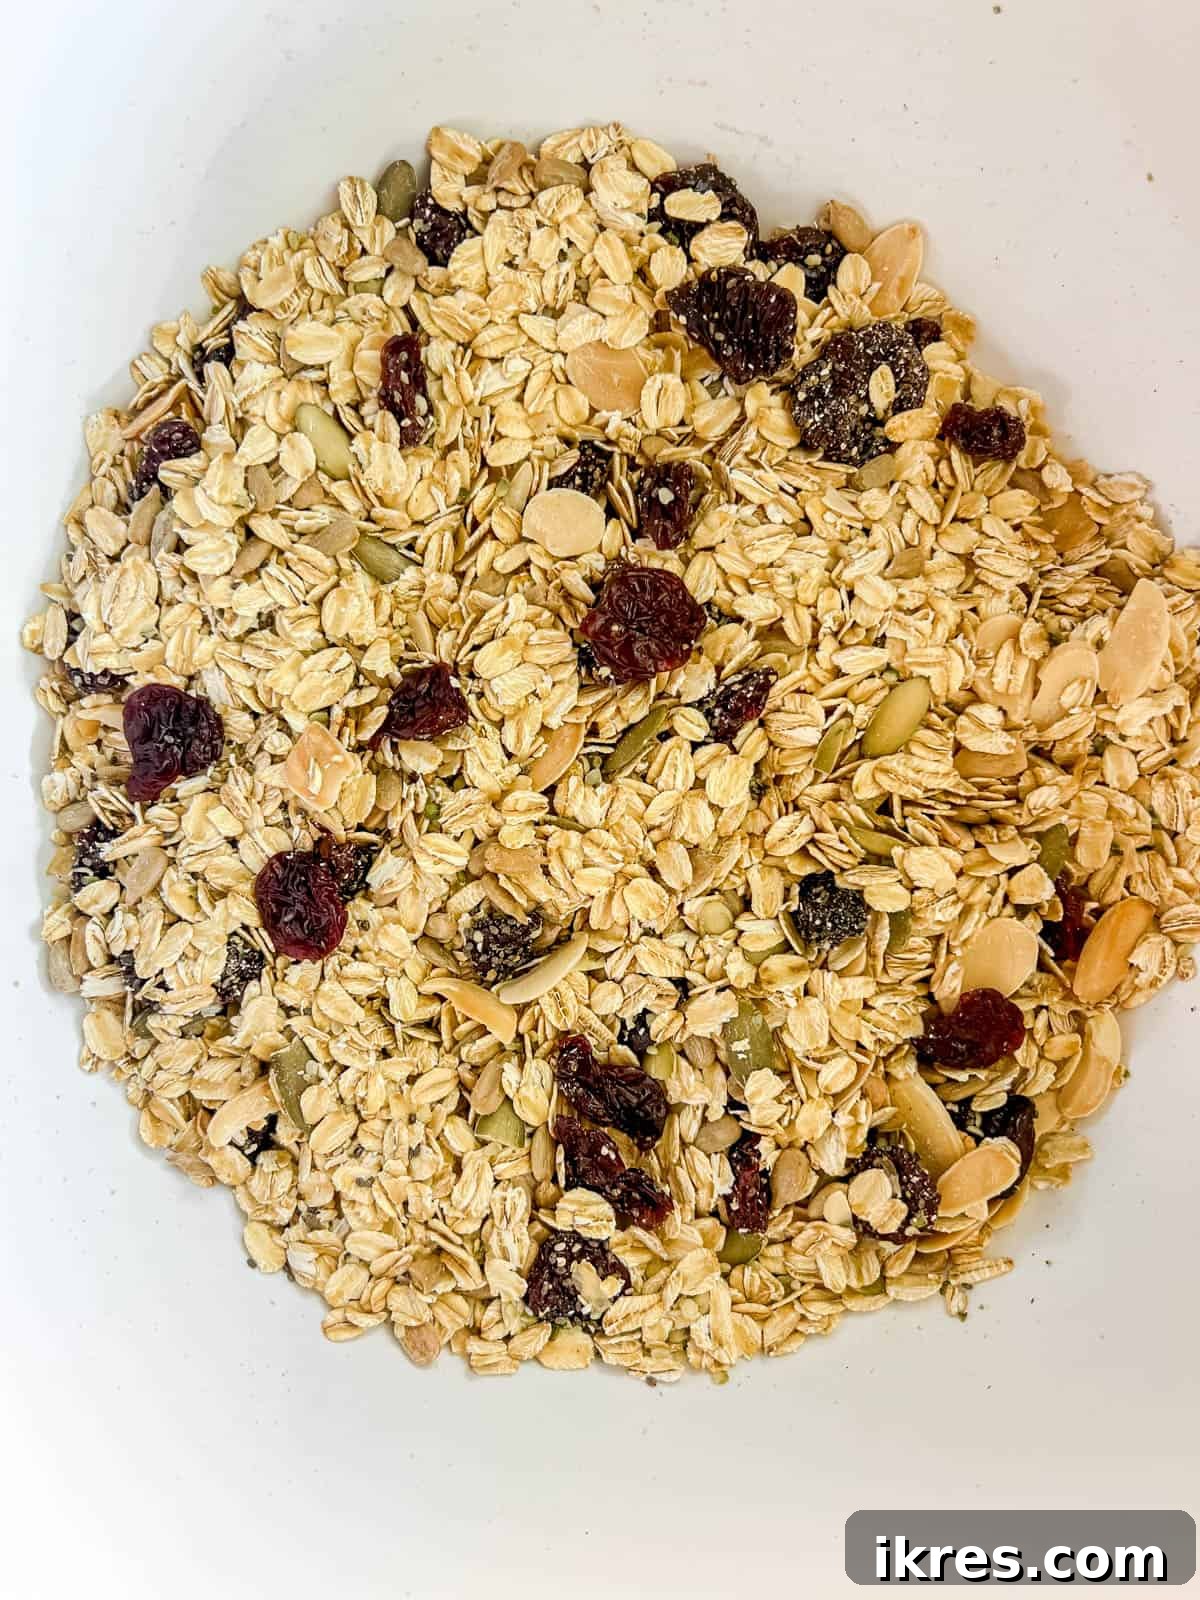
Step 1: Prepare Your Pan and Combine Dry Ingredients
First, line an 8×8 inch square pan with parchment paper or wax paper, leaving an overhang on two sides. This will make removing the set bars much easier. In a large mixing bowl, combine the rolled oats, chia seeds, hemp seeds, pumpkin seeds, sunflower seeds, sliced almonds, and dried cherries. Stir thoroughly until all the dry ingredients are evenly distributed. Set this mixture aside while you prepare the wet components.
Step 2: Gently Heat the Wet Ingredients
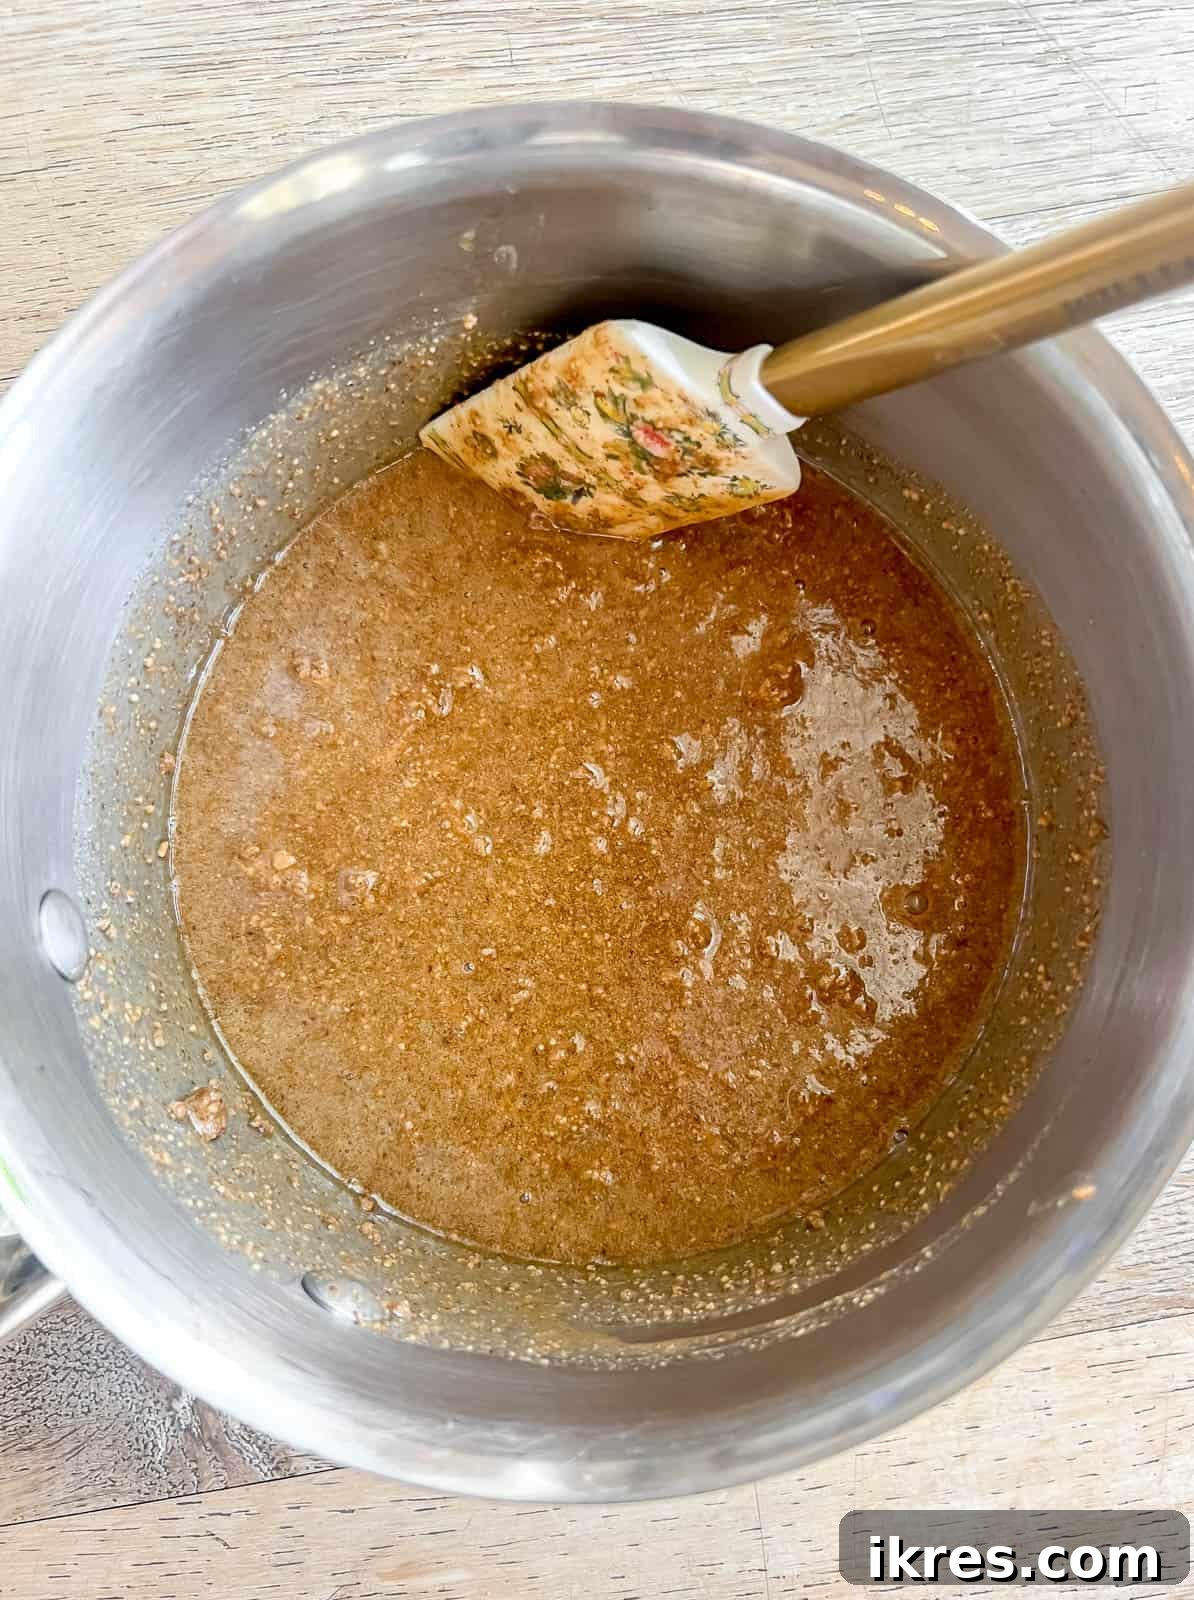
In a small saucepan, combine the almond butter, honey, and vanilla extract. Place the saucepan over medium heat, stirring continuously. Heat the mixture just until it is warm, fully melted, and well combined, reaching a gentle simmer. It’s important not to boil it vigorously. As soon as it becomes fluid and integrated, remove it from the heat to prevent burning the honey or almond butter.
Step 3: Combine Wet and Dry Mixtures, Fold in Chocolate Chips
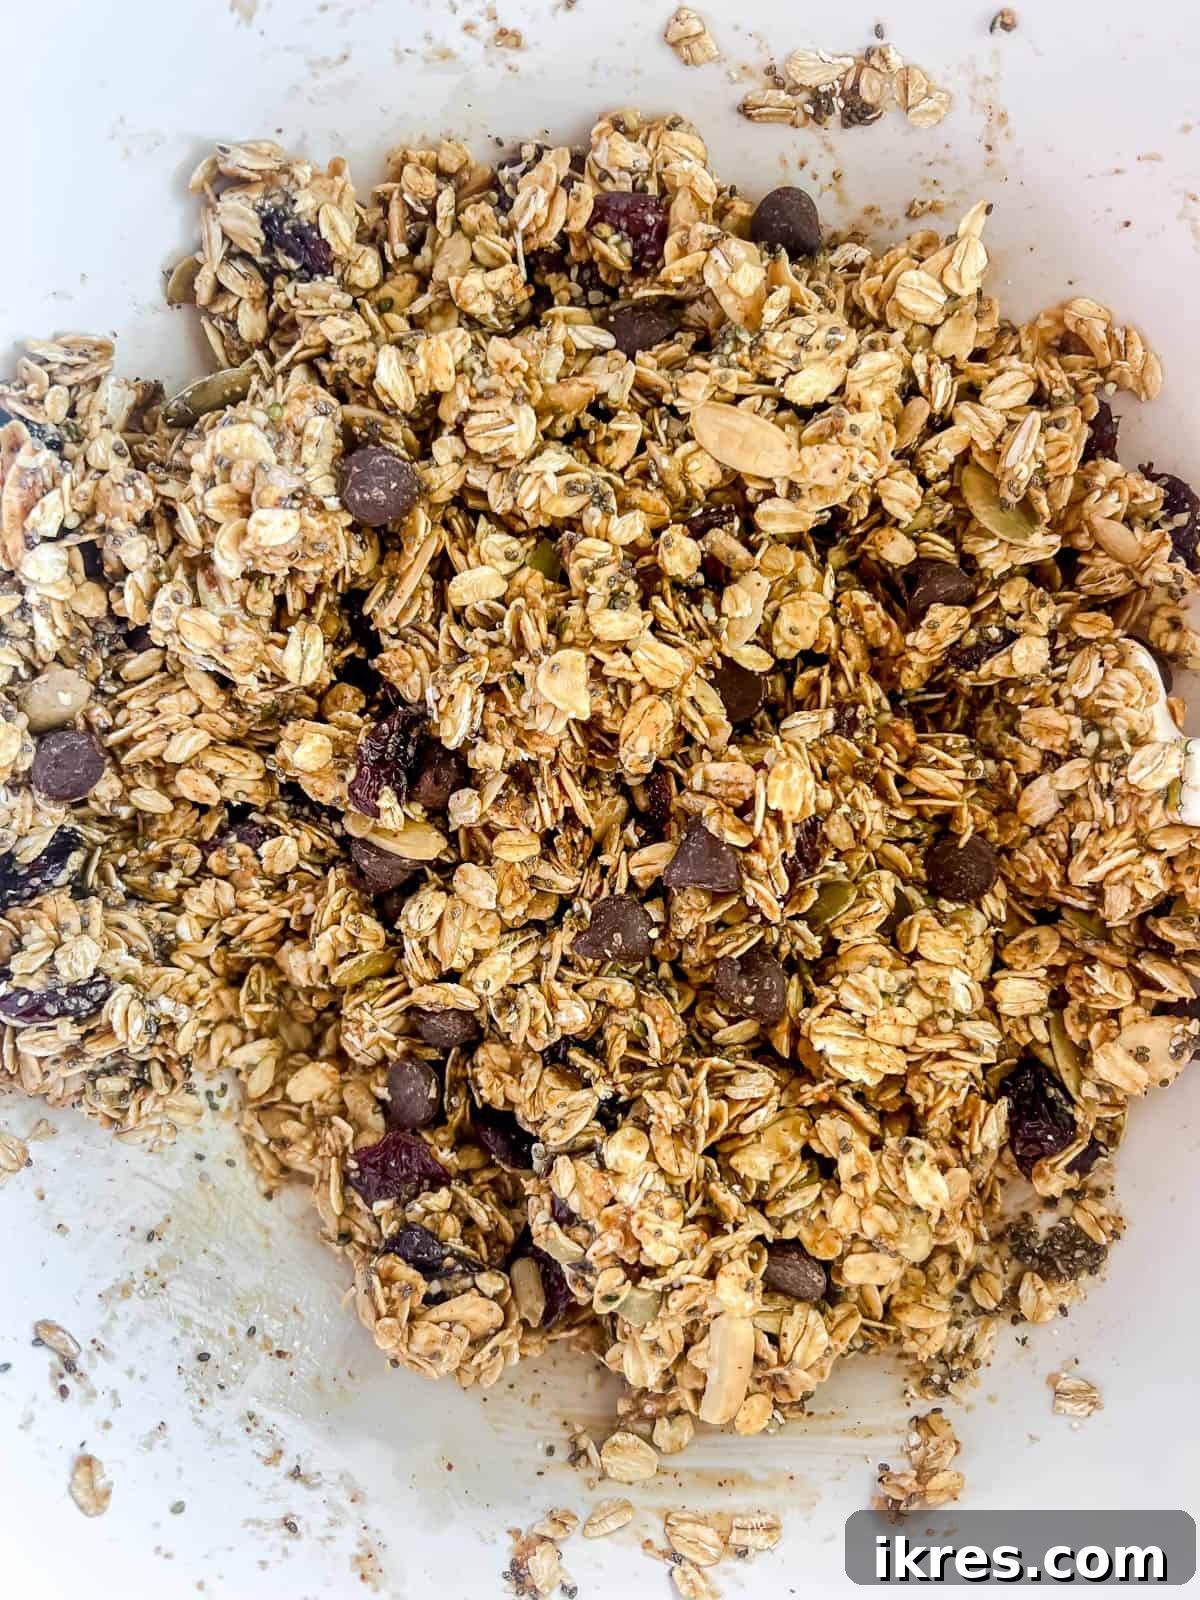
Pour the warm almond butter and honey mixture over the previously prepared dry ingredients in the large bowl. Mix thoroughly with a sturdy spatula or spoon until every single oat, seed, and piece of dried fruit is evenly coated and moistened by the binding liquid. This step is critical to ensure your bars hold together. Then, gently fold in about half of the semi-sweet chocolate chips. The residual warmth from the mixture will slightly soften them, distributing their delicious flavor throughout.
Step 4: Press the Mixture Firmly into the Pan
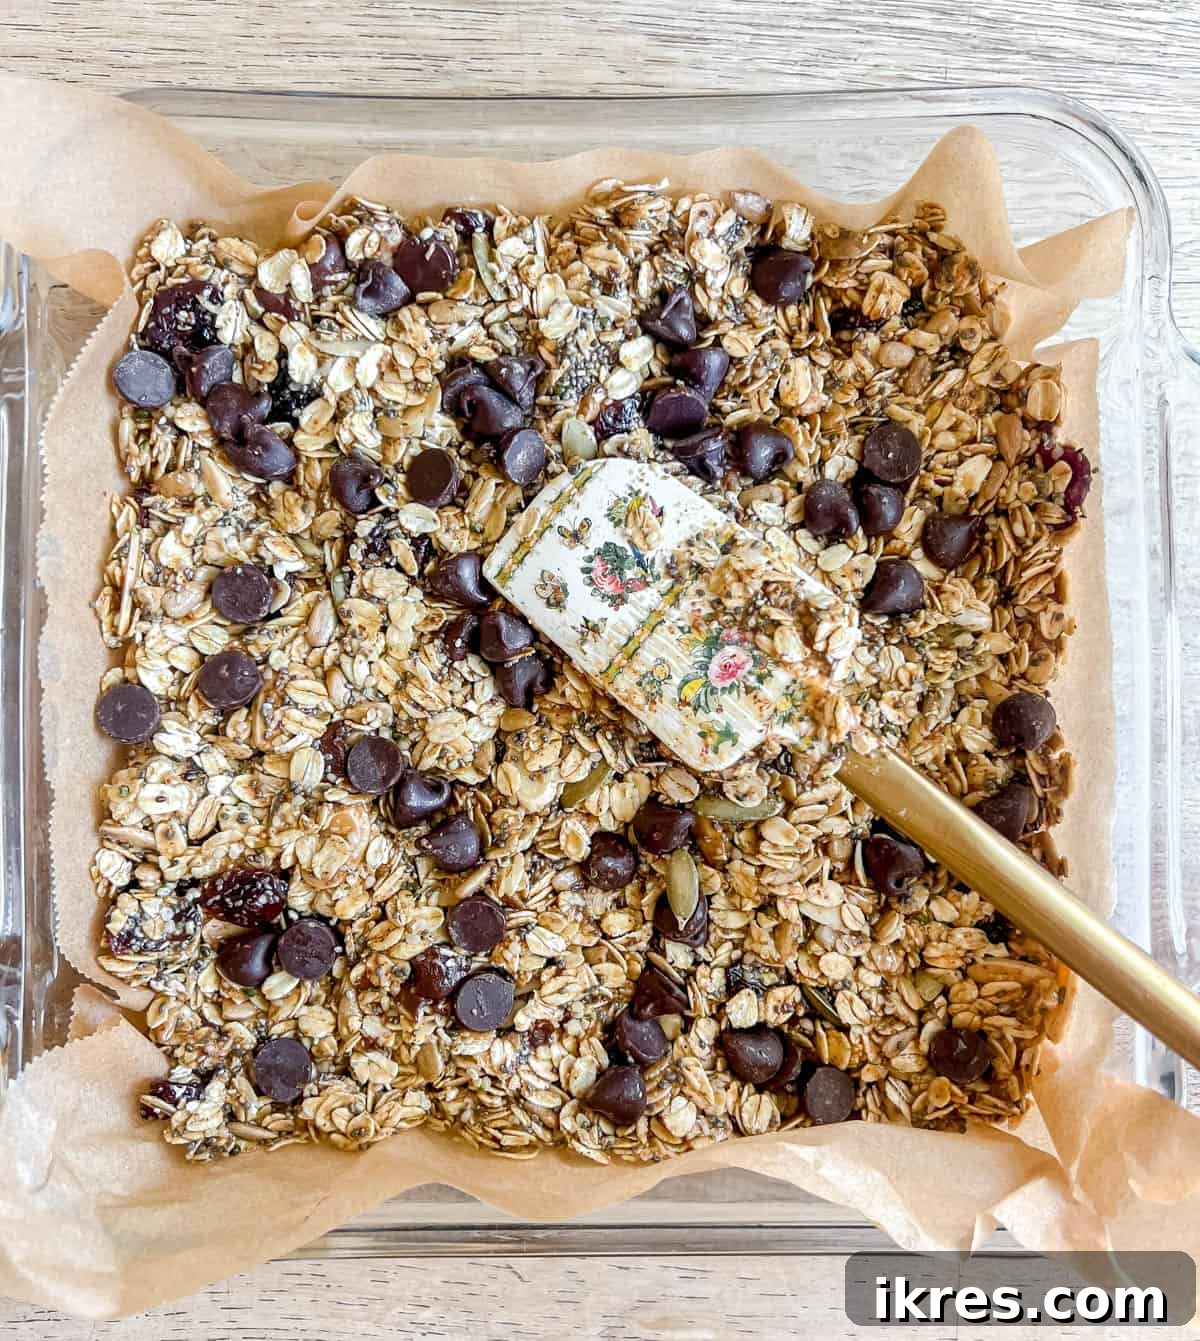
Transfer the entire granola bar mixture into the parchment paper-lined pan. This step is key to creating dense, cohesive bars that won’t crumble. Wet your spatula or hands with a little water and firmly and evenly press the mixture across the bottom of the pan. Apply consistent pressure to compact it as much as possible, ensuring there are no loose areas. Sprinkle the remaining chocolate chips on top and gently press them into the surface for a pretty finish.
Step 5: Chill Until Firm
Cover the pan and refrigerate for at least two hours, or preferably longer. This crucial chilling period allows the fats from the almond butter and the sugars from the honey to fully solidify, creating a firm, set structure. Do not skip or shorten this step, as it’s essential for the bars to hold their shape and cut cleanly. For a quicker set, you can place the pan in the freezer for about 30-60 minutes.
Step 6: Remove from Pan, Cut, and Serve
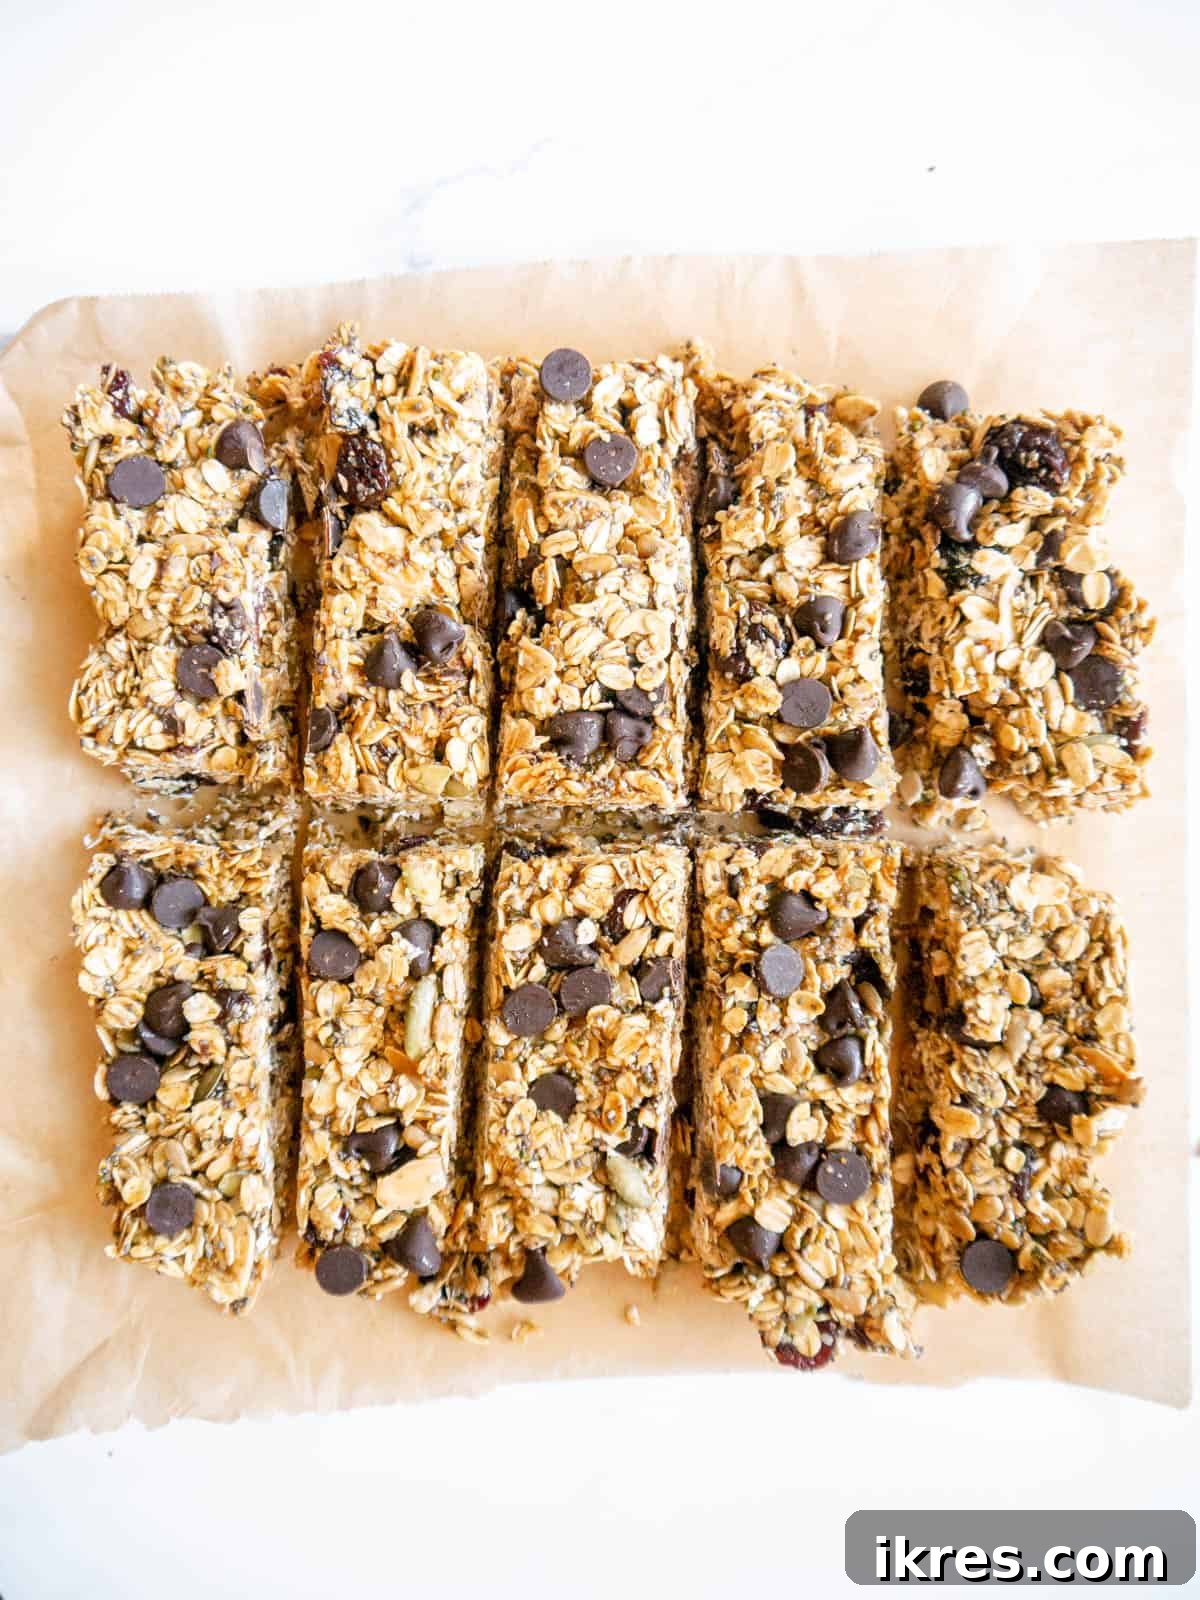
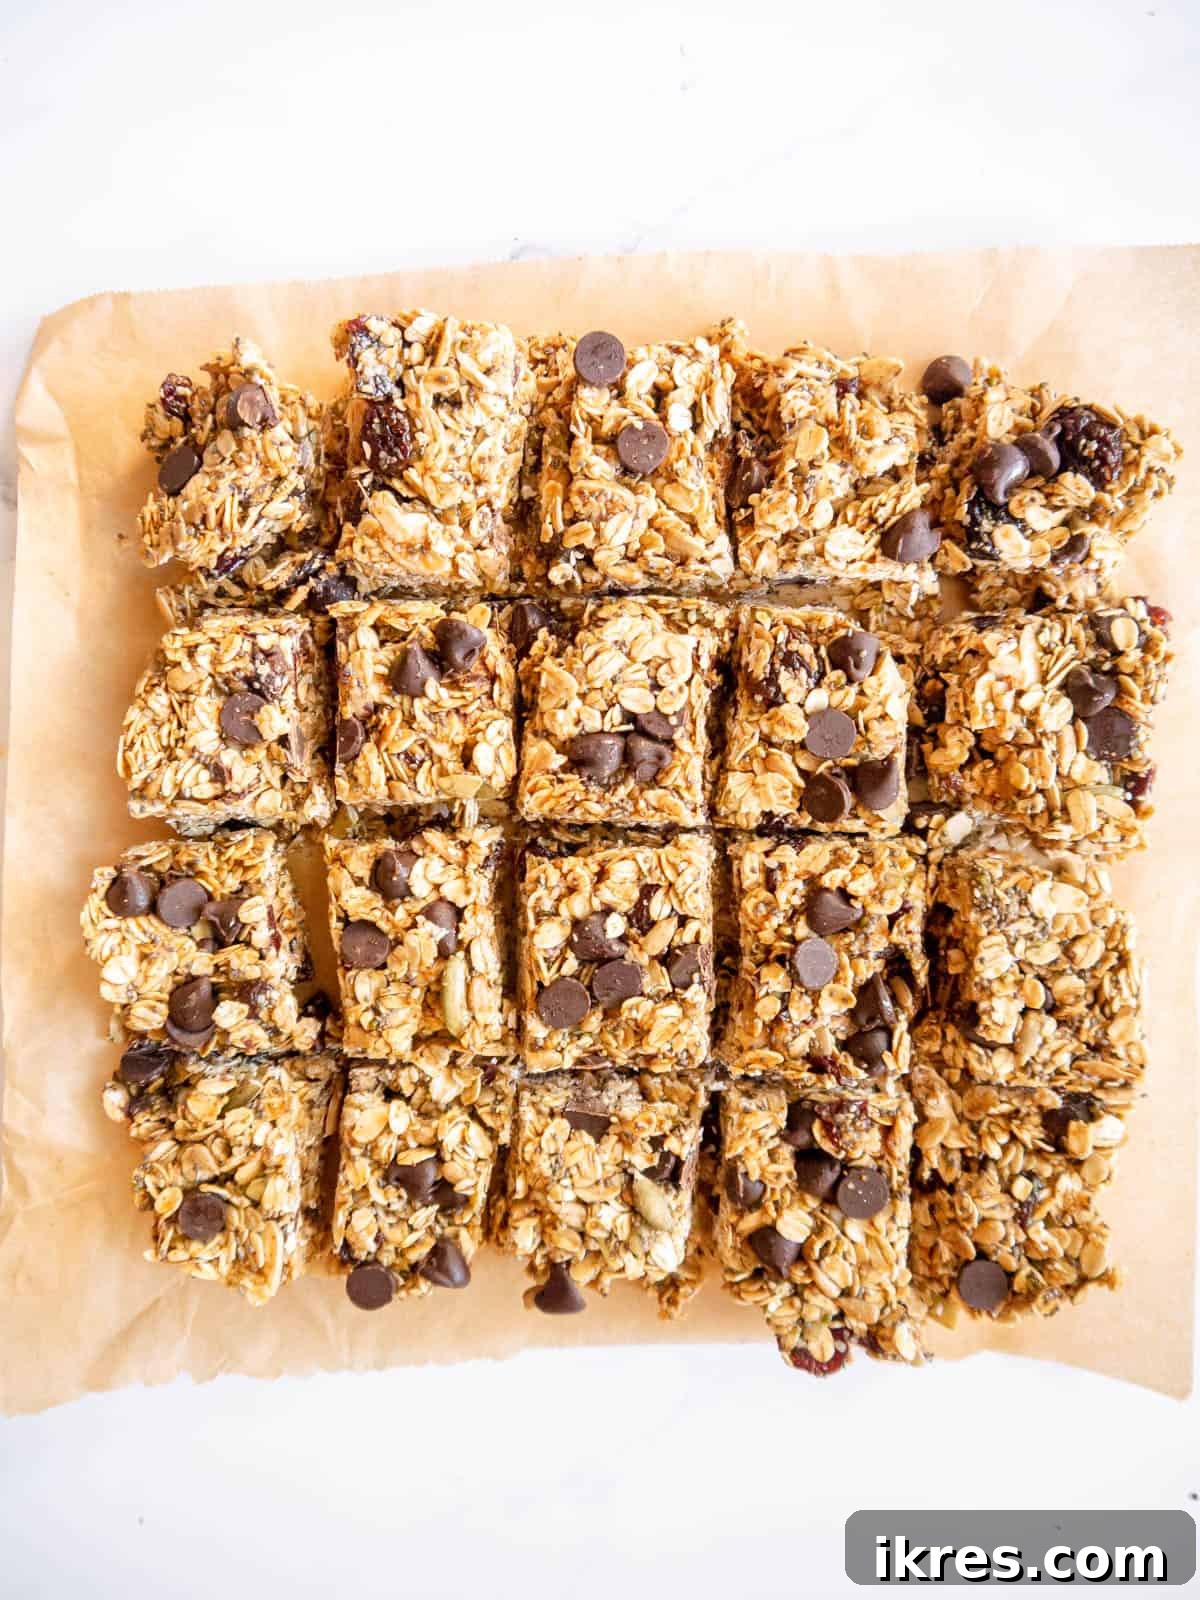
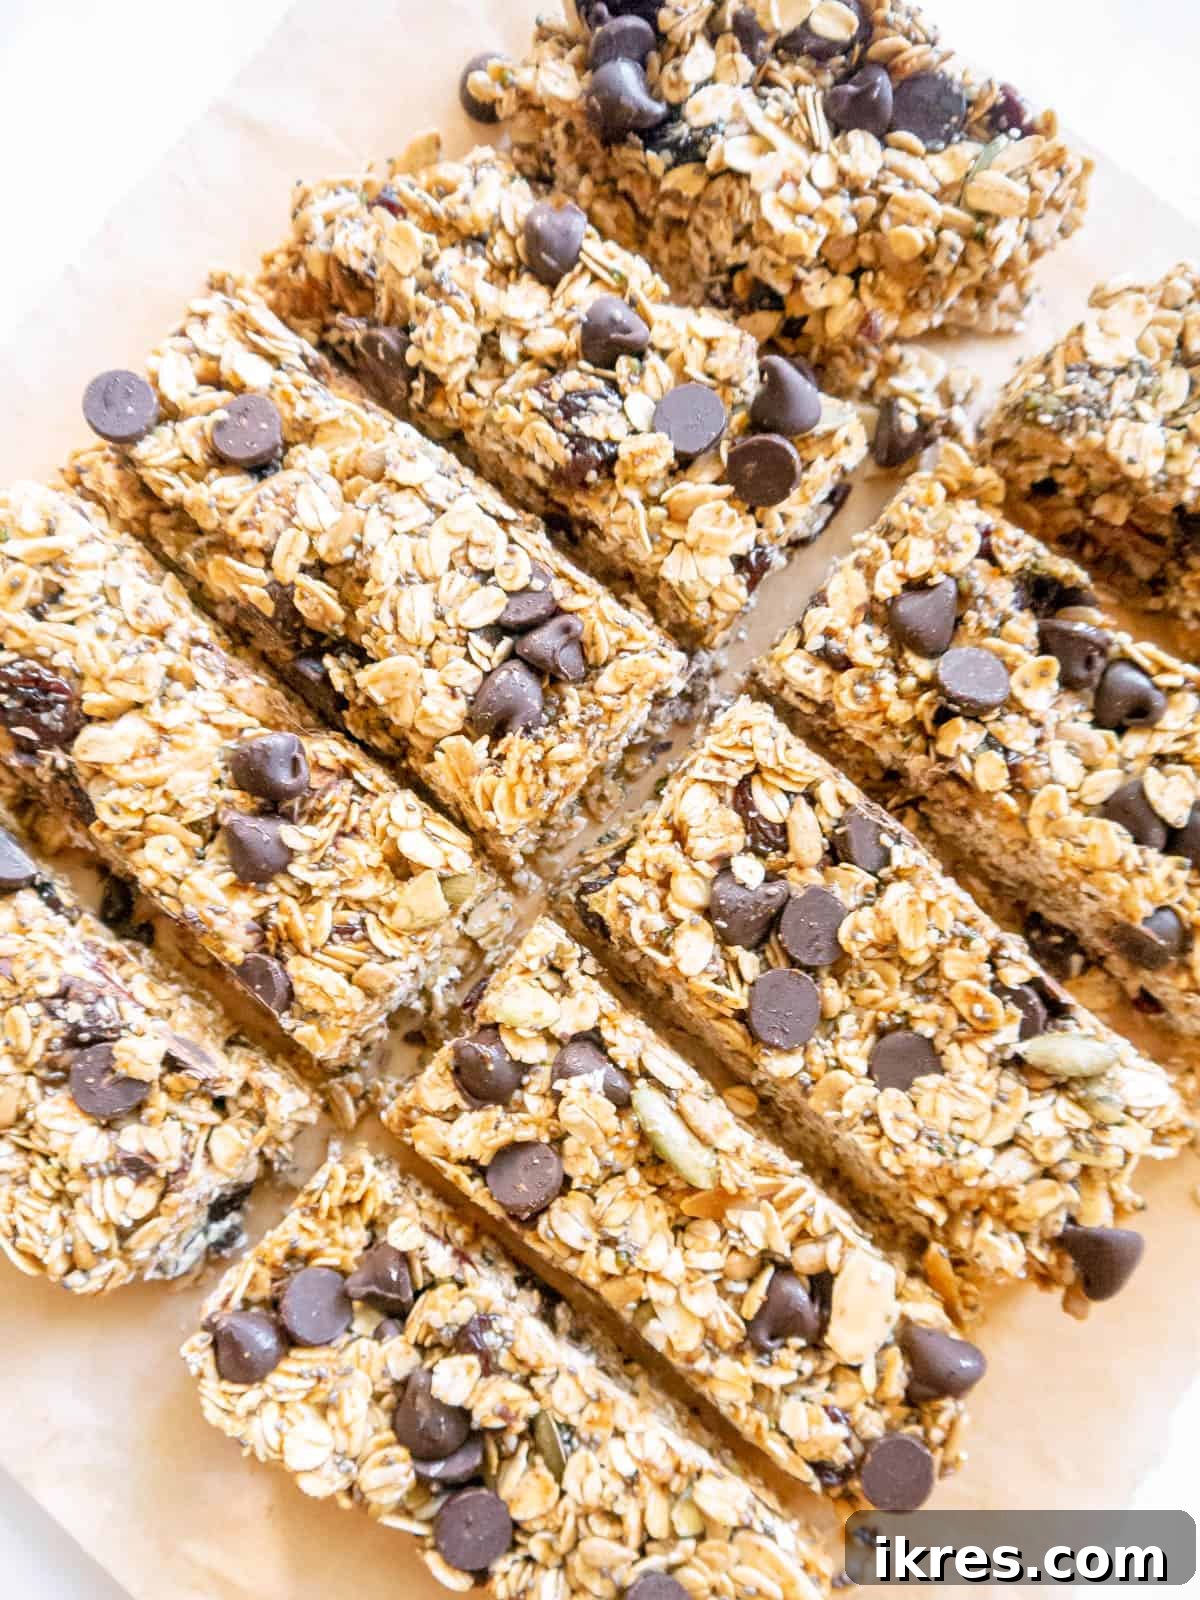
Once thoroughly chilled and firm, carefully lift the entire slab of granola from the pan by pulling up on the parchment paper overhangs. Place the slab on a sturdy cutting board. Using a very sharp knife, cut the slab into your desired shapes. You can create 12 traditional granola bar shapes or, if you prefer smaller, bite-sized portions, cut them into 20 squares. A sharp, clean knife will ensure neat edges. Your delicious **no-bake almond butter granola bars** are now ready to be enjoyed!
Expert Tips for Perfect Granola Bars Every Time
Achieving perfectly chewy and firm **homemade granola bars** is easy with these insider tips:
- Wet Your Tools: When transferring and pressing the granola mixture into the pan, slightly wet your hands or the spatula with water. This simple trick prevents the sticky mixture from adhering to your tools, making it much easier to achieve an even and compact layer in the pan. A little moisture goes a long way in ensuring a smooth, neat finish.
- Use Runny Almond Butter: The consistency of your almond butter is paramount for proper binding. Opt for natural, drippy almond butters (the kind where the oil often separates at the top and needs a good stir). Their looser texture provides the necessary liquid and fat to effectively coat all the oats and seeds, ensuring the bars hold together. Stiff or overly thick almond butter may result in dry, crumbly bars that fall apart easily.
- Don’t Rush the Chilling Time: Patience is a key ingredient for no-bake recipes! The refrigeration period is absolutely essential for the bars to firm up and fully set. This allows the fats from the almond butter and the sugars from the honey to solidify, creating a sturdy structure that enables clean cuts and prevents crumbling. If you’re pressed for time, you can place the pan in the freezer for about 30-60 minutes to speed up the setting process, but don’t cut it shorter than that.
- Proper Fridge Storage: To maintain optimal freshness and texture, store your **almond butter granola bars** in an airtight container in the refrigerator for up to 5-6 days. To prevent the bars from sticking to each other, place a piece of parchment paper between each layer of granola bars. This ensures they remain separate and easy to grab.
- Freezer Storage for Longer Freshness: These bars are fantastic for meal prepping and freeze beautifully! To store them in the freezer, wrap each individual bar tightly in parchment paper, then place them in a freezer-safe container or bag. They will keep well for up to 3 months. When you’re ready to enjoy one, simply let it thaw at room temperature for a few minutes. Some people even enjoy them straight from the freezer for a delightful, extra-chewy treat.
- Enhance Flavors with Salt: A tiny pinch of sea salt added to the dry ingredients can remarkably enhance all the other flavors, balancing the sweetness and bringing out the nutty notes of the seeds and almonds.
Other Oat Recipes You’ll Love
If you’re a fan of the wholesome goodness of oats and delicious, easy-to-make treats, you’ll surely enjoy these other oat-centric recipes:
Did you try this recipe? Please leave me a ⭐ review below!
No Bake Gluten-free Almond Butter Granola Bars
By: Dominique
Servings: 12 bars
Prep Time: 10 mins
Cook Time: 5 mins
Refrigeration Time: 2 hrs
Total Time: 2 hrs 15 mins
Share by Email
Print Recipe
Healthy homemade granola bars filled with chia seeds, oats, sunflower seeds, pumpkin seeds, and almonds. They make for a great snack on the go.
Ingredients
- 1/2 cup honey
- 2 teaspoons vanilla extract
- 3/4 cup almond butter
- 2 cups rolled oats (certified gluten-free if needed)
- 3 Tablespoons hemp seeds
- 3 Tablespoons chia seeds
- 1/4 cup sunflower seeds
- 1/4 cup pumpkin seeds
- 1/4 cup sliced almonds
- 1/2 cup dried cherries
- 1/2 cup chocolate chips
Instructions
- Line an 8×8 inch square pan with wax paper or parchment paper, leaving an overhang on two sides.
- In a large bowl, mix together the oats, chia seeds, hemp seeds, sunflower seeds, pumpkin seeds, sliced almonds, and dried cherries. Set aside.
- In a small saucepan, heat the honey, vanilla, and almond butter over medium heat until it simmers and melts. Stir often. As soon as it starts to boil lightly, turn the heat off.
- Pour the warm honey/almond butter mixture over the oat mixture and mix thoroughly until everything is well coated. Fold in half of the chocolate chips.
- Pour the mixture into the parchment paper-lined pan.
- Wet your spatula or your hands with water and firmly pat down the mixture into the pan until it is even and compact. Top with the rest of the chocolate chips and gently press them into the surface.
- Cover the pan and refrigerate for at least two hours or more, until fully set.
- Lift the hardened granola bars out of the pan by pulling up the parchment paper overhangs.
- Place them on a hard surface and cut them into 12 granola bar shapes using a very sharp knife. You can also cut them into 20 smaller squares if you prefer that shape and size.
Notes
- You can omit the chia seeds and hemp seeds if you don’t have them.
- You can use only pumpkin seeds or only sunflower seeds if that is all you have.
- Instead of sliced almonds, you can use a different type of nut like walnuts or pecans.
- Instead of dried cherries, you can use dried cranberries, dried apricots, or raisins.
- Instead of semi-sweet chocolate chips, you can use white chocolate or dark chocolate chips.
- How to store in the fridge: Store in an airtight container in the refrigerator for 5-6 days. Make sure to use a piece of parchment paper between layers of the granola bars so they don’t stick to each other.
- How to store in the freezer: Store in a freezer-safe container or bag for up to 3 months. Make sure each bar is wrapped in parchment paper. Let them thaw before eating.
Nutrition Information (per bar)
Calories: 314kcal | Carbohydrates: 35g | Protein: 9g | Fat: 17g | Saturated Fat: 3g | Polyunsaturated Fat: 6g | Monounsaturated Fat: 7g | Trans Fat: 0.01g | Sodium: 5mg | Potassium: 242mg | Fiber: 6g | Sugar: 19g | Vitamin A: 373IU | Vitamin C: 0.2mg | Calcium: 105mg | Iron: 2mg
Nutrition information is automatically calculated, so should only be used as an approximation.
Additional Info
Course: Snack
Cuisine: American
Tried this recipe?
Mention @perchancetocook or tag #perchancetocook!