
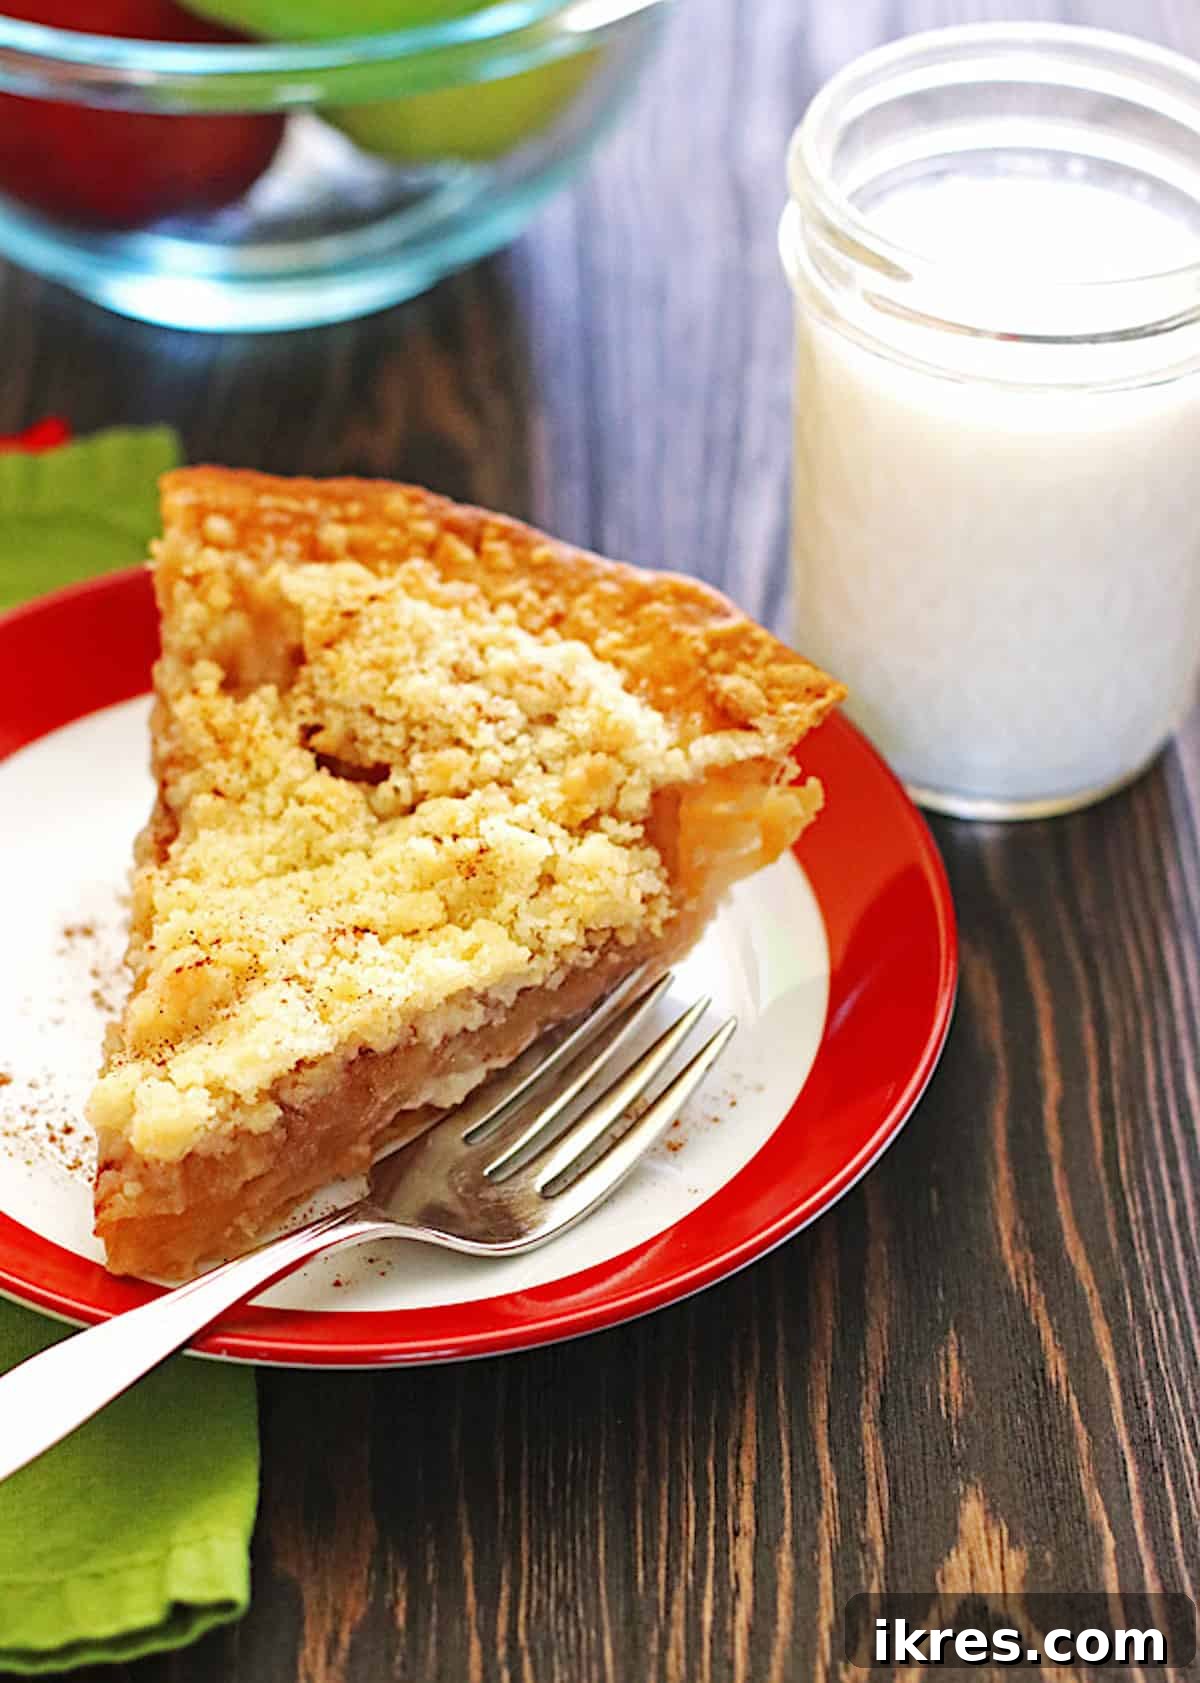
Experience the quintessential taste of autumn with this incredible Dutch Apple Pie recipe. More than just a dessert, it’s a heartwarming tradition in our home, embodying all the rich, comforting flavors of the season. Featuring perfectly tender apples, a symphony of aromatic spices, and a sweet, buttery crumb topping, this is truly the best apple pie you’ll ever bake!
When autumn leaves begin to fall and a crisp chill fills the air, nothing quite captures the essence of the season like a warm, comforting apple pie. While traditional apple pies hold a special place in our hearts, our family’s absolute favorite is this spectacular Dutch Apple Pie. Forget pumpkin spice for a moment; this pie, with its irresistible crumb topping, offers a delightful twist that elevates the classic to new heights. The buttery, sweet streusel provides a contrasting texture and an extra layer of flavor that truly sets it apart. If you haven’t yet discovered the magic of a Dutch Apple Pie, now is the perfect time to give this cherished family recipe a try. We’re confident it will become a beloved staple in your kitchen too!
This particular Dutch Apple Pie recipe is a treasured heirloom, lovingly passed down from my mother-in-law. It’s a recipe I return to often, not just for its incredible taste, but also for its surprising ease of preparation. It’s so effortlessly delicious that my husband, forgoes cake on his birthday in favor of a homemade Dutch apple pie. Its simplicity belies its gourmet flavor, making it perfect for both novice bakers and seasoned pros looking for a reliable, crowd-pleasing dessert.
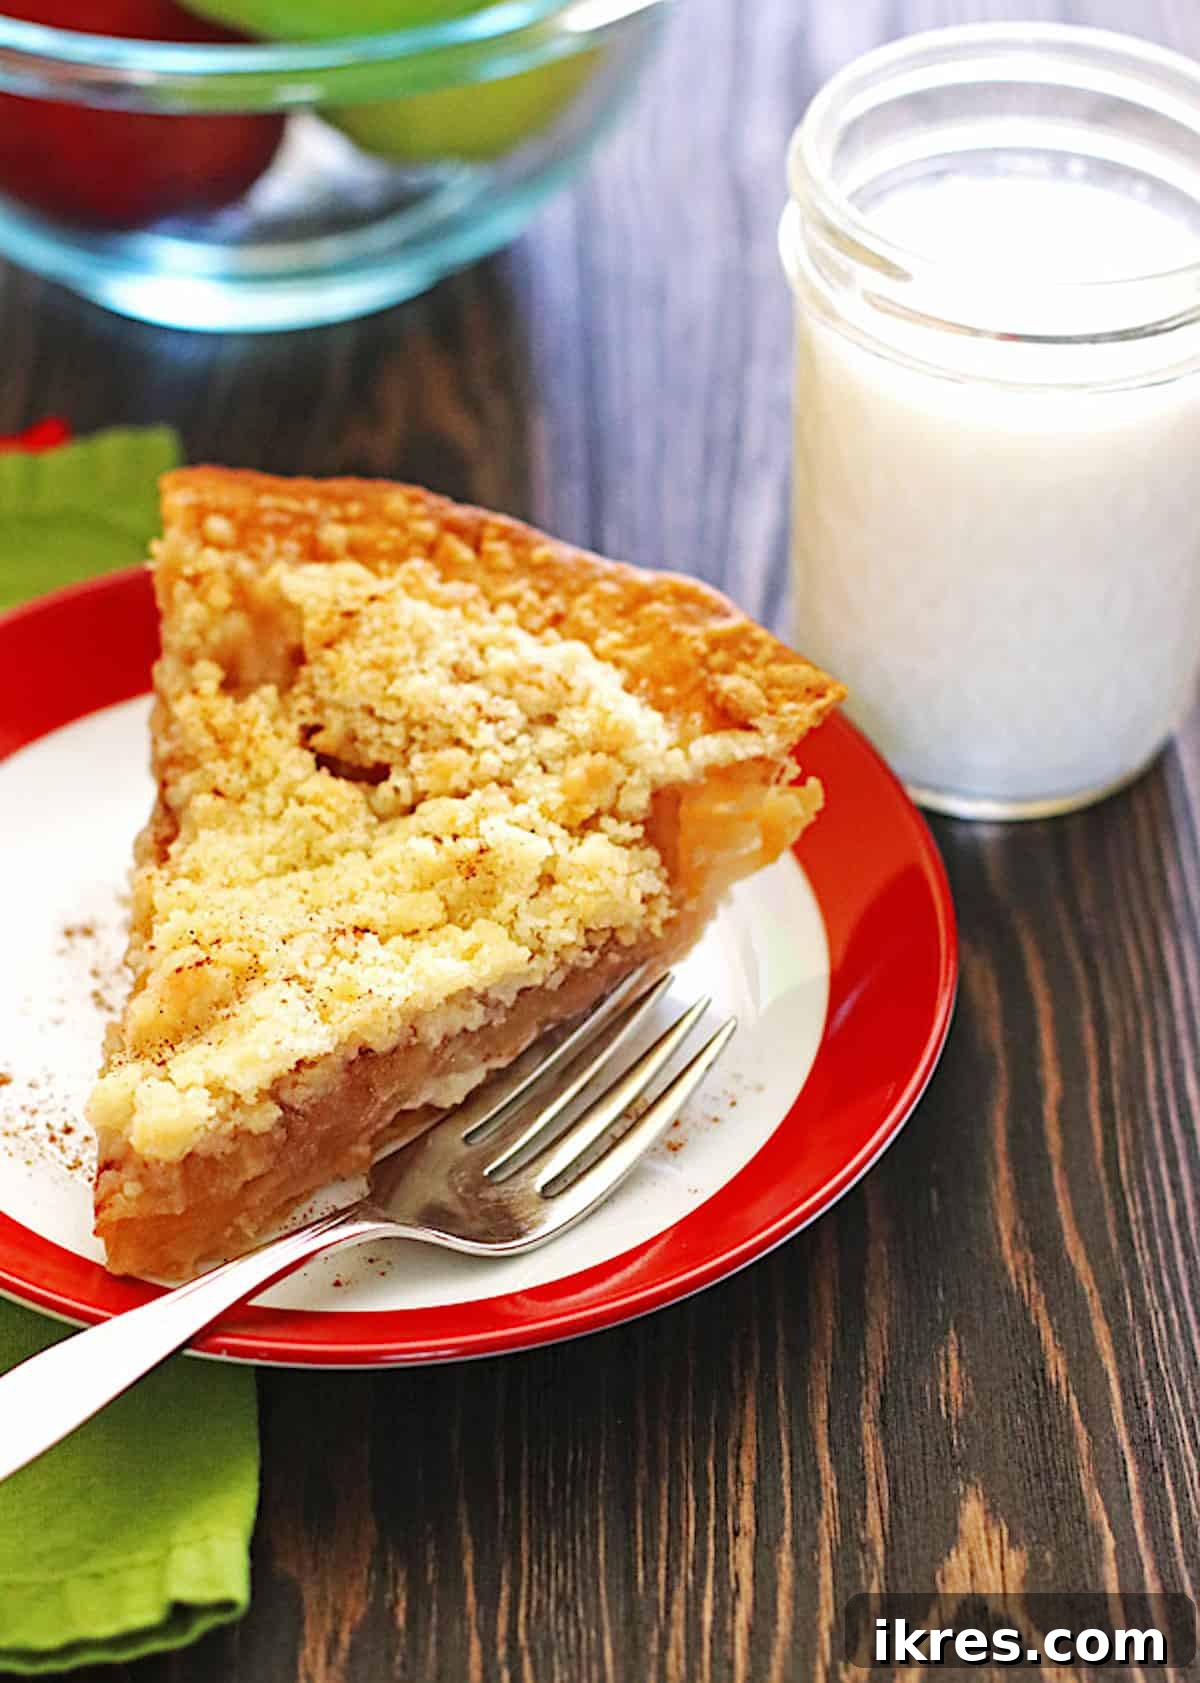
What Exactly is Dutch Apple Pie?
The primary distinction between a classic apple pie and a Dutch apple pie lies in its delightful topping. Instead of being encased in a second pie crust, a Dutch apple pie features a generous, crunchy, and sweet crumb topping, often referred to as a streusel. This easy-to-make streusel is typically composed of a simple yet powerful trio of ingredients: flour, sugar, and butter. This crumbly layer provides a wonderful textural contrast to the soft, spiced apple filling beneath, adding an extra dimension of sweetness and a satisfying crunch with every bite. It transforms a familiar dessert into an exciting, multi-textured experience.
Key Ingredients Spotlight
While the full recipe card details every ingredient, here’s a quick look at the stars of this pie:
- Pie Crust: The foundational element, providing a flaky base for our delicious filling.
- Apples: The heart of the pie! For the best flavor and texture, I highly recommend using a blend of tart apples, such as Granny Smith, balanced with sweeter varieties like Pink Lady or Honeycrisp. This combination ensures a complex, vibrant apple flavor that isn’t overly sweet.
- Granulated Sugar: Essential for sweetening the apples and the crumb topping. We specifically use granulated sugar for its clean sweetness, as opposed to brown sugar, which has a molasses note that can alter the delicate apple flavor.
- Apple Pie Spice (or Ground Cinnamon): The aromatic backbone of the pie. Apple pie spice is a pre-blended mix of cinnamon, nutmeg, and allspice, but pure ground cinnamon works beautifully on its own if that’s what you have on hand.
- Butter: Crucial for both dotting over the apple filling to create a rich, juicy center and as the binding agent in our irresistible crumb topping.
- All-Purpose Flour: The structural component for the crumb topping, providing its signature coarse texture.
Hear what one happy baker had to say about this recipe:
“I’m not typically a big fan of apple pie, but this recipe is amazing! Finally, an apple pie I can make! This recipe has become a favorite during the holidays and family functions.”
Your Step-by-Step Guide to Baking the Perfect Dutch Apple Pie
Creating this delicious Dutch Apple Pie is a straightforward and rewarding process. Follow these simple steps for a truly memorable dessert.
Preparing Your Pie Foundation: The Crust
- Begin by preheating your oven to 425°F (220°C). This allows the oven to reach the correct temperature while you prepare the pie, ensuring an even bake from the start.
- Next, prepare your pie crust. Gently press it into a standard 9-inch pie plate, forming it neatly up the sides to create a sturdy foundation for your filling.
- Homemade vs. Store-Bought: To save time, I often opt for a store-bought pie crust, which is perfectly acceptable and yields fantastic results. If using a frozen crust, make sure to follow the thawing instructions on the package. You’ll only need one half of a double-crust package. If you prefer to make your own, a flaky, buttery homemade pie crust truly elevates the experience. Many excellent resources are available online for crafting the perfect homemade crust.
Crafting the Irresistible Apple Filling
- Once your pie crust is ready in the dish, it’s time to prepare the apples. Peel and core the apples, then slice them into thin, uniform pieces, approximately ¼ inch thick. Consistency in slice size is key for even cooking. Thinner slices also cook down more efficiently, preventing gaps in your baked pie.
- Generously fill the prepared pie crust with the sliced apples, creating a heaping mound. Don’t be shy; the apples will cook down significantly during baking, and the pie will settle once cooled. A full initial filling prevents a sunken final pie.
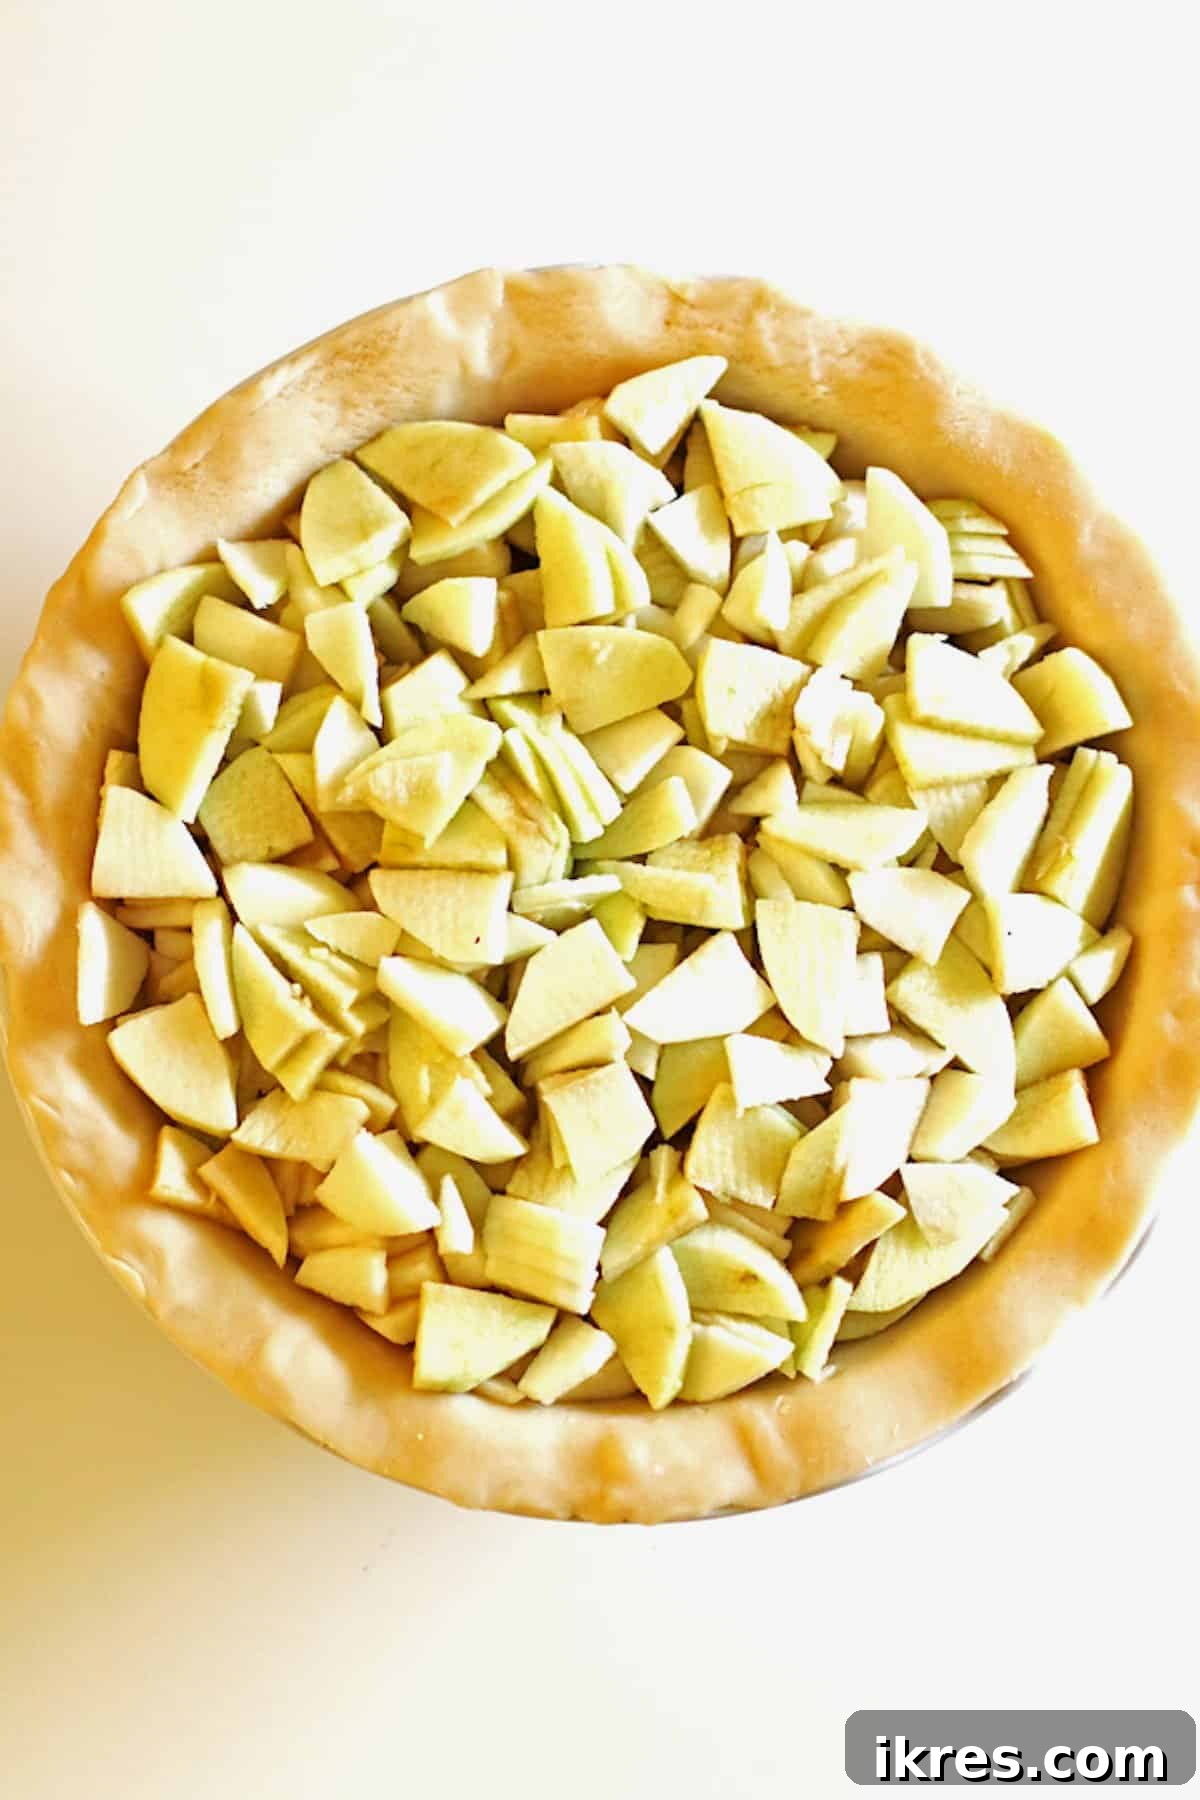
One of the best, and easiest, aspects of this recipe is that there’s no need to pre-mix the apples with sugar and spices. After you’ve filled the pie dish, simply sprinkle the granulated sugar evenly over the entire surface of the apple slices. This method allows the sugar to melt into the apples as they cook, creating a wonderfully sweet and juicy filling.
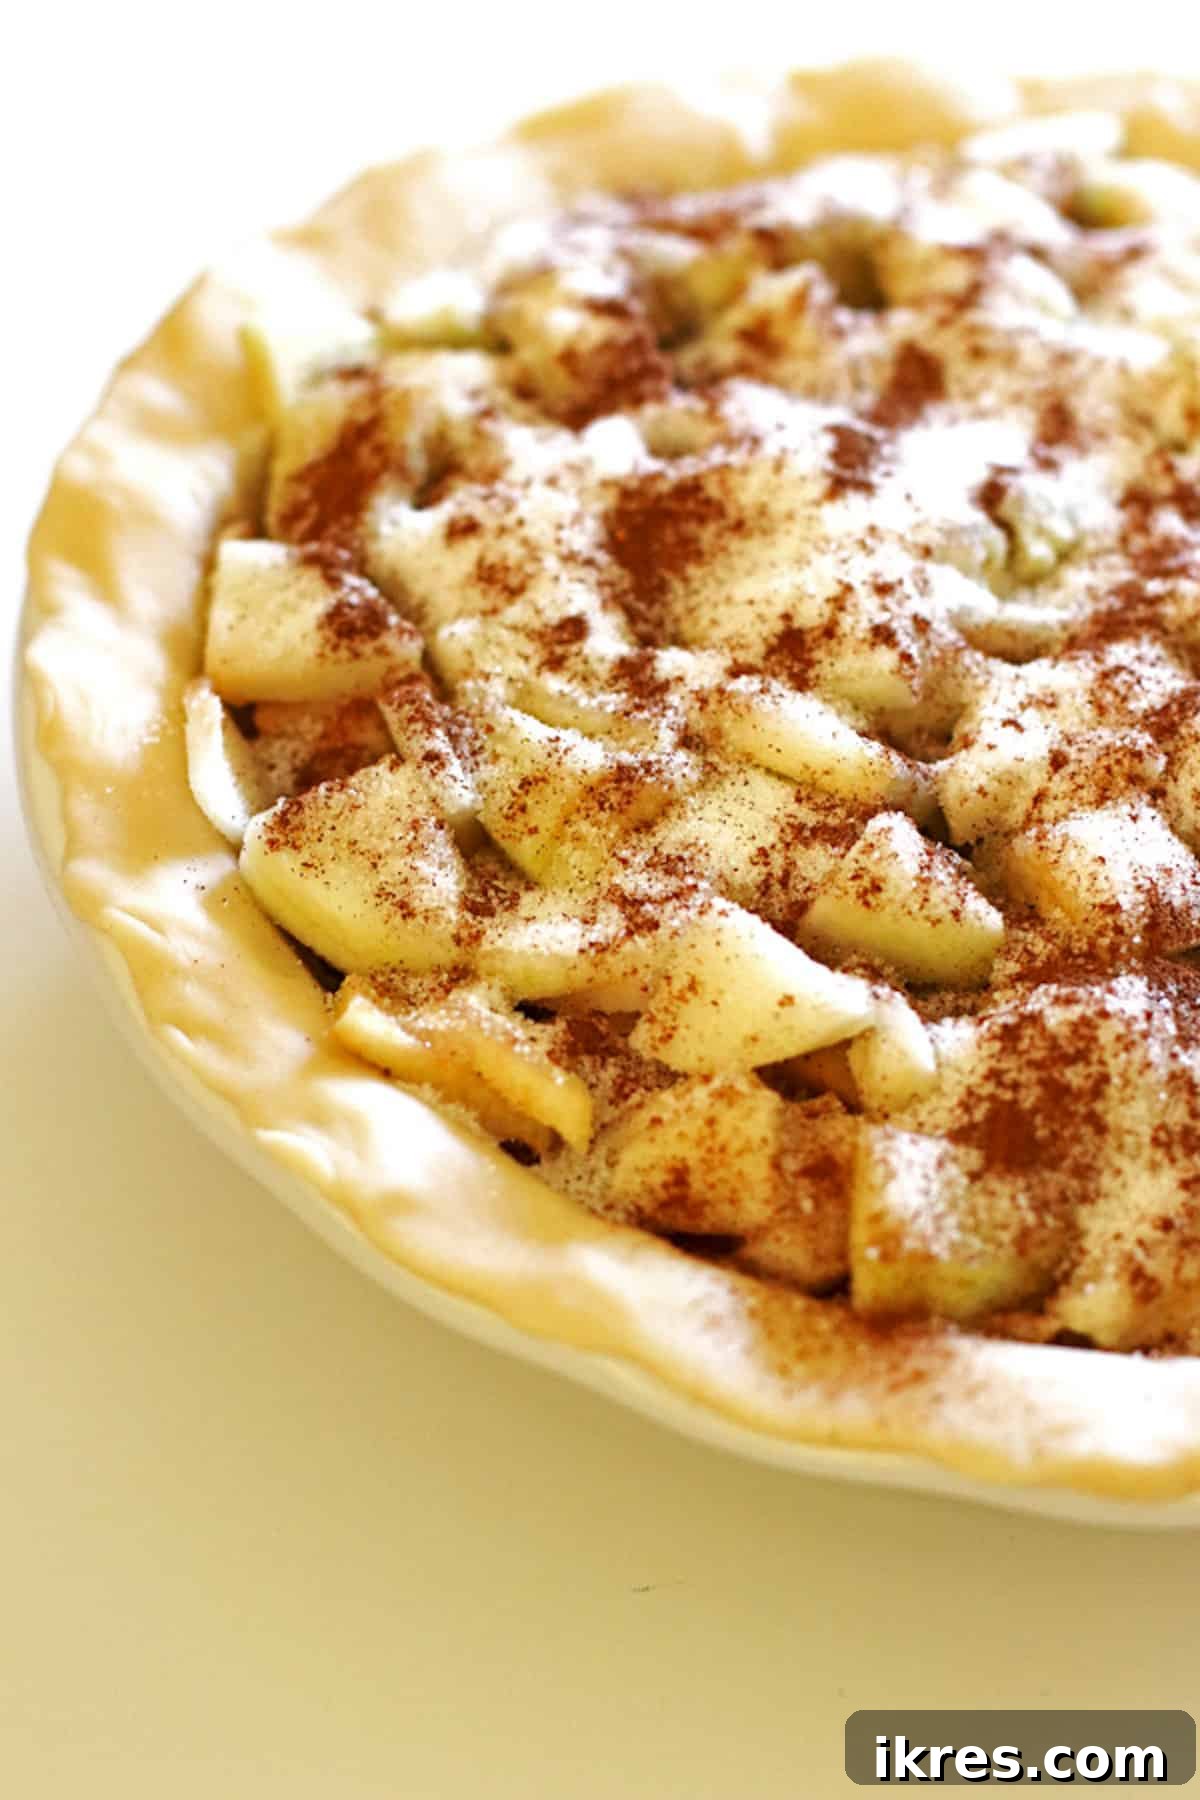
Next, evenly sprinkle your chosen spices over the sugar-coated apples. You can use either a ready-made apple pie spice blend or simply ground cinnamon. Apple pie spice typically combines cinnamon, nutmeg, and allspice, offering a complex, warm flavor profile. For an extra gourmet touch, consider adding a pinch of ground cardamom or ginger. However, plain ground cinnamon is perfectly wonderful and will still yield a deliciously fragrant pie. Finally, dot the pie with small slices of butter (about 6-8 pieces), distributing them evenly over the apples before adding the crumb topping. These butter dots will melt down, enriching the apple filling and creating pockets of decadent juiciness.
The Irresistible Crumb Topping: A Step-by-Step Guide
The star of our Dutch Apple Pie is undoubtedly the crumb topping. Here’s how to create that perfect, buttery streusel:
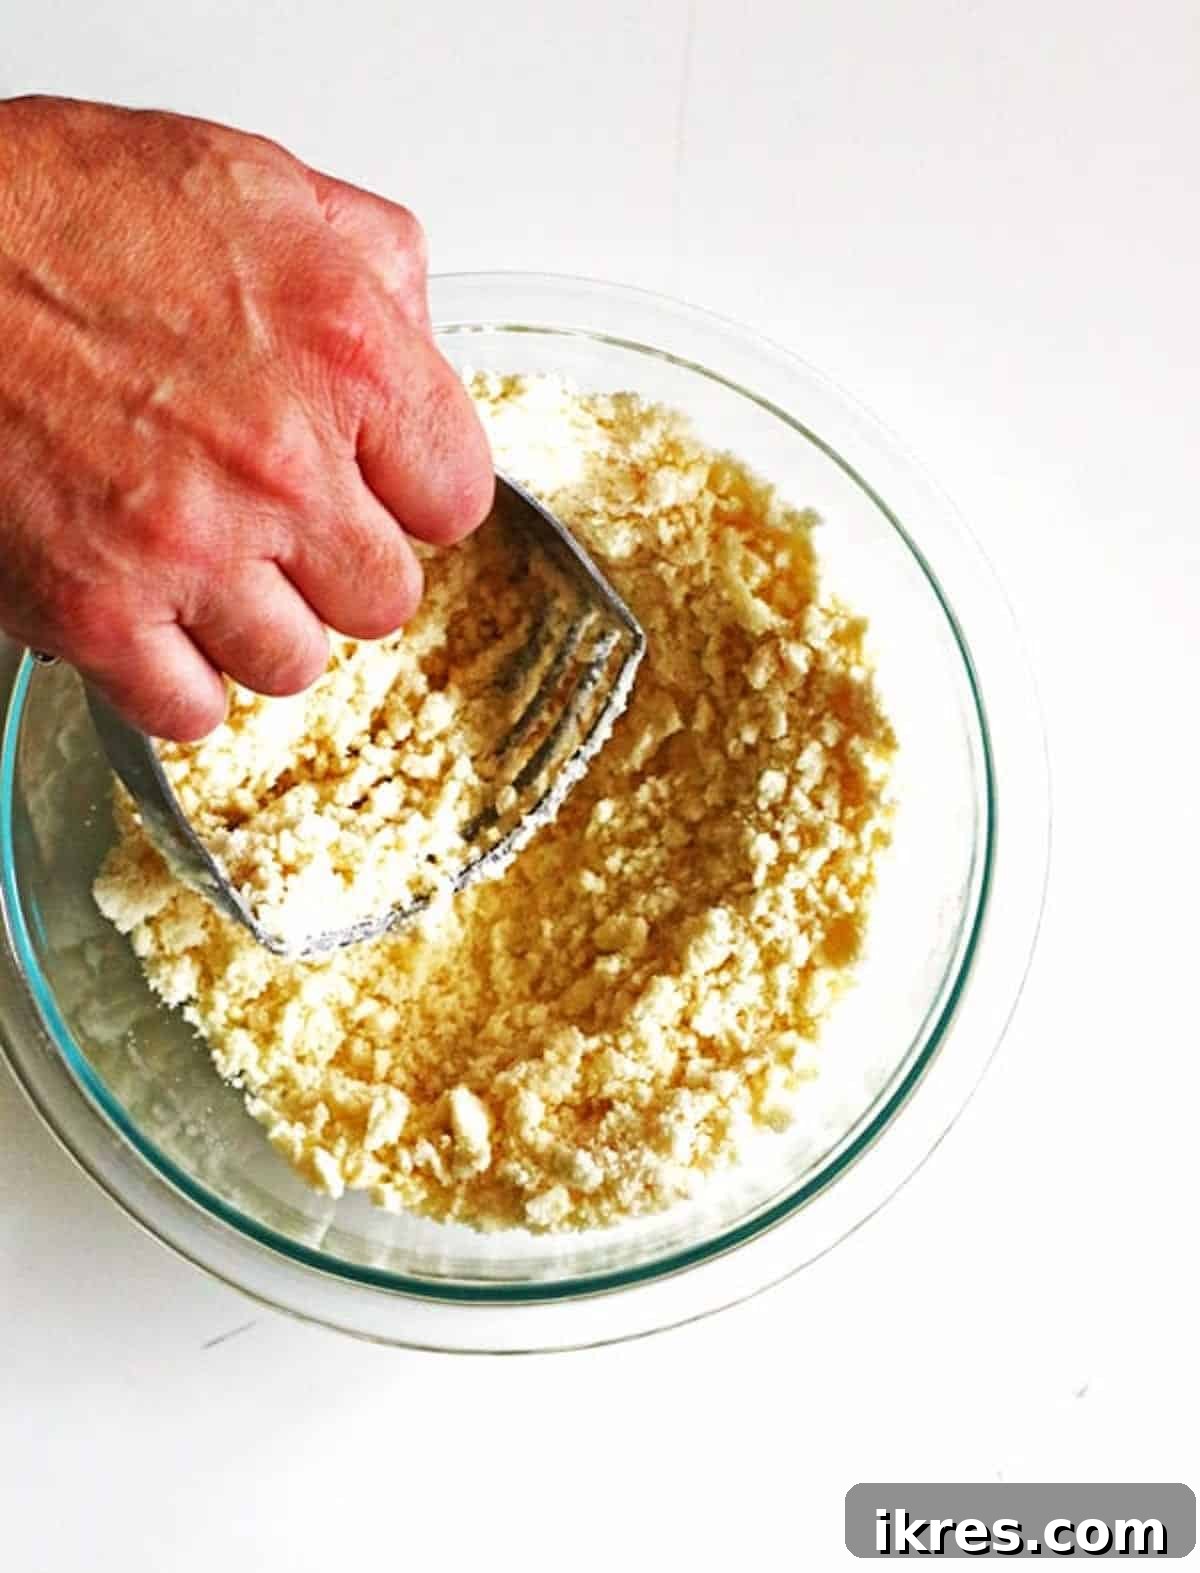
- In a large mixing bowl, combine the all-purpose flour, granulated sugar, and softened butter. Ensure your butter is truly softened to room temperature; this is crucial for achieving the correct crumb texture.
- Using a pastry blender, a fork, or even your fingertips, work the ingredients together. Cut the butter into the dry ingredients until coarse crumbs form. Avoid overworking the mixture; you want distinct crumbs, not a paste. A pastry blender is an invaluable tool for this step, making the process quick and efficient.
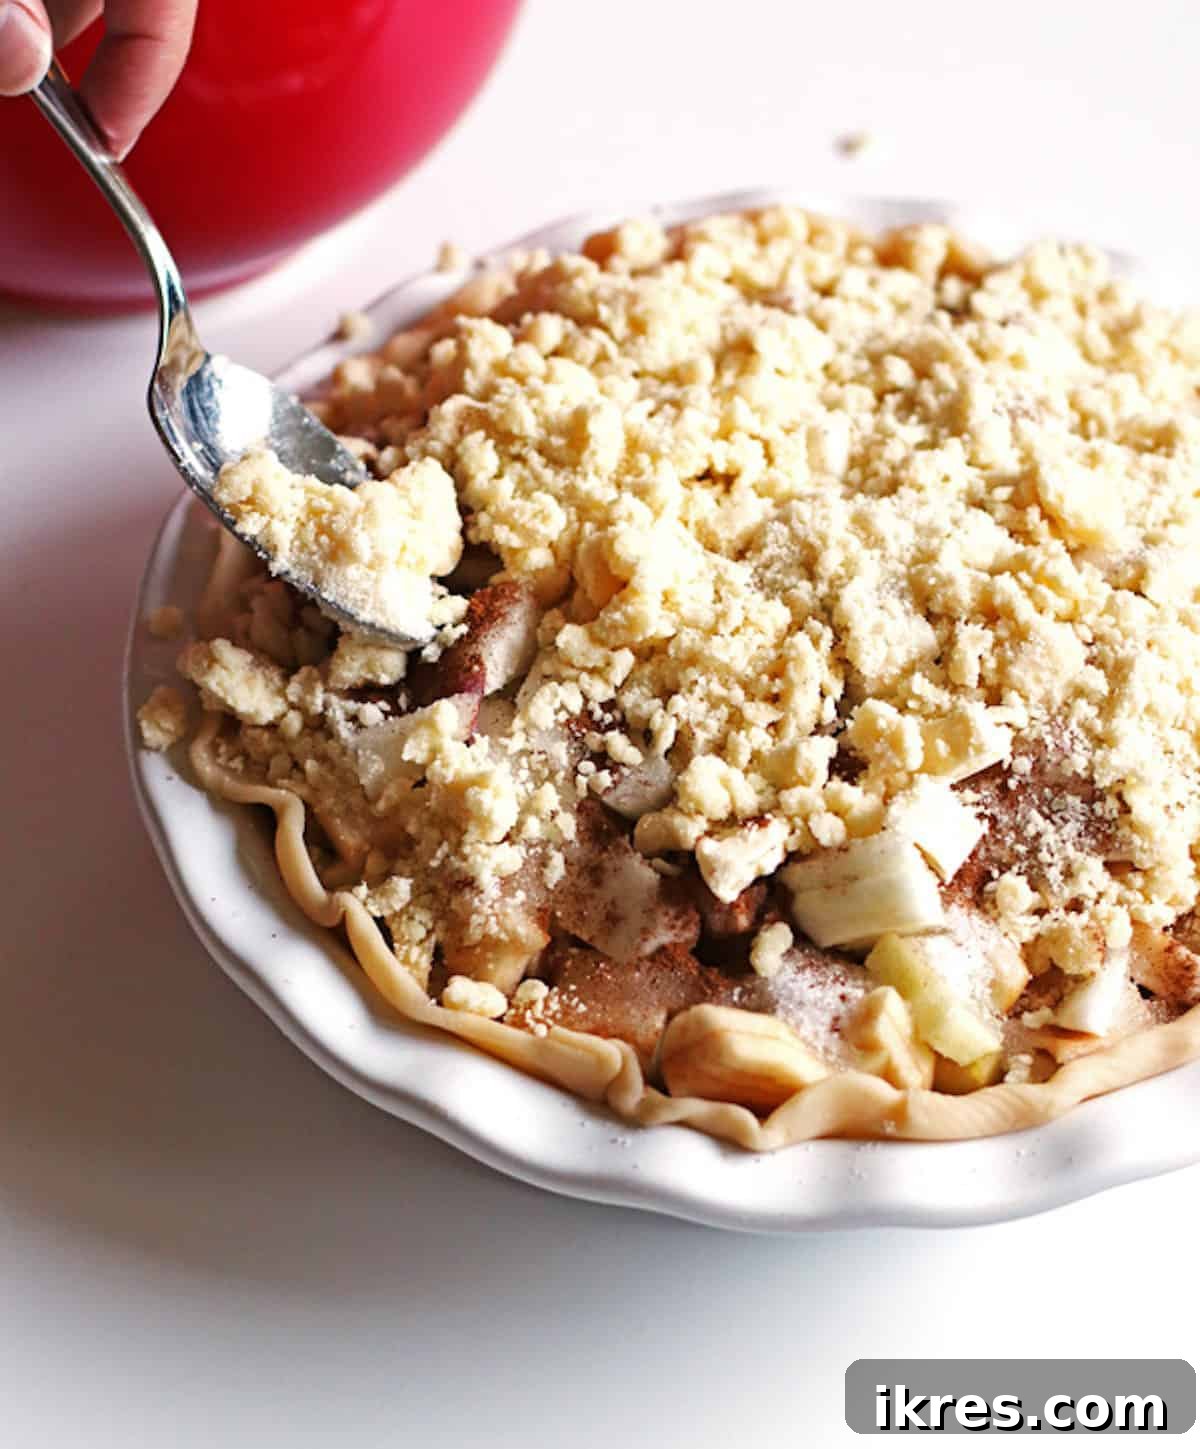
- Once your crumb topping is ready, carefully spoon it over the unbaked apple pie.
- Baking Tip: To minimize mess and ensure maximum crumb coverage, hold your spoon towards the center of the pie while sprinkling. This helps prevent crumbs from falling over the edges. For even easier cleanup, you might consider placing a piece of parchment paper or foil under your pie dish before adding the crumbs. Holding the bowl of crumbs directly over the pie can also streamline the process, reducing spillage.
Baking Tip for a Perfect Crust: To avoid a soggy bottom crust and keep your oven clean, place your pie dish on a dedicated pie drip catcher or a baking sheet. A drip catcher not only catches any potential overflowing filling but also elevates the pie, allowing for better airflow around the bottom and middle. This circulation is essential for a perfectly cooked, golden-brown crust, preventing that common pitfall of a soft, underbaked base. A perfectly cooked pie and a clean oven lead to a happy baker!
Finally, carefully place your prepared pie on the middle rack of your preheated oven and bake for approximately 50-55 minutes at 425°F (220°C).
Crucial Baking Tip: About 20 minutes before the end of the baking time, gently place a piece of aluminum foil over the pie, creating a loose “tent.” This simple step is vital for preventing the edges of the pie crust and the crumb topping from burning, ensuring an evenly golden finish without over-browning. You’ll thank yourself for this!
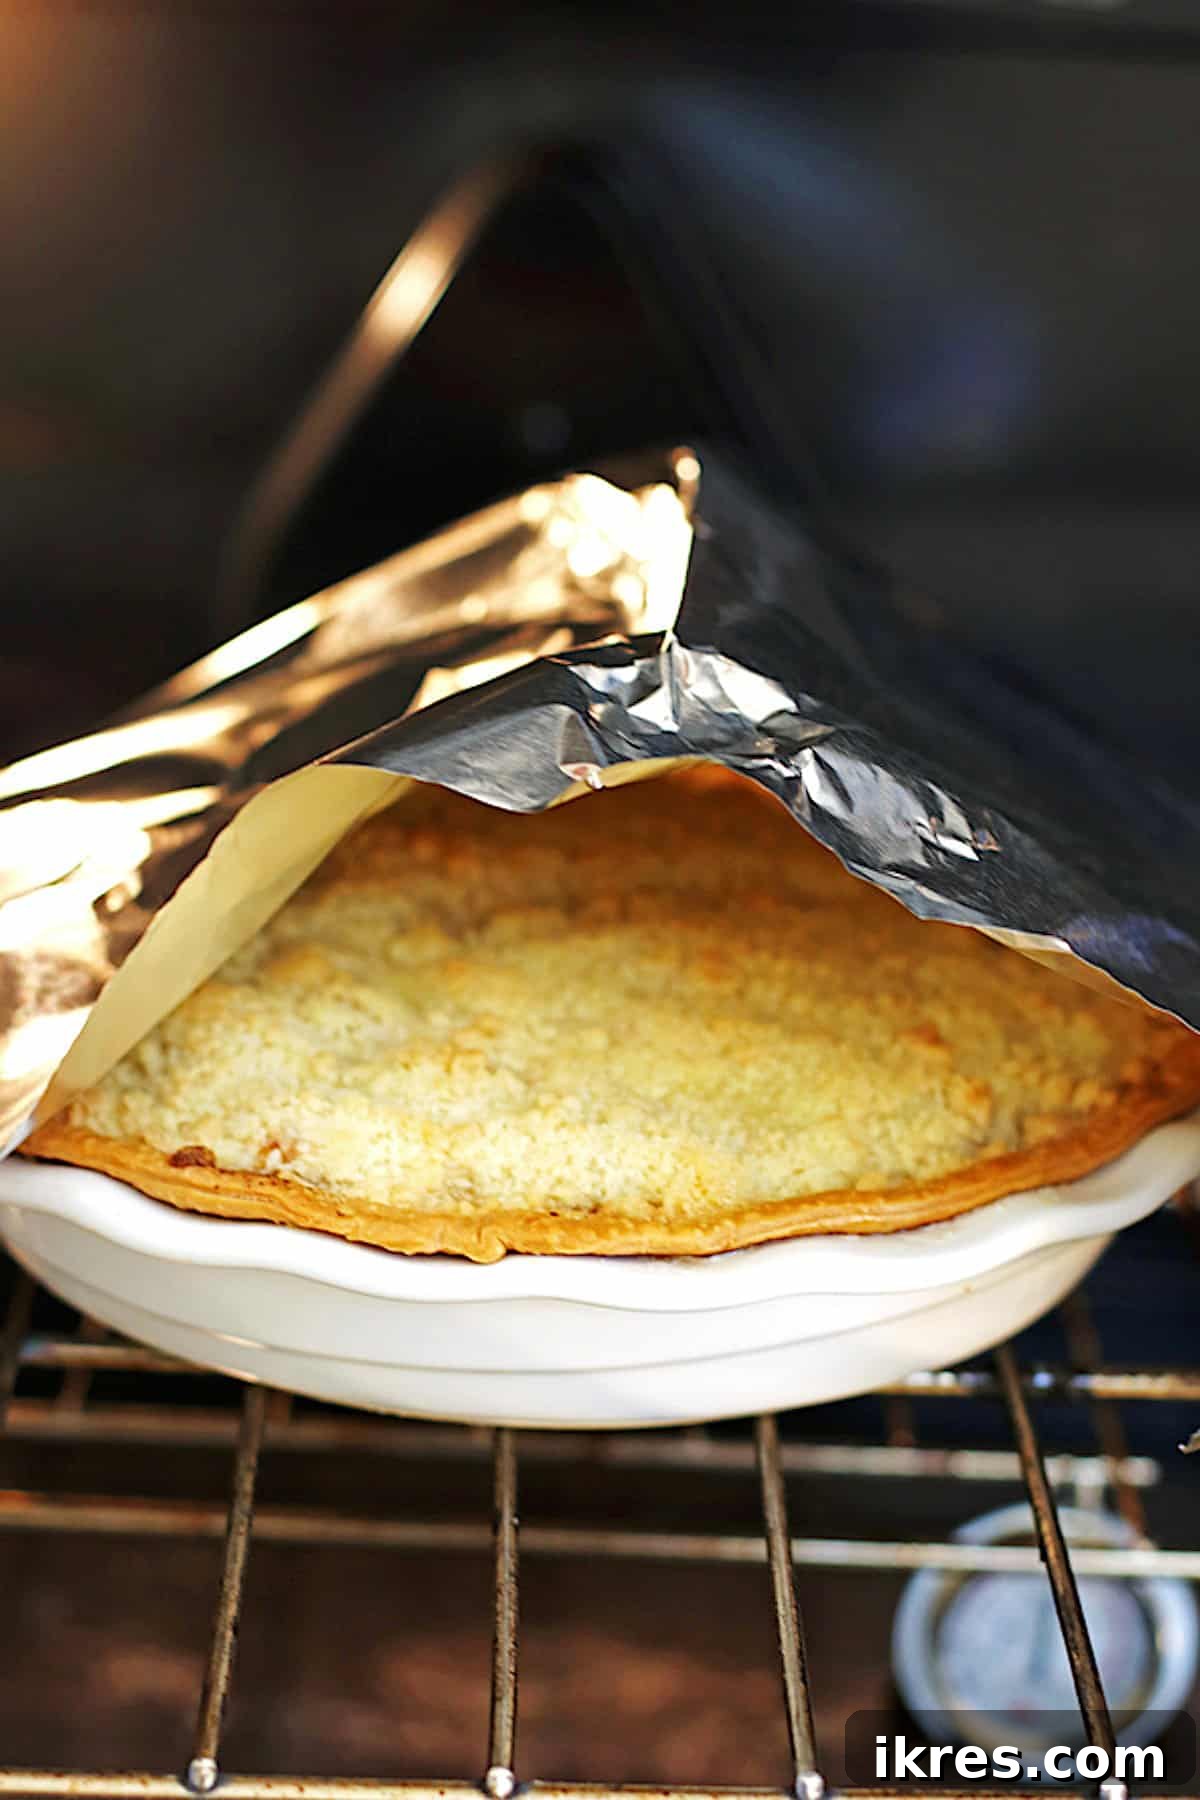
Your Dutch Apple Pie is perfectly baked when the delicious apple juices are visibly bubbling through the crumb topping, and the pie’s edges are a beautiful golden brown. Carefully remove the pie from the oven and transfer it to a wire cooling rack. Allow the pie to cool for at least 30 minutes, or preferably longer, before slicing and serving. This resting period allows the filling to set properly, ensuring clean, beautiful slices. Serve the pie warm, at room temperature, or even reheated for that ultimate comfort. There’s truly nothing better than a warm slice of apple pie alongside a scoop of cold vanilla ice cream!
Tips for Serving Your Dutch Apple Pie with Elegance
- Serving Warm: While delicious at any temperature, many prefer apple pie warm. If your pie has cooled completely, simply place an individual slice on a microwave-safe plate and warm it in the microwave for 10-15 seconds.
- The First Slice Challenge: Getting that pristine first slice can be tricky. A specialized pie server or a sturdy spatula can make all the difference, helping you lift out the slice cleanly and beautifully without crumbling.
- Gourmet Toppings: Serve your pie simply as is, or elevate it with classic accompaniments. A dollop of freshly whipped cream adds a light, airy contrast, while a generous scoop of vanilla ice cream, melting into the warm apples, creates an unforgettable experience. A drizzle of caramel sauce or a sprinkle of toasted pecans could also add a touch of sophistication.
Mastering Your Dutch Apple Pie: Expert Baking Tips
- The Power of Variety: Don’t stick to just one type of apple! Blending different varieties – like tart Granny Smiths with sweet Honeycrisp or Pink Lady apples – creates a more complex and balanced flavor profile, resulting in a pie with depth and character.
- Consistent Slicing: Aim for apple slices that are about ¼ inch thick and as uniform in size as possible. This ensures that all the apples cook evenly, preventing some from being mushy while others are still firm. Thinner slices also cook down more efficiently, making for a beautifully filled pie.
- Save Time with Store-Bought: While homemade crust is wonderful, a good quality store-bought pie crust is a fantastic shortcut that doesn’t compromise on flavor or quality, especially when time is of the essence.
- Preventing a Soggy Bottom: As mentioned, using a pie drip catcher or a baking sheet underneath your pie ensures even cooking and prevents the bottom crust from becoming soggy by allowing proper airflow.
- The Foil Tent: Always tent your pie loosely with aluminum foil for the last 15-20 minutes of baking. This prevents the delicate crumb topping and the crust edges from burning while the apples finish cooking to perfection.
Achieving the Perfect Crumb Topping
- Softened Butter is Key: Ensure your butter is properly softened before mixing it into the crumb topping ingredients. Soft butter blends easily with flour and sugar, creating the ideal coarse, crumbly texture. If your butter is too cold, you’ll end up with large chunks; too melted, and it will be a greasy paste.
- The Right Tool: A pastry blender (also known as a pastry cutter) is your best friend for making crumb toppings. It efficiently cuts the butter into the dry ingredients, quickly forming the perfect streusel without overworking the dough.
Quick Tips for Softening Butter
- The Finger Test: A reliable way to check if butter is sufficiently softened is to gently press a finger into it. If your finger leaves a slight imprint without sinking straight through, your butter is at the perfect room temperature.
- Plan Ahead: Butter typically takes between 30 minutes to an hour to reach ideal room temperature on its own.
- In a Hurry?: If you’re short on time, there are several quick methods to soften butter, such as cutting it into small cubes, gently microwaving it for a few seconds (be careful not to melt it!), or placing it between two sheets of parchment paper and gently rolling it with a rolling pin.
Storing Leftover Dutch Apple Pie
If by some miracle you have any leftover Dutch Apple Pie, storing it properly ensures its deliciousness for days to come. Simply cover the pie loosely with aluminum foil or plastic wrap and store it in the refrigerator. When you’re ready to enjoy another slice, you can reheat it briefly in the microwave for a warm, comforting treat, or enjoy it chilled. Don’t forget to top it with a fresh scoop of vanilla ice cream or a dollop of whipped cream for that ultimate dessert experience.
Frequently Asked Questions (FAQ)
What is a Dutch apple pie topping made out of?
The delightful crumb topping on this Dutch apple pie is made from a simple yet perfect blend of softened butter, granulated sugar, and all-purpose flour. Sometimes it’s also called a streusel topping.
What distinguishes a Dutch Apple Pie from a regular apple pie?
A Dutch Apple Pie is like a wonderful fusion between a traditional, double-crust apple pie and an apple crisp. While it shares the flaky bottom pie crust and a delicious apple filling with a classic pie, its defining characteristic is the sweet, buttery streusel or crumb topping that replaces the top pie crust. This gives it a unique texture and an extra layer of sweetness that many find irresistible, making it surprisingly easy to make while delivering exceptional flavor.
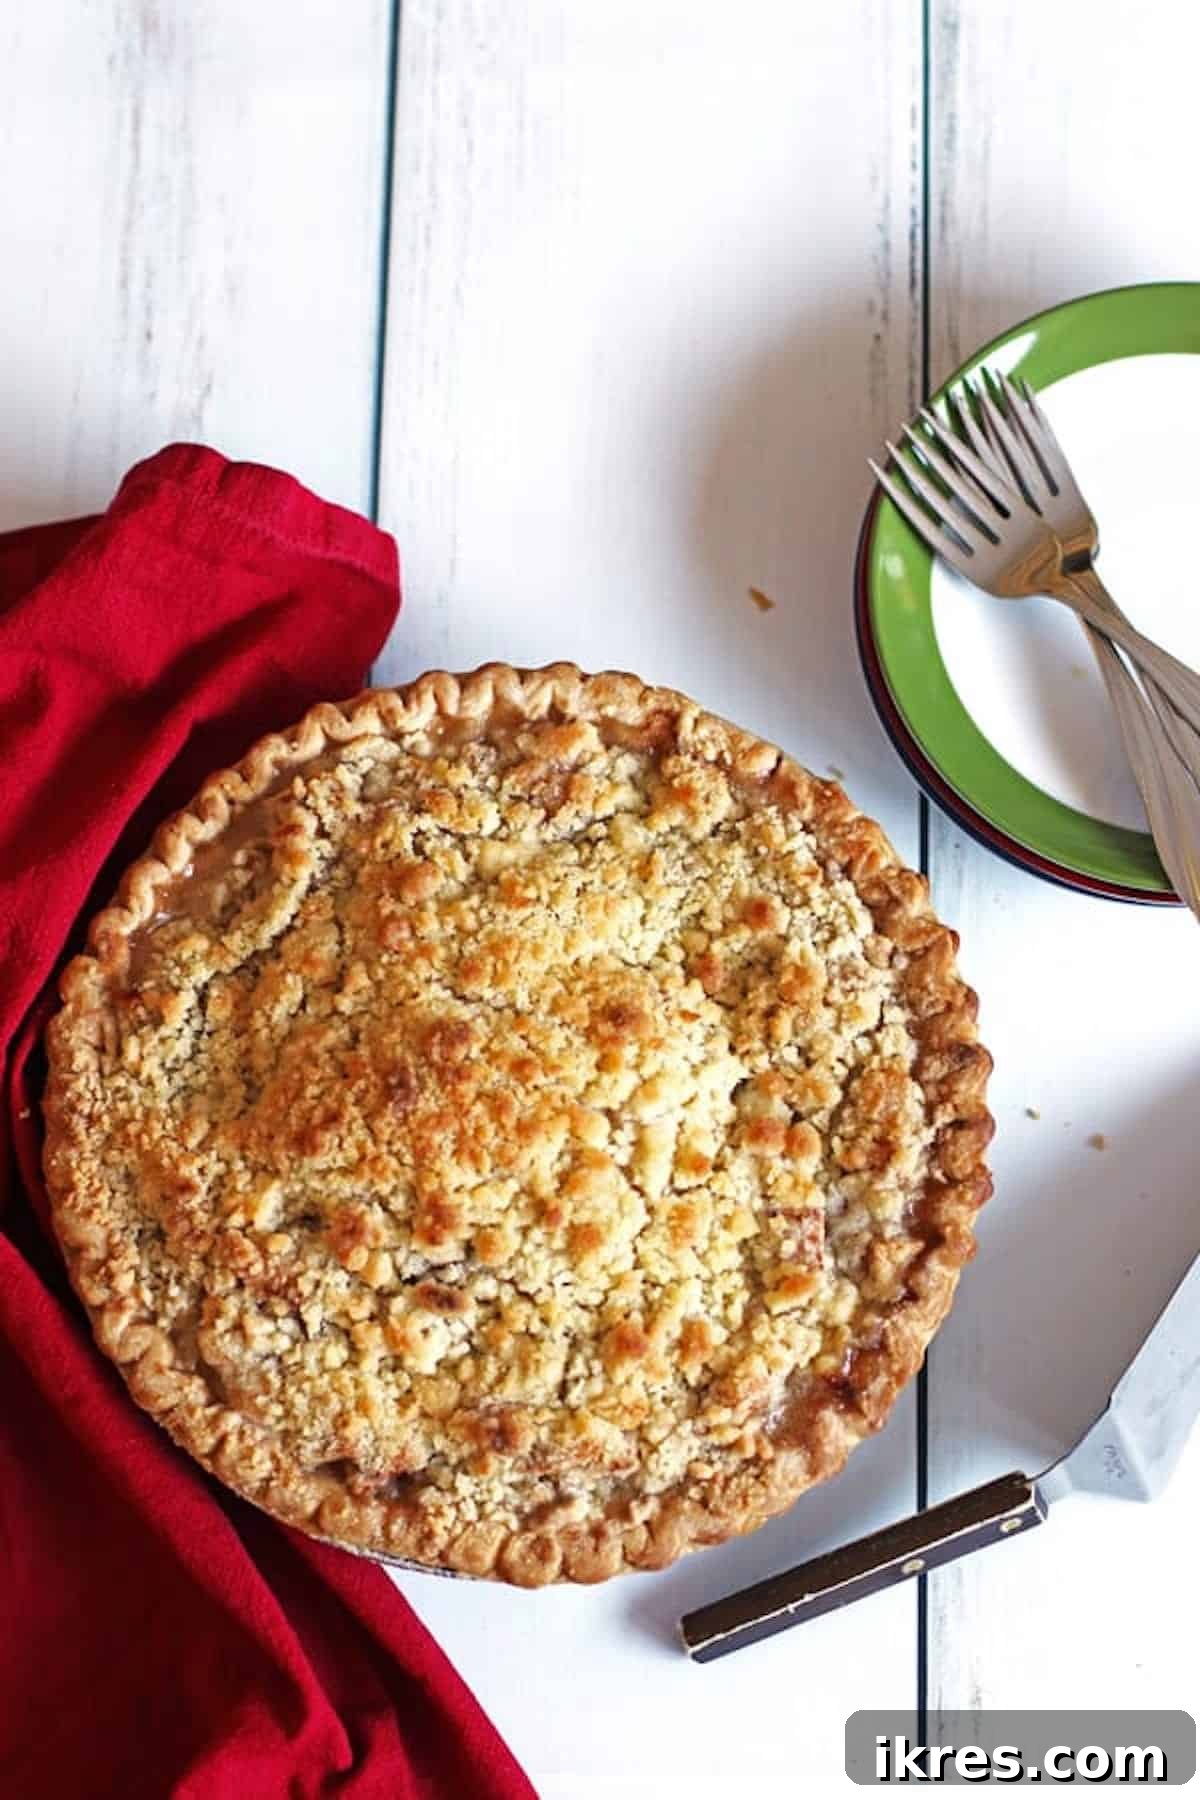
This Dutch Apple Pie is an absolute showstopper and truly the perfect Thanksgiving dessert. It has become a cherished standard on our holiday table! If you’re planning your Thanksgiving feast and looking for more delicious recipes to complete your spread, be sure to also try my Baked Mashed Potatoes or my incredibly tender Slow Cooker Turkey Breast recipes.
Did you bake this delightful Dutch Apple Pie? We would love to hear from you! Please leave a comment and a star rating below to share your experience and feedback. Your insights are invaluable!
Dutch Apple Pie
This Dutch Apple Pie is the dessert of the fall season in our house. All the delicious flavors of the soft apples mixed with the wonderful spices, and topped with a crumb topping, makes this the best apple pie recipe you will ever make!
Ingredients
- 1 pie crust
- 7-8 medium sized apples (mix of red and green is best)
- ¾ cup granulated sugar
- ¾ teaspoon apple pie spice (or ground cinnamon)
- butter, to dot the pie with (6-8 small pieces of butter)
For the Crumbs:
- ¾ cup all-purpose flour
- ½ cup granulated sugar
- ½ cup softened butter
Instructions
- Preheat your oven to 425°F (220°C).
- Prepare your pie crust and place it in a 9” pie dish.
- Peel and slice your apples into small slices, about ¼” thick.
- Place the apples into the pie crust, filling the pie crust with a heaping amount of apple slices.
- Sprinkle the granulated sugar evenly over the apples.
- Sprinkle the apple pie spice (or cinnamon) evenly over the sugar.
- Dot with butter (6-8 small pieces of butter).
To Make the Crumb Topping:
- Place the softened butter, flour, and sugar into a medium-sized bowl. Use a pastry blender or the back of a fork to combine the ingredients to form coarse crumbs.
- Place the crumbs evenly over the pie.
- Place the pie on the middle rack of the oven and bake for 50-60 minutes. During the last 20 minutes of baking, make a foil tent over the pie to prevent the pie edges and topping from burning.
- The pie is done when the juices are bubbling and the edges are golden brown.
- Remove from the oven and place on a wire cooling rack.
- Serve warm or once cooled.
Notes
Recipe Tips for Making the Best Dutch Apple Pie:
- Use a variety of apples (red and green) for richer flavor.
- Slice apples 1/4″ thick and uniformly for even cooking.
- A store-bought pie crust can save valuable time.
- For the crumb topping, ensure butter is softened to room temperature for easier blending. Test by gently pressing with a finger to leave a slight imprint.
- Use a pastry blender for best crumb texture.
- When adding crumbs, hold your spoon towards the middle of the pie to minimize spills.
- Place your pie dish on a pie drip catcher or baking sheet to prevent mess and ensure an evenly cooked bottom crust.
- Tent the pie with foil during the last 20 minutes of baking to prevent burning of the crust edges and topping.
Special Equipment Needed
- pie pan
- Pastry blender (recommended)
Nutrition
Carbohydrates: 73 g
Protein: 3 g
Fat: 18 g
Saturated Fat: 9 g
Cholesterol: 31 mg
Sodium: 180 mg
Potassium: 209 mg
Fiber: 5 g
Sugar: 48 g
Calcium: 20 mg
Iron: 1 mg
Nutrition information is approximate and automatically calculated, so should only be used as a guide.
Update Note: This recipe was originally posted in 2015, but was significantly updated and re-published in 2020 to include more detailed step-by-step directions, enhanced baking tips, and new photos to guide you through the process.