
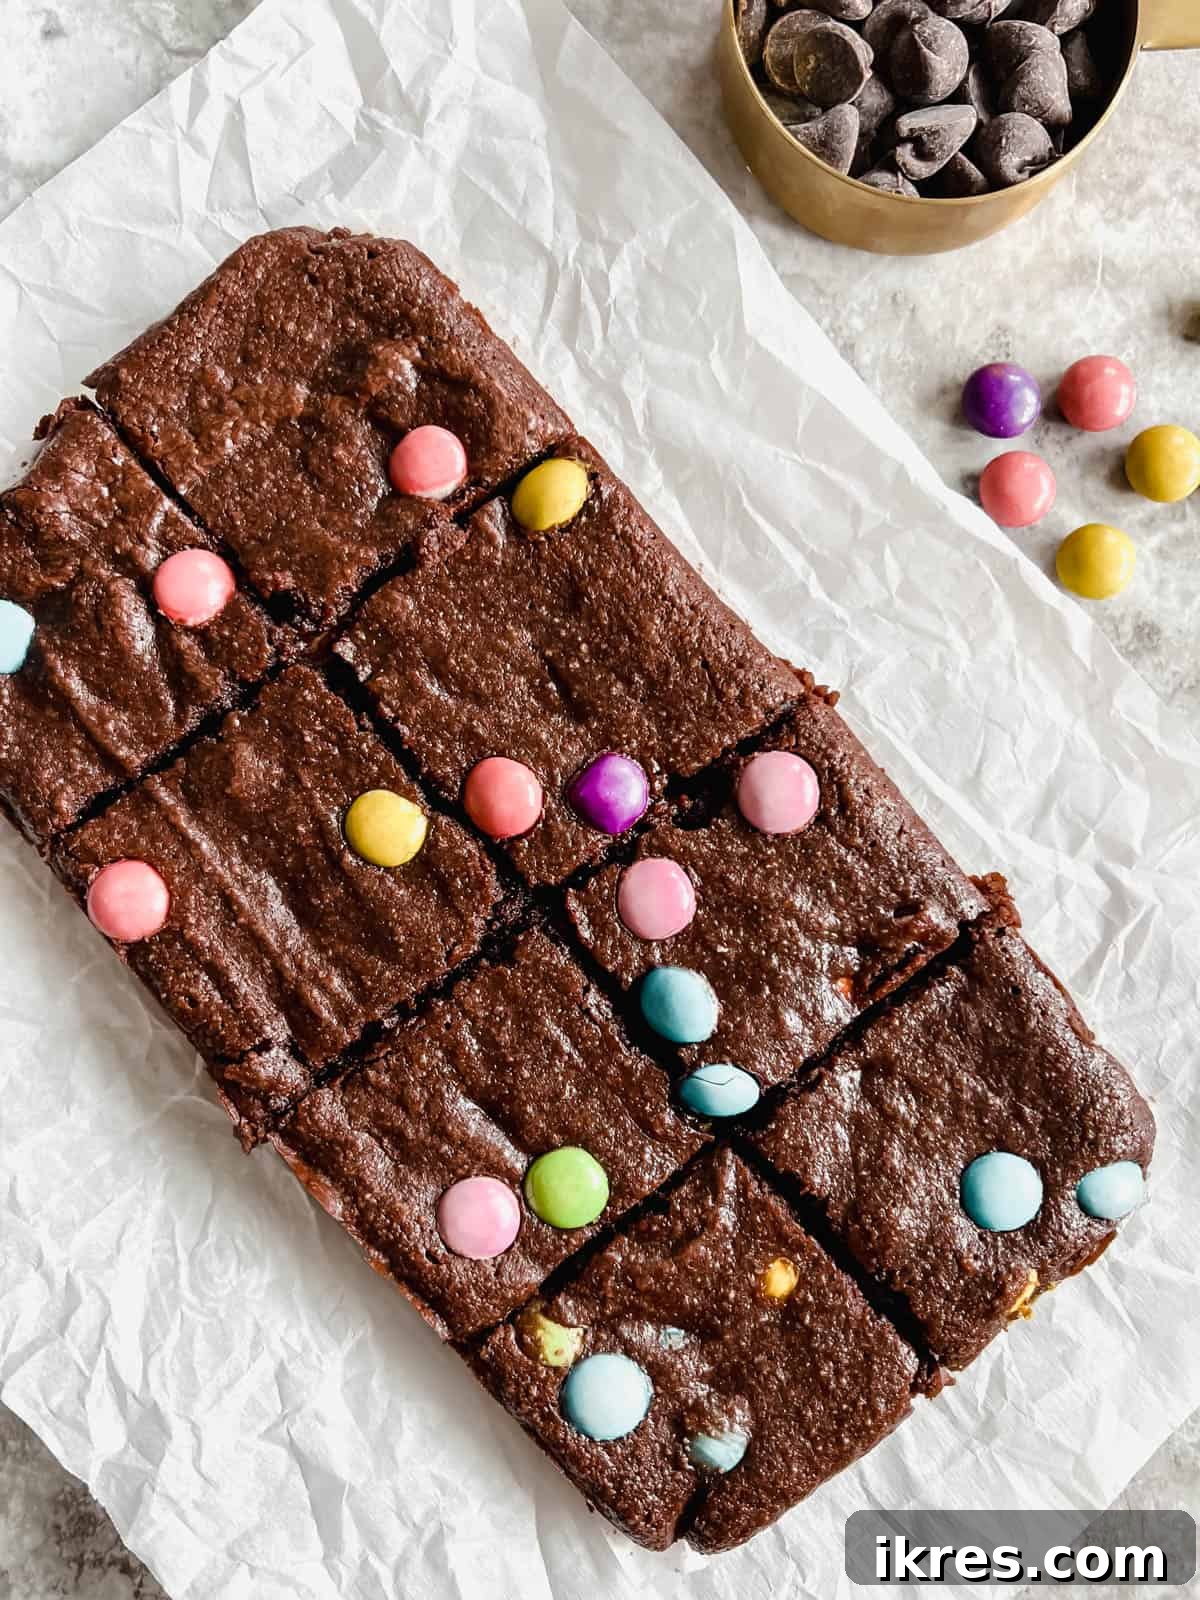
Ultimate Small Batch Almond Flour Brownies: Your Guide to Gluten-Free & Fudgy Perfection
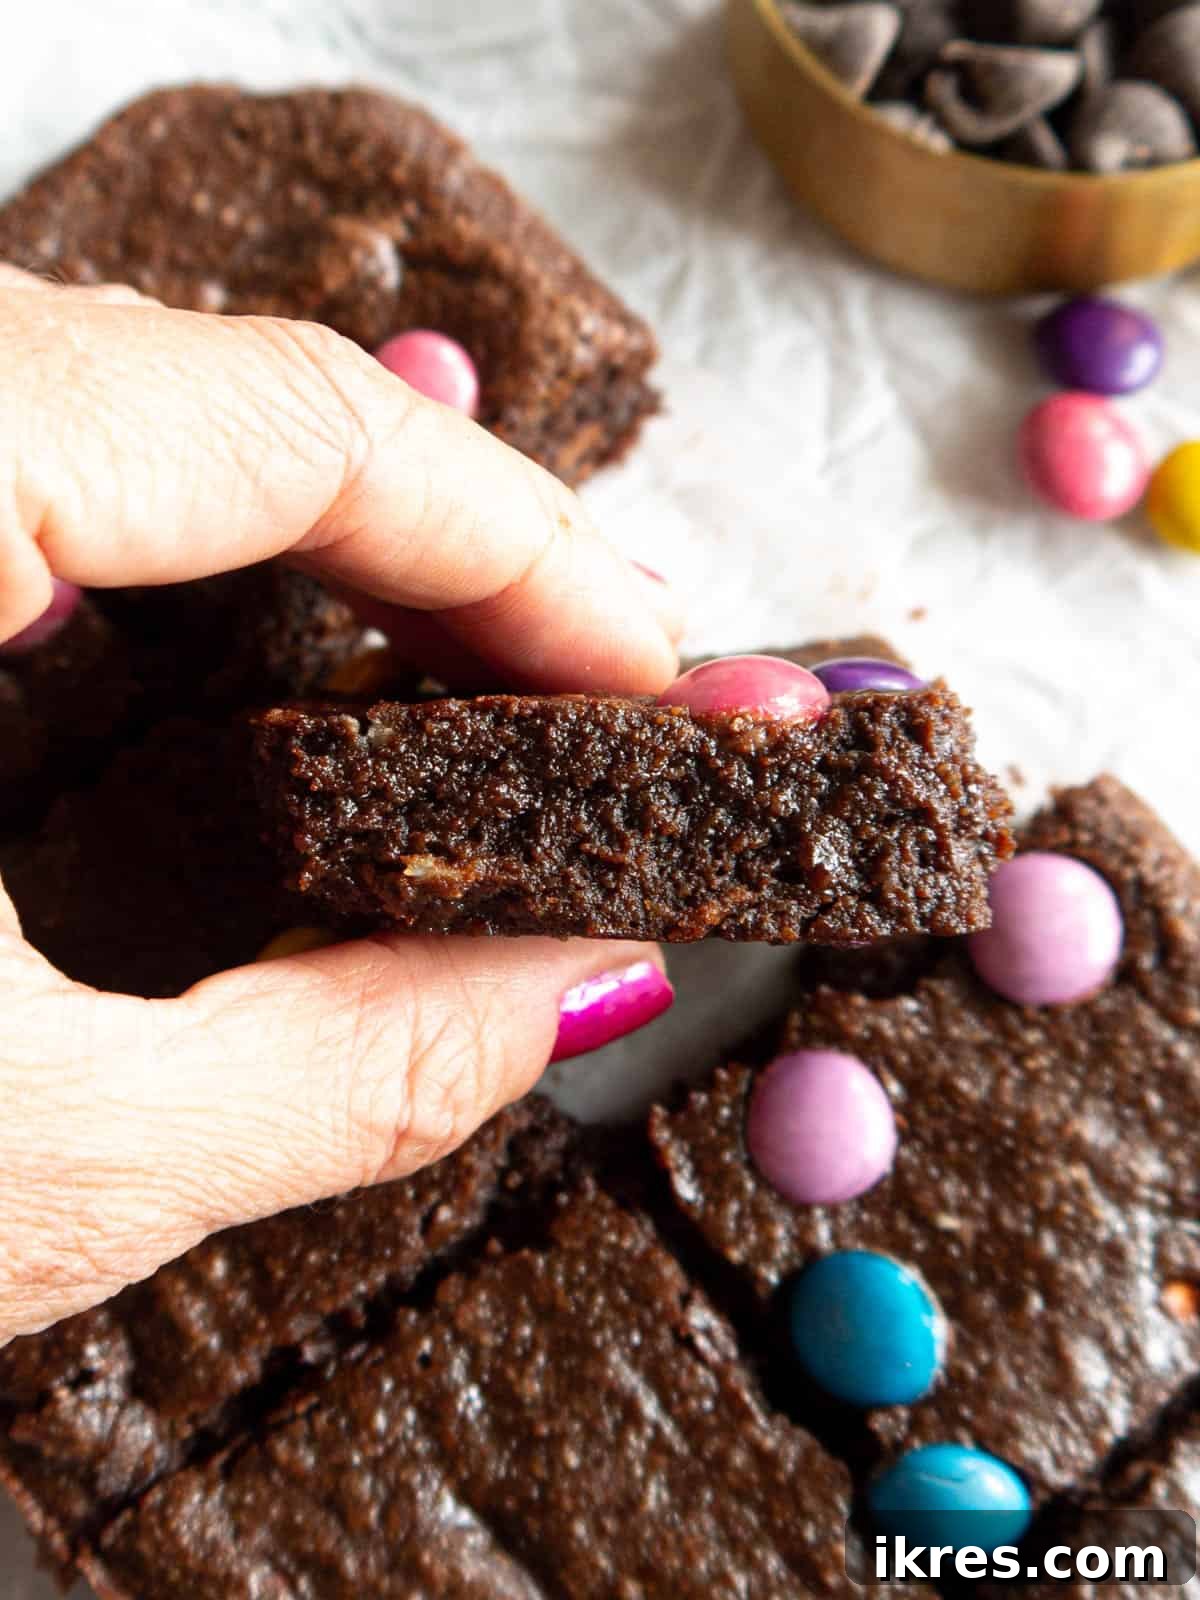
Get ready for an incredible treat! This small batch almond flour brownies recipe creates the most amazing gooey, fudgy brownies that are not only gluten-free and dairy-free but also incredibly delicious. And the best part? They bake in only 15 minutes, making them perfect for those spontaneous dessert cravings!
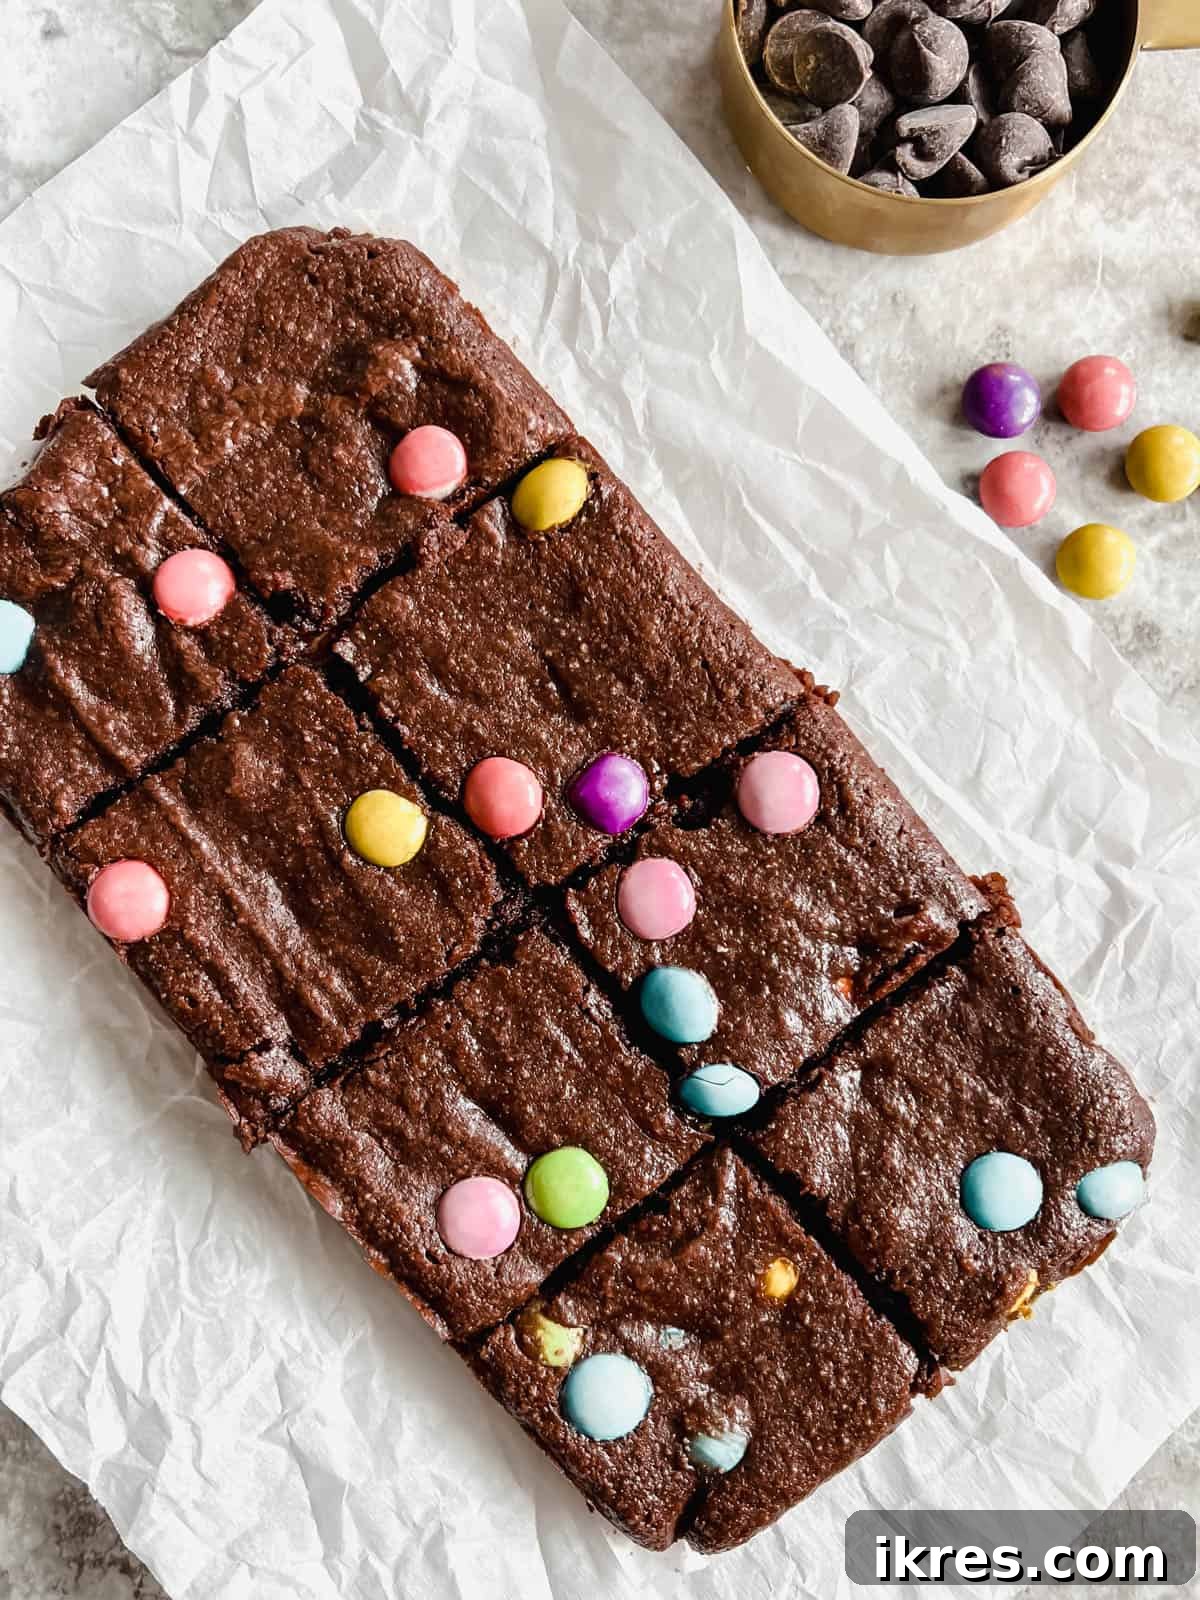
Baking with almond flour has long been a passion of mine. Its versatility and nutritional benefits make it an exceptional alternative to traditional wheat flour. From delightful berry oat crumble bars to wholesome apple crumb muffins and chewy almond flour cookie bars, my repertoire of almond flour baked goods is ever-growing, and brownies hold a special place on that list.
If you’re a devout member of “Team Fudgy Brownie,” then prepare to fall head over heels for these small batch almond flour brownies. This recipe is meticulously crafted using a selection of healthier ingredients, including heart-healthy olive oil, natural maple syrup, and nutrient-rich almond flour. Baked conveniently in a 9×5 inch loaf pan, these brownies still deliver all the ooey-gooey, intensely chocolatey amazingness that you expect from a classic brownie, but with a wholesome twist.
Table of Contents
- What Makes This Recipe Great?
- The Magic of Almond Flour Brownies
- Essential Recipe Ingredients
- Creative Additions & Clever Substitutions
- Step-by-Step Baking Instructions
- Expert Tips for Brownie Perfection
- Serving & Storage Suggestions
- Recipe FAQs
- Other Fun Halloween Recipes (Optional)
- More Almond Flour Brownie Recipes You’ll Love
- Small Batch Almond Flour Brownies (Gluten-Free) Recipe Card
What Makes These Brownies Truly Great?
- Incredibly Quick & Easy: This recipe is designed for efficiency without compromising on flavor. With just about 5 minutes of active prep time and a mere 15 minutes of baking, you can have a batch of warm, decadent brownies ready to devour in under half an hour. It’s perfect for satisfying those sudden sweet cravings!
- Almond Flour Advantage: These brownies are proudly made with almond flour, offering a fantastic alternative to traditional wheat flour. Almond flour is not only naturally gluten-free, making this recipe suitable for those with sensitivities, but it also lends a wonderfully tender texture and a subtle nutty flavor that complements the chocolate beautifully. It’s a healthier choice, packed with protein and good fats.
- Diet-Friendly Indulgence: Beyond being gluten-free, these brownies are naturally dairy-free, catering to a wider range of dietary needs. Furthermore, with a few simple tweaks (detailed below), they can easily be adapted to be completely Paleo-friendly, offering a guilt-free indulgence for almost everyone.
- Wholesome Ingredients: Unlike many conventional brownie recipes loaded with refined sugars and unhealthy fats, this recipe focuses on healthier, more natural ingredients. We utilize olive oil for its beneficial fats and maple syrup as a natural sweetener, ensuring a treat that’s as nourishing as it is delicious.
- Perfect Small Batch Size: Sometimes, you just don’t need a giant tray of brownies tempting you for days. This is a small batch recipe, yielding 6-8 perfectly sized servings. It’s ideal for a cozy night in, a small gathering, or when you simply want to enjoy fresh-baked goodness without the excess. It joins my other beloved small batch creations like small batch strawberry cupcakes and small batch funfetti cupcakes.
The Magic of Almond Flour in Brownies
Almond flour is a game-changer in the world of gluten-free baking, and it truly shines in these brownies. Unlike wheat flour, almond flour is low in carbohydrates, high in protein, and rich in healthy fats, particularly monounsaturated fats, which are beneficial for heart health. It also contains vitamin E, magnesium, and fiber. In terms of texture, it provides a wonderfully tender and moist crumb, which is crucial for achieving that desired fudgy brownie consistency. It’s also naturally sweet, allowing us to reduce the amount of added sugars in the recipe.
Using almond flour also means these brownies are naturally grain-free, making them suitable for paleo diets (with the right chocolate choice). The finely ground blanched almond flour contributes to a smooth, non-gritty texture, ensuring every bite is pure bliss. If you’ve been hesitant to try baking with almond flour, these brownies are the perfect introduction!
Essential Recipe Ingredients
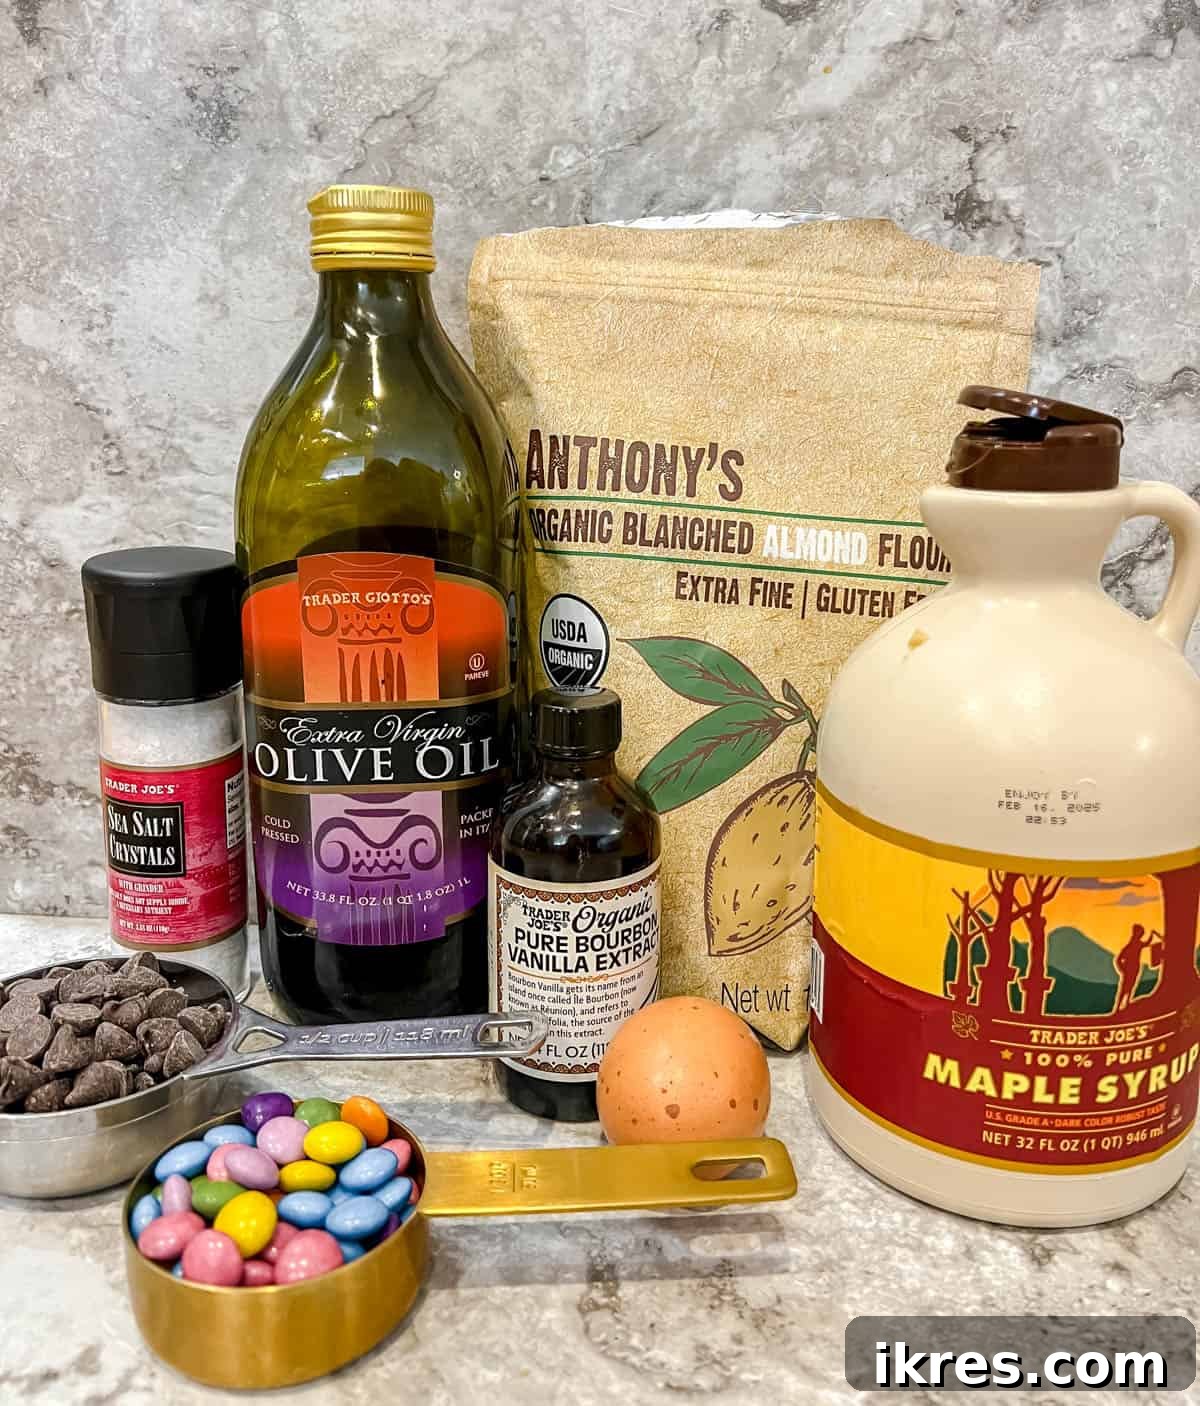
- Almond Flour: The star of our gluten-free recipe! For the best results and a refined, tender texture, always opt for a good quality blanched almond flour. Blanched means the almond skins have been removed before grinding, resulting in a lighter, finer flour. I personally recommend Anthony’s almond flour for its consistent quality.
- Olive Oil: This provides the rich moisture and tender crumb that makes these brownies so irresistible. Choose a light-tasting olive oil to ensure the flavor doesn’t overpower the chocolate. Extra virgin olive oil can be used, but a more neutral-flavored olive oil is usually preferred for baking.
- Chocolate Chips: The cornerstone of any great brownie! You have flexibility here based on your dietary needs. For dairy-free and Paleo-friendly options, Hu chocolate chips are an excellent choice. If you need a certified dairy-free option, Enjoy Life chocolate chips are widely available. If dairy isn’t a concern, classic semi-sweet chocolate chips will work wonderfully.
- Egg: Essential for binding the ingredients together, adding structure, and contributing to the brownies’ rich texture. It acts as an emulsifier, helping to create a smooth, unified batter.
- Maple Syrup: Our natural sweetener of choice! Maple syrup not only adds sweetness but also a subtle depth of flavor that complements the chocolate beautifully. Always ensure you are using 100% pure maple syrup, not pancake syrup, for the best taste and nutritional benefits. Honey or date syrup can also be used as alternatives.
- Vanilla Extract: A touch of vanilla extract is crucial. It doesn’t just add its own pleasant aroma and flavor; it also enhances and deepens the chocolate notes, making the brownies taste even more decadent.
- Salt: Just a pinch of salt is vital to balance the sweetness and elevate the chocolate flavor, preventing the brownies from tasting flat.
- Chocolate Candies (Optional): For an extra pop of color and texture, you can fold in healthier candy-coated chocolates. I often use Unreal chocolate candies because they are colored naturally using ingredients like beet juice, carrot juice, and turmeric. Please note these do contain dairy, so omit if strictly dairy-free. If you enjoy baking with colorful chocolate candies, you might also love my almond butter monster cookies.
Creative Additions & Clever Substitutions
One of the joys of baking is the ability to customize! Here are some ideas to tweak these brownies to your liking:
- Oil Alternatives: If olive oil isn’t your preference, you can easily substitute it with avocado oil for a similarly neutral flavor and healthy fat profile, or melted coconut oil. If using coconut oil, make sure to measure it in its liquid (melted) state for accurate results, as solid coconut oil will measure differently.
- Sweetener Swaps: While maple syrup provides a unique flavor, honey or date syrup can be used as alternatives. Keep in mind that honey can be thicker and might require a bit more vigorous mixing to fully incorporate into the batter. Date syrup offers a rich, caramel-like sweetness.
- Nutty Add-ins: Boost texture and flavor by folding in a handful of chopped walnuts, pecans, or even almonds. If you enjoy the combination of chocolate and coconut, try adding some shredded coconut. For a deeper coconut experience, explore my paleo toasted coconut brownies!
- Coffee Boost: A teaspoon of instant espresso powder (dissolved in a tiny bit of hot water or added directly to the dry ingredients) can dramatically enhance the chocolate flavor without making the brownies taste like coffee.
- Spice It Up: A pinch of cinnamon or a tiny dash of cayenne pepper can add a warming, exotic twist to your chocolate brownies.
- Different Flours: While this recipe is optimized for almond flour, you can experiment with other nut flours like hazelnut flour or pecan flour for a different flavor profile. The ratios might need slight adjustments, but they generally behave similarly to almond flour in gluten-free baking.
Step-by-Step Baking Instructions
Follow these simple steps to create your perfect batch of fudgy almond flour brownies:
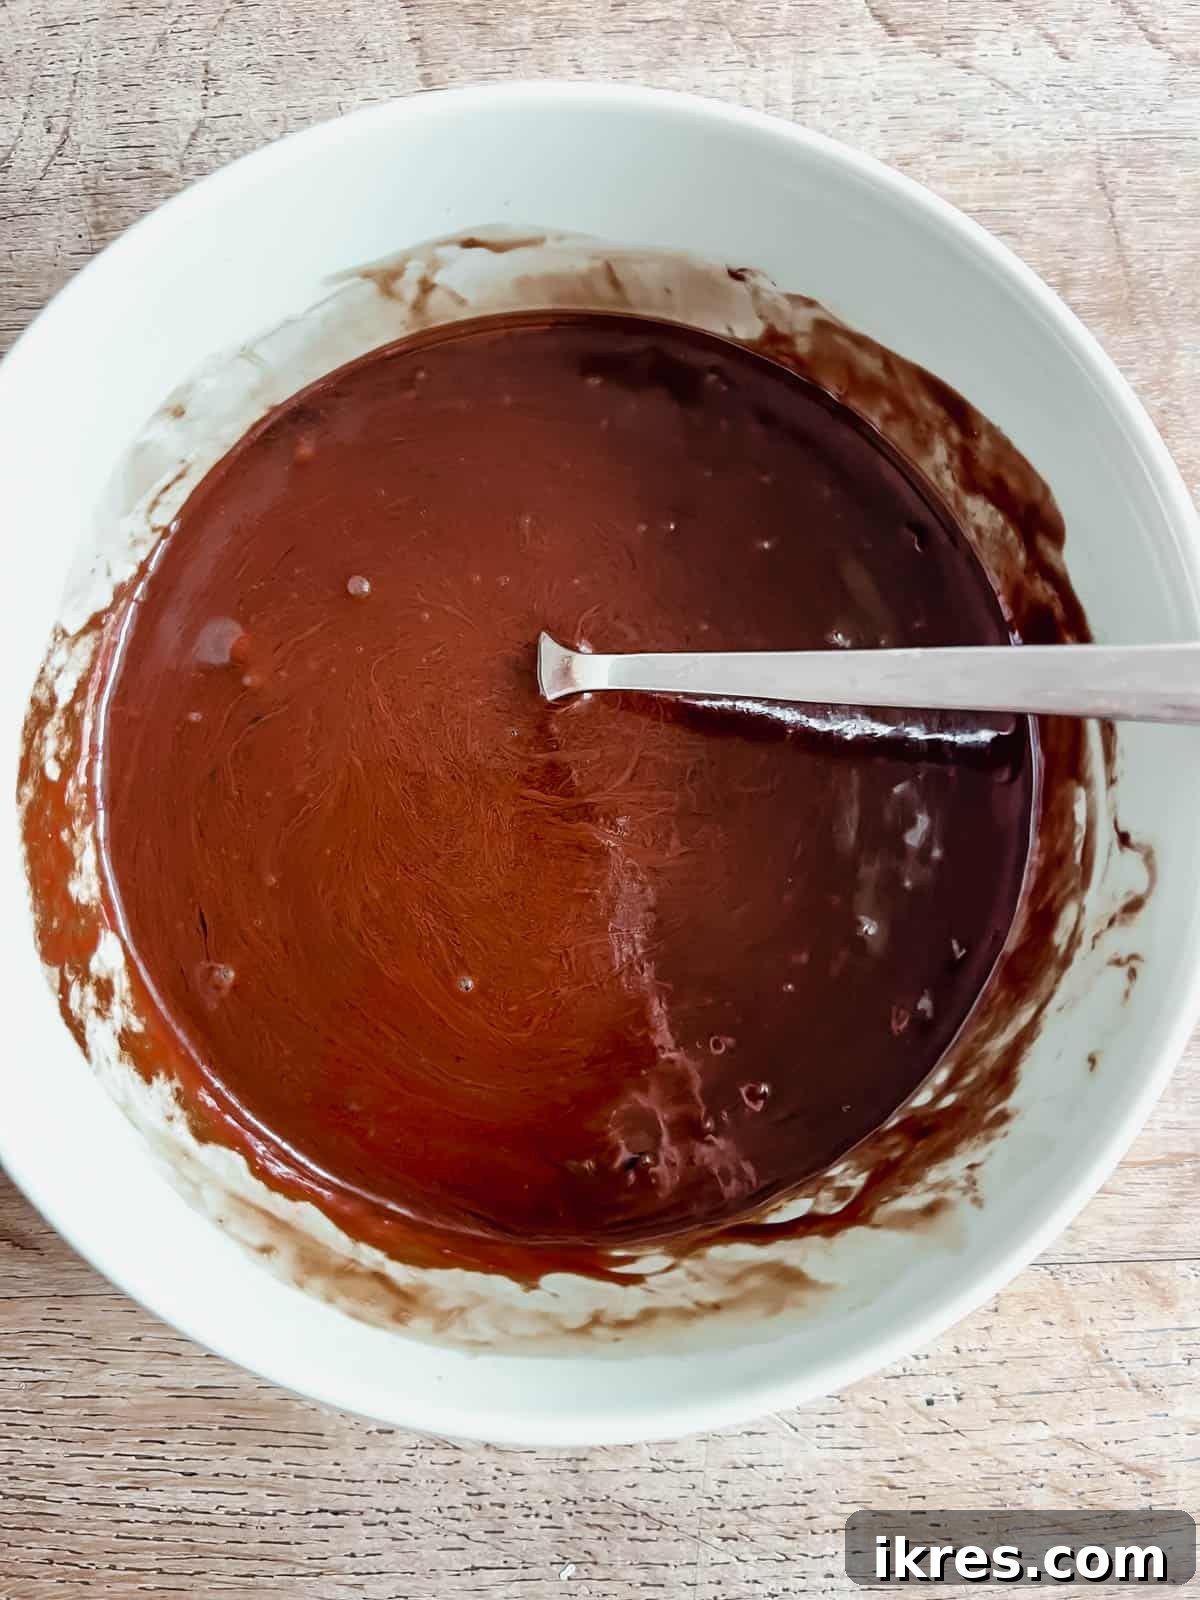
Step 1: Prepare the Chocolate Base. In a medium microwave-safe bowl, combine the chocolate chips and olive oil. Microwave for 45 seconds, then stir thoroughly. If the chocolate isn’t fully melted and smooth, continue microwaving in 15-second intervals, stirring well after each, until perfectly melted and glossy. Be careful not to overheat the chocolate.
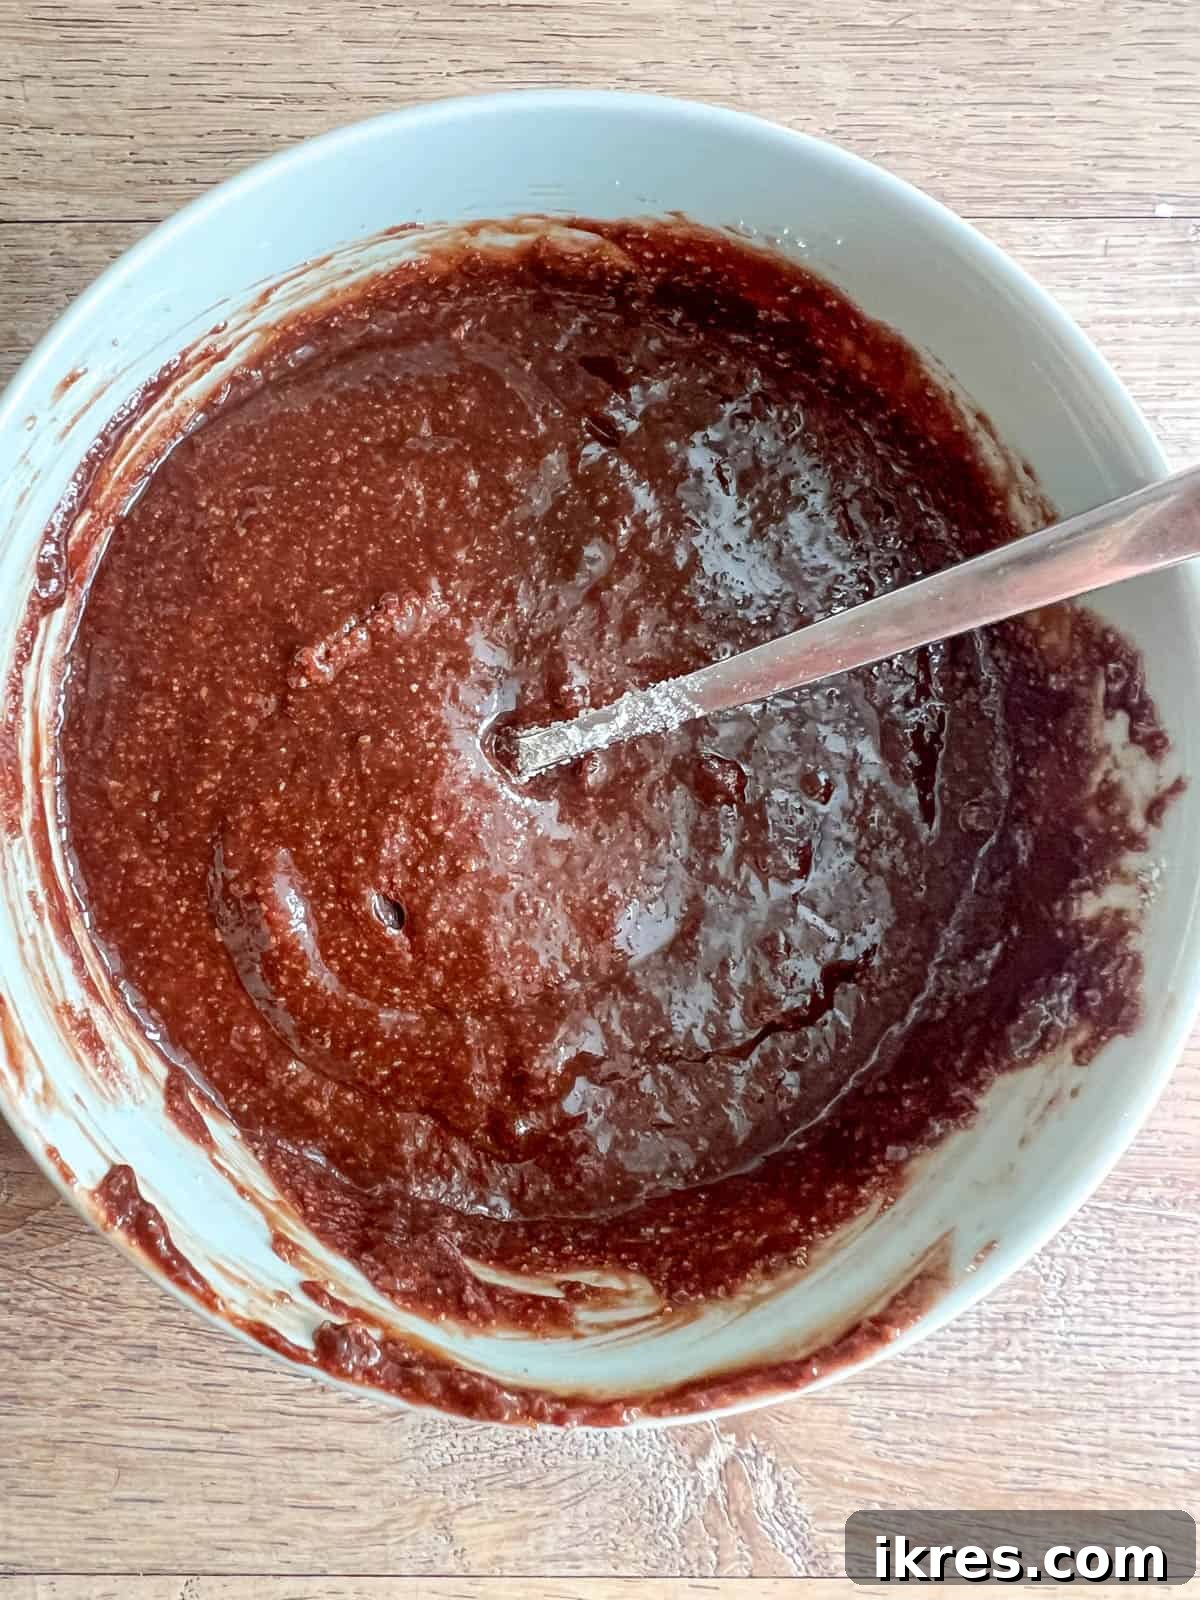
Step 2: Mix Wet and Dry Ingredients. To the melted chocolate mixture, add the egg and maple syrup, stirring until well combined and smooth. Next, incorporate the vanilla extract, salt, and almond flour. Mix until just combined, being careful not to overmix, as this can affect the texture of the brownies. If you’re adding optional chocolate candies or nuts, gently fold them into the batter now.
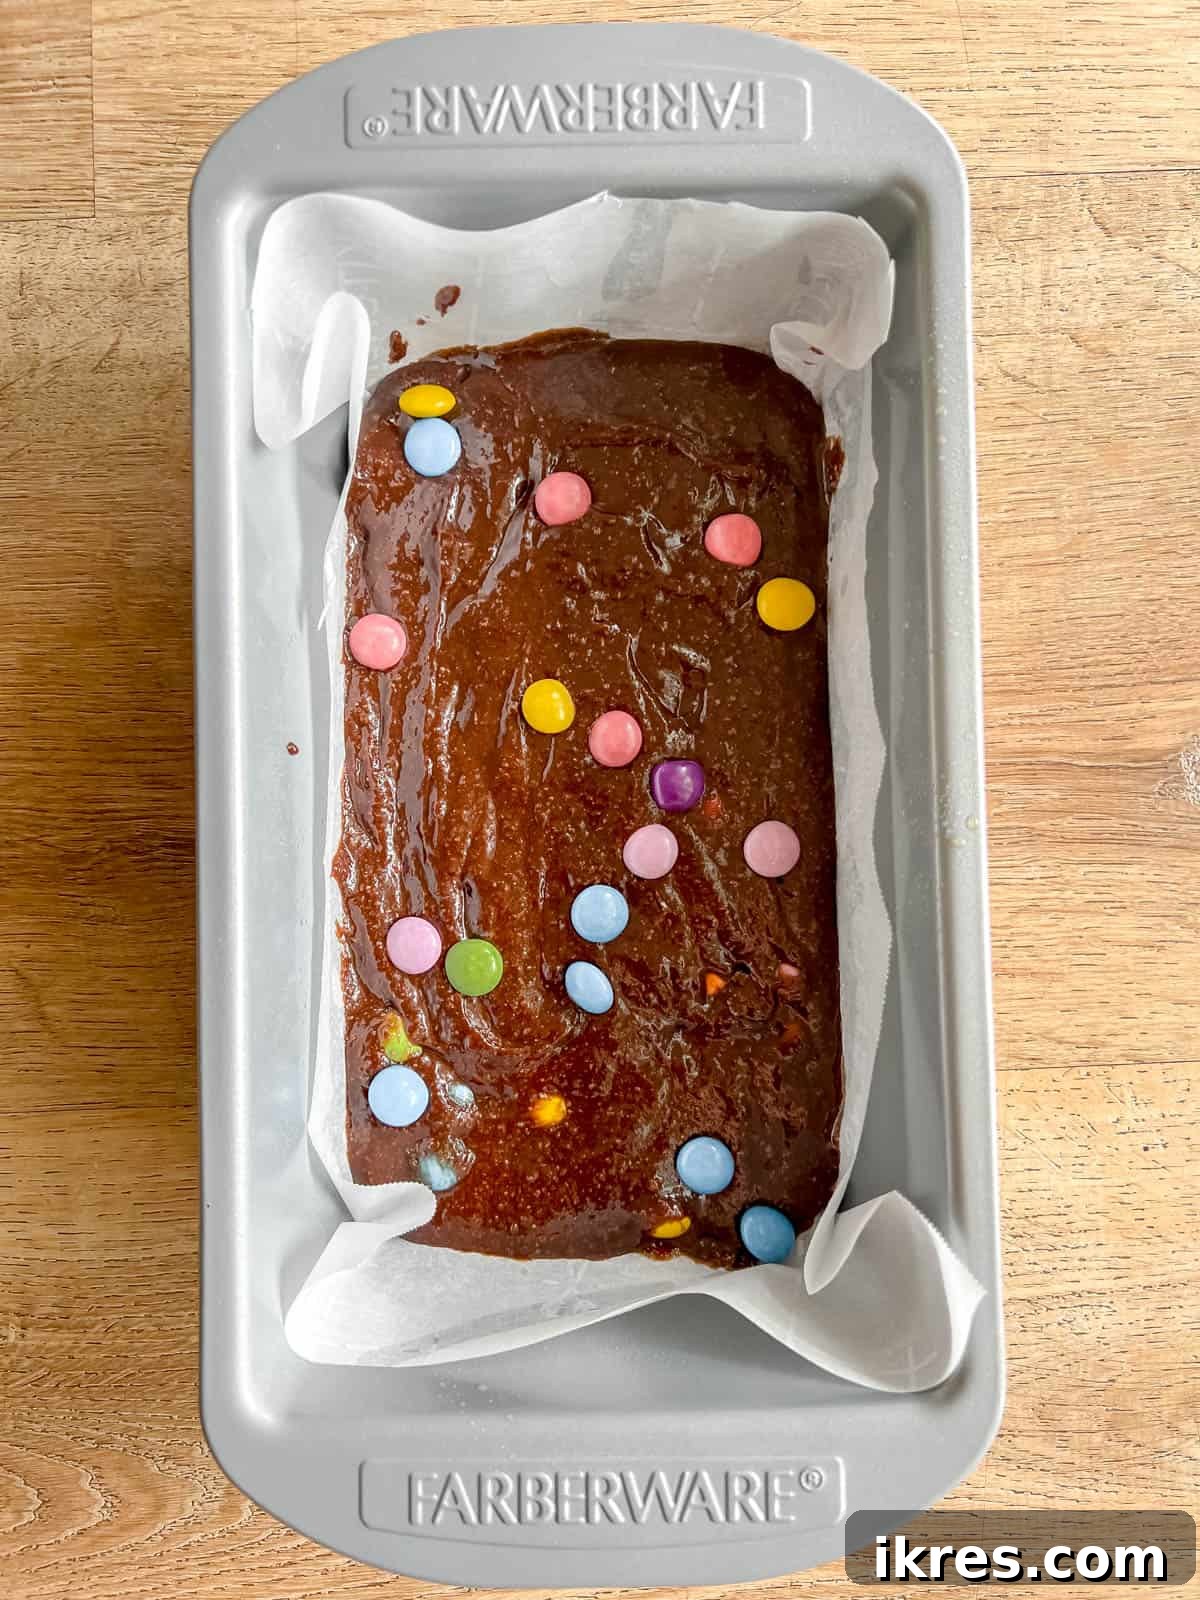
Step 3: Prepare Pan and Pour Batter. Before you start mixing, preheat your oven to 350°F (175°C). Grease and line a 9×5 inch loaf pan with parchment paper, leaving an overhang on the sides to easily lift the brownies out later. Pour the prepared brownie batter into the loaf pan and spread it evenly using a spatula, ensuring the top is smooth.
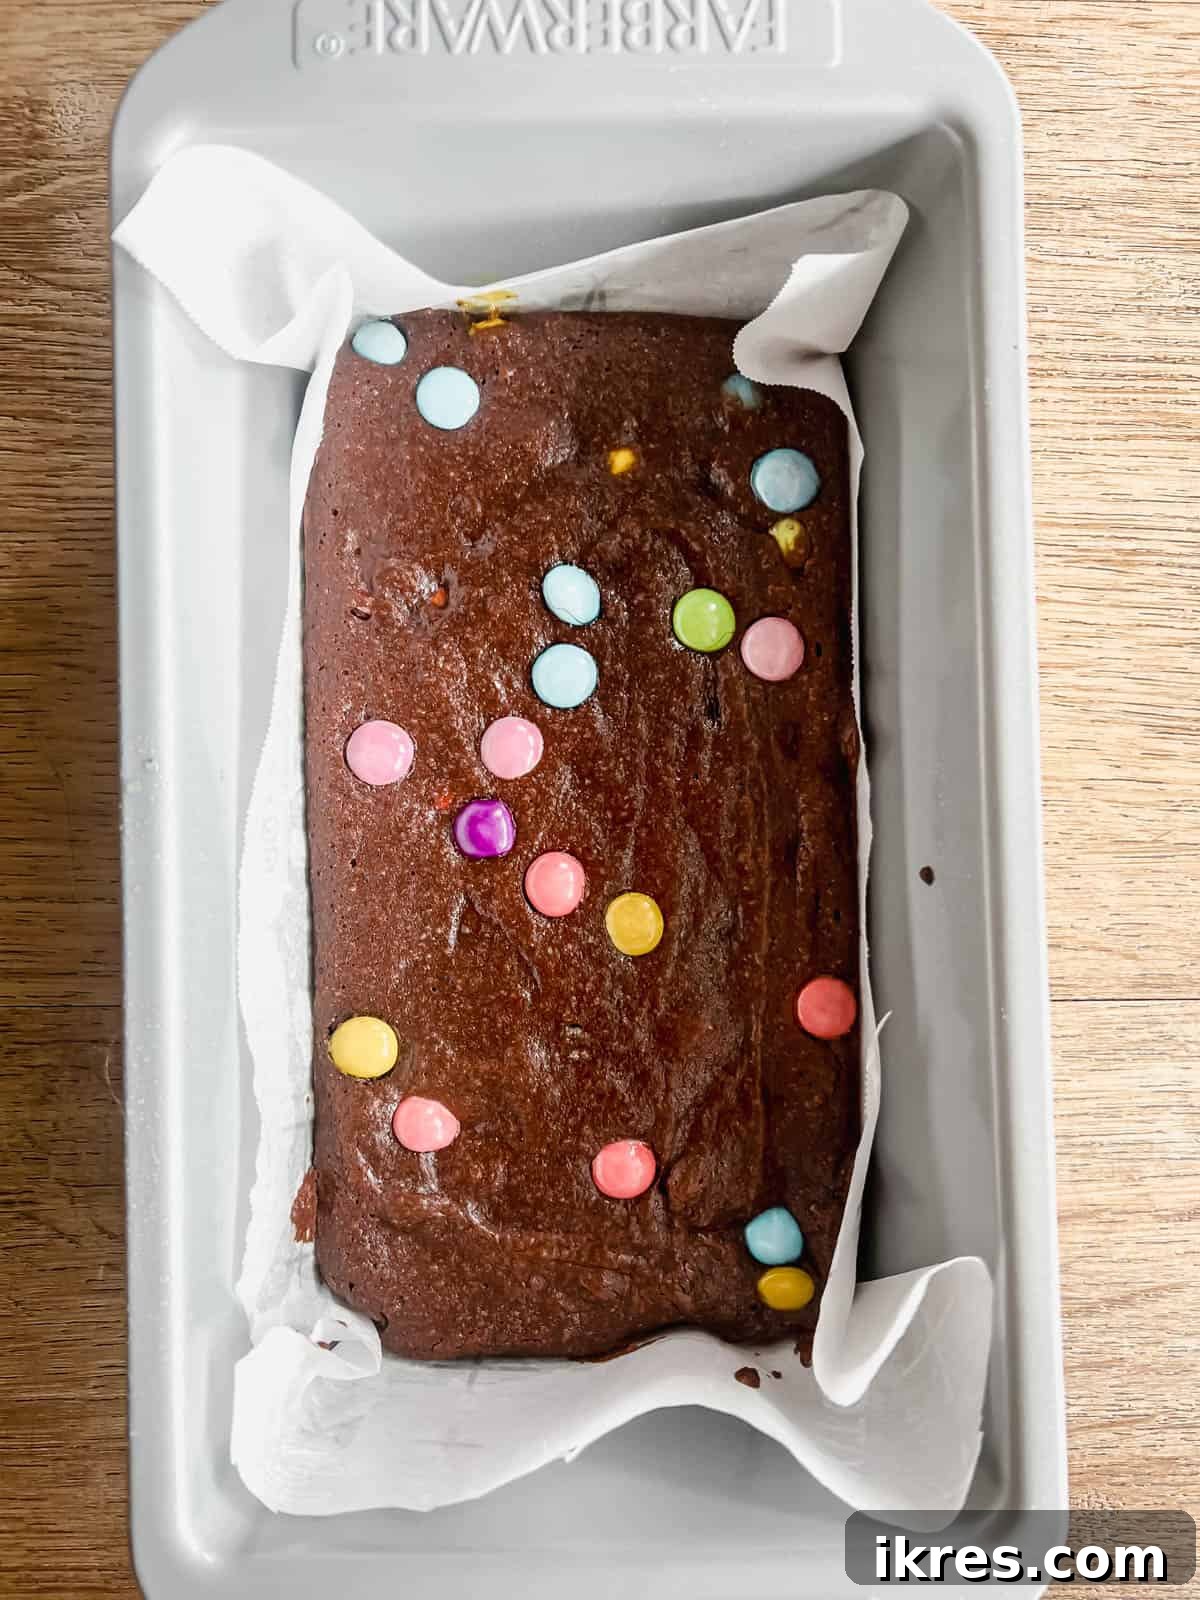
Step 4: Bake to Perfection. Transfer the loaf pan to the preheated oven and bake for 15-18 minutes. The key is to watch for the edges to be set and slightly firm to the touch, while the center still appears a bit moist or slightly undercooked. This ensures maximum fudginess. For truly gooey brownies, aim for the 15-minute mark. For a more cake-like texture, bake closer to 18 minutes.
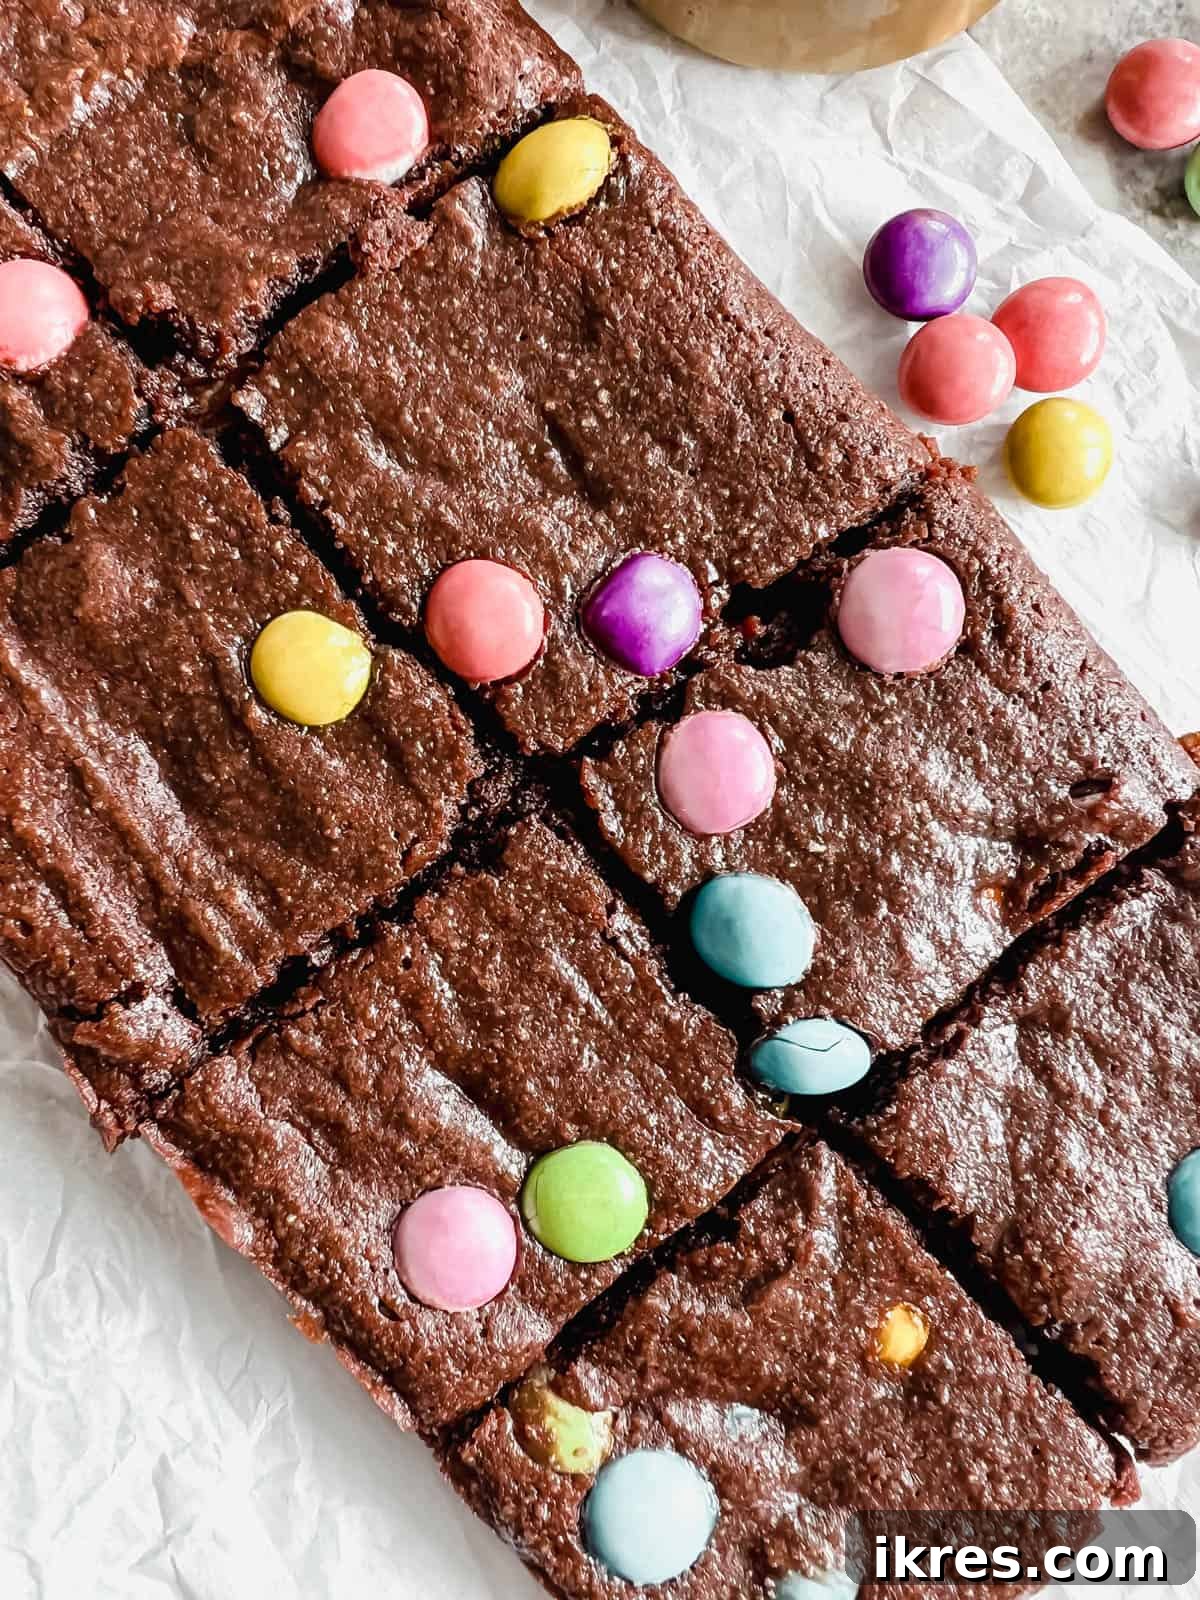
Step 5: Cool and Slice. Once baked, remove the brownies from the oven. This cooling period is crucial for setting the fudgy texture. Allow them to cool in the pan for 5-10 minutes before carefully lifting them out using the parchment paper overhang. Once out of the pan, let them cool a bit more on a wire rack before cutting into 6-8 generous pieces. Enjoy them warm for an ultimate gooey experience or completely cooled for firmer squares.
Expert Tips for Brownie Perfection
- Melt Chocolate Gently: When melting the chocolate chips with the oil, never rush the process. Start with 45 seconds in the microwave, then stir vigorously. If not fully melted, continue in short 15-second bursts, stirring in between. Overheating chocolate can cause it to seize and become hard and unworkable, a common baking mishap. Patience is key for a smooth chocolate base.
- Achieve Ultimate Gooeyness: For those who live for extra gooey, fudgy brownies, remove them from the oven precisely at the 15-minute mark. At this point, the edges will be visibly set and firm to the touch, but the center will still look delightfully moist and slightly undercooked. Letting them cool for 5-10 minutes in the pan, then out on a rack, will allow them to set further into that perfect fudgy consistency without drying out.
- For a More Cakey Texture: If you prefer your brownies with a slightly firmer, more cake-like consistency, extend the baking time to 18 minutes. This extra baking time will allow the center to set more firmly. Always remember that ovens can vary, so it’s wise to know your oven and adjust baking times accordingly.
- Don’t Overmix the Batter: Once you add the almond flour, mix until just combined. Overmixing gluten-free flours, especially those rich in protein like almond flour, can sometimes lead to tougher brownies. A light hand will ensure a tender, soft texture.
- Parchment Paper is Your Friend: Lining your loaf pan with parchment paper and leaving an overhang is a game-changer. It makes lifting the baked brownies out of the pan incredibly easy, preventing sticking and ensuring perfectly shaped squares.
- Cooling is Crucial: Resisting the urge to cut into warm brownies immediately can be tough, but proper cooling allows the brownies to fully set their fudgy texture. Cutting them too soon can result in crumbly, messy pieces. A warm brownie is delicious, but patience makes for a perfect presentation and texture.
Serving & Storage Suggestions
These small batch almond flour brownies are delightful on their own, but a few serving suggestions can elevate the experience:
- Warm Delight: Serve them slightly warm with a scoop of dairy-free vanilla ice cream or a dollop of coconut whipped cream for an ultimate dessert experience.
- Classic Toppings: A sprinkle of sea salt flakes just after baking can intensify the chocolate flavor, or a dusting of cocoa powder for a sophisticated finish.
- Fruity Pairing: Fresh raspberries or sliced strawberries offer a lovely tart contrast to the rich chocolate.
Storing Your Brownies:
Once cooled, place the brownies on a plate and cover them tightly with plastic wrap (saran wrap) or transfer them to an airtight container. They will stay fresh and fudgy on the counter for up to 3 days. For longer storage, refrigerate for up to a week.
Absolutely! Brownies freeze beautifully. First, ensure they are completely cooled. Then, wrap individual brownies tightly in plastic wrap to prevent freezer burn. Place the wrapped brownies into a freezer-safe plastic bag or an airtight container. They can be frozen for up to 2-3 months. To enjoy, simply thaw at room temperature or warm gently in the microwave.
Recipe FAQs
Yes, while this recipe is optimized for almond flour, you can experiment with other nut flours. Hazelnut flour or pecan flour can be used for a slightly different, delicious flavor profile. These flours typically behave similarly to almond flour in gluten-free baking. However, I would not recommend substituting with coconut flour, as it absorbs liquids very differently and would require significant recipe adjustments.
Yes, 100% pure honey or date syrup can be used as direct substitutes for maple syrup. Keep in mind that honey is thicker and will require more thorough mixing. Agave nectar could also work, though it is often sweeter, so you might use slightly less. Avoid artificial sweeteners as they can affect the texture and baking process.
While “healthy” is subjective, these brownies are made with significantly healthier ingredients compared to traditional recipes. They use almond flour (high in protein, fiber, healthy fats), natural maple syrup instead of refined sugar, and olive oil for beneficial fats. They are gluten-free and dairy-free. This makes them a more nutritious choice for an occasional treat.
A standard 9×5 inch metal loaf pan works best for this recipe. Glass or ceramic pans can sometimes cook differently, potentially requiring longer baking times or affecting the edges. Always remember to grease and line your pan with parchment paper for easy removal.
Other Fun Halloween Recipes (Optional)
While these brownies are great year-round, here are some other festive recipes for Halloween:
Gluten Free Frankenstein Rice Krispies
Spider Cupcakes
More Almond Flour Brownie Recipes You’ll Love
If you’re now an almond flour brownie enthusiast, explore these other fantastic recipes:
Did you try this recipe? Please leave me a ⭐ review below! Your feedback helps others discover delicious recipes.
Small Batch Almond Flour Brownies (Gluten-Free)
Gooey, decadent brownies made with almond flour and other healthier ingredients, perfect for a quick, wholesome treat.
Ingredients
- 3 Tablespoons olive oil (or avocado oil or melted coconut oil)
- ½ cup dairy-free chocolate chips
- 1 egg
- ¼ cup maple syrup
- ⅛ teaspoon salt
- ½ cup almond flour
- 1 teaspoon vanilla extract
- ⅓ cup healthier candy-coated chocolates (optional, note: may contain dairy)
Instructions
- Preheat the oven to 350°F (175°C). Grease and line a 9×5 inch loaf pan with parchment paper, leaving an overhang on the sides.
- In a medium microwave-safe bowl, combine the olive oil and chocolate chips. Microwave for 45 seconds, then stir until smooth. If needed, microwave in additional 15-second increments, stirring after each, until the chocolate is fully melted and glossy.
- Add the egg and maple syrup to the melted chocolate mixture and mix well until fully combined.
- Stir in the salt, vanilla extract, and almond flour. Mix until just combined and a smooth batter forms.
- If using candy-coated chocolates, gently fold them into the batter now.
- Pour the batter into the prepared loaf pan and spread it evenly with a spatula.
- Bake for 15-18 minutes. The edges should appear set and slightly firm, while the center will still look a bit moist. Bake for 15 minutes for gooier brownies, or 18 minutes for a slightly firmer, more cake-like texture.
- Remove the brownies from the oven and let them cool in the pan for 5-10 minutes. Use the parchment paper overhang to lift them out, then transfer to a wire rack to cool further before cutting into 6-8 pieces. Enjoy warm or fully cooled.
Chef’s Notes
- Gentle Chocolate Melting: Avoid microwaving chocolate for too long at once. Start with 45 seconds, then stir. Continue in 15-second intervals only if necessary. Overheated chocolate can seize and become unusable.
- For Gooey Brownies: Bake for precisely 15 minutes. The center will still look slightly wet, but the edges should be set. Cooling for 5-10 minutes will allow them to firm up perfectly while maintaining that desirable gooey texture.
- For Firmer Brownies: Bake for 18 minutes. This extra time will result in a brownie with a more uniform, cake-like texture that is less gooey in the center.
Nutrition Information
Nutrition information is automatically calculated and should only be used as an approximation.
Additional Info
Tried this amazing recipe?
We’d love to see your creations! Mention @perchancetocook or tag #perchancetocook on Instagram!