
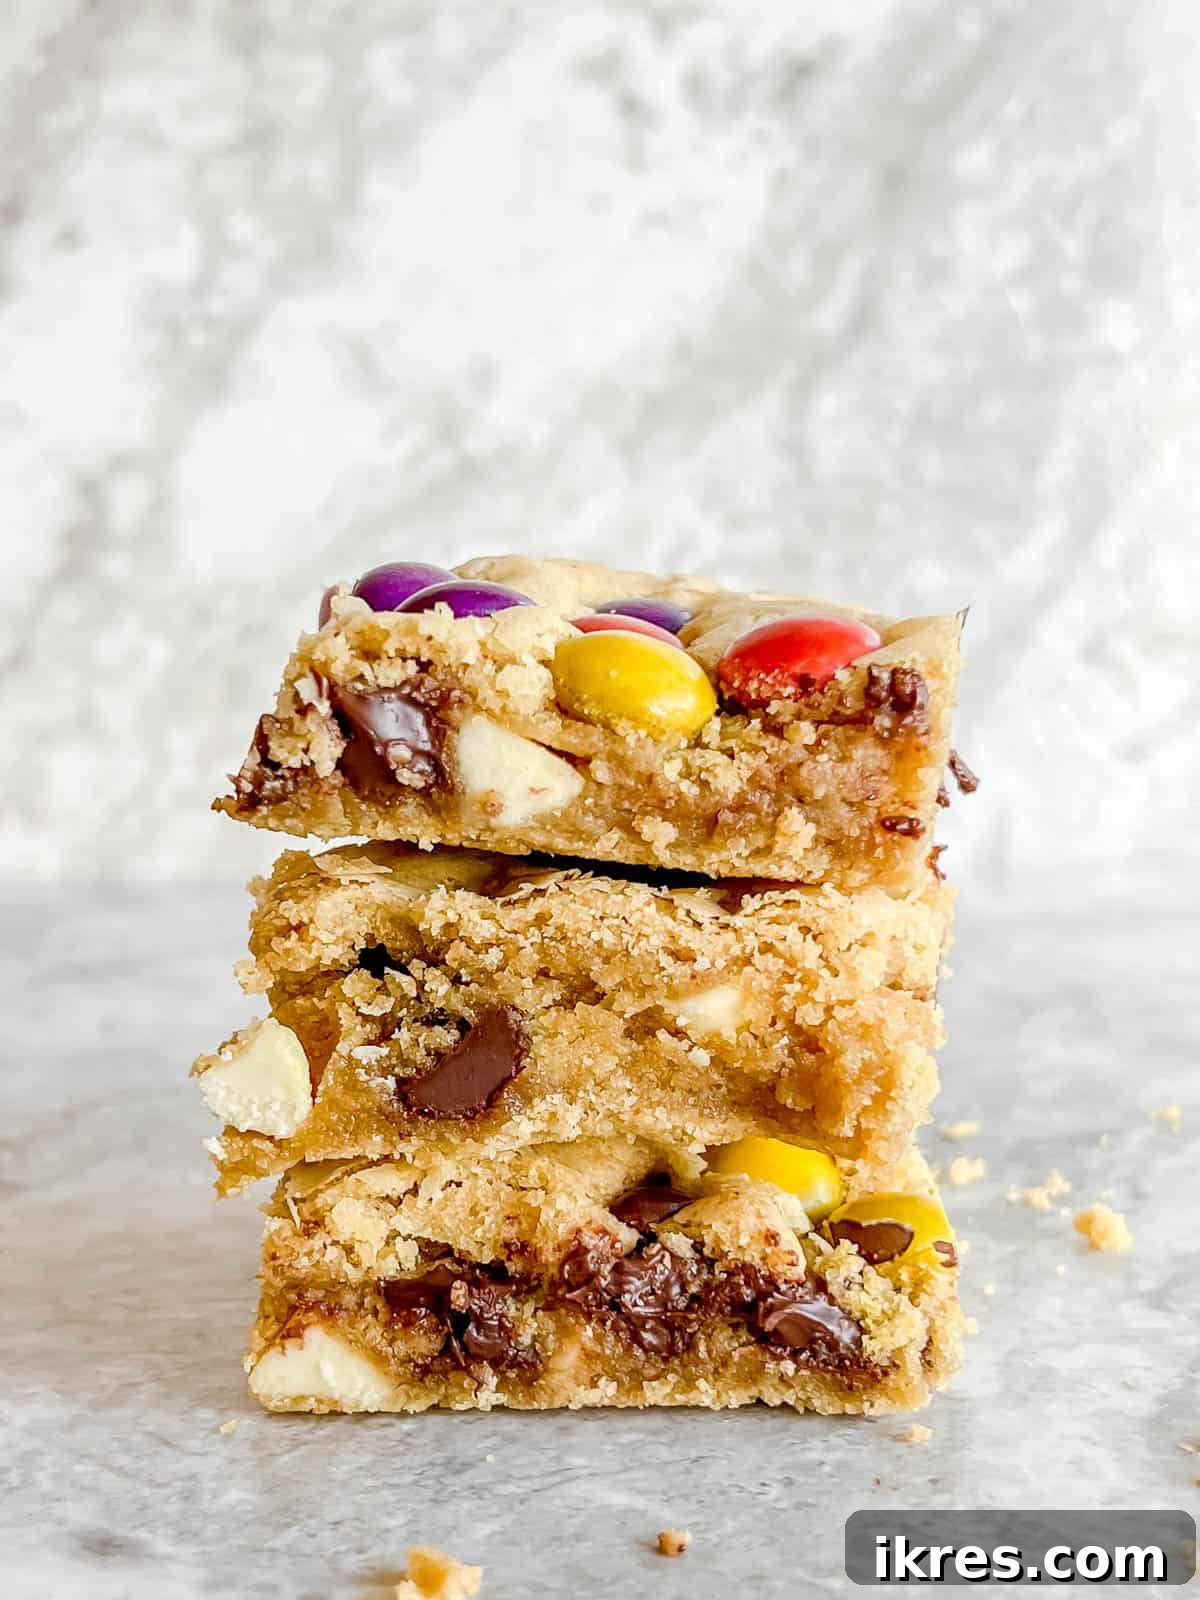
Ultimate Gluten-Free & Dairy-Free Chocolate Chip Cookie Bars: A Guilt-Free Indulgence
Prepare to fall in love with these incredibly delightful gluten-free cookie bars. They are the epitome of an indulgent dessert, promising a perfect blend of gooey centers, chewy edges, and an explosion of classic chocolate chip cookie flavor. What makes them even better? They are thoughtfully crafted to be both dairy-free and gluten-free, making them an accessible treat for many!
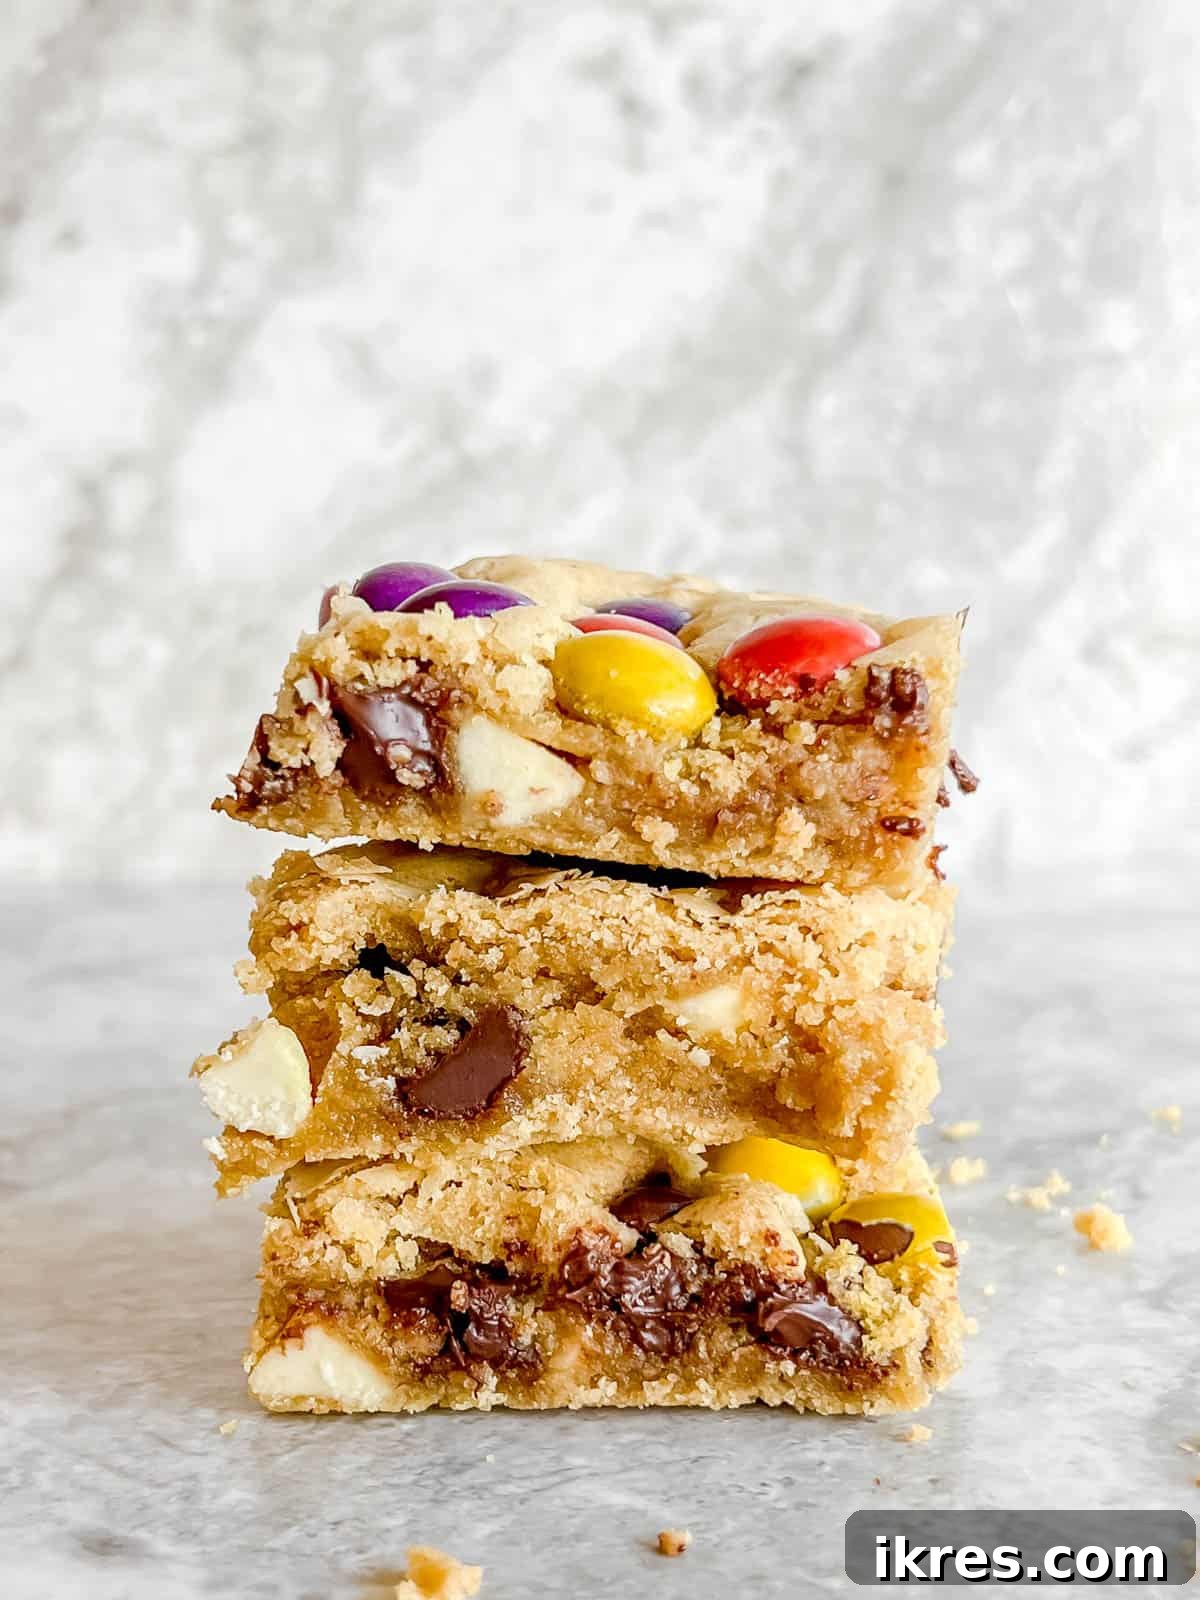
These cookie bars aren’t just a recipe; they’re a revelation. They consistently hit that sweet spot, satisfying cravings and pleasing crowds with their irresistible taste and texture. Beyond their incredible flavor, they offer a slightly healthier twist compared to traditional cookie bar recipes. By using olive oil instead of butter and a reliable gluten-free flour blend, we’ve created a dessert that feels good and tastes even better. These bars prove that dietary restrictions don’t mean compromising on deliciousness.
If you’re a fan of scrumptious gluten-free and dairy-free desserts, you’ll also adore my paleo apple muffins, delightful almond oatmeal cookies, or my refreshing strawberry crisp. Each recipe is designed to bring joy without the worry.
Table of Contents
- Why This Recipe Shines
- Essential Ingredients
- Customizing Your Cookie Bars: Additions & Substitutions
- Step-by-Step Baking Guide
- Expert Baking Tips for Perfection
- Frequently Asked Questions (FAQs)
- More Gluten-Free Dessert Ideas You’ll Love
- Recipe Card: Gluten-Free Chocolate Chip Cookie Bars (Dairy-Free)
Why These Gluten-Free Cookie Bars Are a Must-Try
These gluten-free chocolate chip cookie bars aren’t just easy to make; they come with a host of benefits that will make them a staple in your dessert repertoire:
- Effortlessly Customizable: Whether you prefer the crunch of nuts, a medley of chocolate candies, or a specific type of chocolate like white, dark, or dairy-free chips, this recipe is incredibly versatile. It’s a blank canvas for your creativity, allowing you to tailor each batch to your exact preferences or whatever you have in your pantry.
- Perfect for Dietary Needs: This recipe is a fantastic choice for anyone following a gluten-free diet or a dairy-free diet. It simplifies dessert planning for those with specific dietary requirements, ensuring everyone can enjoy a truly decadent treat.
- Allergy-Friendly Design: Crafted to be free from common allergens, these bars are inherently dairy-free, gluten-free, nut-free (if you omit added nuts), and soy-free (when using appropriate chocolate chips). This makes them an ideal option for gatherings where guests may have various food sensitivities.
- Healthier Indulgence: While they taste wonderfully decadent, these cookie bars are made with slightly healthier alternatives. The use of heart-healthy olive oil instead of butter contributes to a lighter profile, without sacrificing any of the rich, buttery flavor you expect from a classic cookie.
- Mindful Sweetness: We’ve carefully calibrated the sugar content, resulting in a dessert that is less sweet than many average cookie bars, allowing the true flavors of the chocolate and vanilla to shine through without being overwhelmingly sugary. This thoughtful approach to sweetness makes them enjoyable without the typical sugar crash.
Crafting Perfection: The Essential Ingredients You’ll Need
Creating these delightful gluten-free and dairy-free cookie bars starts with a few simple, high-quality ingredients. Each plays a crucial role in achieving that perfect gooey, chewy texture and rich flavor profile.
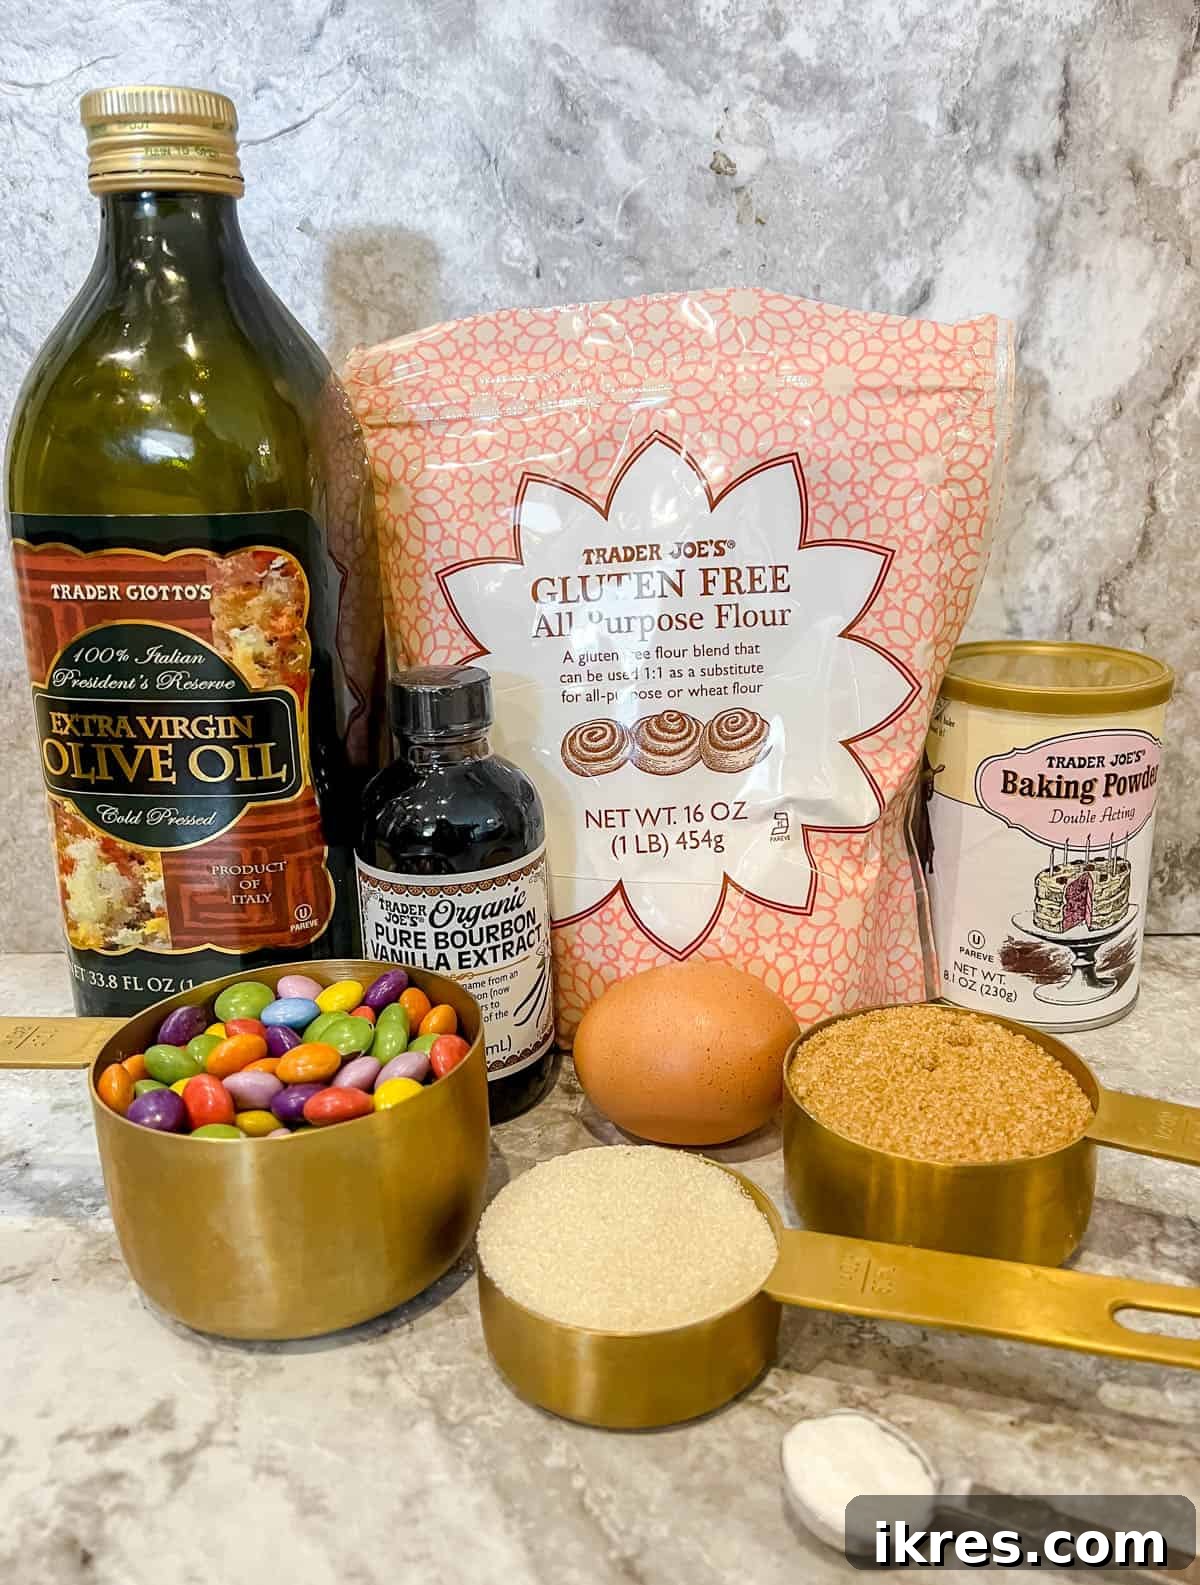
- Gluten-Free All-Purpose Flour: The foundation of our cookie bars. It’s vital to select a high-quality gluten-free all-purpose flour blend that is specifically designed for a 1:1 substitution ratio with regular wheat flour. This ensures the correct texture and consistency without needing complex adjustments. Brands like Bob’s Red Mill 1-to-1 Baking Flour or King Arthur Gluten-Free Measure for Measure Flour are excellent choices.
- Olive Oil: Our chosen fat, replacing traditional butter for a dairy-free profile and a healthier twist. Any good quality olive oil will work beautifully here, from light olive oil to extra virgin. It imparts a subtle fruitiness and moisture that makes these bars incredibly tender. Avocado oil is a suitable alternative if you prefer.
- Cane Sugar: This provides a clean, sweet flavor. I opt for cane sugar because it is less processed than conventional white granulated sugar, offering a slightly more nuanced sweetness. However, standard granulated white sugar will work perfectly fine if that’s what you have on hand.
- Brown Sugar: Essential for adding depth of flavor and contributing to the chewy texture. Light brown sugar is generally preferred for its balanced molasses notes, but if dark brown sugar is all you have, it will still yield delicious results with a slightly richer, deeper caramel flavor. Ensure it’s packed firmly when measuring.
- Egg: Acts as a crucial binder, holding the dough together and adding structure, moisture, and richness to the cookie bars. Use a large egg at room temperature for best results, as it incorporates more smoothly into the wet ingredients.
- Chocolate Chips: The star of any chocolate chip cookie recipe! Your choice here depends entirely on your dietary needs and personal taste. You can use classic semi-sweet chocolate chips, decadent dark chocolate chips, creamy white chocolate chips, or specifically dairy-free chocolate chips to keep the recipe fully compliant. For an extra fun twist, consider mixing in chocolate candies.
- Baking Soda and Baking Powder: These leavening agents work in harmony to give the cookie bars their perfect rise and soft, airy texture. Ensure both are fresh for optimal effectiveness. Baking soda reacts with the acidic brown sugar, while baking powder provides additional lift.
- Salt: A pinch of salt is crucial for balancing the sweetness and enhancing all the other flavors in the cookie bars, making them taste even richer and more complex.
For a precise list of quantities and detailed measurements, please refer to the complete recipe card below.
Elevate Your Bars: Exciting Additions and Smart Substitutions
This recipe is incredibly adaptable, allowing you to personalize your gluten-free cookie bars to suit your taste, dietary needs, or what you have available. Here are some fantastic ways to customize your batch:
- Oil Alternatives: While olive oil provides a wonderful flavor and texture, you can seamlessly substitute it with avocado oil if you prefer a more neutral-tasting oil or have it on hand. Both are excellent dairy-free fat sources.
- Sugar Swaps: If cane sugar isn’t available, standard white sugar or granulated sugar can be used as a direct 1:1 replacement. The subtle difference in flavor and processing will be minimal in the final product.
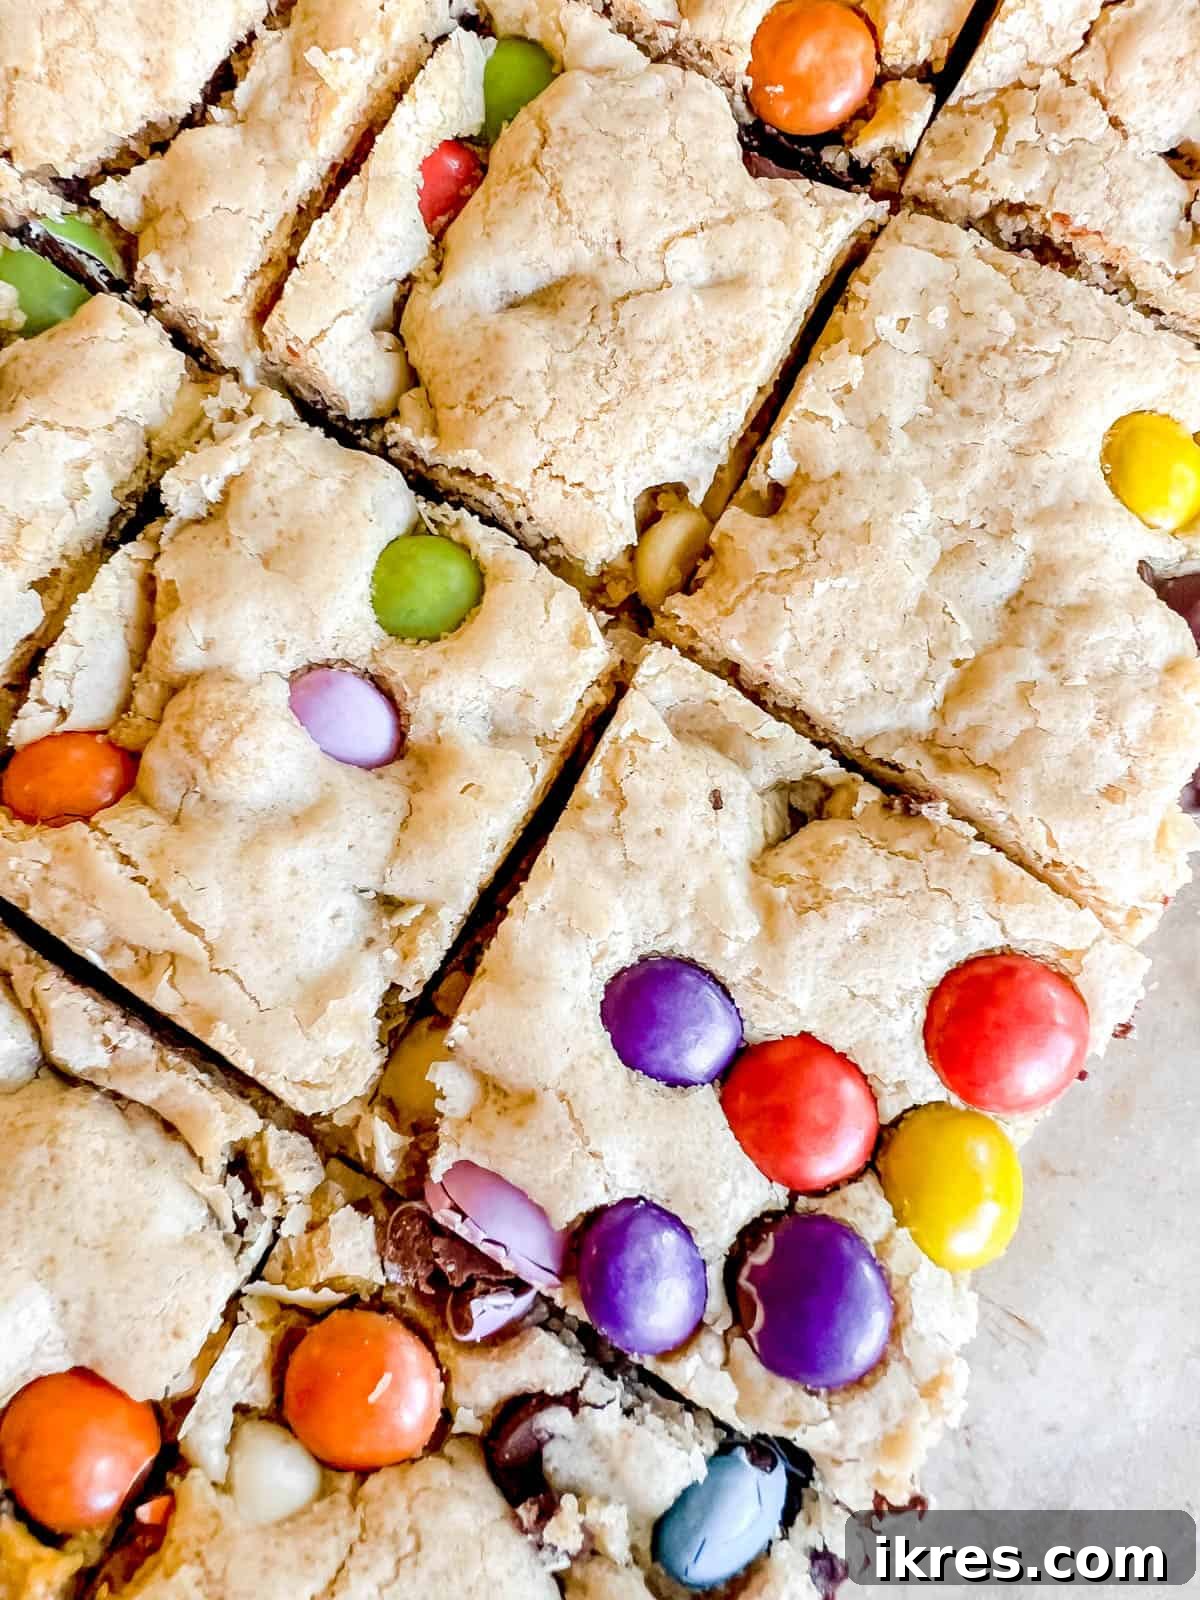
- Beyond Chocolate Chips: Unleash your creativity with different mix-ins! Instead of traditional chocolate chips, consider using chocolate candies (like M&Ms). For a dairy-free option, I highly recommend Little Secrets Dark Chocolate Candies; they are not only dairy-free but also made without artificial colors or flavors, making them a great choice for a healthier indulgence.
- Add a Nutty Crunch: For those who enjoy a little extra texture and flavor, feel free to add nuts! Chopped walnuts, pecans, or almonds would be fantastic additions. If you’re keeping the recipe nut-free, simply skip this step.
- Extract Variations: While vanilla extract is classic, a splash of almond extract or peppermint extract could introduce exciting new flavor dimensions, especially during holidays.
- Dried Fruits: For a fruity twist, incorporate dried cranberries, cherries, or finely chopped apricots into the dough alongside or instead of chocolate.
Step-by-Step Guide to Baking Bliss: How to Make Your Cookie Bars
Baking these gluten-free and dairy-free chocolate chip cookie bars is a straightforward and enjoyable process. Follow these simple steps to create a batch of perfectly gooey and chewy treats.
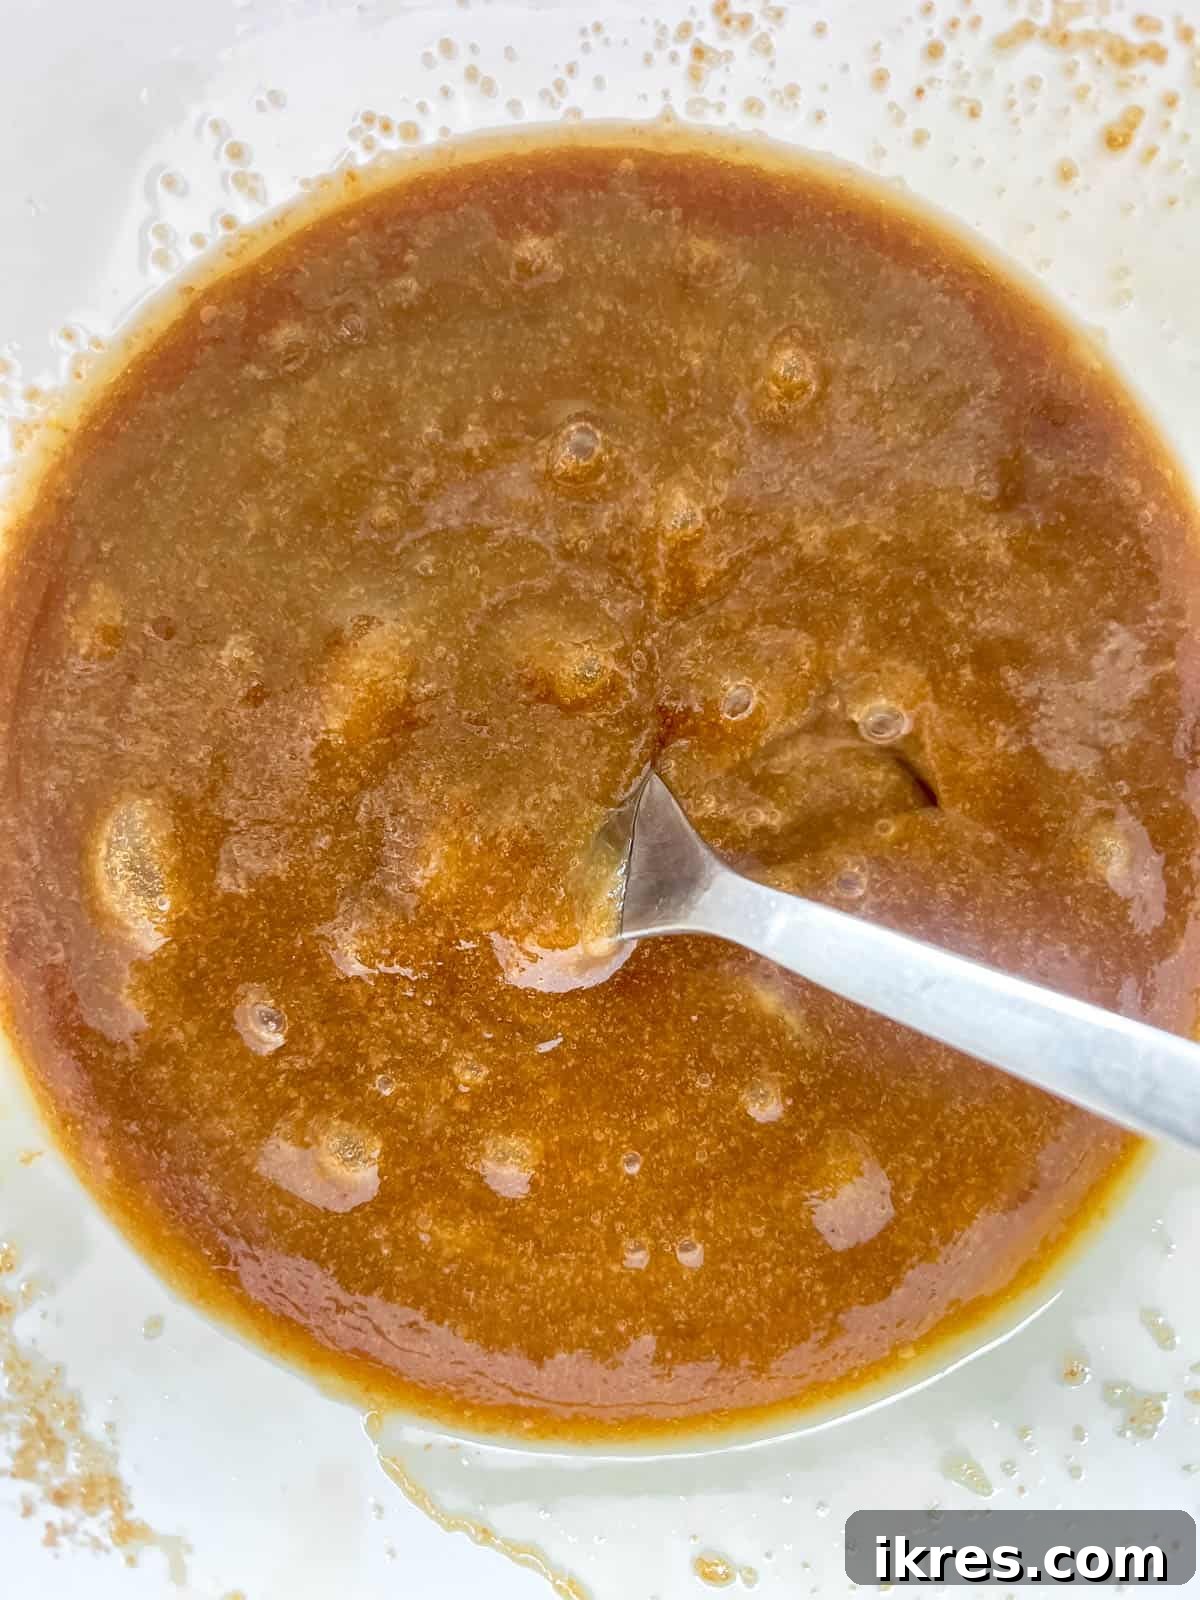
Step 1: Prepare the Wet Ingredients. In a large mixing bowl, combine the brown sugar, cane sugar, olive oil, egg, and vanilla extract. Whisk vigorously with a fork or a hand mixer until the mixture is completely uniform, smooth, and well-combined. Ensure no lumps of sugar remain.
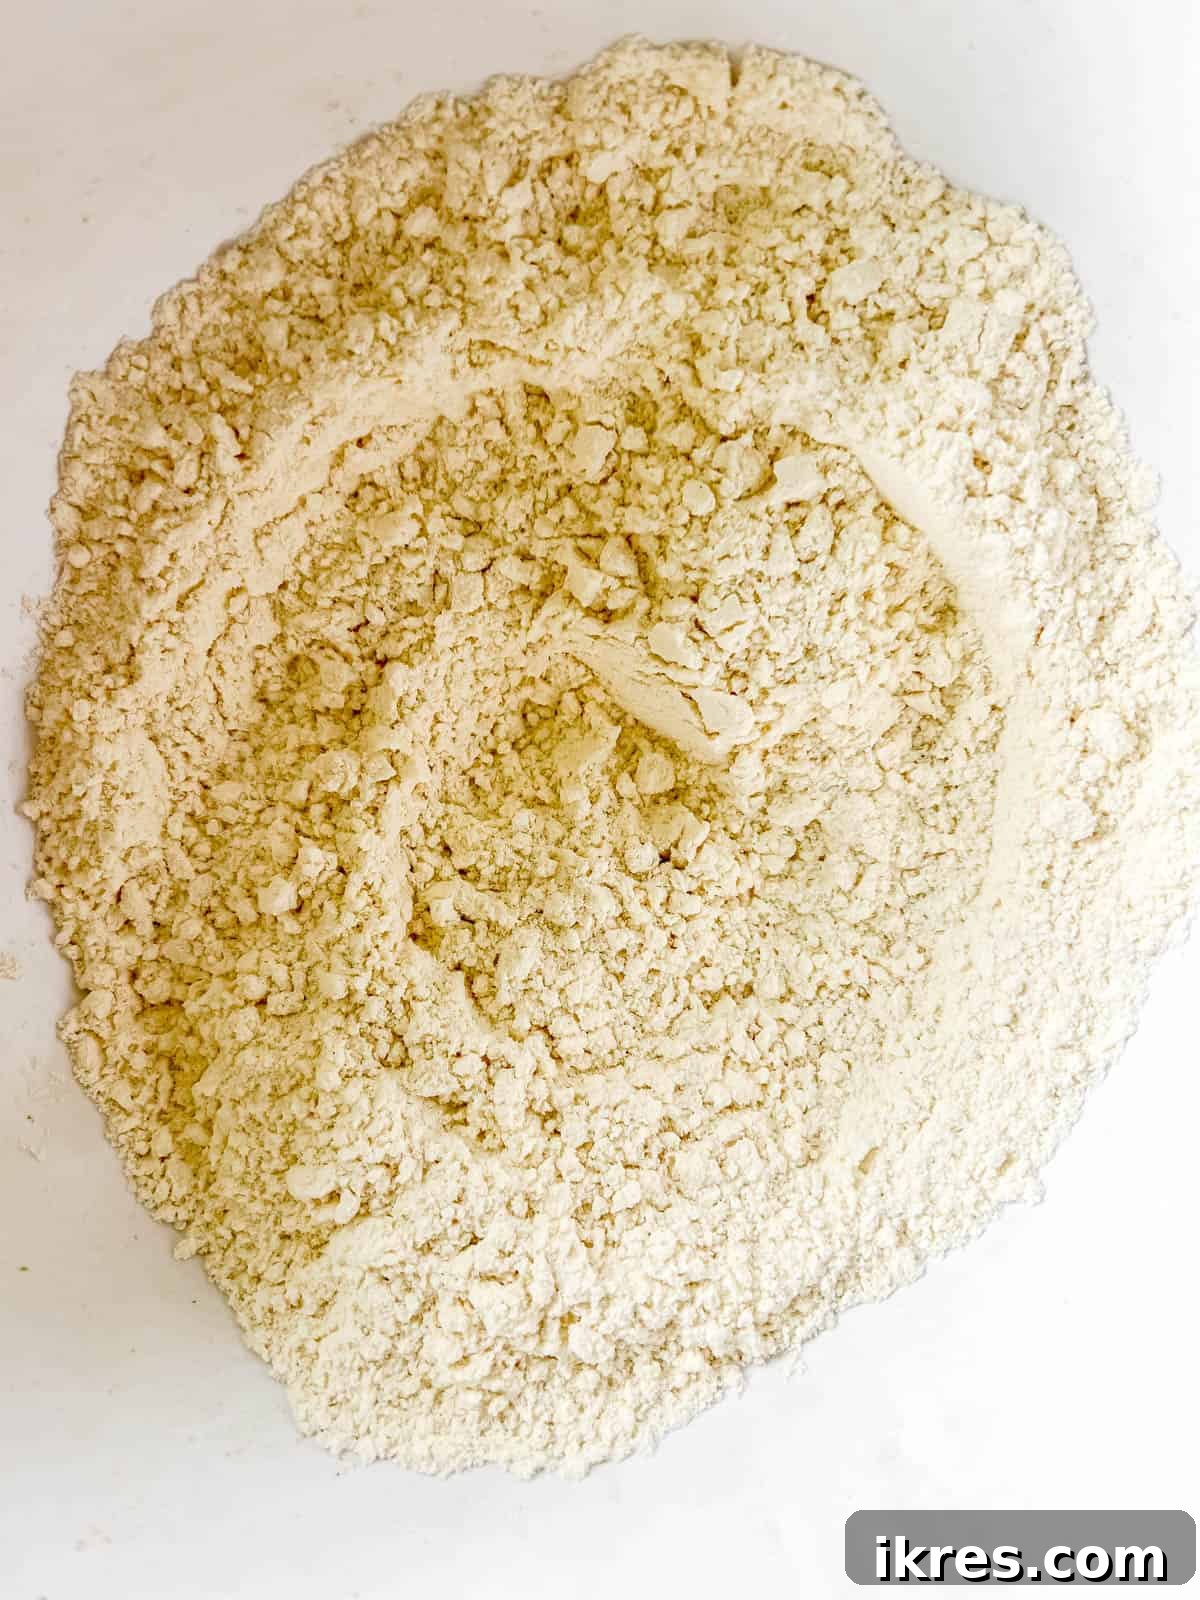
Step 2: Mix the Dry Ingredients. In a separate, medium-sized bowl, add the gluten-free all-purpose flour, baking soda, baking powder, and salt. Use a fork or a whisk to thoroughly combine these dry ingredients. This step ensures that the leavening agents and salt are evenly distributed throughout the flour, preventing pockets of uneven texture in your baked bars.
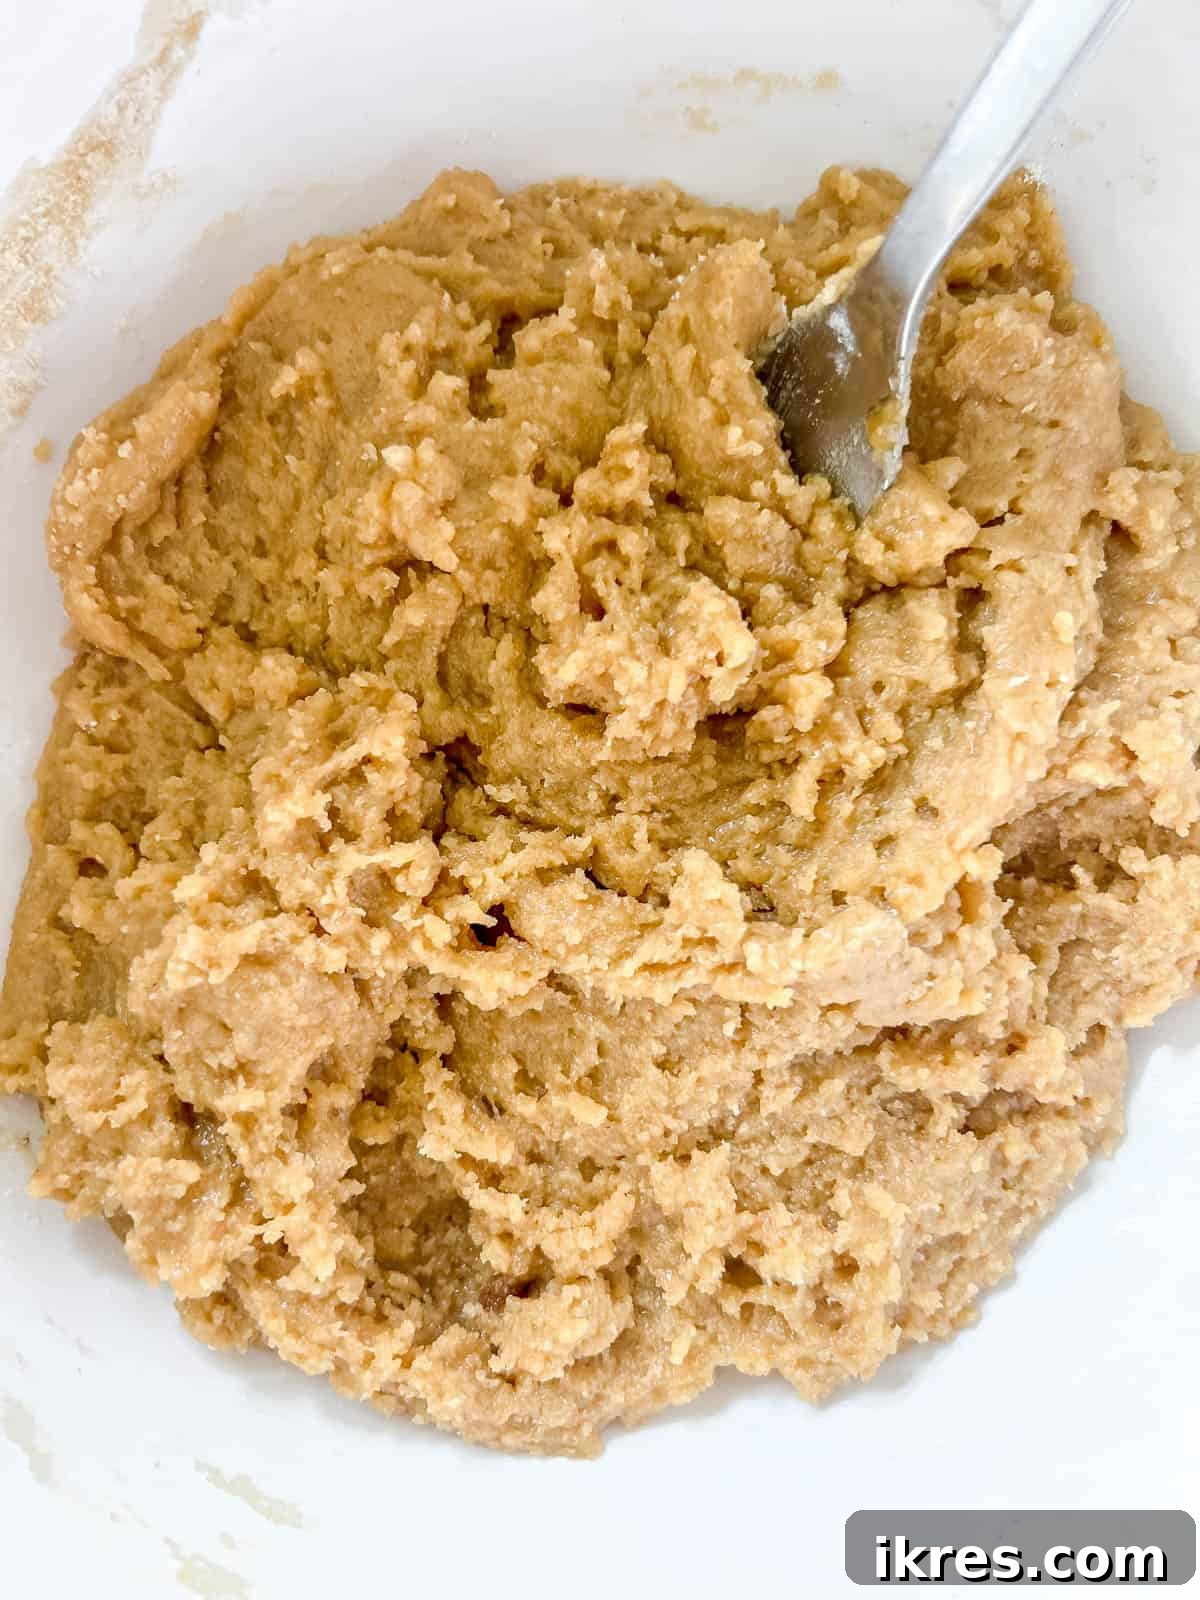
Step 3: Form the Cookie Dough. Gently pour the bowl of dry ingredients into the bowl containing the wet ingredients. Mix everything together with a sturdy spatula or wooden spoon until a cohesive cookie dough forms. Be careful not to overmix; stop as soon as the flour streaks disappear to keep the bars tender.
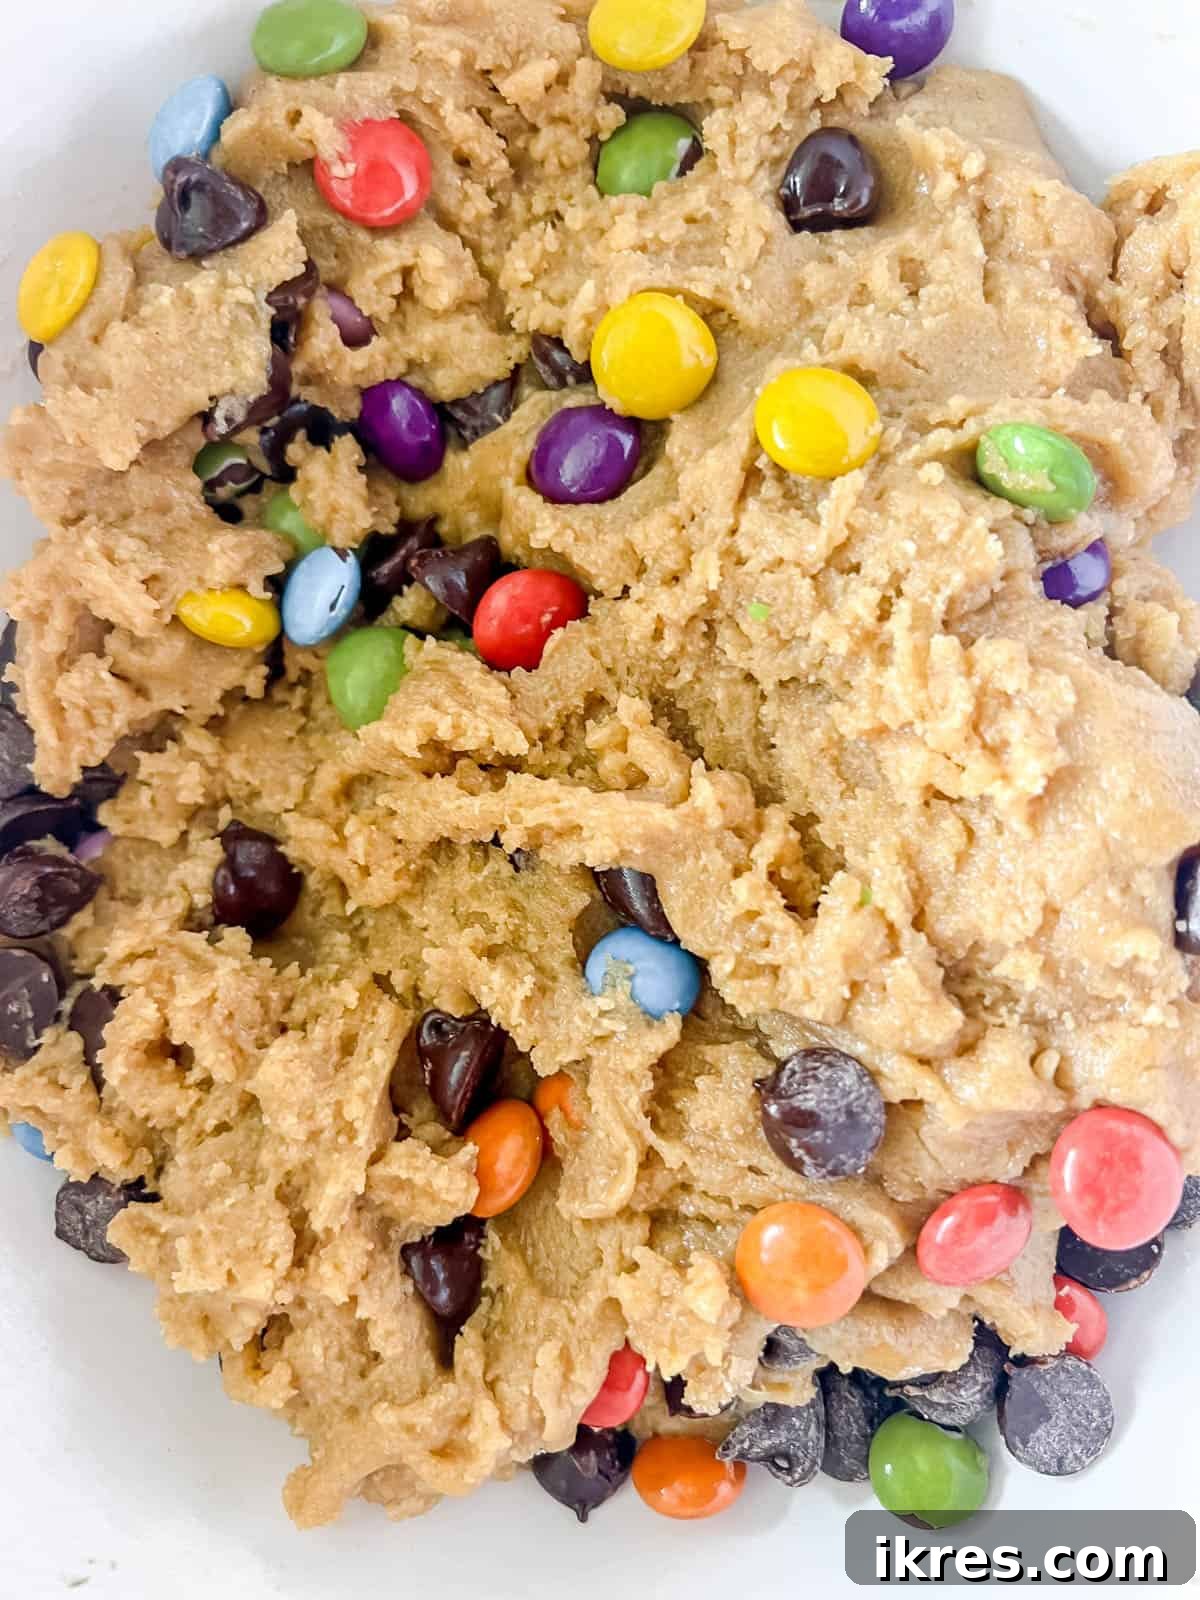
Step 4: Incorporate the Chocolate Chips. Now it’s time for the best part! Add your chosen chocolate chips (or candies) to the cookie dough. Fold them in gently until they are evenly distributed throughout the dough. Don’t be shy about adding a little extra if you’re a serious chocolate lover!
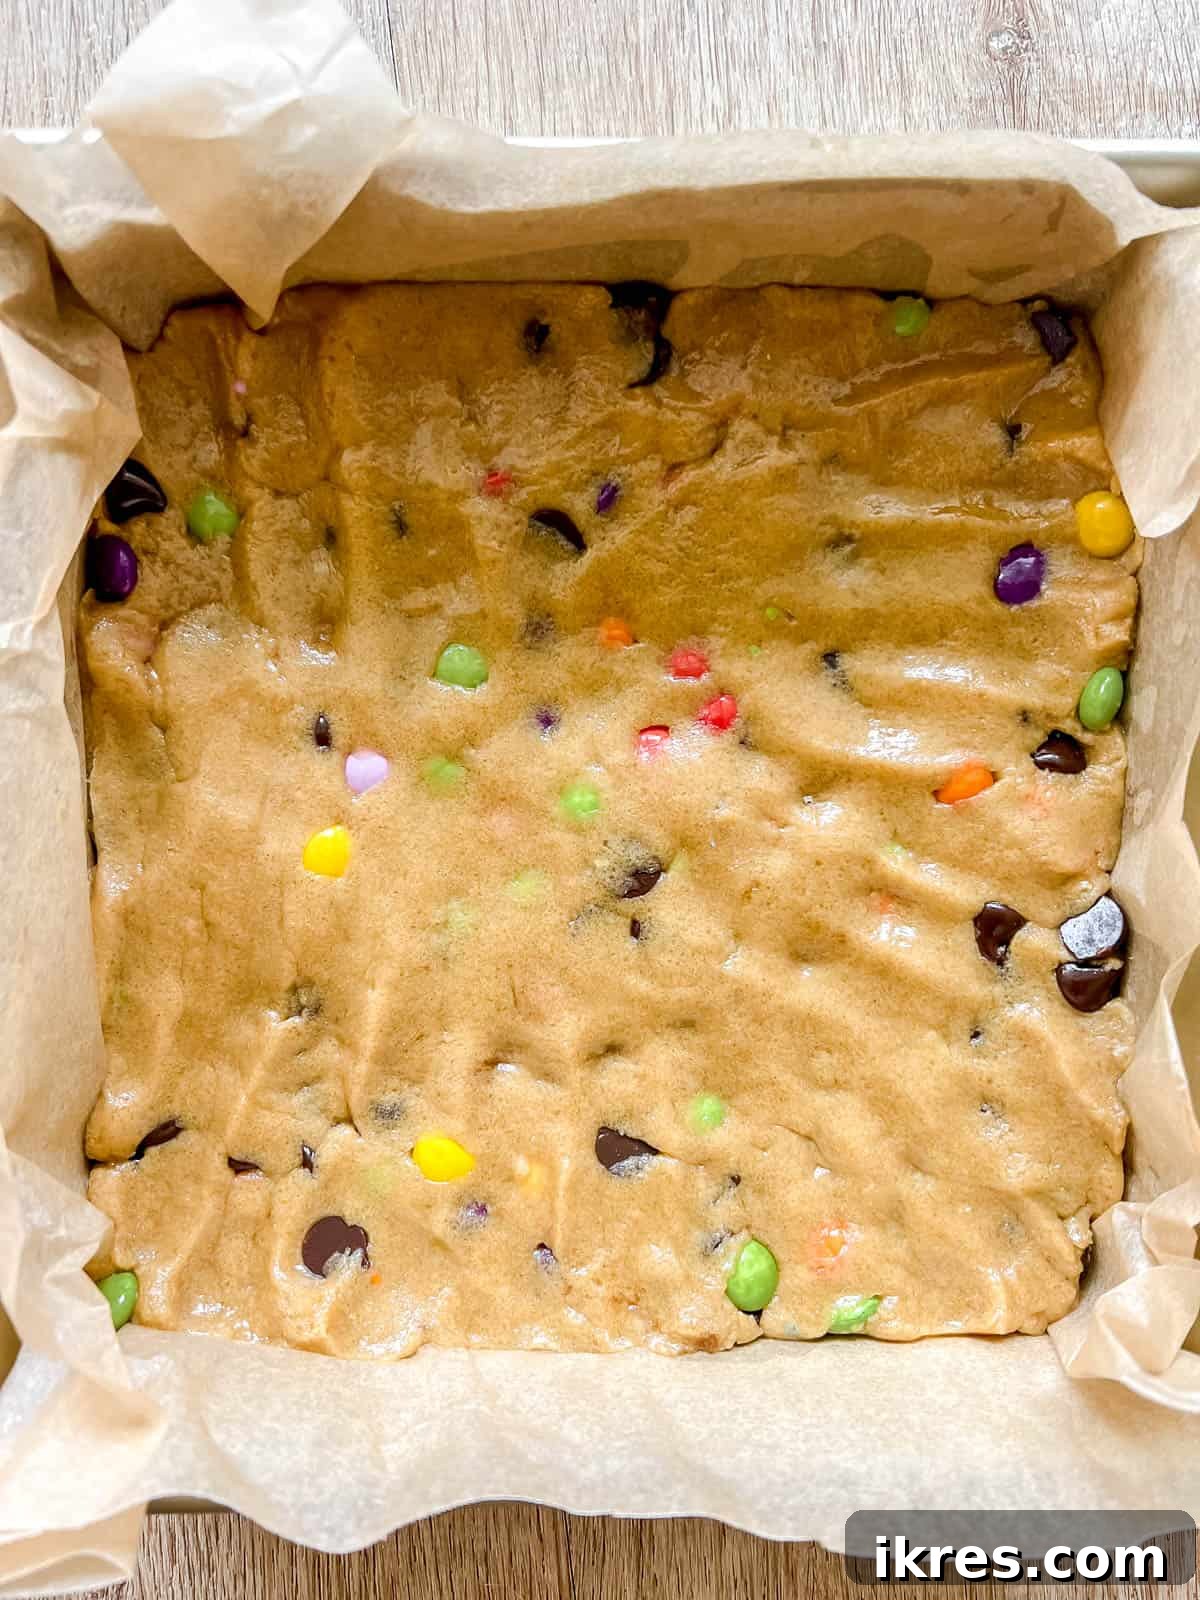
Step 5: Prepare for Baking. Evenly press the cookie dough into an 8×8 inch baking pan that has been lined with parchment paper, allowing some overhang on two opposite sides for easy removal. Use a spatula or your clean fingers to spread the dough smoothly and uniformly across the bottom of the pan.
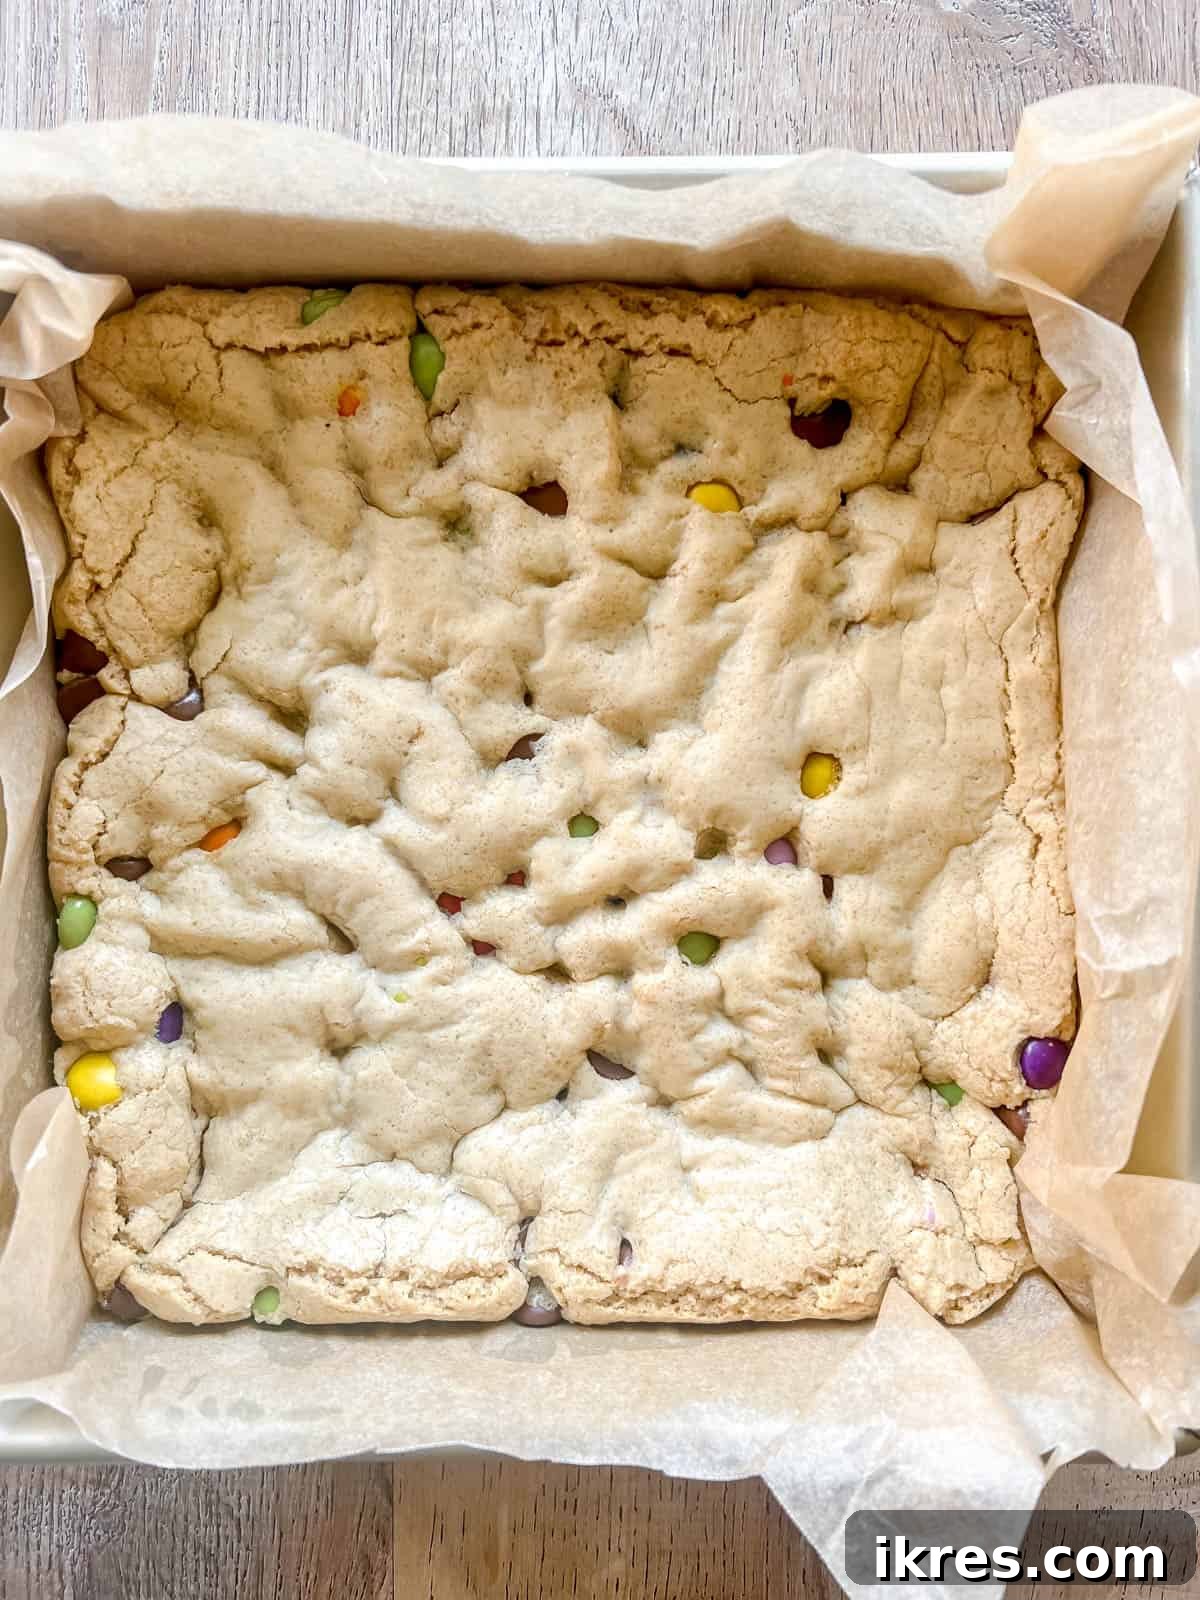
Step 6: Bake and Cool. Bake the cookie bars in your preheated oven for the recommended time (see recipe card for specifics). Once baked, let them cool in the pan for at least 20 minutes. This cooling period is crucial, as the bars will continue to set and firm up as they cool, making them easier to cut and ensuring that desired gooey texture. Resist the urge to cut them too soon!
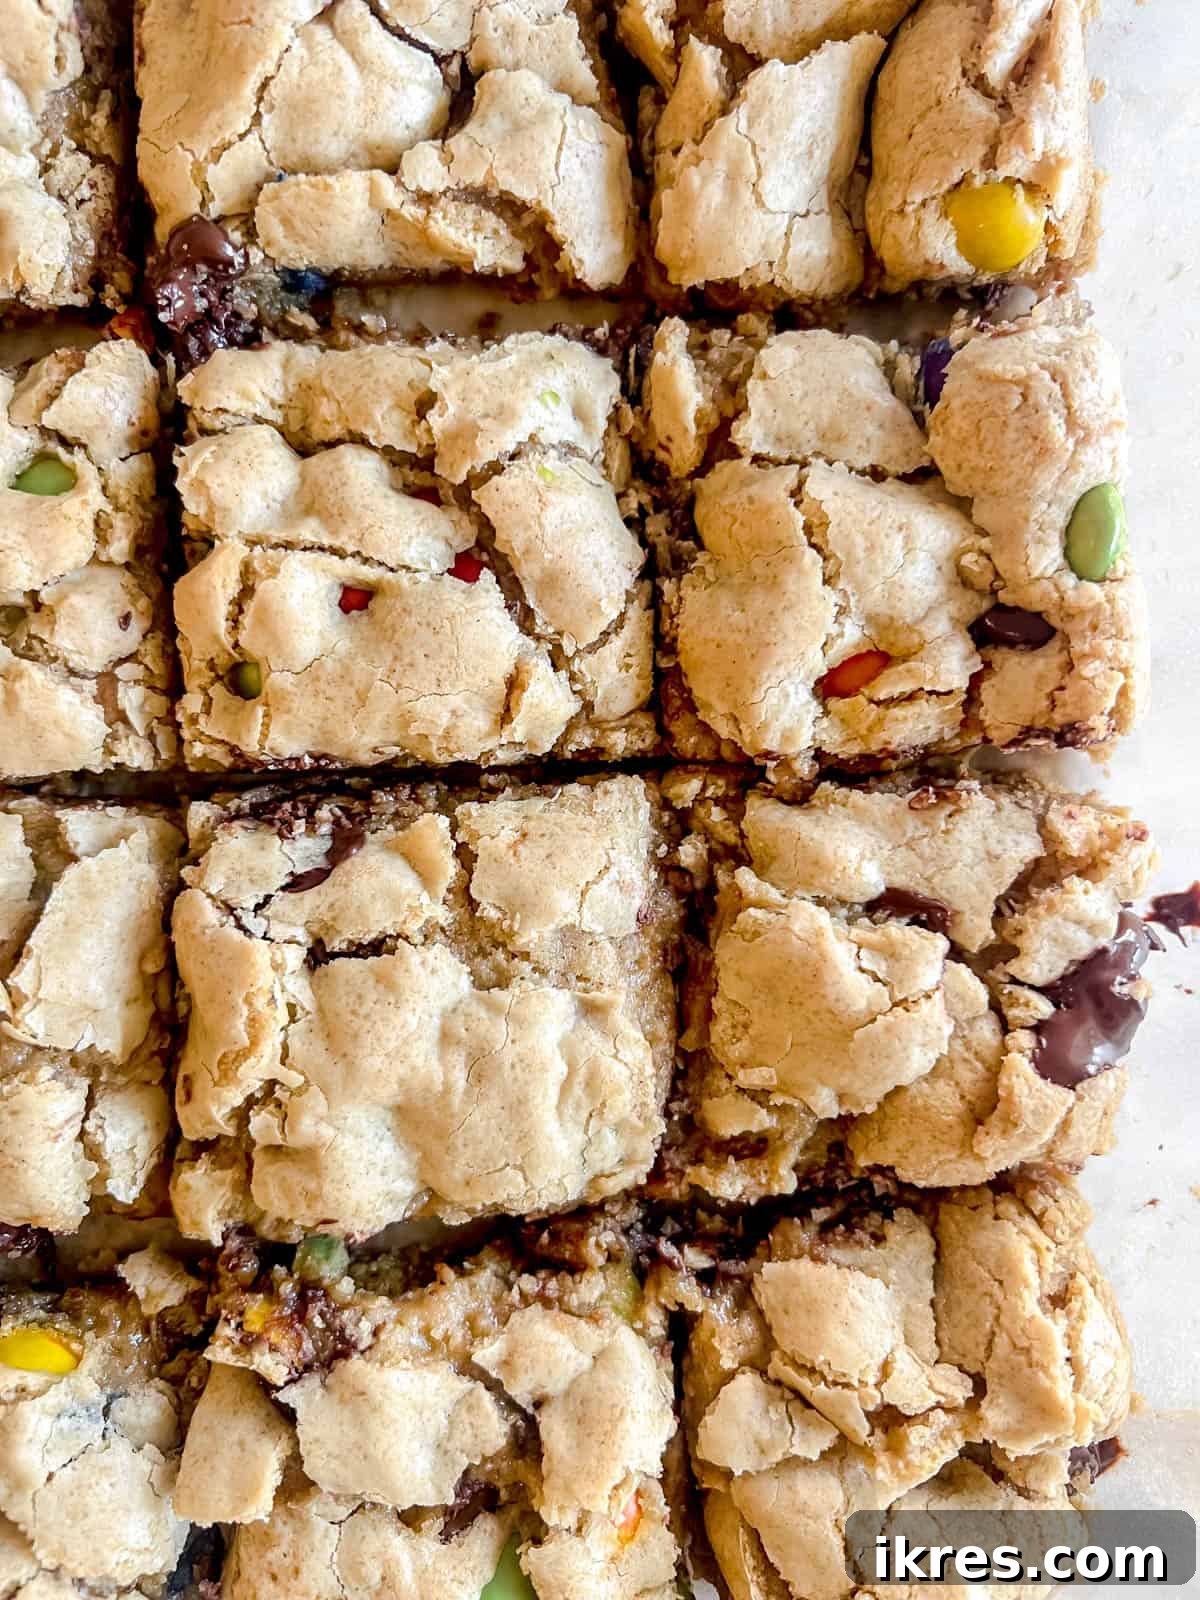
Step 7: Cut and Serve. Once sufficiently cooled, use the parchment paper overhang to carefully lift the entire slab of cookie bars out of the pan. Place it on a cutting board and slice into your desired bar size. Enjoy these warm or at room temperature, perhaps with a scoop of dairy-free ice cream!
Expert Baking Tips for Flawless Gluten-Free Cookie Bars
Achieving cookie bar perfection is easy with a few insider tricks. These tips will help you bake consistently delicious gluten-free and dairy-free chocolate chip cookie bars every time:
- Control the Gooeyness: The baking time is key to your preferred texture.
- For intensely gooey and soft cookie bars, err on the side of slightly underbaking them. The center might still look a little soft when you pull them out, but remember: they will continue to firm up and set as they cool.
- If you prefer a firmer, more cake-like bar, extend the baking time by a few minutes. Keep an eye on them to prevent over-drying.
- Important Note: Cookie bars tend to harden a bit over time. They will be at their softest and chewiest on the first day. If you find them a bit firm on subsequent days, a quick warm-up in the microwave can revive their tenderness.
- Embrace Chocolate Diversity: Don’t limit yourself to just one type of chocolate! Mixing different varieties adds complexity and visual appeal to your bars.
- A fantastic combination is 1/2 cup of semi-sweet chocolate chips with 1/2 cup of candy-coated chocolate candies (similar to M&Ms, ensure they are dairy-free if needed).
- For an even richer experience, try a trifecta: white chocolate chips, dark chocolate chips, and your favorite candy-coated chocolates. The contrast in sweetness and texture is delightful.
- Picture-Perfect Presentation: For a professional, bakery-style look, save a handful of chocolate chips or candies. Just before baking, gently press these extra pieces onto the top surface of the cookie dough in the pan. This ensures that plenty of melty chocolate is visible on top once baked, making your bars even more enticing.
- Know Your Oven: Every oven is unique. Some run hotter, some cooler. If you know your oven tends to be on the warmer side, start checking your cookie bars a few minutes earlier than the recipe suggests. Conversely, if your oven runs cool, you might need to add a few extra minutes to the baking time. Trust your senses – look for golden edges and a lightly set center.
- Cool Completely (or Almost!): Patience is a virtue, especially when it comes to cutting cookie bars. While they are tempting to devour immediately, allowing them to cool for at least 20 minutes (or even longer for very gooey bars) in the pan will make them much easier to slice cleanly without crumbling.
Frequently Asked Questions (FAQs)
To keep your cookie bars fresh and delicious, cover the baking pan tightly with aluminum foil or transfer the cut bars to an airtight container. Store them at room temperature on your counter for up to 3-4 days. For longer storage, see the freezing tips below.
For the ultimate gooey center, aim for the lower end of the baking time range, specifically around 18-19 minutes. The bars will still look slightly underdone and very soft when you remove them from the oven. This is normal! Let them cool and set completely in the pan before cutting; this allows them to firm up while retaining that wonderfully soft, gooey interior.
If you prefer a firmer, more cake-like cookie bar, simply extend the baking time by a few minutes, typically between 23-25 minutes. Keep an eye on them towards the end to ensure the edges don’t get too crispy. They will become much firmer and more set, perfect for those who like a less gooey texture.
Yes, these cookie bars freeze beautifully! Once completely cooled, cut them into individual bars. Wrap each bar tightly in plastic wrap, then place them in a freezer-safe bag or container. They can be frozen for up to 2-3 months. Thaw at room temperature or warm gently in the microwave for a quick treat.
To revive that fresh-baked warmth and gooeyness, place individual bars in the microwave for 10-20 seconds, or warm them in a preheated oven (around 300°F/150°C) for 5-7 minutes. This is especially great for day-old bars!
More Gluten-Free Dessert Ideas You’ll Love
If you’ve enjoyed these delicious cookie bars, you’ll be thrilled to discover more gluten-free creations from my kitchen. Here are some other delightful recipes that will surely satisfy your sweet tooth:
Almond Flour Egg Yolk Cookie Bars – Rich and tender cookie bars made with almond flour for a unique texture.
Paleo Gluten-Free Chocolate Chip Cherry Cookie Bars – A fruity and chocolatey combination, perfect for paleo and gluten-free diets.
Paleo Chocolate Chip Cookie Bars – A wholesome version of classic chocolate chip cookie bars, adhering to paleo principles.
Paleo Brookies (Brownie/Cookies Bars) – The best of both worlds: a decadent fusion of brownie and cookie, completely paleo-friendly.
Did you try this recipe? Please leave a ⭐ review below and share your experience!
Gluten-Free Chocolate Chip Cookie Bars (Dairy-Free)
Delicious, gooey, chewy, chocolate chip cookie bars that are both gluten-free and dairy-free.
Email Share
Print Recipe
Ingredients
- 1/2 cup olive oil
- 1/4 cup cane sugar (granulated sugar or white sugar works here)
- 1/2 cup brown sugar, packed
- 1 large egg
- 1 teaspoon vanilla extract
- 1 1/2 cups gluten-free all-purpose flour (1:1 baking blend recommended)
- 1/2 teaspoon baking soda
- 1/4 teaspoon baking powder
- 1/2 teaspoon salt
- 1 cup chocolate chips (or chocolate candies, dairy-free if preferred)
Instructions
- Preheat your oven to 350°F (175°C). Line an 8×8 inch baking pan with parchment paper, leaving a slight overhang on two opposite sides to create “handles” for easy removal.
- In a large bowl, combine the brown sugar, cane sugar, olive oil, egg, and vanilla extract. Whisk vigorously with a fork or hand mixer until the mixture is light in color, smooth, and well-combined.
- In a separate medium bowl, add the gluten-free all-purpose flour, baking soda, baking powder, and salt. Whisk with a fork to ensure all dry ingredients are thoroughly mixed and evenly distributed.
- Pour the dry ingredients into the bowl with the wet ingredients. Mix with a spatula or wooden spoon until the dough just comes together and no streaks of dry flour remain. Avoid overmixing.
- Add the chocolate chips (and/or chocolate candies) to the dough. Fold them in gently until they are evenly incorporated throughout the mixture.
- Transfer the cookie dough into the prepared 8×8 inch pan. Use your spatula or fingers to press and spread the dough evenly across the bottom of the pan, ensuring it’s uniform in thickness.
- Bake for 18-23 minutes. The bars are ready when the edges are lightly golden and pull away slightly from the sides of the pan, and the top appears puffed and lightly set. The center may still look a little soft, which is perfect for gooey bars.
- Once removed from the oven, let the pan cool on a wire rack for at least 20 minutes. This cooling time is crucial as the bars will continue to set and firm up, making them easier to cut cleanly.
- Using the parchment paper overhang, carefully lift the cooled cookie bars out of the pan and transfer them to a cutting board. Slice into 16 equal bars (or your preferred size). Serve warm or at room temperature.
Notes
- Oil Substitution: Instead of olive oil, you can use avocado oil for a neutral flavor profile.
- Sugar Substitution: Granulated white sugar can be used as a 1:1 replacement for cane sugar.
- Chocolate Variety: Get creative! Substitute chocolate chips with other chocolate candies (like Little Secrets Dark Chocolate Candies for a dairy-free, artificial-color-free option).
- Nut Addition: For extra crunch and flavor, feel free to fold in about 1/2 cup of chopped nuts like walnuts or pecans.
Nutrition Information (per serving)
Nutrition information is automatically calculated and should only be used as an approximation.
Carbohydrates: 25g
Protein: 2g
Fat: 11g
Saturated Fat: 3g
Polyunsaturated Fat: 1g
Monounsaturated Fat: 5g
Trans Fat: 0.001g
Cholesterol: 12mg
Sodium: 120mg
Potassium: 46mg
Fiber: 1g
Sugar: 17g
Vitamin A: 17IU
Calcium: 27mg
Iron: 1mg
Additional Info
Cuisine: American
Tried this recipe?
Mention @perchancetocook or tag #perchancetocook on Instagram!