
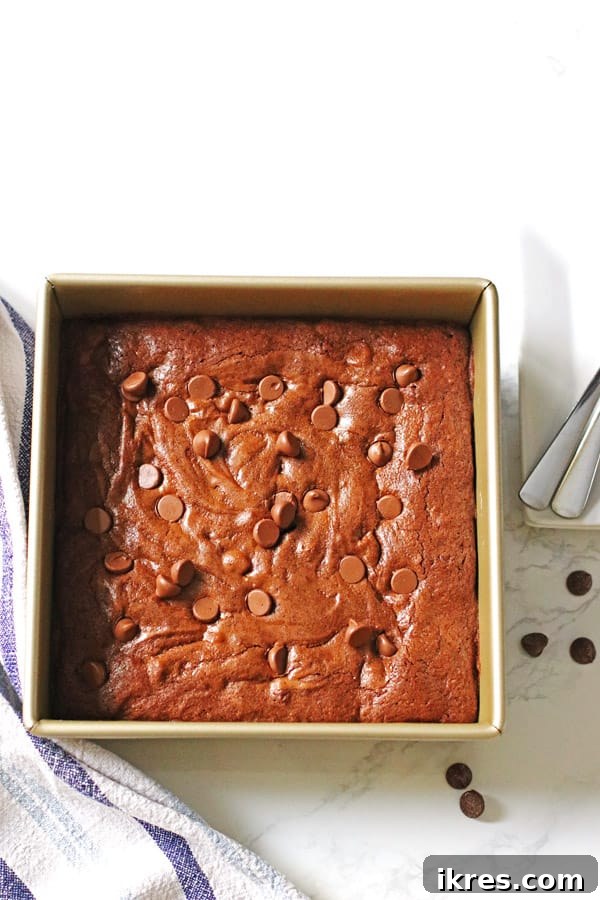
The Ultimate Homemade Fudgy Brownies: An Easy From-Scratch Recipe
There’s nothing quite like the warm, rich aroma of freshly baked brownies filling your home. Forget those impersonal box mixes – these homemade brownies are incredibly delicious, boasting a perfect balance of fudgy chewiness and intense chocolate flavor. They are so simple to make from scratch that you’ll wonder why you ever bought a mix. Prepare yourself for what might just be the best brownie you’ve ever tasted!
I genuinely believe in the magic of homemade treats. From fluffy banana bread and classic chocolate chip cookies to bursting mixed berry muffins, customizable trail mix, and even gourmet homemade pizza, crafting food from its foundational ingredients brings an unparalleled sense of satisfaction and superior taste. This passion naturally extends to brownies. Once you experience the depth of flavor and delightful texture of homemade, there’s no going back.
Many of us grew up relying on convenient box brownie mixes. While they served their purpose, I often found myself yearning for a more authentic, robust chocolate experience. The flavor eventually felt… lacking. It sparked a quest to find a simple yet spectacular brownie recipe that used readily available ingredients and delivered that rich, fudgy goodness. And that’s exactly what this recipe offers: a straightforward path to truly incredible brownies.
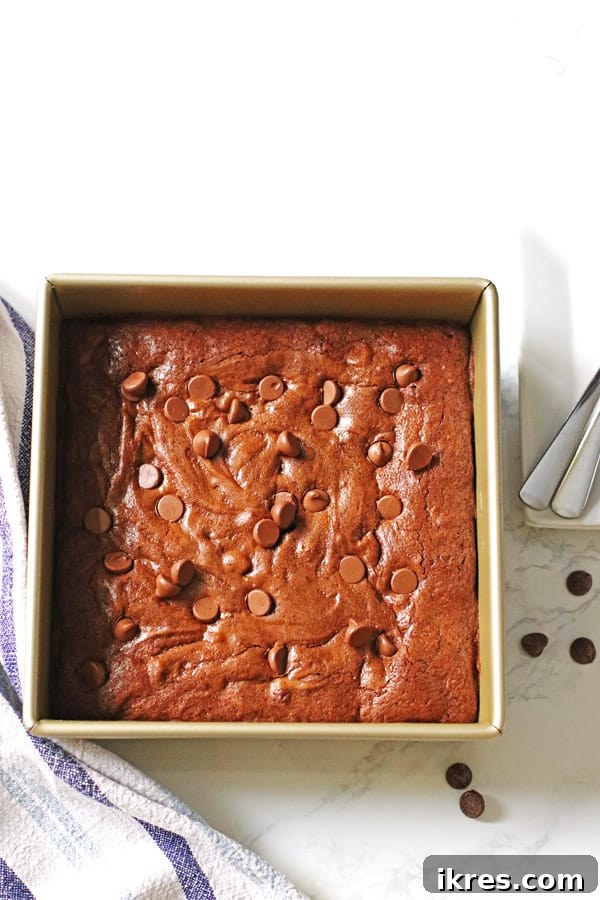
For me, the key to any successful homemade recipe lies in two things: simplicity of the process and familiarity of the ingredients. Many store-bought mixes often feature an intimidating list of processed components and artificial flavors, some with names that are difficult to pronounce, let alone understand. This recipe is a breath of fresh air, relying on staple pantry items that you likely already have on hand. It’s the ultimate “go-to” brownie recipe, delivering consistently delicious results every time.
Simple Ingredients for Superior Brownies
One of the best aspects of baking these fudgy homemade brownies is how few, yet powerful, ingredients you need. You’ll likely find most of these staples in your kitchen right now, making it easy to whip up a batch whenever a chocolate craving strikes. Each ingredient plays a vital role in creating that perfect brownie texture and deep flavor profile.
- Unsalted butter: Provides richness and moisture. Using unsalted allows you to control the overall salt content of the brownies.
- Semi-sweet Baking Chocolate: The star of the show! High-quality baking chocolate ensures a deep, authentic chocolate flavor that a cocoa powder-only brownie just can’t match.
- Granulated Sugar: Sweetens the brownies and contributes to their characteristic crackly top.
- Eggs: Act as a binder, provide structure, and add to the fudginess. Cold eggs are often preferred for certain brownie recipes to help achieve a dense texture.
- Vanilla Extract: Enhances the chocolate flavor and adds a touch of aromatic warmth. Don’t skip it!
- All-Purpose Flour: Provides just enough structure without making the brownies cakey. Less flour typically leads to a fudgier brownie.
- Salt: A crucial ingredient that balances the sweetness and intensifies the chocolate notes.
- Chocolate Chips: Stirred into the batter, they melt into pockets of gooey chocolate, adding an extra layer of decadence.
Imagine your home soon to be filled with the irresistible aroma of these delectable brownies baking. It’s a sensory experience that promises pure delight!
How to Make the Best Homemade Brownies from Scratch
Making these decadent brownies is a surprisingly simple process, requiring minimal effort for maximum reward. Follow these step-by-step instructions to achieve that perfect fudgy texture and rich chocolate taste:
Preparation is Key: Begin by preheating your oven to 350°F (175°C) and adjust your oven rack to the lower third position. This helps ensure even baking and prevents the top from browning too quickly. You’ll need an 8″ x 8″ non-stick baking pan for this recipe. If your pan isn’t non-stick, don’t worry! Simply grease the sides and bottom thoroughly with butter or cooking spray, or, for even easier removal, line the pan with parchment paper, leaving a slight overhang on two sides to create “handles.” This parchment paper trick is a game-changer for lifting out cooled brownies.
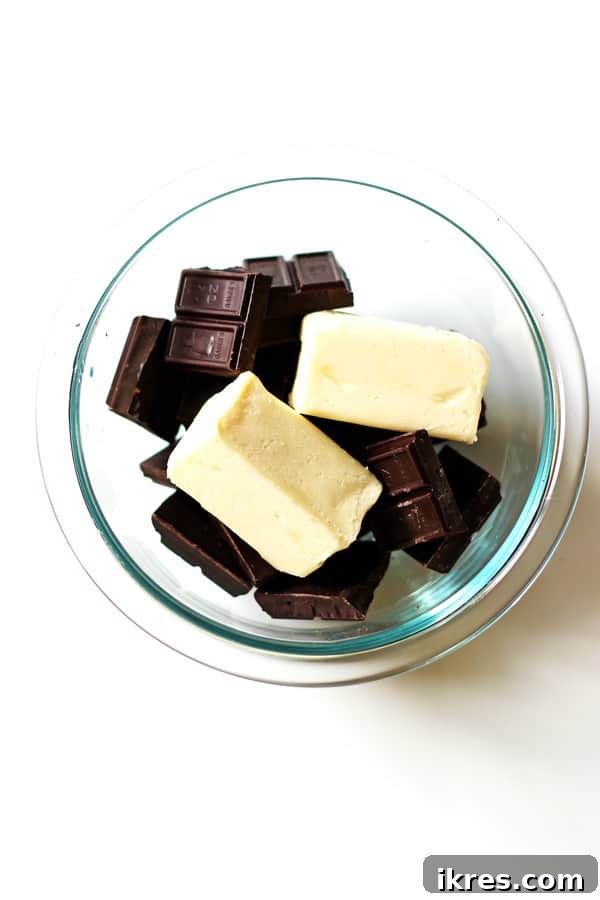
Melting the Chocolate and Butter: Break your semi-sweet baking chocolate into smaller, manageable pieces. Combine these chocolate pieces with the unsalted butter in a microwave-safe bowl. Heat this mixture in the microwave for 30-second intervals, stirring thoroughly after each interval. Initially, the chocolate and butter might not appear to melt much, but the stirring helps distribute the heat and encourages even melting. Continue heating for an additional 30 seconds and stir again. If you still see solid bits, continue heating in 10-second bursts, stirring vigorously after each one, until the mixture is completely melted and smooth. This gradual melting prevents the chocolate from scorching.
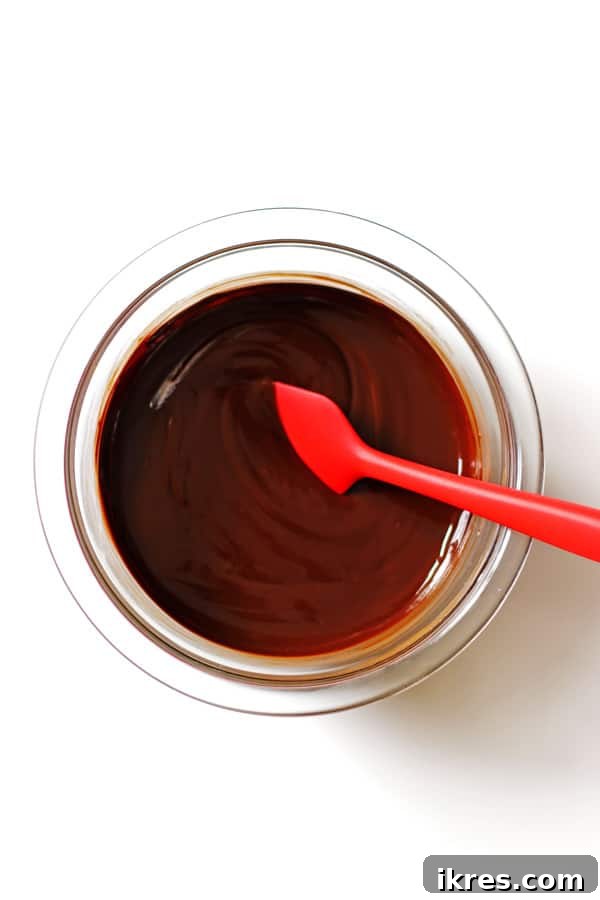
Combining Wet Ingredients: Once the chocolate and butter are perfectly melted, pour the mixture into a large mixing bowl, scraping down the sides to get every last bit. Allow this rich chocolate mixture to cool slightly for about five to ten minutes. This step is crucial to prevent the eggs from cooking when added. Next, incorporate the eggs, one at a time, whisking vigorously after each addition until they are fully blended into the chocolate. The mixture should become glossy and smooth. Follow this by whisking in the vanilla extract, which will further enhance the chocolate’s natural aroma and flavor. Finally, add the granulated sugar and whisk until it’s well combined and dissolved, contributing to that signature crackly brownie top.
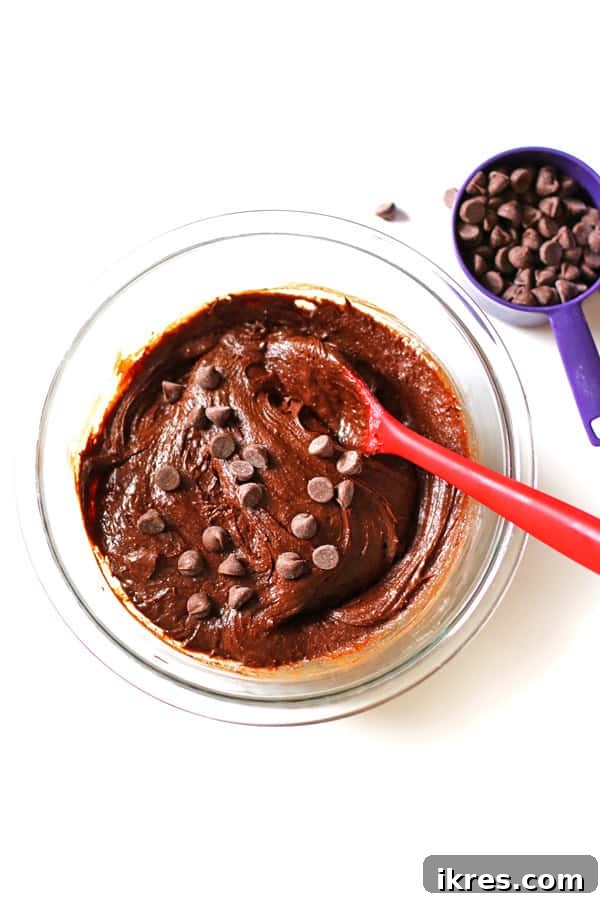
Adding Dry Ingredients and Chocolate Chips: In a separate bowl, briefly whisk together your all-purpose flour and salt. Gradually add this dry mixture to the wet chocolate mixture, a little at a time. Use a large spoon or spatula to gently stir after each addition, mixing just until no streaks of flour remain. Overmixing the batter can lead to tough, cakey brownies, so be gentle! Lastly, gently fold in the chocolate chips until they are evenly distributed throughout the rich batter. This ensures pockets of gooey chocolate in every bite.
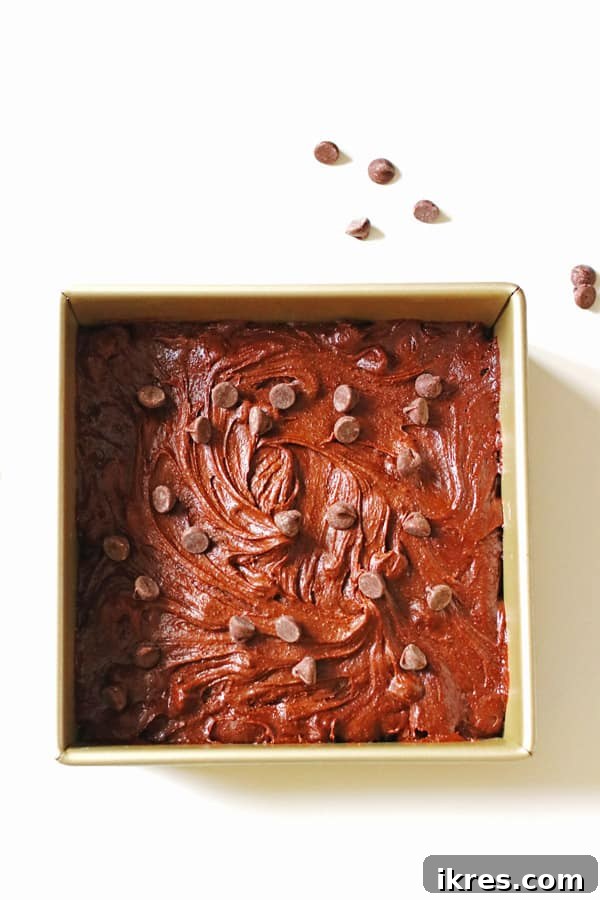
Baking to Perfection: Pour the luscious brownie batter into your prepared 8″ x 8″ pan and spread it out evenly with your spatula. For an extra touch of chocolate heaven, you can sprinkle some additional chocolate chips over the top of the batter before baking. Place the pan in your preheated oven and bake for 38-40 minutes. To test for doneness, insert a toothpick into the center of the brownies. It should come out with a few moist crumbs attached, but not wet batter. A completely clean toothpick might indicate slightly overbaked, cakier brownies, while a wet toothpick means they need a few more minutes. Remember, brownies continue to set as they cool.
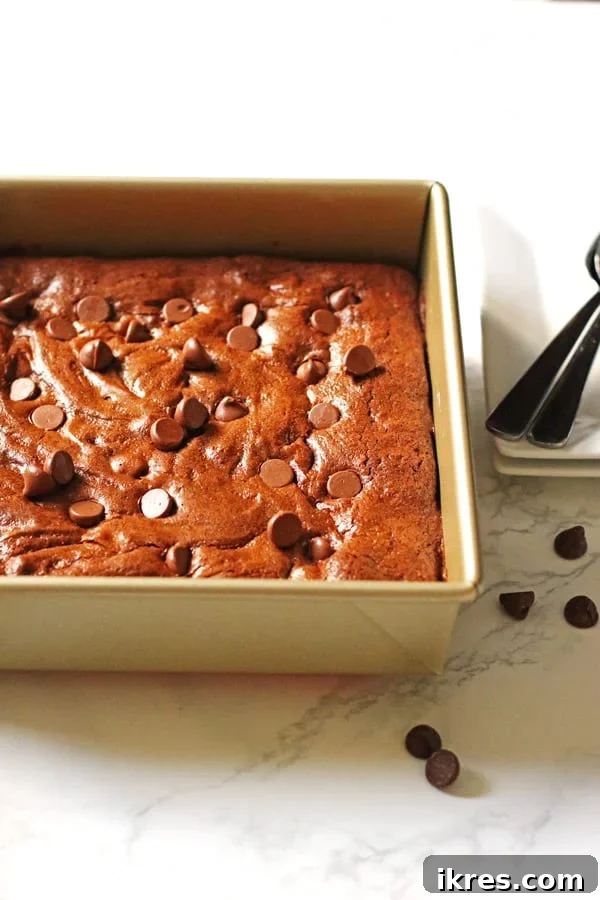
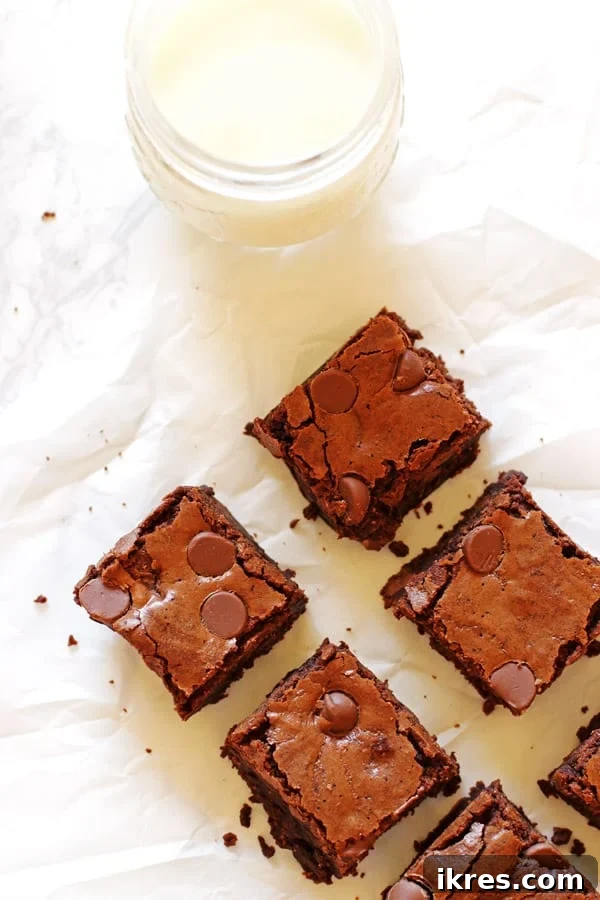
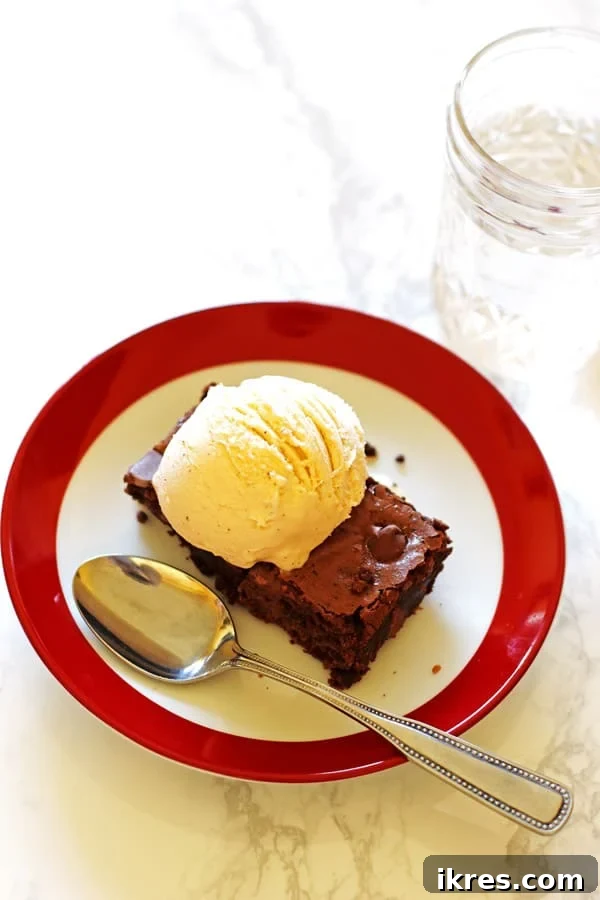
Cooling and Serving: The hardest part of making brownies? Waiting for them to cool! It’s essential to let them cool completely in the pan before attempting to cut them into squares. Warm brownies are notoriously difficult to cut cleanly and tend to stick to the knife. Patience will reward you with beautifully neat, fudgy squares. Once fully cooled, serve them with a tall glass of cold milk, a dollop of whipped cream, or a scoop of your favorite ice cream for an extra special treat!
Homemade Brownie Tips and Tricks for Perfection
Achieving brownie perfection is easier than you think with these expert tips:
- Mindful Melting: When melting the chocolate and butter, constant stirring between short microwave intervals is crucial. This gentle approach helps the ingredients soften and dissolve more evenly and quickly, preventing any hot spots or scorching of the chocolate.
- Patience is a Virtue (Especially for Cooling): Resist the urge to cut warm brownies! While tempting, cutting them prematurely will result in sticky, crumbly edges and a messy presentation. Allow them to cool completely, ideally at room temperature for at least 1-2 hours, or even longer. For truly clean cuts, some bakers even chill their brownies in the refrigerator for 30 minutes before slicing.
- The Right Cutting Tool: For impeccably clean lines, a thin, sharp knife or a plastic knife works wonders. Even better, a thin metal spatula (or an offset spatula) can be surprisingly effective. Wipe your cutting tool clean with a damp cloth after each slice to prevent sticking and ensure every piece looks pristine.
- Don’t Overmix: After adding the flour, mix the batter just until the dry ingredients are incorporated. Overmixing develops the gluten in the flour, leading to a tougher, more cake-like brownie rather than the desired fudgy texture.
- Quality Matters: Using good quality unsalted butter and semi-sweet baking chocolate will significantly impact the flavor of your brownies. The better the chocolate, the richer and more satisfying your brownies will be.
- Room Temperature Eggs: While the recipe mentions cold eggs, bringing your eggs to room temperature can help them incorporate more smoothly into the batter, creating a more cohesive emulsion with the melted chocolate and sugar.
How to Store Brownies for Freshness
To keep your delicious homemade brownies fresh and fudgy, proper storage is key:
Once your brownies are completely cooled and cut into squares, store them in an airtight container at room temperature. A tightly sealed container will prevent them from drying out, keeping them moist and chewy for up to one week. While they are undoubtedly best within the first 2-3 days, they will still be enjoyable thereafter. If you’ve baked a large batch or want to savor them over a longer period, brownies freeze exceptionally well. Simply place the cooled, cut squares in a single layer in a freezer-safe container or wrap them individually in plastic wrap, then place them in a freezer bag. They will stay fresh in the freezer for up to 3 months. Thaw them at room temperature when you’re ready to enjoy a chocolatey treat.
Exciting Brownie Variations to Try
While these classic homemade brownies are perfect as is, they also serve as a fantastic canvas for creative additions and serving ideas. Get ready to jazz up your brownies!
Delicious Add-Ins:
Want to introduce new textures and flavors? Simply add 1/2 to 1 cup of your preferred ingredient to the batter when you fold in the chocolate chips:
- Chopped Nuts: Walnuts, pecans, or almonds add a delightful crunch and nutty flavor.
- Mini Marshmallows: Stirred in, they create gooey, melted pockets of sweetness.
- Crushed Peppermint Candy: Perfect for holiday brownies, offering a refreshing minty kick.
- Caramel Swirl: Swirl a few tablespoons of warm caramel sauce into the batter just before baking for a decadent caramel ribbon throughout.
- Cream Cheese Swirl: Mix cream cheese with a little sugar and an egg yolk, then dollop and swirl into the batter for a tangy, creamy contrast.
- Different Chocolates: Experiment with white chocolate chips, milk chocolate chunks, or dark chocolate morsels for varied chocolate intensity.
- Toffee Bits: Add a buttery, crunchy texture and a caramelized flavor.
Serving Suggestions:
Elevate your brownie experience with these serving ideas:
- Brownie Sundae: This is a classic for a reason! Top a warm brownie with a generous scoop of your favorite vanilla (or even coffee!) ice cream, a drizzle of chocolate fudge or caramel sauce, whipped cream, and a cherry. Pure bliss!
- With Coffee or Tea: A rich brownie pairs wonderfully with a hot cup of coffee, espresso, or a comforting tea, making it an ideal afternoon pick-me-up.
- Berry Bliss: Serve your brownies alongside fresh berries like raspberries or strawberries for a bright, refreshing contrast to the rich chocolate.
Festive Halloween Brownies
Brownies are always a crowd-pleaser, making them a perfect dessert for any occasion, especially festive holidays like Halloween! Transform your classic chocolate brownies into a spooky, fun treat that kids and adults alike will adore. The secret? Colorful Halloween candies and edible decorations!
To make them wonderfully festive, replace the standard chocolate chips in the batter with crushed-up, Halloween-themed M&M’s. Opt for bags with orange, purple, and black M&M’s for that perfect spooky vibe.
How to Crush M&M’s:
Measure out one cup of your festive M&M’s. There are a couple of easy ways to crush them:
- Manual Method: Place a small amount of M&M’s in a bowl. Using the back of a sturdy ladle or a meat mallet, gently press down or tap the candies. This method gives you excellent control over the size of the pieces. I like to keep some pieces slightly larger to ensure a vibrant burst of color throughout the brownies.
- Blender Method: For a quicker approach, you can use a blender or food processor. Pulse the M&M’s a few times, keeping a close eye on them. Stop before they turn into a fine powder; you want distinct candy pieces to maintain their festive colors and add texture.
Once crushed, incorporate about half a cup of the M&M candies into your brownie batter when you would normally add chocolate chips. Then, generously sprinkle the remaining crushed M&M’s evenly over the top of the batter before baking. This creates a beautiful, colorful crust.
For Extra Spooky Charm:
If you want your Halloween brownies to look truly ghoulish, add some edible candy eyes! This is an easy and fun way to bring your brownies to life. The trick is to add them right after the brownies come out of the oven, while they are still soft and warm. Gently press the candy eyes into the tops of the brownies. As the brownies cool, the eyes will adhere perfectly.
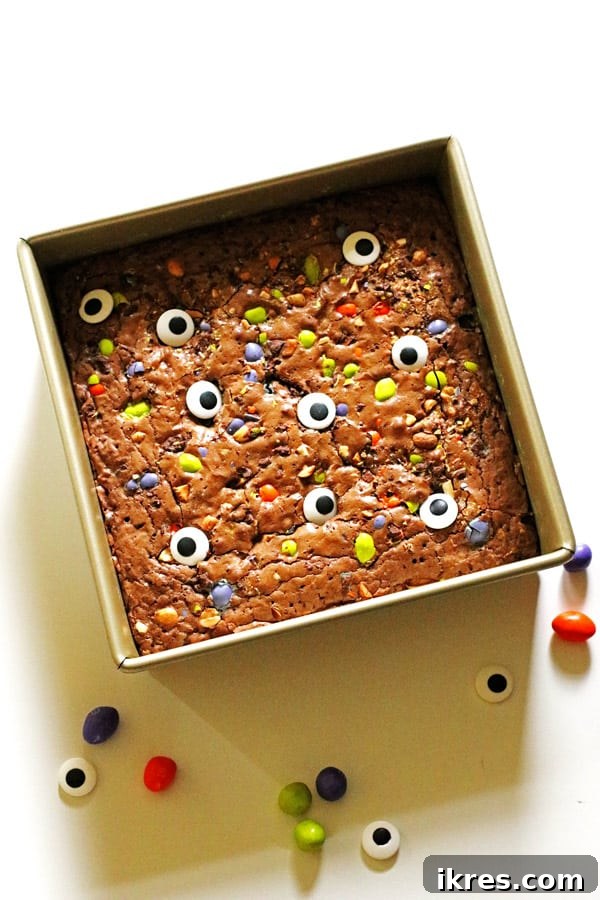
These festive brownies are ideal for school Halloween parties, trunk-or-treat events, or simply as a fun after-dinner dessert. And here’s a bonus tip: after Halloween, you can use up your kids’ leftover candy! Reese’s Pieces, chopped chocolate bars, or any other colorful candy bits can be crushed and added. Just remember, candy eyes are a must for that authentic spooky touch!
A Hilarious April Fool’s Day Brownie Prank
In our household, April Fool’s Day is a highly anticipated event, a friendly competition to see who can pull off the cleverest prank. This particular joke is a personal favorite, guaranteed to elicit laughs and groans before delivering a sweet surprise. It’s incredibly simple to execute and pairs perfectly with our delicious homemade brownie recipe. The trick? It involves “brown E’s” of a different kind!
Stay connected for more tried-and-true recipes! Follow me on Instagram and Pinterest.
What you’ll need for this fun April Fool’s Day joke:
- A batch of these delicious homemade brownies (hidden from sight!)
- Brown construction paper
- Scissors
- Markers (optional, for jazzing up your “E’s”)
How to Prepare Your “Brown E’s” Prank
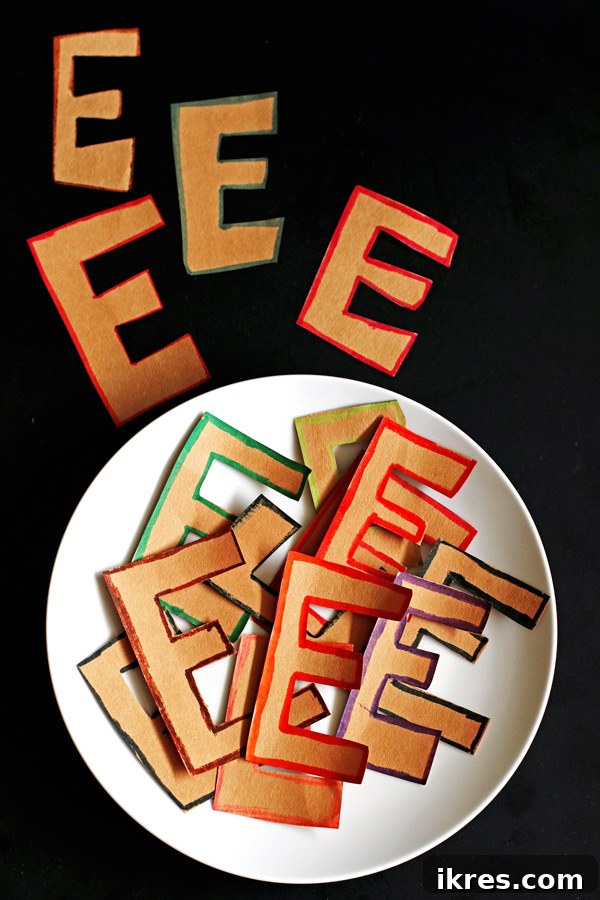
First, cut out several capital letter “E’s” from the brown construction paper. You can make them as large or small as you like. If you’re feeling creative, use colorful markers to add decorative borders or patterns along the edges of your paper “E’s” for a bit of extra flair.
Arrange these paper “brown E’s” neatly on a plate and set it aside, out of direct view, until you’re ready to spring your prank. When the unsuspecting victim arrives, innocently ask them, “Would you like some brown E’s?” When they eagerly respond with a “Yes!” (because who wouldn’t want a brownie?), dramatically present them with the plate of paper E’s!
Watch their confusion turn to amusement as they realize the clever wordplay. After you’ve enjoyed their reaction and the initial moment of playful deception, reveal the hidden tray of your *actual* homemade fudgy brownies, ready for them to devour. It’s a simple, lighthearted joke that culminates in a truly sweet reward!
Craving More Great Dessert Recipes?
If you’ve enjoyed baking these irresistible brownies, you’re in for a treat with these other fantastic dessert recipes:
- Jumbo S’mores Cookies: Experience the nostalgic flavors of campfire s’mores in a giant, chewy cookie format.
- No-Churn Cookie Monster Ice Cream: A fun, vibrant, and incredibly easy homemade ice cream that requires no special equipment.
- Banana Chocolate Chip Muffins: Moist, flavorful muffins packed with banana goodness and delightful chocolate chips – perfect for breakfast or a snack.
Did you whip up a batch of these brownies? We’d love to hear from you! Please leave a comment and rating below to share your experience.
Homemade Brownies
These homemade brownies are simply delicious and incredibly easy to prepare. Packed with rich chocolate flavor, they are the perfect treat for any chocolate lover, delivering a fudgy texture every time.
Author: Jeannie Z
Servings: 16 brownies
Prep time: 20 mins
Cook time: 40 mins
Total time: 1 hr
Ingredients
- ½ cup unsalted butter (one stick)
- 8 ounces semi-sweet baking chocolate (broken into small squares)
- 1 cup granulated sugar
- 3 eggs (cold)
- 1 teaspoon vanilla extract (recommended)
- ¾ cup all-purpose flour (recommended)
- ½ teaspoon salt
- 1 cup semisweet chocolate chips (additional chocolate chips for sprinkling on top, optional) (recommended)
Instructions
- Adjust your oven rack to the lower third position and preheat your oven to 350°F (175°C).
- If your baking pan is not non-stick, line your 8×8 inch baking dish with foil or parchment paper, ensuring a little extra hangs over the sides for easy removal.
- Break the baking chocolate into small pieces. In a microwave-safe bowl, combine the butter and baking chocolate. Heat in the microwave for 30 seconds, then stir. Heat for an additional 30 seconds and stir again. If any solid pieces remain, continue heating in 10-second increments, stirring after each, until the chocolate mixture is fully melted and smooth. Let it cool for about 5-10 minutes.
- Once the chocolate and butter mixture has cooled slightly, pour it into a large mixing bowl.
- Add the eggs, one at a time, whisking well after each addition until fully blended. Whisk in the vanilla extract, followed by the granulated sugar, whisking until smooth and fully combined.
- Slowly add the all-purpose flour and salt to the wet ingredients. Add a little flour at a time, gently stirring with a large spoon or spatula after each addition, until just combined. Be careful not to overmix.
- Gently fold in the 1 cup of semisweet chocolate chips. If desired, sprinkle some extra chocolate chips over the top of the brownie batter before baking.
- Pour the batter into the prepared pan and spread it out evenly. Bake for 38-40 minutes. The brownies are done when a toothpick inserted into the center comes out with a few moist crumbs attached (not wet batter).
- Allow the brownies to cool completely in the pan before removing and slicing into squares. If using foil or parchment paper, use the overhang to lift the entire slab of brownies out of the pan, then remove the paper and cut.
- Store the cooled brownies in an airtight container at room temperature for up to one week.
Notes
- For smooth melting, always stir the chocolate and butter mixture after each short microwave interval. This helps distribute heat and speeds up the dissolving process.
- For the neatest cuts, always let your brownies cool completely. Cutting warm brownies can cause them to stick to your knife and lose their shape.
- When making Halloween brownies with candy, add crushed candies to the batter before baking. However, add edible candy eyes immediately after the brownies come out of the oven while they are still warm and soft, gently pressing them into the surface.
- To cut brownies cleanly, a thin spatula or a plastic knife works best. Wipe the blade clean between each cut for perfect squares.
- Storage Best Practices: Store cut brownie squares in an airtight container at room temperature for up to one week. They are best within the first 2-3 days. For longer storage, freeze them in a freezer-safe container for up to 3 months.
- Brownie Add-Ins: Feel free to customize! Chopped nuts, marshmallows, or crushed peppermint candy are wonderful additions. Simply add 1/2 to 1 cup of your chosen ingredient when folding in the chocolate chips.
- Brownie Sundae: Top a warm brownie with a scoop of your favorite ice cream and a drizzle of sauce for an instant, delightful sundae!
Special Equipment Needed
- 8″ x 8″ non-stick baking pan
- Mixing bowls (microwave-safe bowl for melting, large mixing bowl for batter)
Nutrition (Approximate per serving)
Calories: 271kcal | Carbohydrates: 32g | Protein: 3g | Fat: 15g | Saturated Fat: 9g | Cholesterol: 47mg | Sodium: 87mg | Potassium: 133mg | Fiber: 1g | Sugar: 24g | Calcium: 24mg | Iron: 1mg
Nutrition information is approximate and automatically calculated, so should only be used as a guide.
Course: Dessert
Cuisine: American
Keywords: easy brownie recipe, halloween brownies, homemade brownies, fudgy brownies, chocolate dessert
Update Note: This recipe was originally posted in 2018. It was significantly updated and republished in 2020 to include more detailed step-by-step directions, enhanced tips and tricks, new photos, and additional creative variations to ensure the most successful baking experience for you.