
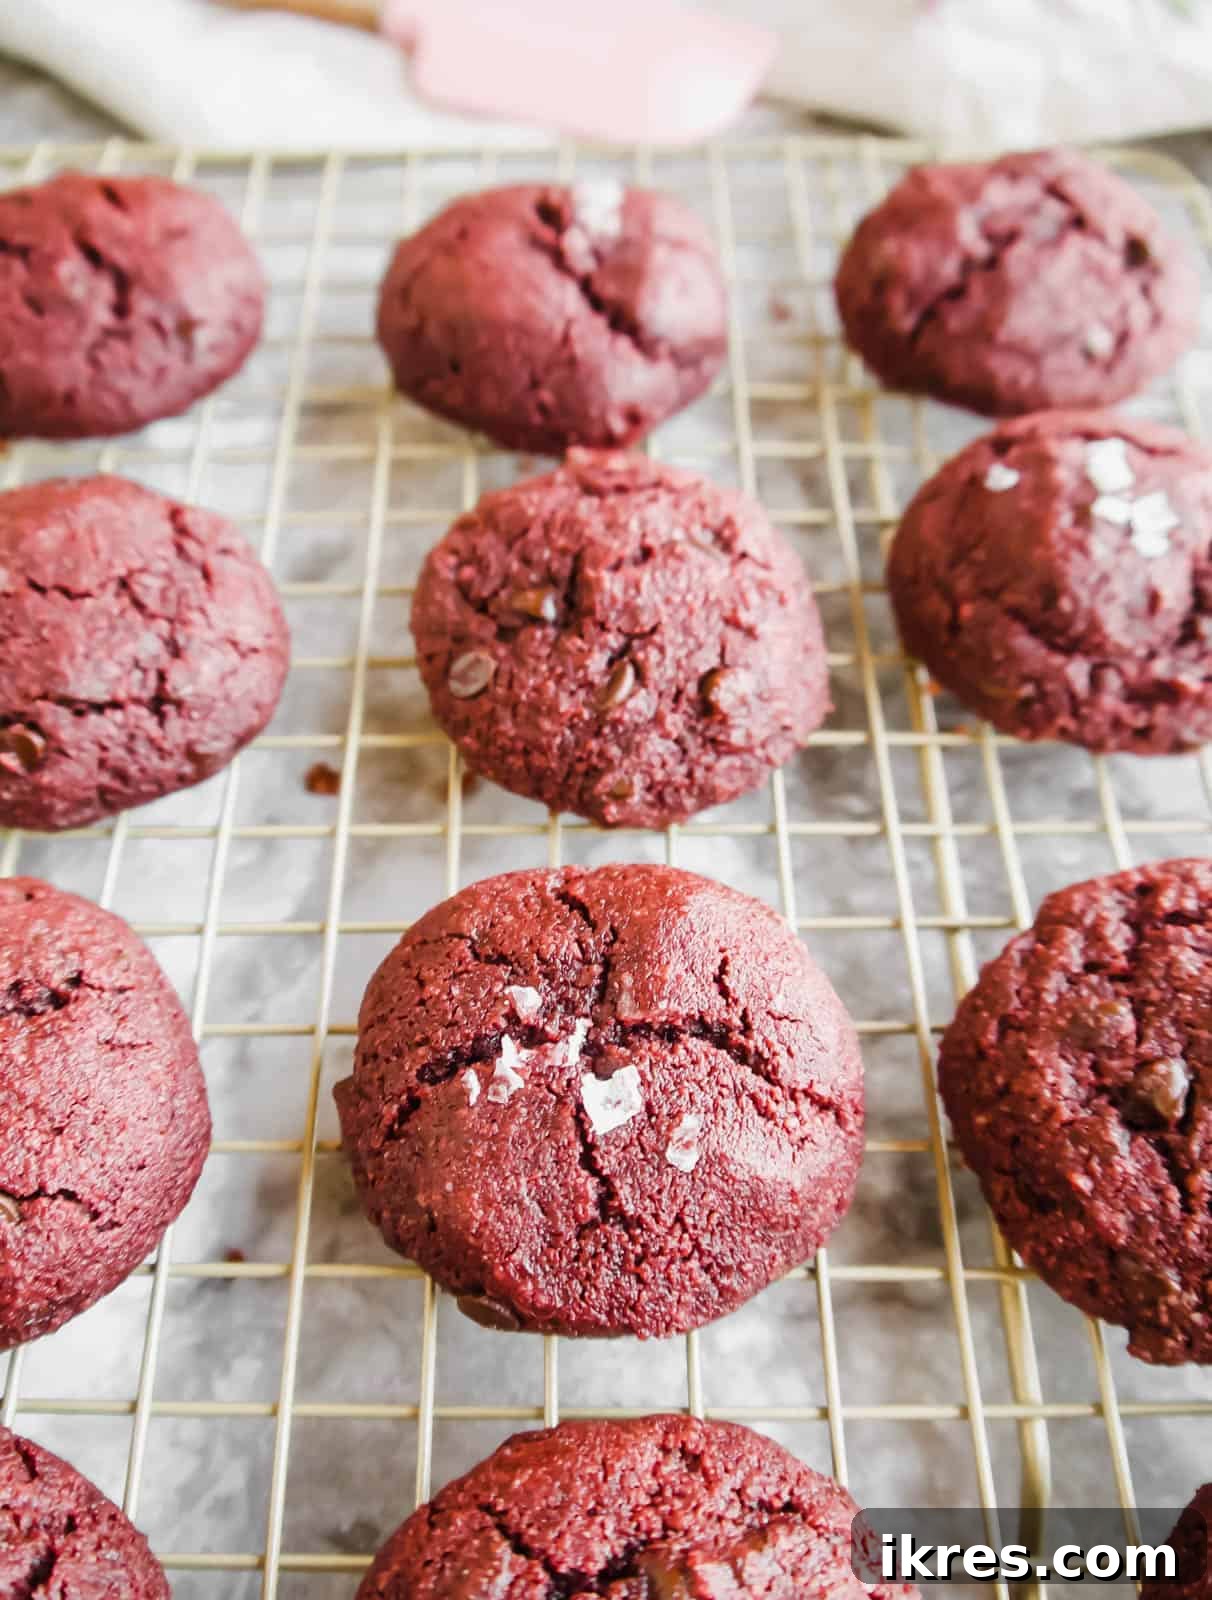
Indulge in these delightful gluten-free red velvet cookies, a perfect blend of rich chocolate flavor and wholesome ingredients. Crafted with nutrient-dense almond flour, heart-healthy olive oil, vibrant beet juice, and naturally sweetened with maple syrup, these cookies redefine healthy indulgence.
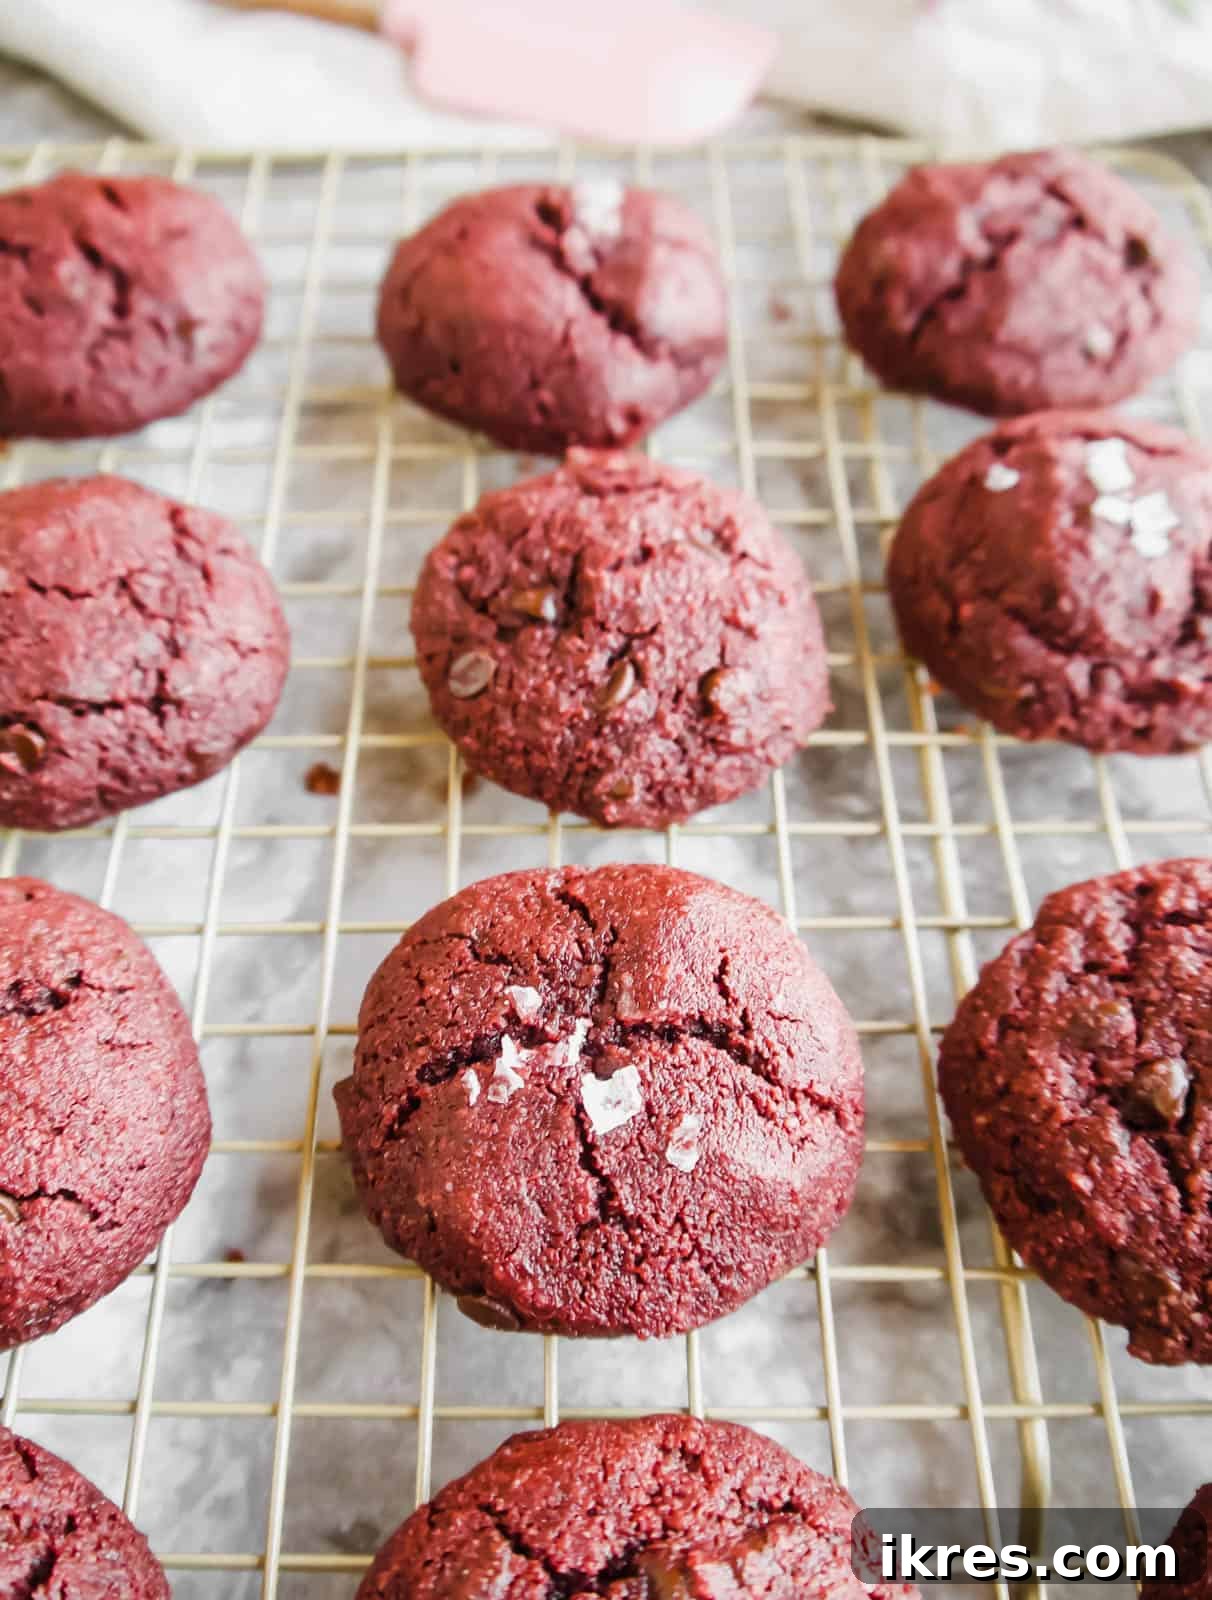
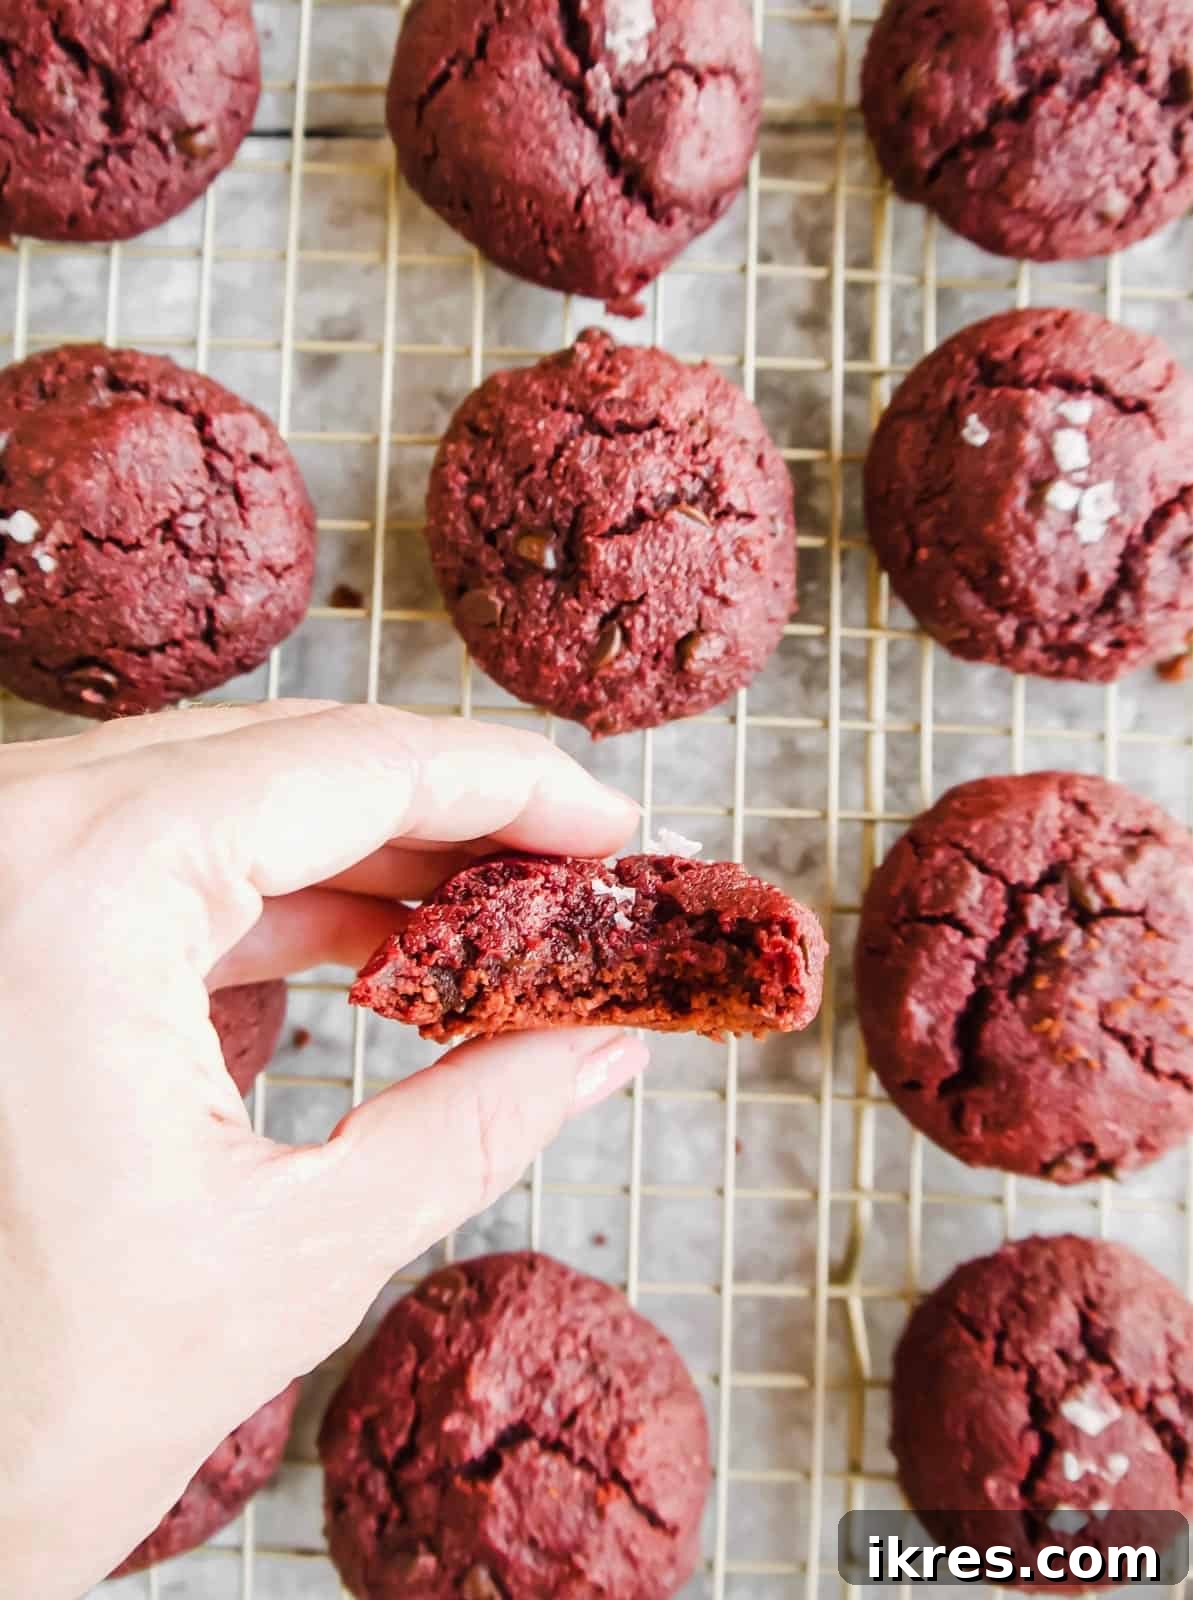
When the craving for a luscious chocolate cookie strikes, but you desire a grain-free option with a captivating red hue, these healthy red velvet cookies are the answer. They boast a wonderfully fudgy texture and a deep, decadent chocolate taste, all while being made from clean, simple ingredients. This makes them naturally compliant with Paleo, Gluten-free, and Dairy-free diets, offering a guilt-free treat that doesn’t compromise on flavor or visual appeal.
Seeking more delicious and healthy chocolate dessert inspiration? Be sure to explore our Almond Flour Chocolate Cherry Lava Cakes or our decadent Gluten-free Molten Chocolate Espresso Lava Cakes. Each recipe promises a delightful experience for your taste buds.
Table of Contents
- Why These Red Velvet Cookies Are a Must-Try
- Essential Ingredients for Healthy Red Velvet Cookies
- Step-by-Step Guide to Baking Perfection
- Pro Tips for Flawless Gluten-Free Red Velvet Cookies
- Explore More Gluten-Free Cookie Recipes
- Gluten-free Red Velvet Cookies Recipe
Why These Red Velvet Cookies Are a Must-Try
These gluten-free red velvet cookies stand out from conventional recipes, offering a healthier, more natural alternative without sacrificing the classic indulgence. Here’s what makes this recipe truly exceptional:
- Naturally Beautiful Deep Red Color: Forget artificial food dyes! Our cookies achieve their iconic deep red hue thanks to the natural pigments in fresh beet juice. This not only makes them visually stunning but also adds a subtle earthy sweetness and a boost of nutrients.
- Wholesome and Healthier Ingredients: Unlike traditional red velvet recipes often loaded with refined sugars, white flour, and dairy, these cookies are crafted with a healthier ingredient profile. We utilize almond flour, olive oil, and maple syrup, providing a more nourishing treat that aligns with conscious eating.
- Dietary-Friendly Indulgence: Whether you’re following a gluten-free, dairy-free, or Paleo diet, these cookies fit seamlessly into your lifestyle. They are designed to be inclusive, allowing more people to enjoy the rich, chocolatey goodness of red velvet without dietary concerns.
- Pure and Unadulterated Flavor: By eliminating artificial colors and opting for natural sweeteners and flours, the true, rich chocolate flavor of the red velvet shines through. The wholesome ingredients create a balanced taste and a delightful fudgy texture that will have everyone reaching for another.
- Easy to Make at Home: Despite their sophisticated appearance and healthy composition, these cookies are surprisingly simple to prepare. Our step-by-step instructions ensure that even novice bakers can achieve perfect results every time.
Embrace the joy of baking and savoring cookies that are both good for you and incredibly delicious. These red velvet delights are perfect for holidays, special occasions, or simply as a thoughtful treat for yourself and your loved ones.
Essential Ingredients for Healthy Red Velvet Cookies
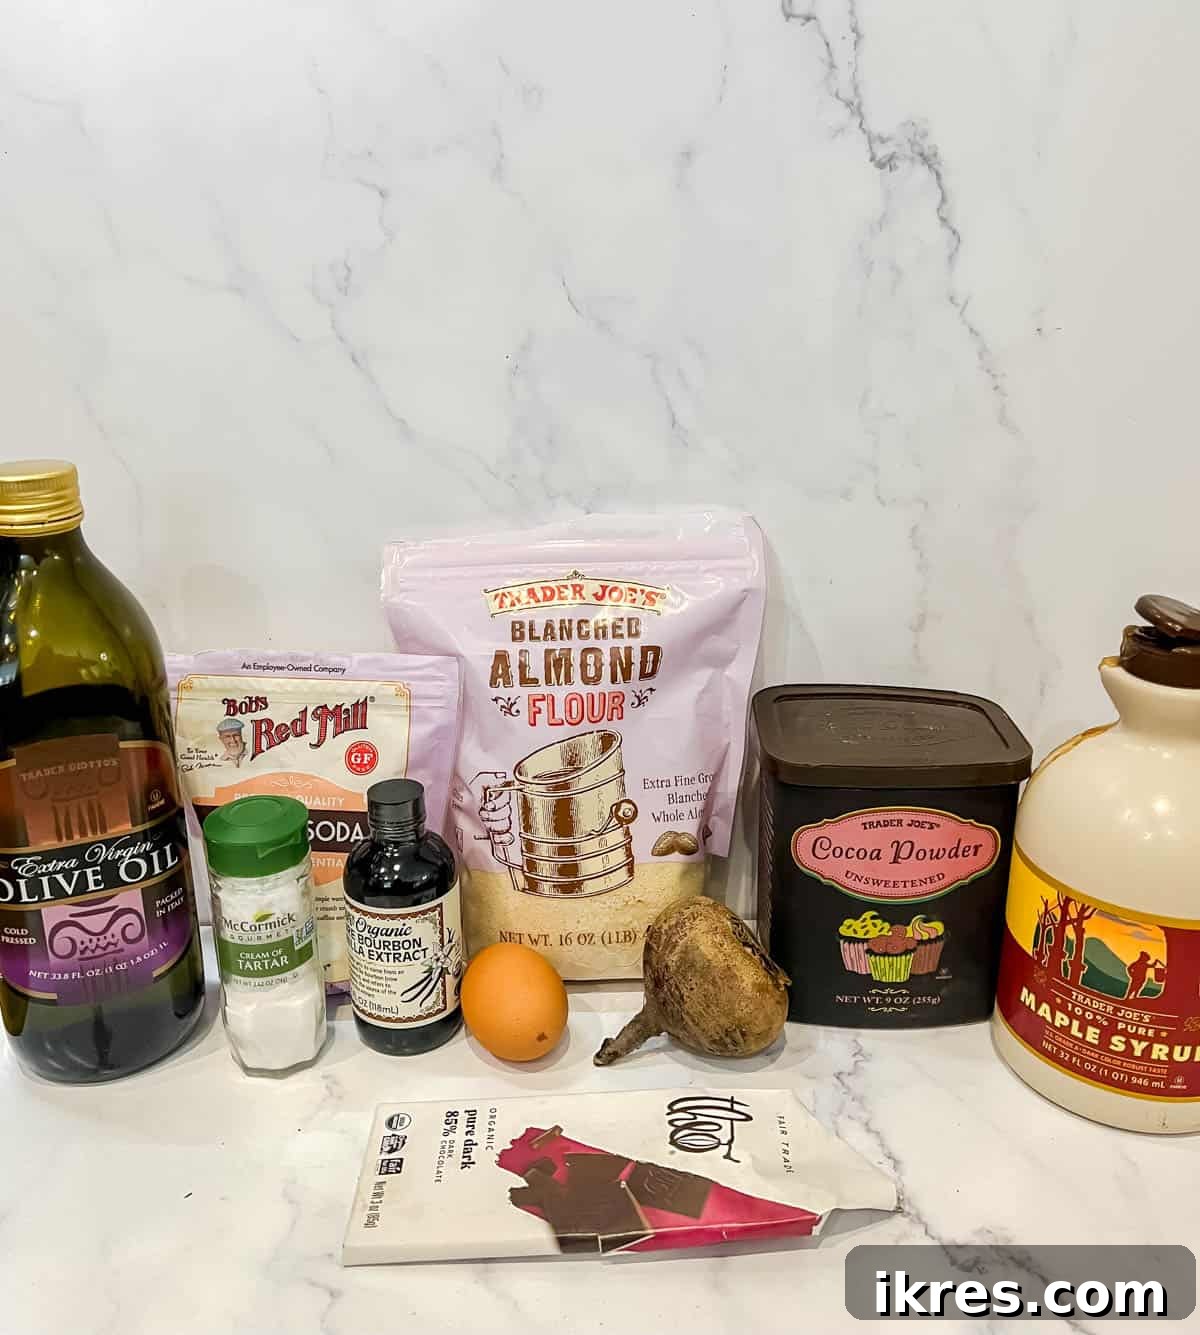
Crafting these healthy gluten-free red velvet cookies requires a thoughtful selection of ingredients, each playing a crucial role in achieving the perfect flavor, texture, and vibrant color. Here’s a detailed look at what you’ll need:
- Olive Oil: Opt for a good quality extra virgin olive oil. Its mild, fruity notes complement the chocolate beautifully, and it provides a healthy fat source, contributing to the cookies’ moist and tender texture. It’s a great dairy-free alternative to butter, adding richness without heaviness.
- Homemade Baking Powder (Baking Soda, Cream of Tartar, Tapioca Flour): Instead of store-bought baking powder, which can sometimes contain cornstarch or aluminum, we create our own Paleo-friendly version. Baking soda provides the lift, cream of tartar adds the necessary acidity to activate the baking soda and stabilize the beet color, and tapioca flour acts as a binding agent, ensuring a light and airy cookie.
- Vanilla Extract: A touch of pure vanilla extract is essential for enhancing the overall flavor profile. It beautifully complements the chocolate and beet notes, adding warmth and depth to each bite.
- Almond Flour: This is the star of our gluten-free base. Be sure to use blanched almond flour, which is made from almonds with their skins removed. It’s finer in texture compared to almond meal, resulting in a smoother, more refined cookie crumb that’s less dense and heavy.
- Coconut Flour: Used in conjunction with almond flour, coconut flour is highly absorbent and adds a subtle sweetness. It helps achieve the perfect texture, binding the dough without making it crumbly. Remember, coconut flour is very potent, so a little goes a long way.
- Egg: A single egg acts as a crucial binder, providing structure and moisture to the cookies. It helps hold all the grain-free flours together, ensuring the cookies don’t fall apart during baking or cooling.
- Unsweetened Cocoa Powder: For that signature rich chocolate flavor, unsweetened cocoa powder is a must. Ensure it’s 100% cocoa without any added sugars, allowing you to control the sweetness with maple syrup. The quality of your cocoa powder will significantly impact the cookie’s chocolate depth.
- Pure Maple Syrup: As our natural sweetener, pure maple syrup imparts a delightful caramel-like flavor and keeps the cookies refined-sugar-free. Its liquid form also contributes to the dough’s consistency, creating a soft and chewy cookie.
- Fresh Beet Juice (or Purchased Beet Juice): This is the secret to the stunning, natural red velvet color! You can juice a fresh beet at home using a juicer or blender (and then strain), or use high-quality store-bought beet juice for convenience. Beyond color, beet juice adds a touch of natural sweetness and beneficial antioxidants.
- Lemon Juice: A squeeze of fresh lemon juice is critical not just for flavor balance but also for maintaining the vibrant red color of the beet juice. The acidity helps prevent the beet pigments from oxidizing and turning brown during baking, ensuring your cookies remain beautifully red.
- Dairy-Free Chocolate Chips: To keep these cookies truly dairy-free and enhance their chocolatey appeal, incorporate your favorite dairy-free chocolate chips. We recommend brands like Enjoy Life (soy-free, nut-free), Trader Joe’s, or Hu Chocolate (which is also Paleo). These melt beautifully and add pockets of gooey chocolate goodness.
- Salt: A pinch of salt is vital for balancing the sweetness and enhancing all the other flavors in the cookie, particularly the chocolate.
Refer to the comprehensive recipe card below for exact measurements and a complete list of ingredients. Gathering these quality components is the first step towards baking an unforgettable batch of healthy red velvet cookies.
Step-by-Step Guide to Baking Perfection
Creating these delightful gluten-free red velvet cookies is a straightforward process when you follow these easy steps. Each stage is designed to ensure maximum flavor, optimal texture, and that gorgeous deep red color.
- Prepare Your Homemade Baking Powder: In a small bowl, combine the baking soda, cream of tartar, and tapioca flour. Whisk them together thoroughly. This blend acts as our natural, Paleo-friendly leavening agent and is crucial for the cookies’ rise and color stability.
- Combine the Dry Ingredients: In a large mixing bowl, add the blanched almond flour, unsweetened cocoa powder, coconut flour, and salt. Now, incorporate the freshly made baking powder mixture from Step 1. Use a fork or a whisk to mix these dry ingredients until they are uniformly combined. This prevents pockets of unmixed leavening or flour.
- Mix the Wet Ingredients: In a separate medium-sized bowl, crack in the egg, then add the vanilla extract, vibrant beet juice, pure maple syrup, olive oil, and lemon juice. Whisk vigorously until the mixture is well emulsified and slightly thickened. The lemon juice here is key for the red color!
- Unite Wet and Dry Mixtures: Gently pour the wet ingredient mixture into the bowl of dry ingredients. Using a spatula, mix until everything is just combined. Be careful not to overmix, as this can lead to tougher cookies. The dough will be thick and vibrant.
- Fold in Chocolate Chips: Once your dough is well mixed, gently fold in your chosen dairy-free chocolate chips. Distribute them evenly throughout the dough so every cookie gets a generous amount of melty chocolate goodness.
- Chill the Cookie Dough: This step is crucial for the best results! Cover the bowl of cookie dough with plastic wrap and refrigerate for a minimum of 60 minutes. Chilling allows the flours to fully hydrate, prevents the cookies from spreading too much, and deepens the flavors.
- Preheat and Prepare Your Baking Sheet: While the dough is chilling, preheat your oven to 350°F (175°C). Line a baking sheet with a silicone cookie sheet liner or parchment paper. This ensures easy removal and prevents sticking.
- Portion and Shape the Dough: After chilling, take the cookie dough out of the fridge. Using a tablespoon-sized scoop, portion out the dough. Roll each portion into a smooth ball with your hands. If the dough is a bit sticky, lightly dampen your hands with water before rolling. Place the dough balls onto the prepared cookie sheet, leaving some space between each for expansion. You should get about 18-20 cookies.
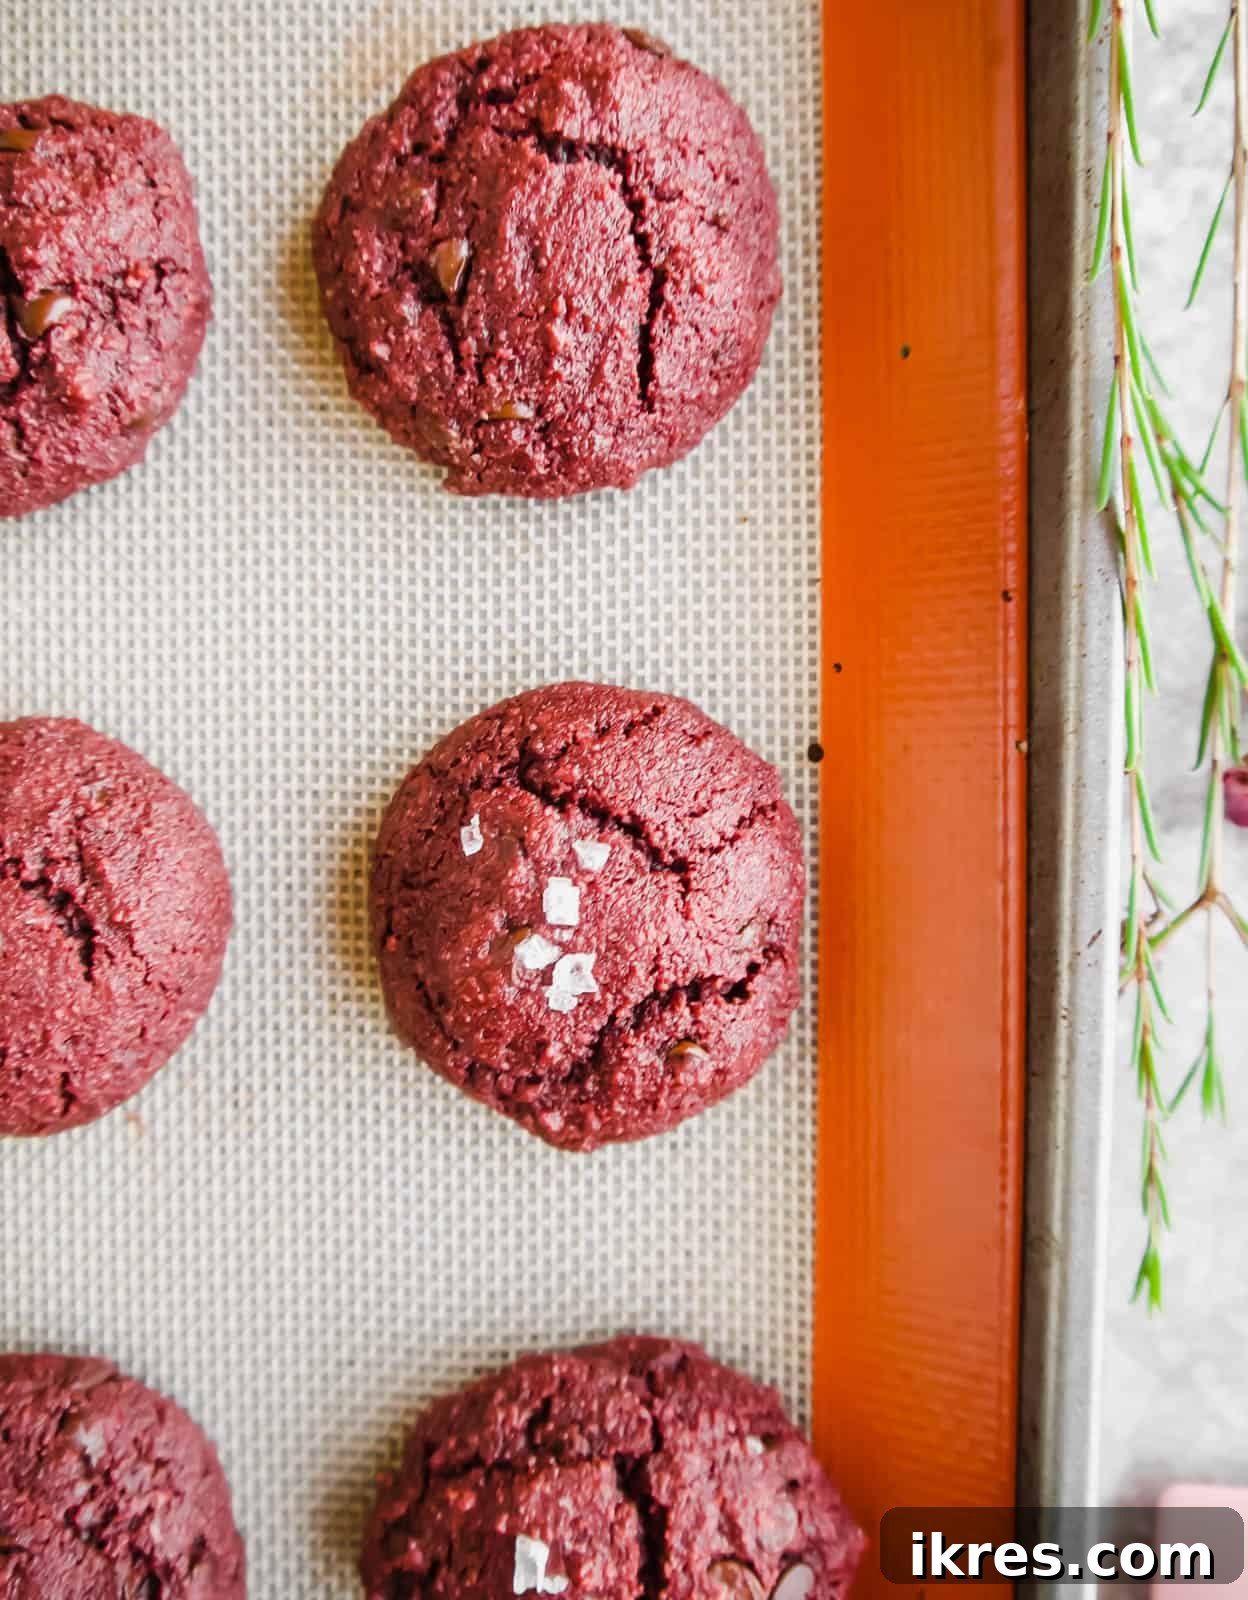
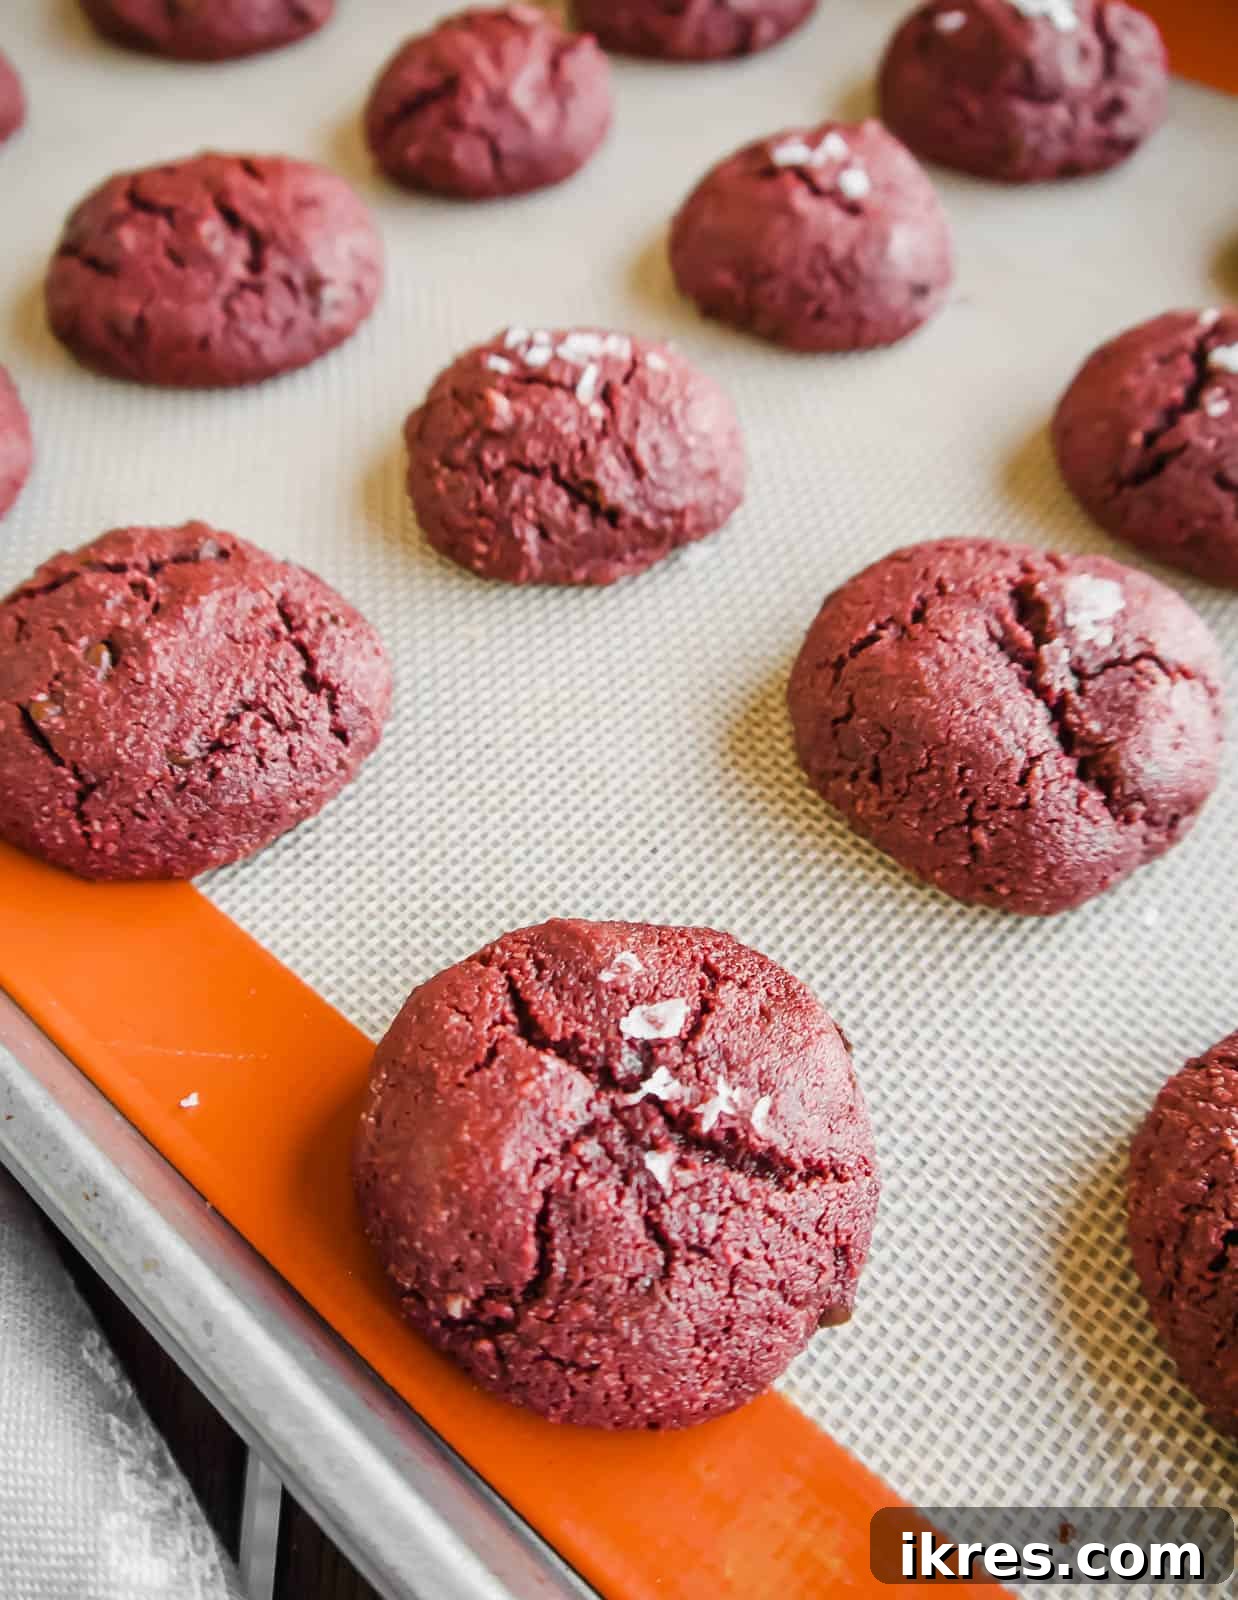
- Bake to Perfection: Place the baking sheet in the preheated oven and bake for 11-12 minutes. The cookies will look slightly soft in the center when you pull them out.
- Cool and Serve: Let the cookies sit on the baking pan for about one minute after removing them from the oven. This allows them to firm up slightly. Then, carefully transfer them with a spatula onto a wire cooling rack to cool completely. Enjoy these fudgy, naturally red delights!
Pro Tips for Flawless Gluten-Free Red Velvet Cookies
Achieving perfectly moist, fudgy, and vibrantly red gluten-free cookies is easier with a few expert insights. Keep these tips in mind to elevate your baking experience and ensure fantastic results every time:
- Preserving the Red Color with Acidity: The key to maintaining the beautiful red hue from beet juice throughout the baking process is acidity. Without it, the beet pigments can oxidize and turn a dull brown.
- This is precisely why our homemade baking powder uses cream of tartar, which is acidic.
- Additionally, the inclusion of lemon juice in the wet ingredients further boosts the acidity, acting as a natural color stabilizer and ensuring your red velvet cookies remain strikingly red.
- Don’t Skip the Chilling Process: Refrigerating the cookie dough for at least 60 minutes is non-negotiable for these gluten-free cookies. Chilling allows the flours (especially coconut flour) to fully absorb the liquids, resulting in a dough that is easier to handle, spreads less in the oven, and yields a chewier texture. Warm dough leads to flat, crumbly cookies.
- Ensure Blanched Almond Flour: Always use blanched almond flour (almonds with skins removed) for baking. It has a finer texture than almond meal and produces a lighter, more delicate crumb, which is ideal for cookies. Almond meal can make your cookies too dense.
- Perfect Portioning for Even Baking: Use a tablespoon or a small cookie scoop to ensure uniform cookie sizes. This guarantees that all cookies bake evenly and are done at the same time, preventing some from being underbaked and others overbaked.
- The Finishing Touch: Sea Salt: For an extra layer of flavor and to beautifully contrast the sweetness of the cookies, add a delicate sprinkle of flaky sea salt on top of each cookie before baking. This simple addition elevates the overall taste experience.
- How to Store Your Cookies: These delicious cookies stay fresh and fudgy for several days. Store them on the kitchen counter, placed on a plate and covered tightly with cling wrap or a clean kitchen towel. They will maintain their deliciousness for 3-4 days. For longer storage, you can freeze them in an airtight container for up to 2 months.
- Mind the Baking Time: Gluten-free cookies can sometimes go from perfectly baked to overbaked quickly. Keep a close eye on them during the last few minutes. They should be set around the edges but still appear slightly soft in the center when removed from the oven. They will continue to set as they cool.
By incorporating these expert tips into your baking routine, you’ll consistently create batches of truly magnificent gluten-free red velvet cookies that impress with their taste, texture, and natural vibrant color.
Explore More Gluten-Free Cookie Recipes
If you loved these naturally colored, healthy red velvet cookies, you’ll be thrilled to discover other delightful gluten-free treats that are just as easy to make and equally delicious. Expanding your repertoire of wholesome, allergy-friendly desserts has never been easier. Here are a few more favorites you’re sure to enjoy:
Did you try this recipe? Please leave me a ⭐ review below! Your feedback helps other bakers and is greatly appreciated.
Gluten-free Red Velvet Cookies
Dominique
18 cookies
45 mins
12 mins
57 mins
Print Recipe

Ingredients
- 1/4 tsp baking soda
- 1/2 tsp cream of tartar
- 1/2 tsp tapioca flour
- 1 1/4 cup almond flour
- 1/4 cup unsweetened cocoa powder
- 2 Tbs coconut flour
- 1/2 tsp salt
- 1 egg
- 1 tsp vanilla extract
- 3 Tbs beet juice
- 1/2 cup maple syrup
- 1/4 cup olive oil
- 1 Tbs lemon juice
- 1/2 cup Enjoy Life chocolate chips, Soy-free, nut-free, dairy-free chocolate
- optional- sea salt
Instructions
- In a small bowl, mix baking soda, cream of tartar and tapioca flour together to create paleo baking powder.
- In a large bowl, add the almond flour, cocoa powder, coconut flour, salt, and pre-made paleo baking powder (the baking soda, cream of tartar, tapioca flour mix from instruction 1). Mix together with a fork until well mixed.
- In a medium bowl, add the egg, vanilla, beet juice, maple syrup, olive oil, and lemon juice, and whisk together until the mixture thickens.
- Then, add the liquid bowl to the dry bowl and mix until everything is completely mixed.
- Fold in the chocolate chips.
- Put the mixture into the fridge for 60 minutes.
- While the mixture is in the fridge, preheat the oven to 350 degrees. Cover a cookie sheet with a silicone cookie sheet liner or parchment paper.
- Then take the cookie batter out of the fridge, scoop out 1 Tbs sized spoonfuls of it, and roll the batter into the shape of a ball with your hands. Note: if the batter is too sticky, wet your hands with water before rolling the batter into balls in between your hands. Place the balls of cookie dough onto the cookie sheet.
- Note: There should be enough batter to yield 18-20 cookies.
- Bake for 11-12 minutes and remove the cookies from the oven. Let the cookies sit on the pan for about one minute, then remove the cookies from the pan with a spatula and place them onto a cooling rack.
Notes
Nutrition
Carbohydrates: 12g
Protein: 2g
Fat: 9g
Saturated Fat: 2g
Polyunsaturated Fat: 0.4g
Monounsaturated Fat: 2g
Trans Fat: 0.001g
Cholesterol: 9mg
Sodium: 88mg
Potassium: 65mg
Fiber: 2g
Sugar: 6g
Vitamin A: 14IU
Vitamin C: 0.4mg
Calcium: 30mg
Iron: 1mg
Nutrition information is automatically calculated, so should only be used as an approximation.
Additional Info
Dessert
American
Tried this recipe?
Mention @perchancetocook or tag #perchancetocook!