
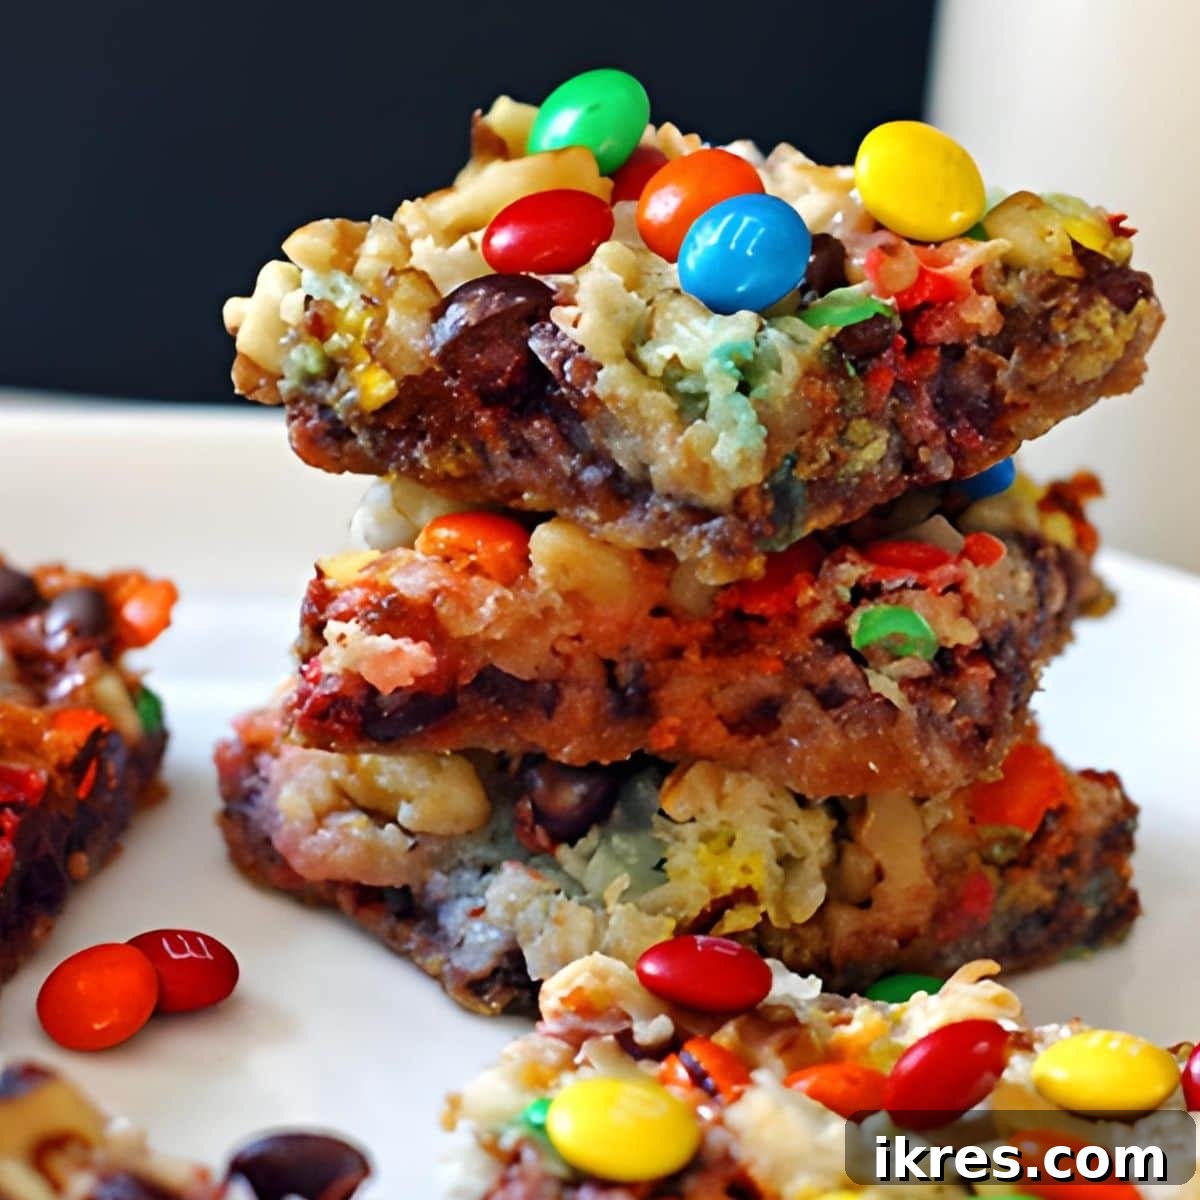
There’s an undeniable enchantment that envelops you when wandering through a Disney resort. It’s a place where the scent of delightful treats mingles with the sweet whispers of cherished childhood memories. Among our most treasured Disney-inspired delights, Magic Cookie Bars stand out as an absolute favorite!
These magnificent layered dessert bars are a symphony of textures and flavors, boasting a perfect blend of crunchy, chewy, and chocolatey goodness. Their irresistible charm makes them an instant hit with both children and adults. The truly magical part? You can easily recreate this experience right in your own kitchen! With a handful of common pantry staples, you’re just a few simple steps away from infusing your home with a touch of Disney wonder.
Our journey with this incredible Magic Bars recipe began during a memorable trip to Walt Disney World in 2016. Amidst the plethora of delectable desserts offered at our resort, these bars captured our hearts and taste buds like no other. When we say they were “one of our favorites,” we genuinely mean they left an unforgettable impression, making them a dessert we longed to recreate and savor again and again.
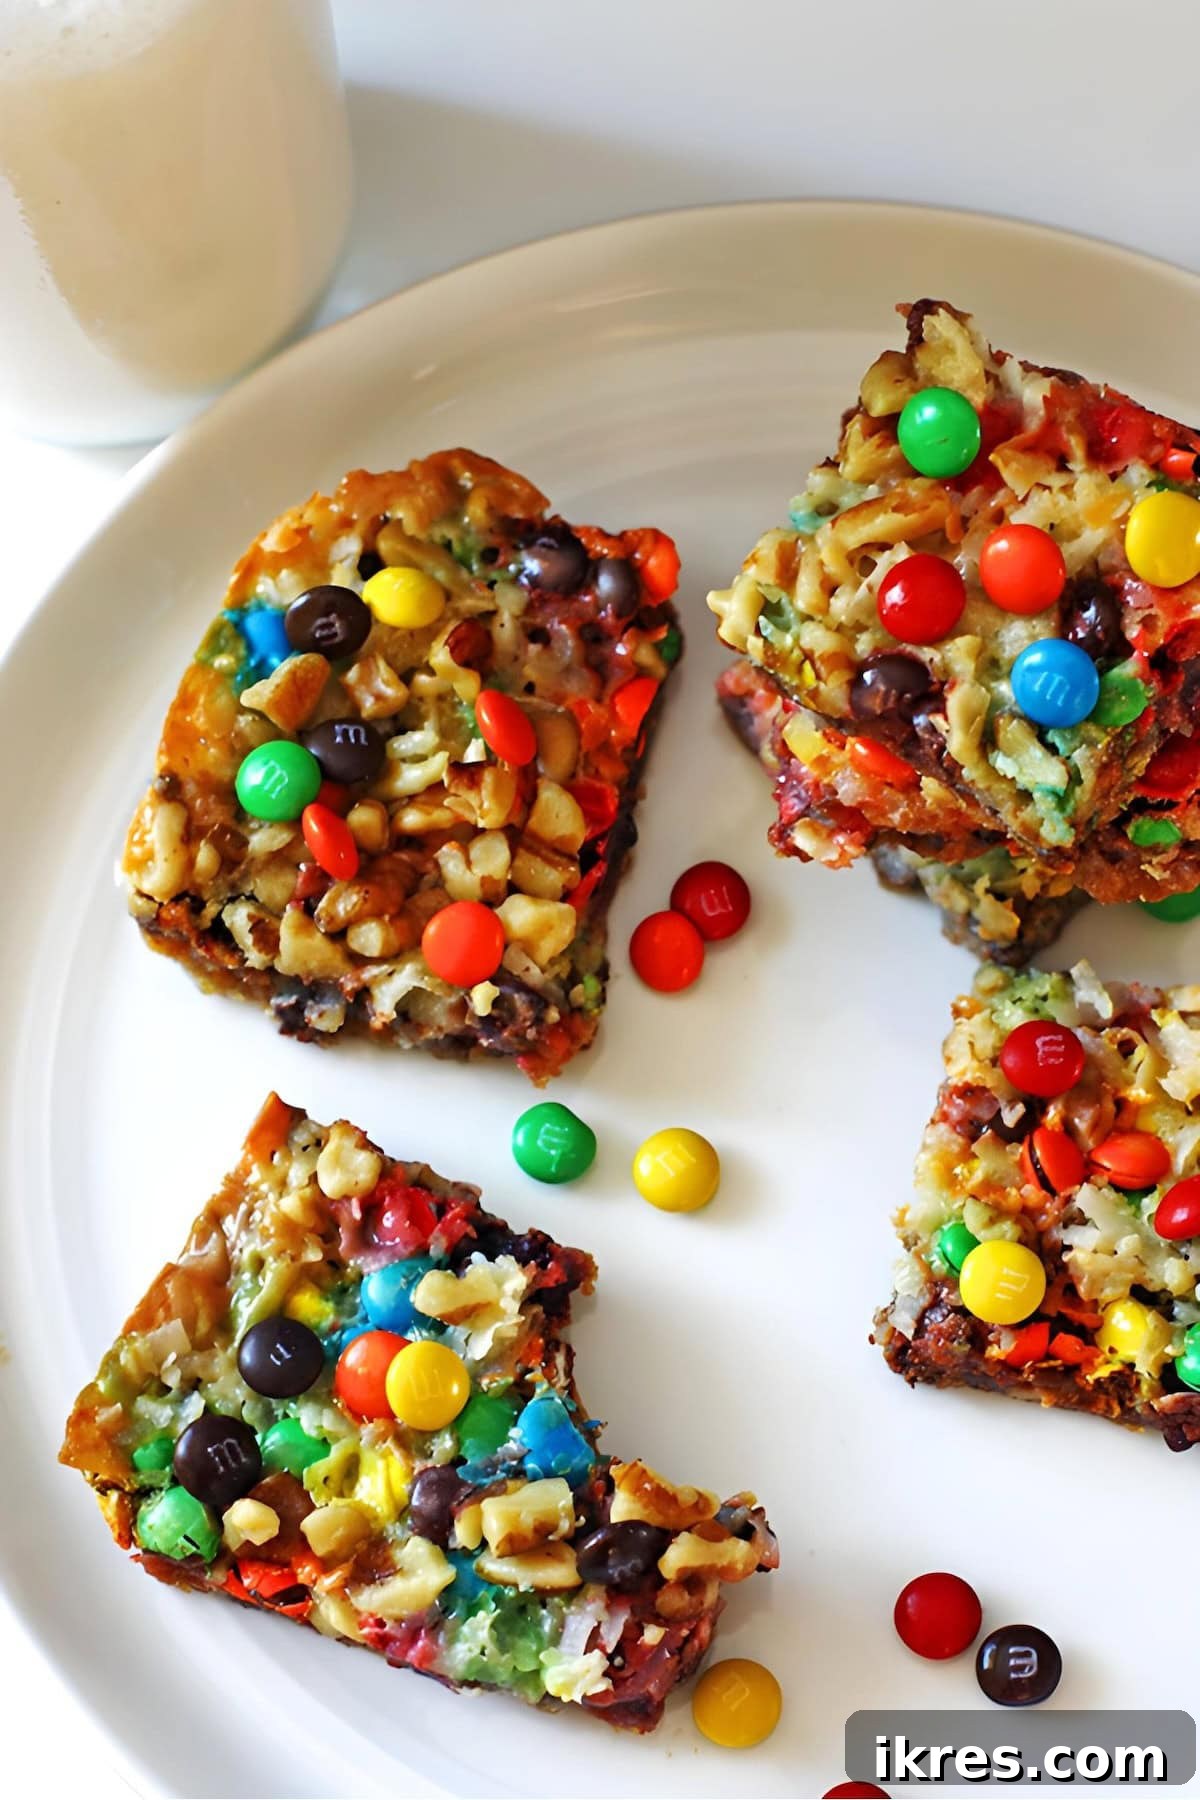
Choosing a dessert at Disney is always a delightful challenge, given the sheer quality and variety of their culinary offerings. We’ve been fortunate enough to visit Walt Disney World multiple times, and each stay has led us back to the charming Port Orleans Riverside Resort. This resort holds a special place in our hearts, providing a serene escape where the peaceful ambiance makes you forget you’re just moments away from the bustling theme parks. Its quiet, relaxing atmosphere allows for a truly immersive and restorative experience.
Our entire family of four shares a deep affection for Disney. There’s something profoundly magical about being at Walt Disney World, a unique atmosphere that effortlessly rekindles the inner child in all of us. It’s this very spirit of magic and joy that we aim to capture and share with you through this recipe, bringing a piece of that wondrous world into your home kitchen.
Table of Contents
- Magic Cookie Bar Ingredients
- How to Make Magic Bars
- Storage Tips
- Tips for the Perfect Magic Bars
- Magic Cookie Bars (7 Layer Recipe) Recipe
- More Easy Dessert Recipes
And speaking of magic, these homemade Magic Bars are an absolute must-try! While the original Disney version often features a combination of butterscotch and chocolate chips, we stumbled upon a delightful twist that we believe elevates these bars even further. In a moment of culinary improvisation – or perhaps, a fortunate oversight – we found ourselves without butterscotch chips, but with a stash of mini M&M’s readily available in the pantry. The thought of an extra trip to the grocery store seemed less appealing than experimenting with what we had.
To our pleasant surprise, this substitution wasn’t just a convenient fix; it was a revelation! The mini M&M’s introduced a different kind of sweetness and a fun, colorful crunch that perfectly complemented the other layers. We discovered that this version was not only equally delicious but, for our family’s palate, even preferable to the original, offering a less intense sweetness that allowed the other flavors to shine through. This happy accident resulted in a recipe we’re incredibly excited to share, promising a unique and equally enchanting experience with every bite of these easy-to-make 7-layer bars.
Magic Cookie Bar Ingredients: The Seven Layers of Delight
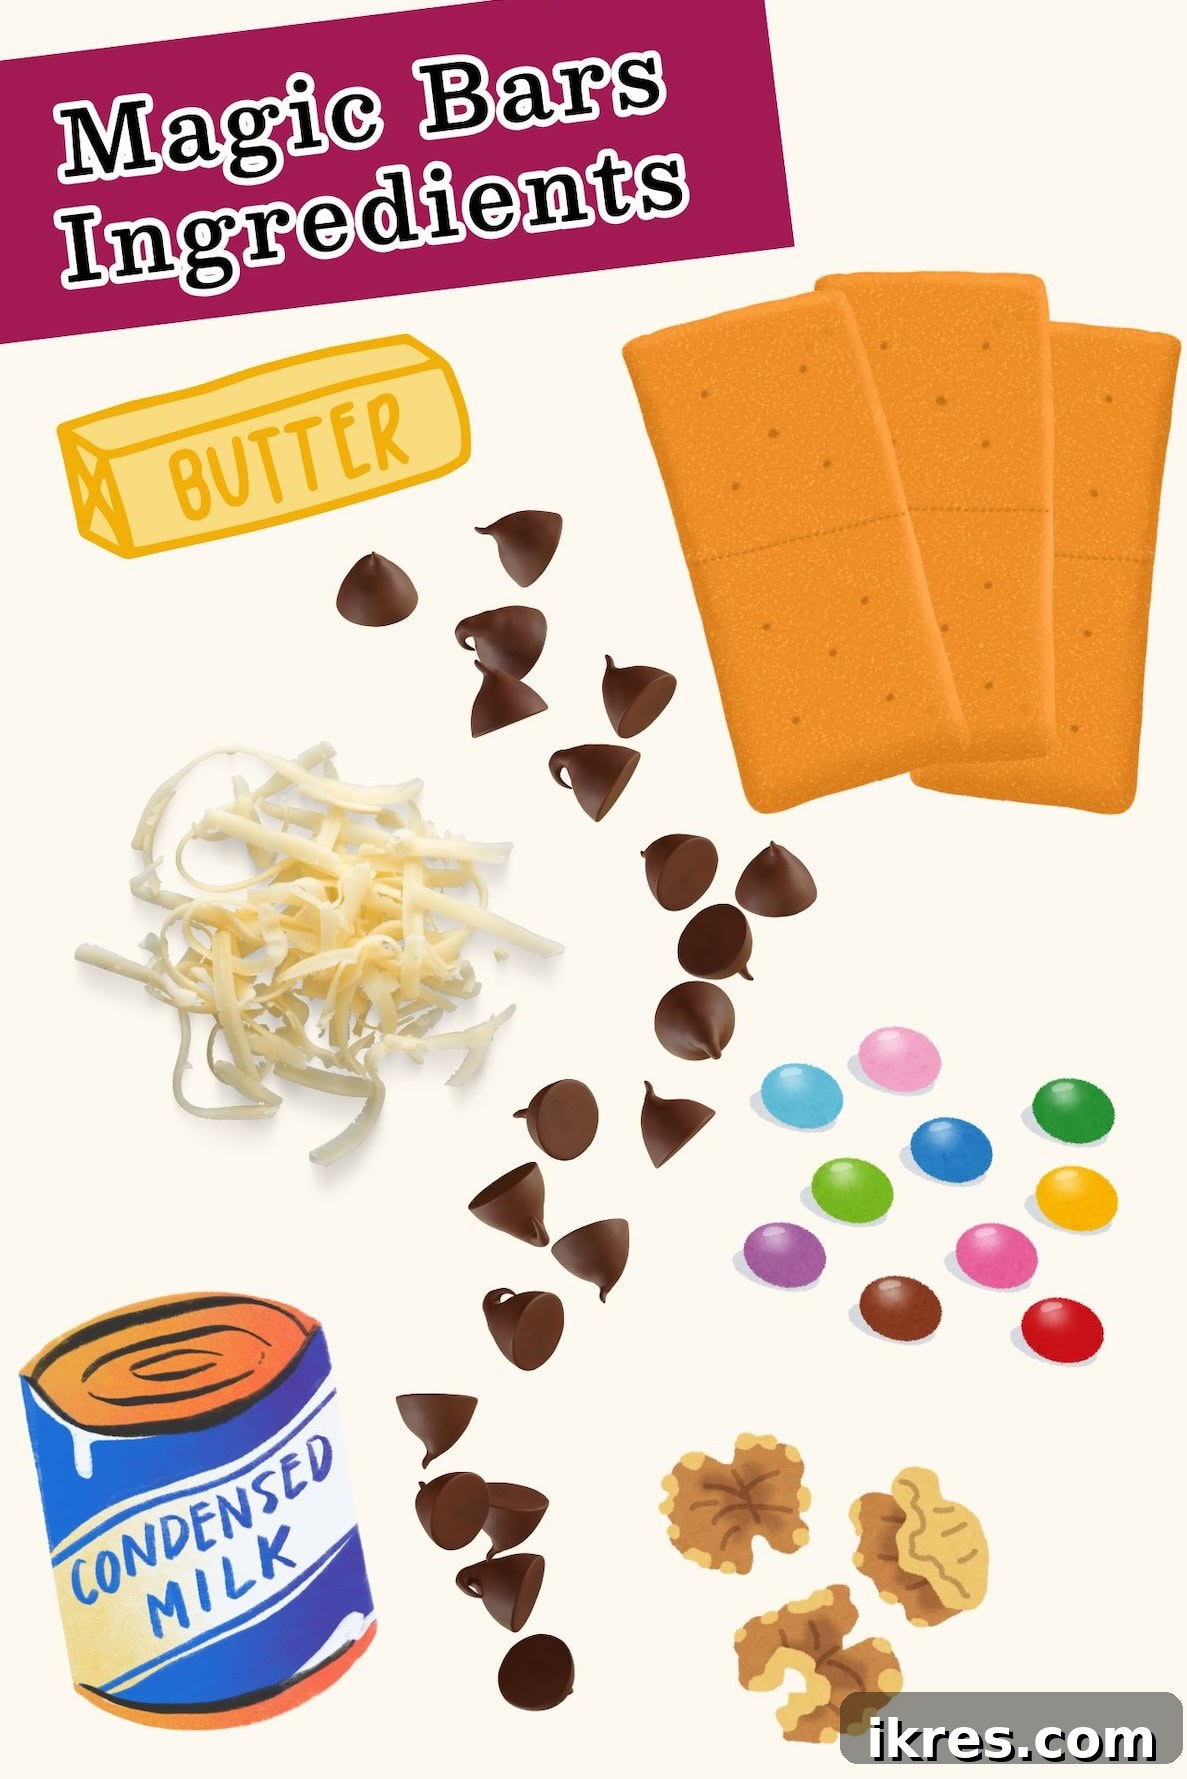
Crafting these delectable Magic Cookie Bars, also known as 7-Layer Bars, requires a simple yet potent combination of ingredients. Each component plays a crucial role in building the irresistible flavors and textures that make these bars so beloved. Here’s a detailed look at what you’ll need to create your own batch of magic:
- Graham Cracker Crumbs: These form the sturdy, buttery base of your bars. You’ll need approximately one sleeve of graham crackers, crushed into fine crumbs. The finely crushed texture ensures a cohesive and firm crust that holds all the subsequent layers beautifully.
- Melted Butter: Essential for binding the graham cracker crumbs together and creating a rich, golden crust. Unsalted butter is generally preferred, allowing you to control the overall saltiness of the dessert.
- Semisweet Chocolate Chips (Regular or Mini): The classic chocolate component that delivers a rich, balanced sweetness. Mini chips tend to distribute more evenly throughout the bars, ensuring chocolate in every bite, but regular-sized chips work just as well for a bolder chocolate presence. You can also experiment with milk chocolate or dark chocolate chips based on your preference.
- Mini M&M’s: Our secret ingredient for a fun, colorful, and slightly less sweet twist. These candies add a delightful crunch and a playful visual appeal, making the bars even more appealing, especially to younger enthusiasts.
- Flaked Sweetened Coconut: This ingredient adds a tropical, chewy texture and a distinct sweetness that is characteristic of traditional Magic Bars. It toasts lightly during baking, intensifying its flavor and aroma.
- Sweetened Condensed Milk: The true “magic” binder that holds all the layers together, creating that signature gooey, caramelized texture. As it bakes, it drizzles down, enveloping the other ingredients in a luscious, sweet coating. Do not confuse this with evaporated milk!
- Chopped Walnuts: Providing a wonderful crunch and a slightly earthy, nutty flavor, walnuts are a classic addition to 7-Layer Bars. If walnuts aren’t your preference, feel free to substitute them with chopped pecans, peanuts, or even omit nuts entirely for a nut-free version.
You will also need either parchment paper or butter to generously grease your baking pan. Parchment paper is highly recommended for easy removal of the bars, ensuring a clean cut and preventing sticking.
How to Make Magic Bars: A Simple Step-by-Step Guide
The beauty of Magic Bars lies not only in their incredible taste but also in their effortless preparation. These delightful 7-layer bars are incredibly straightforward to assemble, making them a perfect recipe for bakers of all skill levels. Follow these simple steps to bring a batch of magic to life in your kitchen:
- Preheat Your Oven: Begin by preheating your oven to 350°F (175°C). This ensures that your oven is at the correct temperature for even baking as soon as your bars are ready to go in.
- Prepare Your Baking Pan: Line a 13×9 inch (33×23 cm) baking pan with parchment paper, allowing some overhang on the sides. This overhang will act as “handles” later, making it incredibly easy to lift the entire batch of bars out of the pan for clean cutting. If you don’t have parchment paper, grease the pan generously with butter or cooking spray to prevent sticking. From personal experience, parchment paper truly makes a difference in preventing frustration when removing the bars!
- Crush the Graham Crackers: In a medium bowl, crush approximately one sleeve of graham crackers until they form fine, even crumbs. You can do this by placing them in a Ziploc bag and crushing them with a rolling pin, or by pulsing them in a food processor for a quicker and more uniform result.
- Form the Crust Base: Add the melted butter to the graham cracker crumbs and mix them thoroughly until all the crumbs are moistened. This creates the foundation for your Magic Bars.
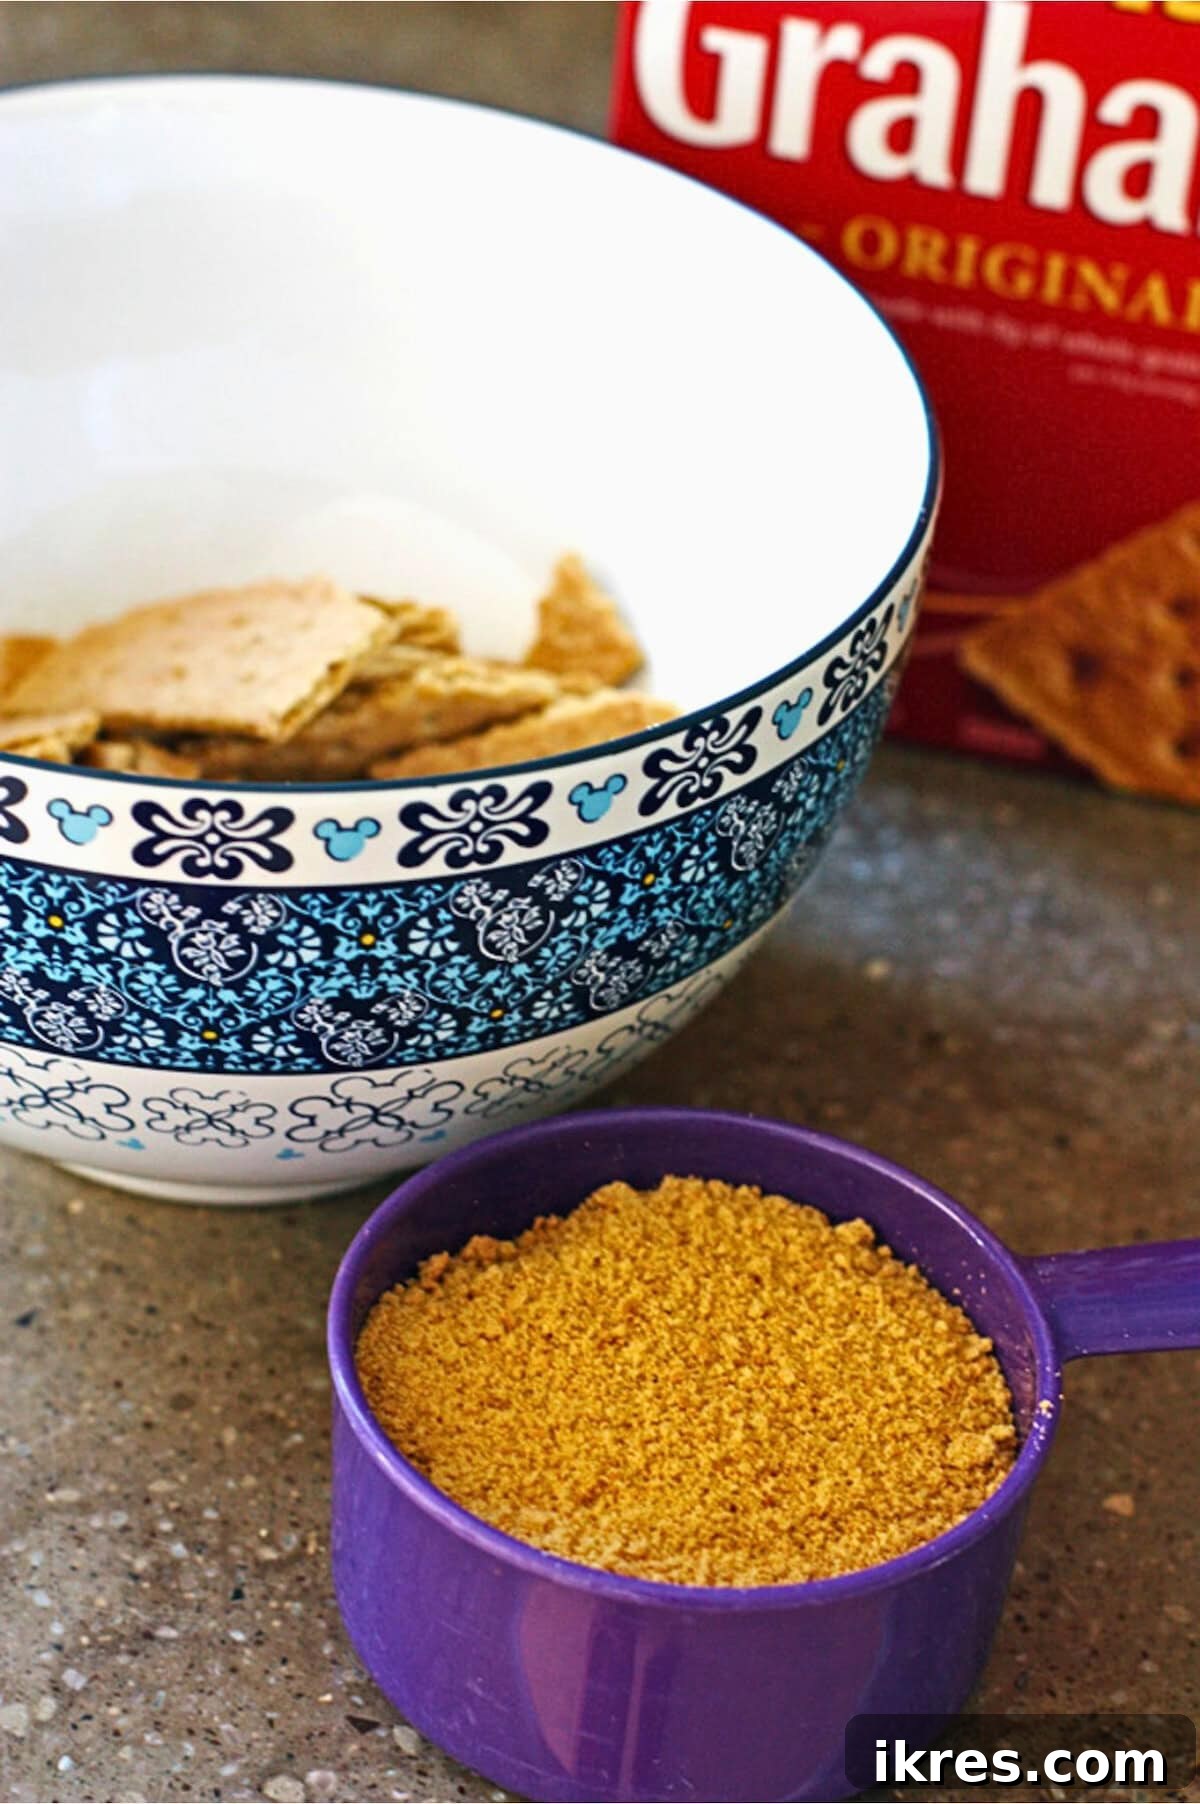
- Press the Crust: Pour the buttered graham cracker crumbs into your prepared 13×9 inch pan. Press them down firmly and evenly across the bottom to form a thin, compact crust. The back of a fork or a flat-bottomed glass works perfectly for this task. Don’t worry if it seems like a thin layer – it’s just enough to create that delightful crisp base!
- Layer the Chocolate Chips, M&M’s, and Coconut: Evenly sprinkle the semisweet chocolate chips, mini M&M’s, and flaked sweetened coconut over the graham cracker crust. Aim for an even distribution to ensure every bite offers a medley of flavors and textures.
- Drizzle with Sweetened Condensed Milk: Slowly and evenly drizzle the entire can of sweetened condensed milk over all the layered toppings. This golden, sticky liquid is what truly transforms these bars into gooey, magical treats, binding all the layers together during baking. Ensure a thorough coating for optimal flavor and texture.
- Add the Walnuts: Finish by sprinkling the chopped walnuts evenly over the top layer. The nuts will toast beautifully in the oven, adding another dimension of flavor and crunch.
- Bake to Perfection: Place the pan in your preheated oven and bake for 25-30 minutes. The bars are ready when the edges are golden brown and the center is lightly set and bubbly. Keep an eye on them to prevent overbrowning, especially the coconut.
- Optional: Enhance with Extra M&M’s: For an extra pop of color and a touch more candy crunch, gently press a few additional mini M&M’s onto the top of the bars immediately after taking them out of the oven, while they are still warm and pliable.
- Cool Completely and Cut: This step is crucial! Allow the seven-layer bars to cool completely in the pan on a wire rack before attempting to cut them. This can take several hours, or even better, chill them in the refrigerator. Cooling allows the layers to set properly, ensuring clean, neat squares that hold their shape. Once completely cooled, use the parchment paper overhang to lift the entire slab out of the pan, then cut into individual squares with a sharp knife.
Once your Magic Cookie Bars are cooled, neatly cut into squares, and perhaps a couple have already disappeared into happy tummies, simply cover the remaining bars and place them in the refrigerator. Now, all that’s left is to savor every delightful, easy-to-make bite!
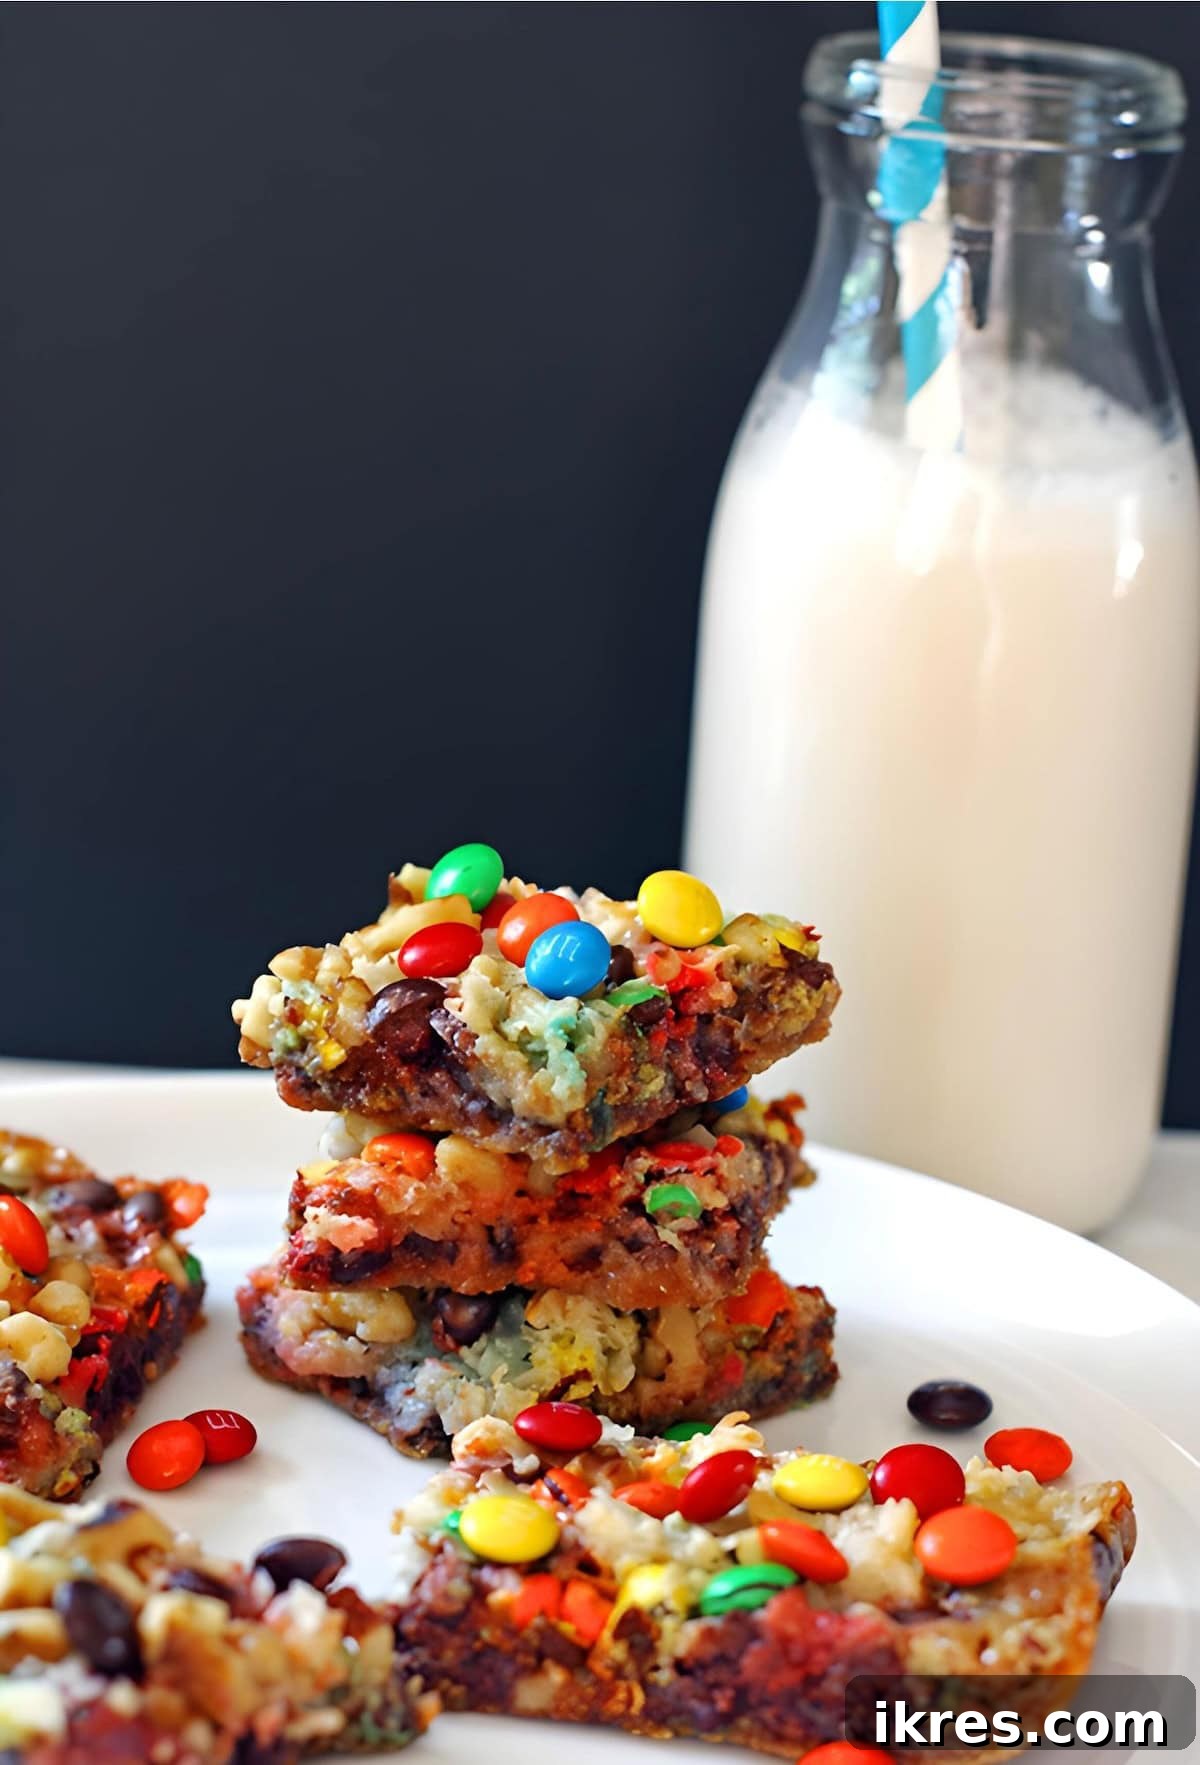
These homemade Magic Cookie Bars, alongside the classic Mickey Mouse ice cream bars, unquestionably top our list of favorite Disney-inspired desserts. They encapsulate that joyous, whimsical spirit perfectly!
We’d love to hear from you: what is your ultimate favorite treat from the Disney parks?
Storage Tips for Your Magical Cookie Bars
Ensuring your Magic Cookie Bars stay fresh and delicious is key to enjoying them over time. Proper storage will help maintain their wonderful texture and flavor. Here are our top tips:
- Room Temperature: For immediate enjoyment or if you prefer a slightly softer, chewier bar, store them in an airtight container at room temperature. They will remain fresh and delightful for up to 5 days. Ensure they are fully cooled before storing to prevent condensation.
- Refrigerator: If you enjoy a firmer, more structured bar, or if your home is particularly warm, storing them in the refrigerator is an excellent option. Place the cut squares in an airtight container in the fridge, where they will keep well for up to a week. The chilling process enhances their chewiness and provides a refreshing contrast to their sweetness. Personally, I’ve found that eating them chilled makes them even more irresistible!
- Freezer: Magic Cookie Bars freeze beautifully, making them perfect for meal prep or saving for future cravings. To freeze, wrap individual bars tightly in plastic wrap, then place them in a freezer-safe container or bag. They can be stored in the freezer for up to 3 months. When you’re ready to enjoy, simply let them thaw at room temperature for an hour or two before serving.
Regardless of your chosen method, always ensure the bars are completely cooled before storing. This prevents them from becoming soggy or losing their delightful texture.
Tips for Crafting the Perfect Magic Bars Every Time
While Magic Cookie Bars are inherently forgiving and easy to make, a few insider tips can elevate your baking experience and ensure truly perfect results:
- Customizing Your Toppings: The beauty of 7-Layer Bars is their versatility. If you prefer a nut-free version, simply omit the walnuts or replace them with extra chocolate chips, more coconut, or even mini pretzels for a salty-sweet crunch. Other popular additions include white chocolate chips, butterscotch chips (for a more traditional take), or even toffee bits. Feel free to get creative!
- Achieving That Gooey Texture: For bars that are extra soft and chewy, with a delightfully gooey center, consider slightly underbaking them by just a minute or two. The bars will continue to set as they cool, resulting in that coveted fudgy consistency. Don’t worry if they seem a little soft when they first come out of the oven – they will firm up.
- Seasonal Swaps for Festive Flair: These bars are incredibly adaptable for various holidays and occasions. Swap out the M&M’s for seasonal varieties – think red and green for Christmas, pastels for Easter, or orange and black for Halloween. You can also incorporate themed sprinkles for an extra festive touch, making these treats perfect for any celebration.
- Ensure Even Layers: When sprinkling your toppings, try to distribute them as evenly as possible. This ensures that each bite delivers a balanced blend of all seven delicious layers.
- The Importance of Cooling: Patience is a virtue when it comes to cutting Magic Bars. Allowing them to cool completely, or even chilling them in the refrigerator, is paramount. This prevents the gooey layers from smearing and ensures clean, crisp cuts, resulting in beautifully presented squares.
- Pan Size Matters: Stick to the recommended 13×9 inch pan. Using a different size can alter the thickness of the bars and, consequently, their baking time and final texture.
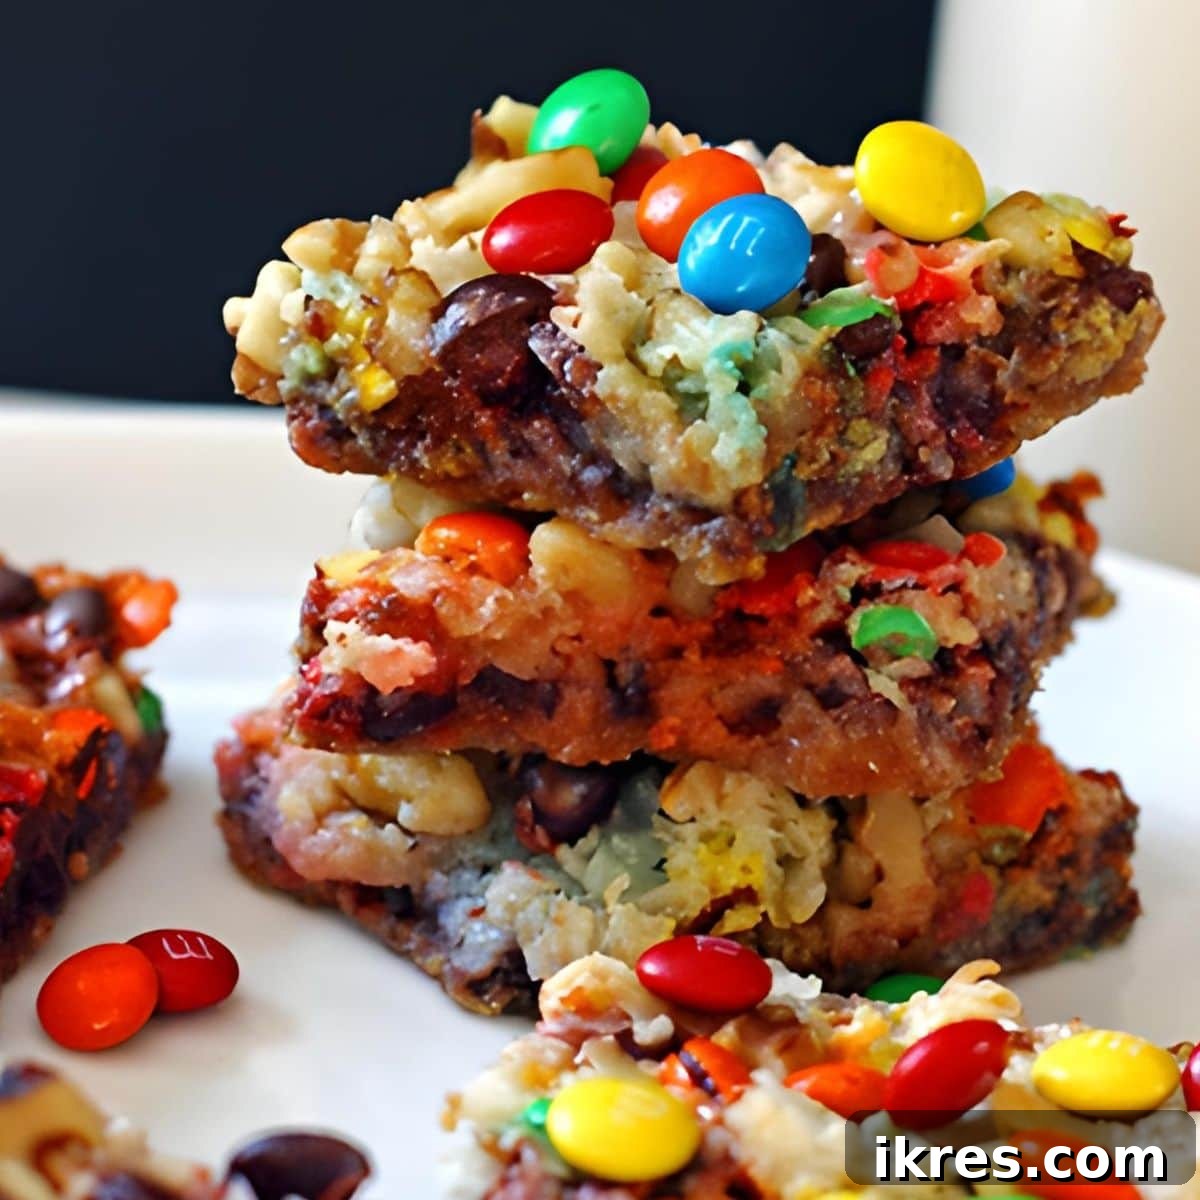
Have you had the pleasure of making this delightful Magic Cookie Bars recipe? We’d love to hear about your experience! Please leave a comment and rating below. Your feedback truly makes our day!
Magic Cookie Bars (7 Layer Recipe)
Ingredients
- 1 ¼ cup graham cracker crumbs (about one sleeve of graham crackers)
- ½ cup butter melted
- ¾ cup mini semisweet chocolate chips
- ¾ cup mini M&M’s
- 1 cup flaked sweetened coconut
- 1 14-ounce can sweetened condensed milk
- ½ cup walnuts chopped
- parchment paper or butter to grease the pan
Instructions
-
Preheat your oven to 350°F.
-
Line 13×9 baking pan with parchment paper or generously grease the pan.parchment paper
-
In a bowl, crush the graham crackers into finely chopped crumbs. Add the melted butter to the crumbs and mix well.1 ¼ cup graham cracker crumbs, ½ cup butter
-
Place the crumb mixture into the pan and spread out to make a thin crust, using the back of a fork.
-
Cover the crust with the mini chocolate chips, mini M&M’s and coconut.¾ cup mini semisweet chocolate chips, ¾ cup mini M&M’s, 1 cup flaked sweetened coconut
-
Drizzle the sweetened condensed milk over the pan, covering it completely.1 14-ounce can sweetened condensed milk
-
Sprinkle the nuts evenly on top.½ cup walnuts
-
Bake at 350⁰F for 25-30 minutes.
-
Cool and cut into squares.
Notes
Nutrition
Nutrition information is approximate and is automatically calculated, so should only be used as a guide.
More Irresistible and Easy Dessert Recipes to Try
If you’ve fallen in love with the simplicity and deliciousness of these Magic Cookie Bars, you’re in for a treat! Our kitchen is a treasure trove of easy dessert recipes designed to bring joy without the fuss. Whether you’re a seasoned baker or just starting out, these simple yet satisfying treats are perfect for any occasion. Beyond our beloved 7-layer bars, here are a few more delightful creations you absolutely must try:
- Our No-Bake Eclair Cake is a fan favorite for good reason. This impressive dessert comes together with minimal effort and no oven required, making it perfect for warm weather or when you’re short on time but still want something spectacular. Layers of graham crackers, creamy vanilla pudding, and a rich chocolate frosting create a harmonious blend of flavors and textures reminiscent of a classic eclair.
- For those who adore classic baked goods, be sure to explore our extensive collection of easy cookie recipes. From chewy chocolate chip cookies to melt-in-your-mouth shortbread, you’ll find a cookie to satisfy every craving. Cookies are always a fantastic choice for gatherings, school lunches, or simply as a comforting treat with a cup of tea.
- Don’t forget to check out our quick and easy brownie recipes – perfect for chocolate lovers seeking that fudgy, rich goodness. We also feature a variety of simple fruit crisps and crumbles that celebrate seasonal flavors with a warm, comforting twist.
Each of these recipes is crafted with simplicity and deliciousness in mind, ensuring that you can whip up impressive desserts without spending hours in the kitchen. Happy baking, and enjoy these wonderful, easy-to-make treats!