
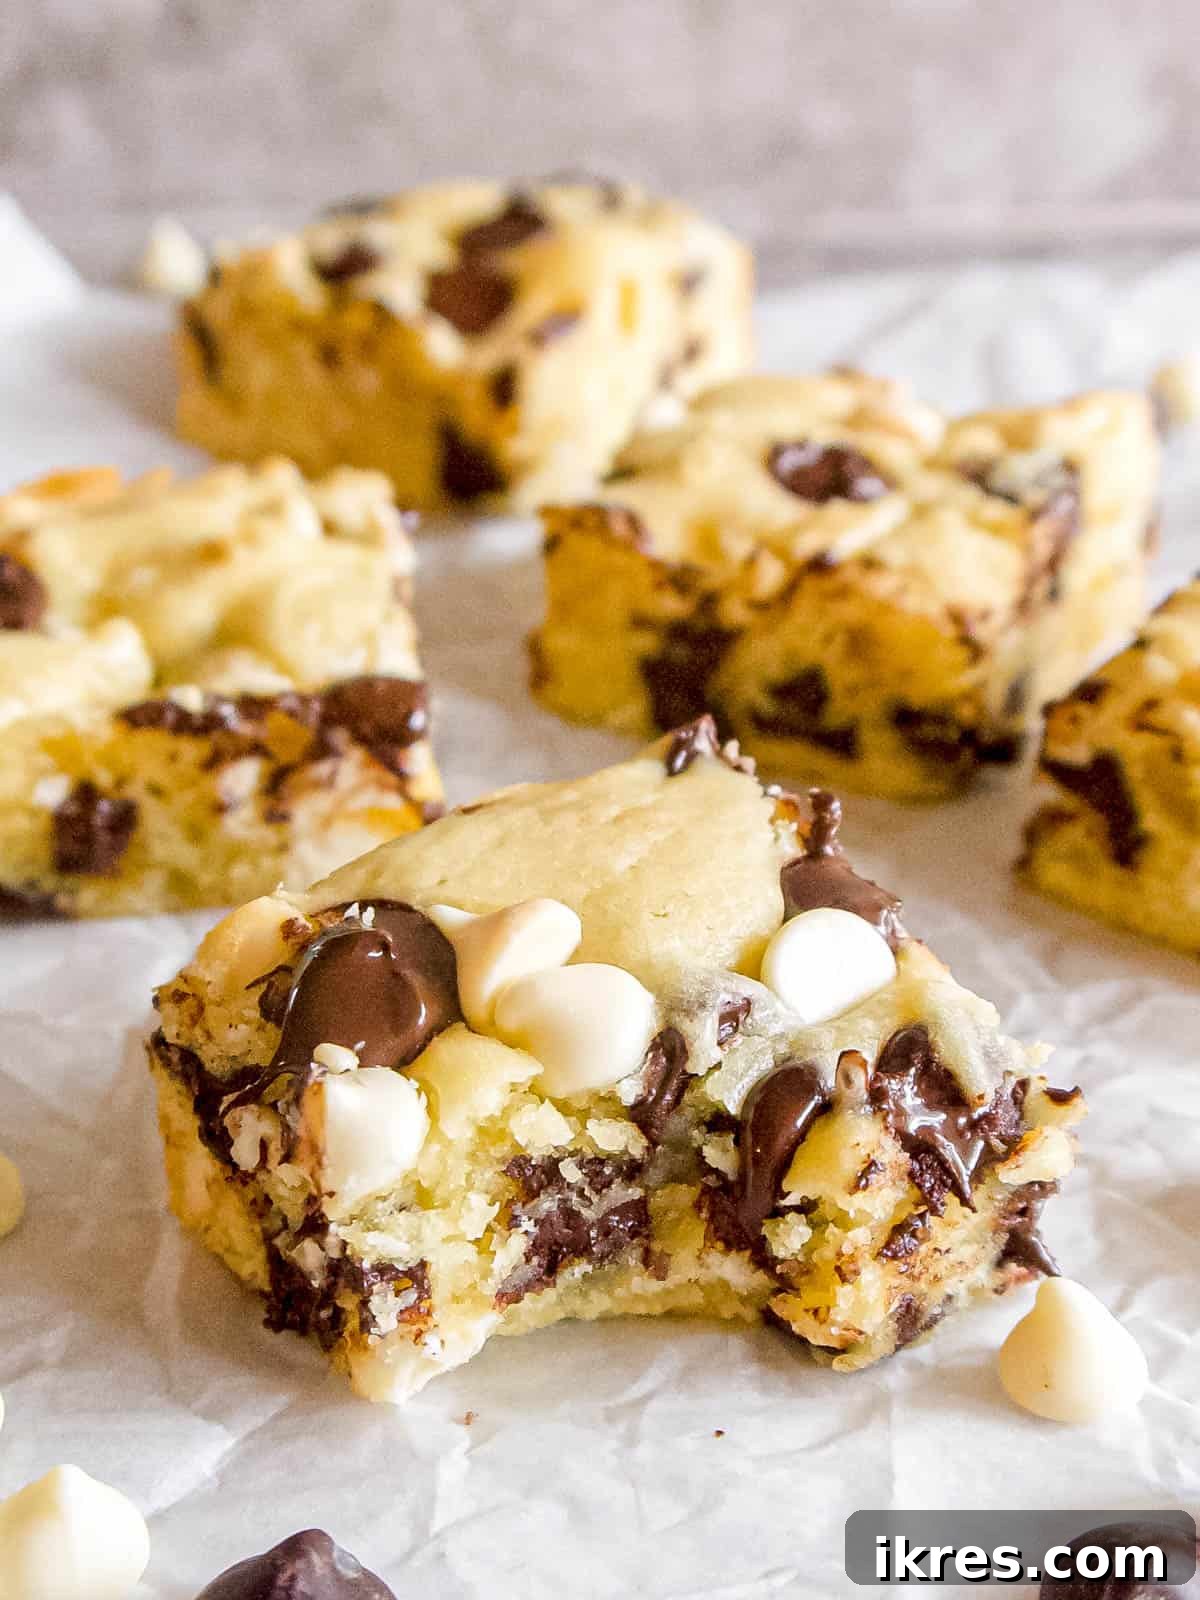
Indulge in the extraordinary delight of these White Chocolate Brownies, a magnificent twist on the beloved classic. Here, luscious white chocolate takes center stage, promising a truly unforgettable experience. Each bite delivers a perfect harmony of fudgy texture, rich flavor, and satisfying chewiness, all bursting with the distinctive taste of premium white chocolate. Best of all, this incredible dessert can be prepared and baked in under 30 minutes, making it an ideal treat for any occasion, from spontaneous cravings to last-minute gatherings.
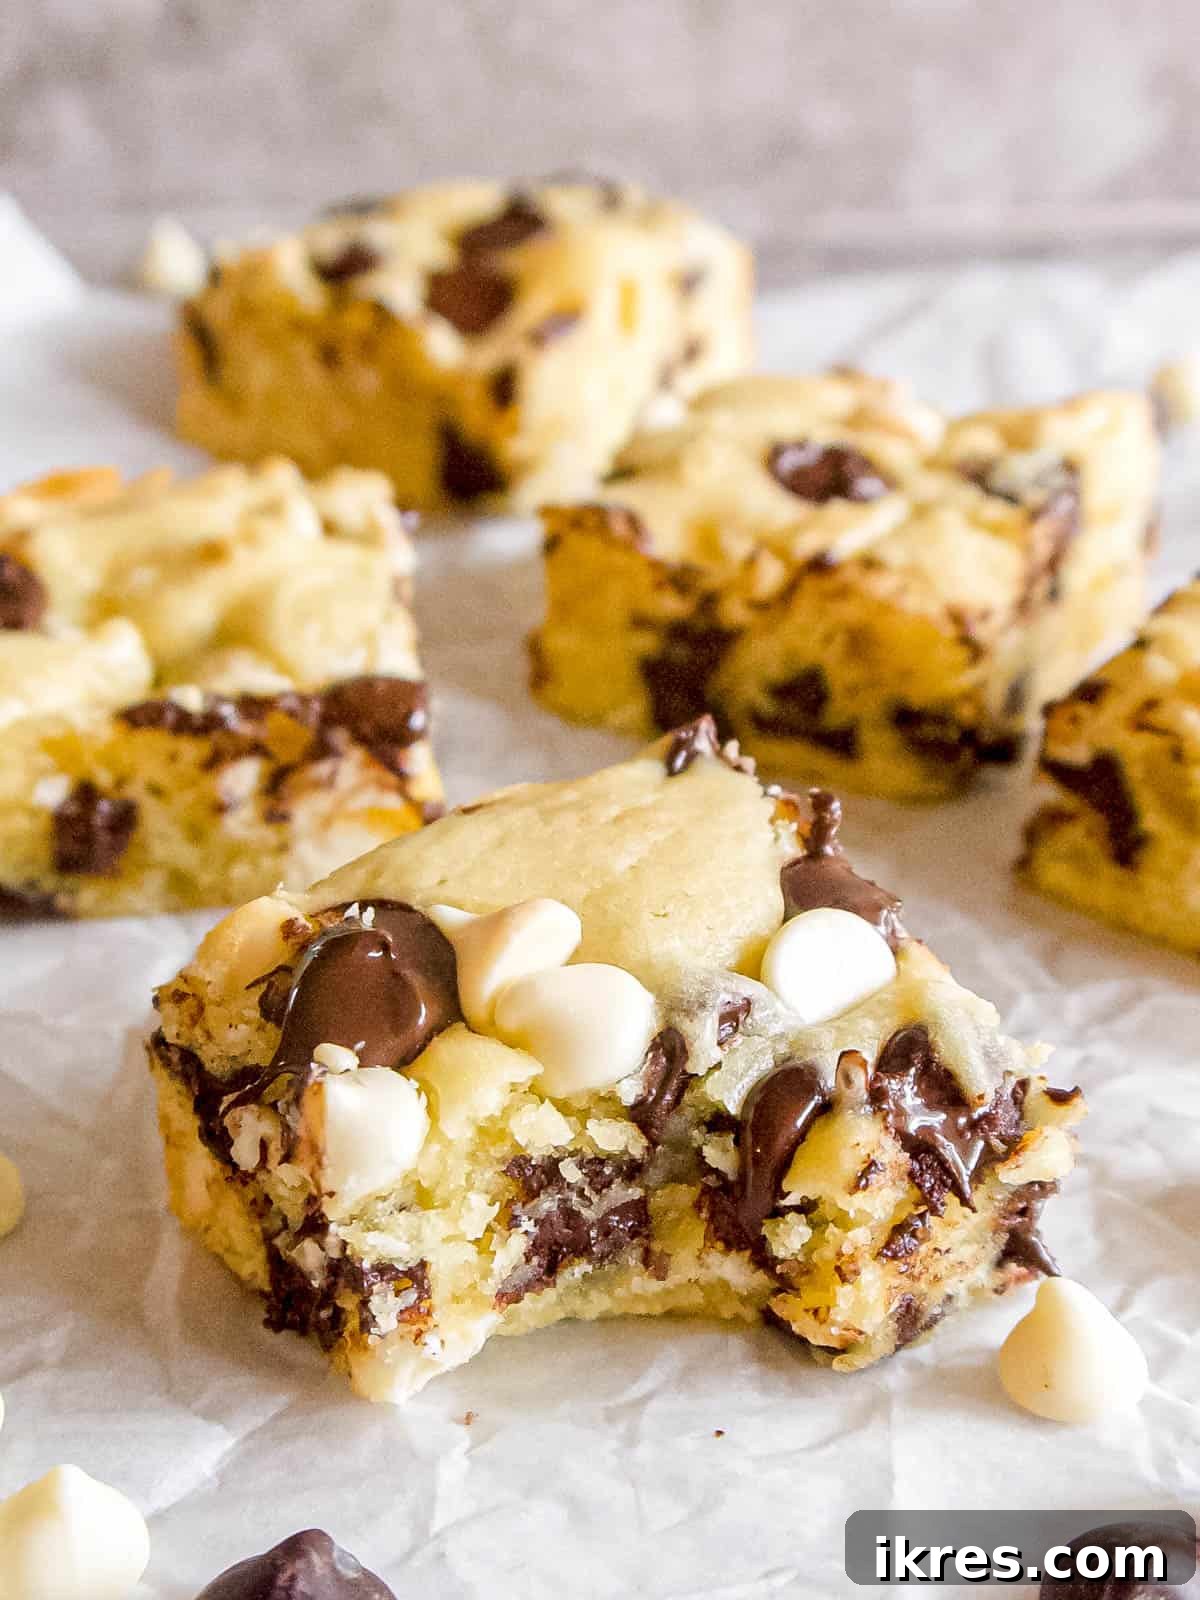
For dessert enthusiasts, a vast collection of brownie recipes is always a welcome treasure. From healthy almond flour brownies to creative almond butter and jelly brownies, each variation offers a unique flavor profile and baking adventure. However, this particular white chocolate brownie recipe carves out a special niche, dedicated entirely to the discerning palates of white chocolate lovers.
The foundation of these exquisite brownies starts with a generous amount of melted white chocolate, infusing every fiber of the batter with its creamy, sweet essence. To elevate the experience and add a delightful textural contrast, a medley of both white chocolate chips and rich dark chocolate chips is then generously folded into the mix. This creates a symphony of flavors and textures that dance on your tongue. If your heart truly beats for white chocolate, you absolutely must also try my sensational white chocolate chip cookies – they are equally irresistible!
Table of Contents
- Why You’ll Fall in Love with These White Chocolate Brownies
- The Magic of White Chocolate in Brownies
- Essential Recipe Ingredients
- Easy Step-by-Step Baking Instructions
- Expert Tips for Perfect Brownies
- Serving & Storage Suggestions
- Brownie Variations and Customizations
- Frequently Asked Questions (FAQs)
- Other Delicious Bars and Brownies You’ll Love!
- White Chocolate Brownies Full Recipe Card
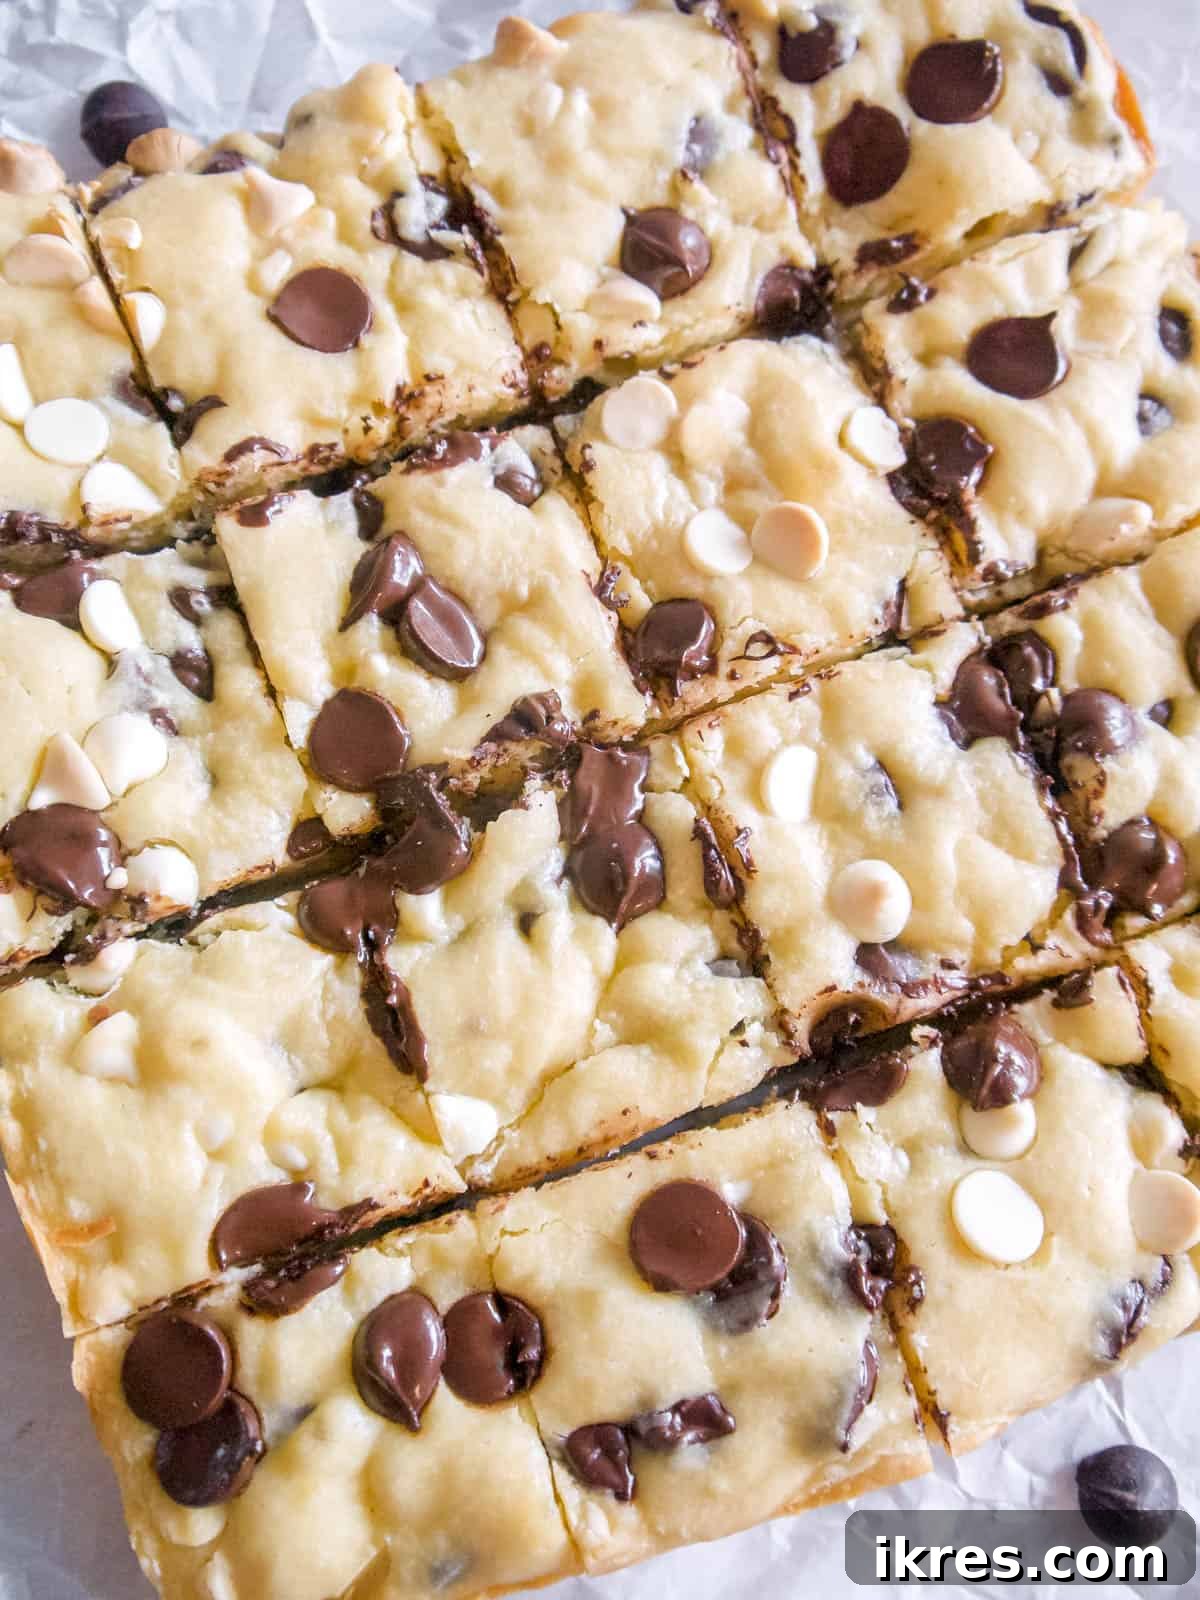
Why You’ll Fall in Love with These White Chocolate Brownies
These aren’t just any brownies; they are a celebration of white chocolate in its most glorious form. Here’s why this recipe will quickly become a cherished favorite in your kitchen:
- They are incredibly fudgy and wonderfully chewy, delivering that perfect brownie bite every single time. The texture alone is enough to convert any skeptic!
- Each brownie bursts with intense white chocolate flavor, offering a sweet yet sophisticated profile that truly sets them apart from traditional chocolate brownies.
- A common concern with white chocolate desserts is excessive sweetness. This recipe brilliantly addresses that by using only 1/4 cup of sugar – a stark contrast to most traditional brownie recipes that often call for over a cup. This subtle sweetness allows the true flavor of the white chocolate to shine through without being cloying.
- The inclusion of dark chocolate chips creates a superb contrast, both visually and in taste. The slight bitterness and deep cocoa notes of the dark chocolate beautifully complement and balance the creamy sweetness of the white chocolate base.
- These brownies are an absolute dream come true for the dedicated white chocolate lovers in your life, making them the perfect gift or party treat.
- In today’s fast-paced world, time is precious. This recipe respects that by being incredibly efficient: they are ready from start to finish in less than 30 minutes, including both prep and baking time. Quick, easy, and utterly delicious!
- The simple ingredients and straightforward steps make this recipe accessible for bakers of all skill levels, ensuring consistently fantastic results.
The Magic of White Chocolate in Brownies
White chocolate, often misunderstood, is a unique confection that brings a distinct creamy, milky, and sweet flavor profile to desserts. Unlike dark or milk chocolate, white chocolate does not contain cocoa solids. Instead, it is made from cocoa butter, sugar, milk solids, and often vanilla. This composition gives it its characteristic pale color and smooth, velvety texture.
When used in brownies, white chocolate creates a wonderfully rich and dense crumb that is distinctly different from its dark chocolate counterparts. It offers a subtle sweetness and a buttery mouthfeel that is incredibly satisfying. The cocoa butter provides a luxurious richness that contributes to the fudginess, while the milk solids add a creamy depth. Pairing it with a touch of vanilla further enhances its aromatic qualities, making these white chocolate brownies a truly elevated indulgence.
Essential Recipe Ingredients
Crafting the perfect white chocolate brownie starts with selecting high-quality ingredients. Each component plays a crucial role in achieving the desired fudgy texture and rich flavor:

- Unsalted Butter: The foundation of our fudgy texture. Use a good quality unsalted butter to control the overall saltiness of the brownies. Butter contributes significantly to the richness and moistness.
- White Chocolate Chips: This is the star ingredient! The quality of your white chocolate will directly impact the flavor of your brownies. Opt for a brand you genuinely enjoy eating. I personally recommend Ghirardelli white chocolate chips for their superior flavor and smooth melting properties.
- Dark Chocolate Chips: These provide a beautiful contrast to the sweet white chocolate. You can use either dark chocolate (70% cocoa or higher) for a more intense, slightly bitter counterpoint, or semi-sweet chocolate for a milder contrast. Again, choose a brand whose flavor you appreciate.
- Large Eggs: Eggs act as a binder, helping to hold the brownies together and contributing to their structure. They also add moisture and richness, resulting in a chewier texture.
- Granulated Sugar: While white chocolate is naturally sweet, a small amount of sugar (only 1/4 cup) is added to enhance the overall sweetness and achieve the perfect balance. Organic cane sugar is an excellent choice for a cleaner flavor.
- All-Purpose Flour: I prefer using an organic all-purpose flour for this recipe. Flour provides the necessary structure, but we use just enough to bind the ingredients without making the brownies cakey.
- Baking Powder: A tiny amount of baking powder gives the brownies a slight lift, preventing them from being too dense, while still maintaining that desirable fudgy texture.
- Pure Vanilla Extract: Vanilla is essential for enhancing and deepening the overall flavor profile of the brownies. Use pure vanilla extract for the best results, as artificial vanilla can sometimes leave an undesirable aftertaste.
For exact measurements and a complete list of ingredients, please refer to the detailed recipe card at the bottom of this post.
Easy Step-by-Step Baking Instructions
Follow these simple steps to create perfectly fudgy and irresistible white chocolate brownies. Precision and patience are key, especially when melting the white chocolate!
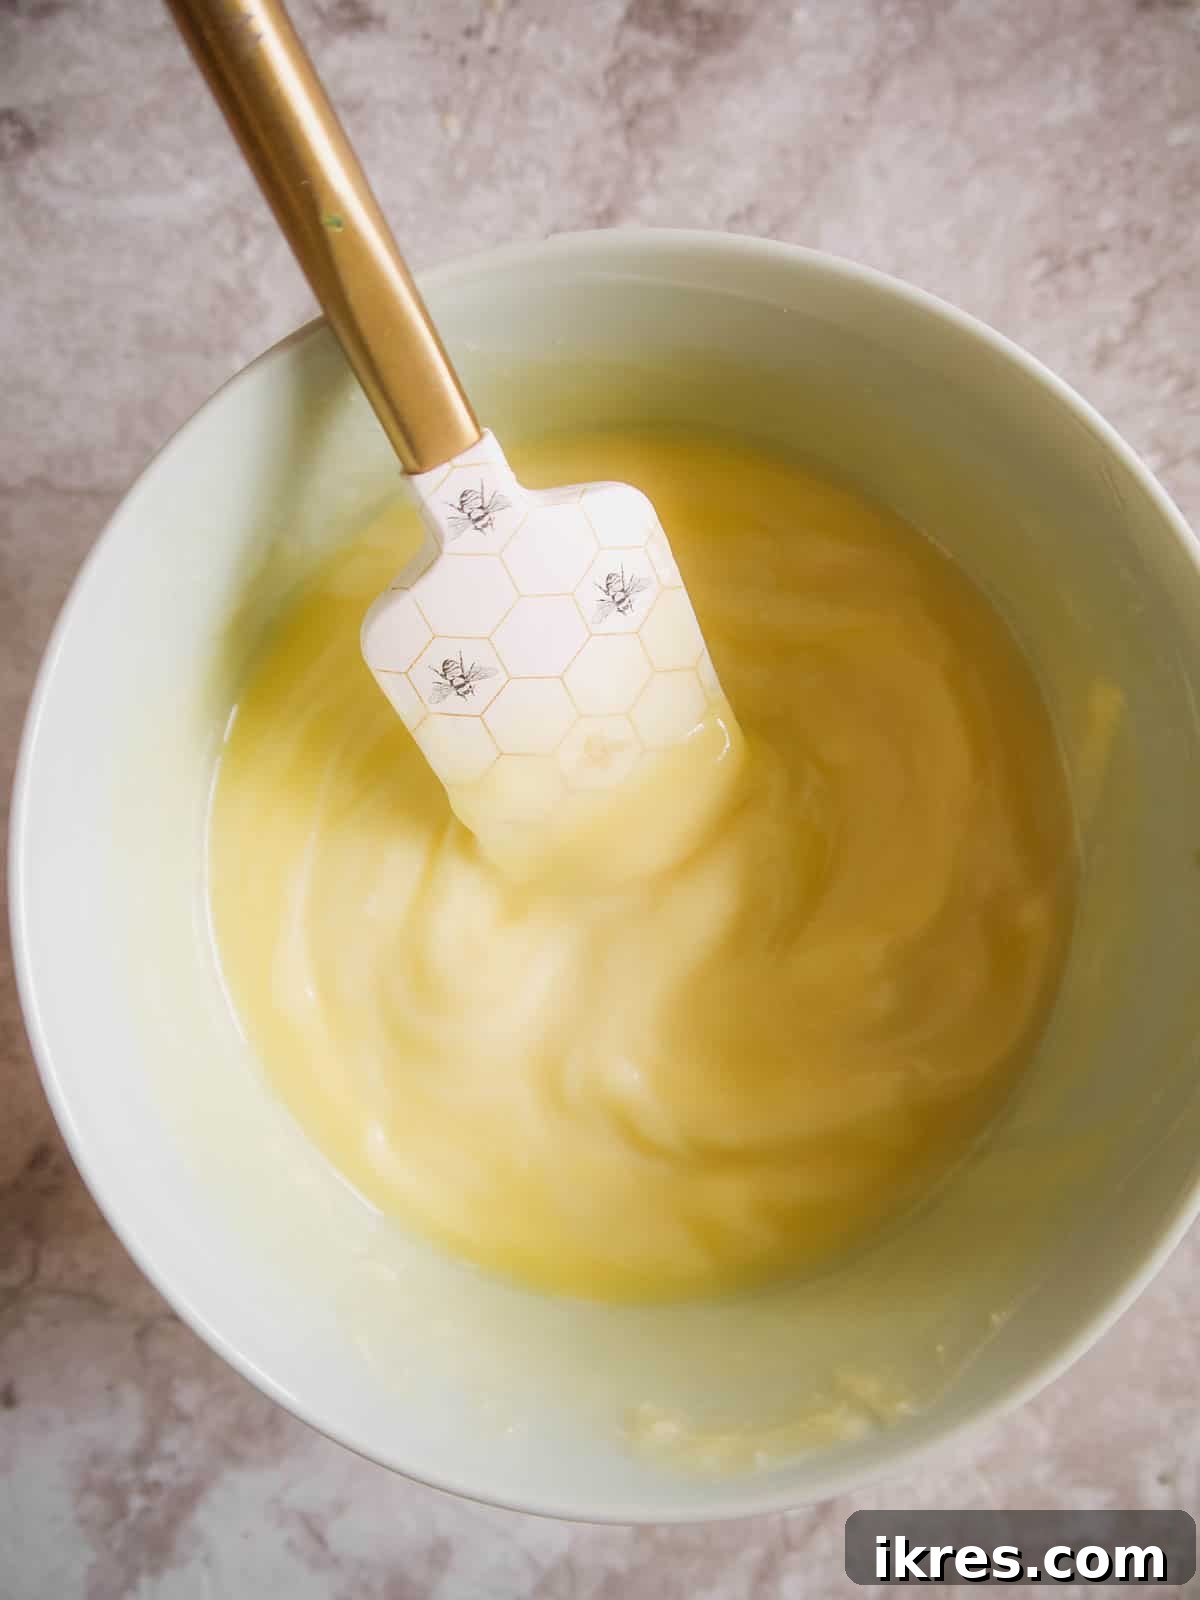
Step 1: Prepare Your Wet Ingredients. In a microwave-safe bowl, combine the butter and 3/4 cups of your white chocolate chips. Microwave these in 15-second intervals, stirring thoroughly after each interval, until the mixture is completely melted and smooth. This gradual approach prevents the white chocolate from seizing or becoming grainy. Allow it to cool slightly while you prepare the next step.
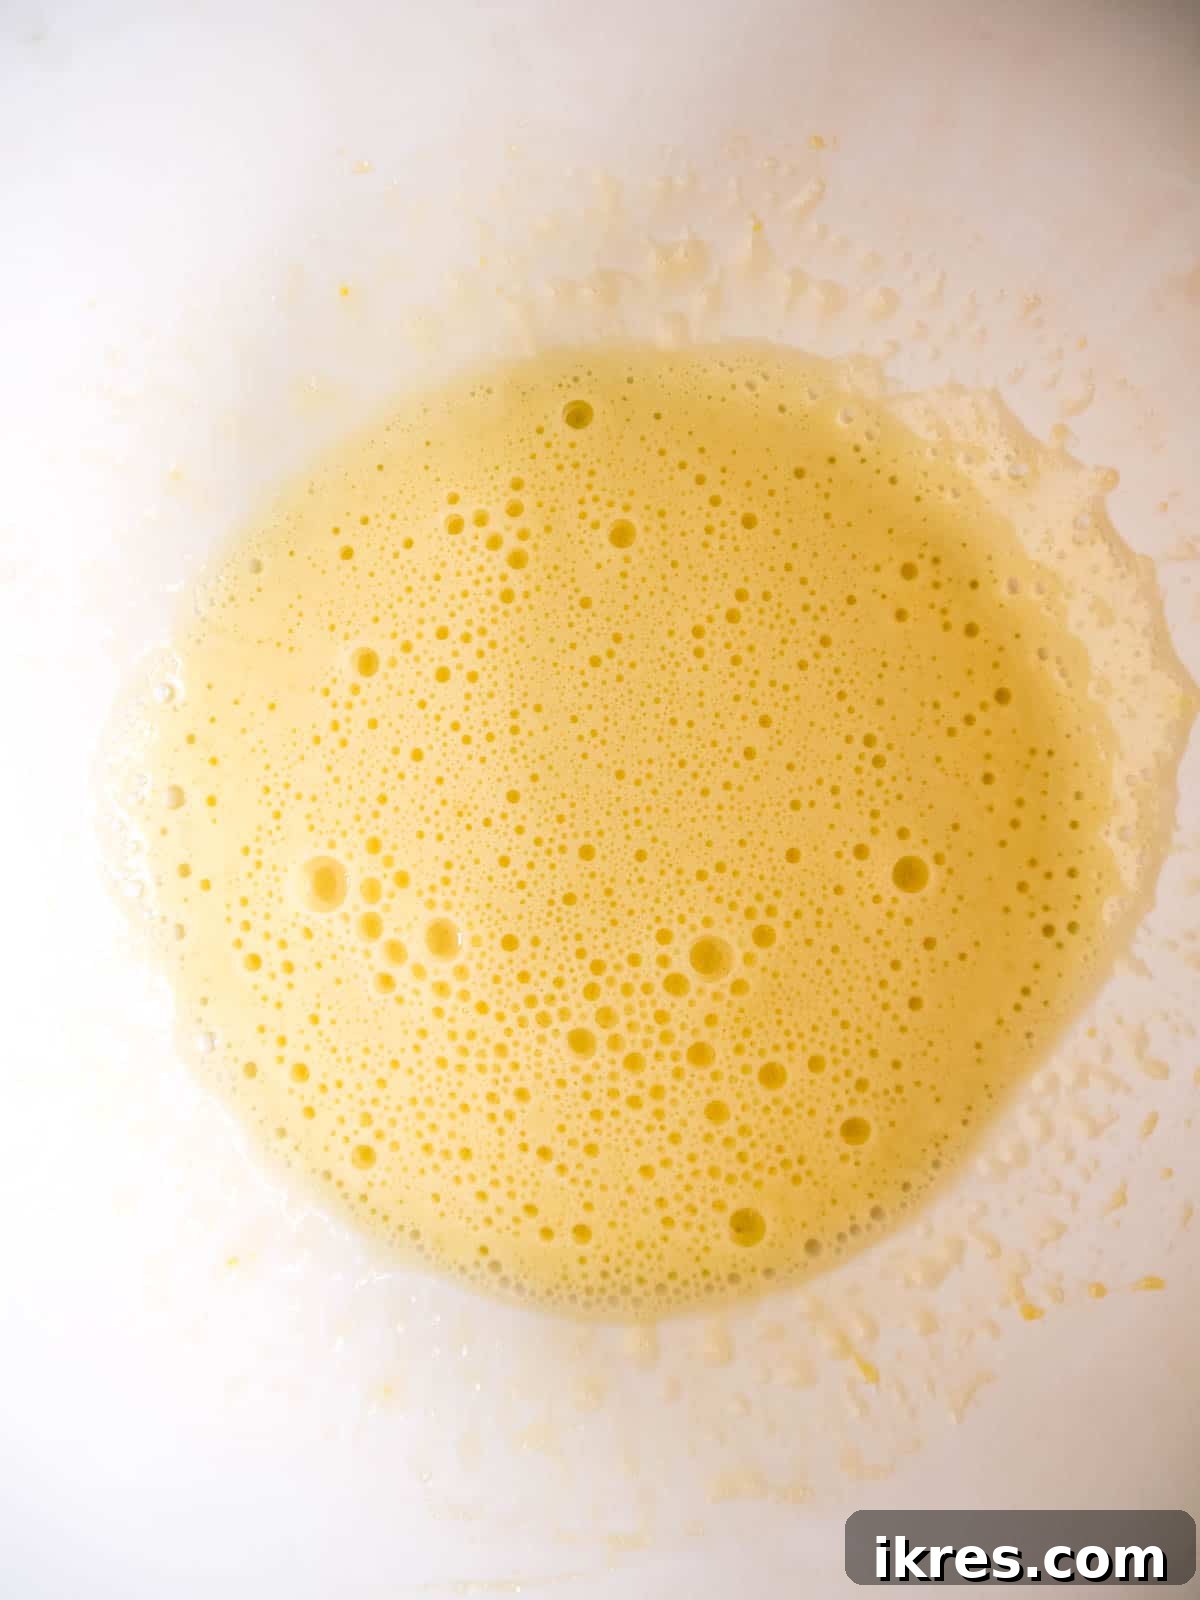
Step 2: Create a Foamy Egg Mixture. In a separate, larger mixing bowl, crack your eggs and add the granulated sugar. Using a hand-held electric mixer, beat the eggs and sugar together on medium-high speed. Continue mixing for approximately 2 minutes, or until the mixture becomes notably lighter in color, thickens, and is visibly foamy. This aeration is crucial for a chewy brownie texture.
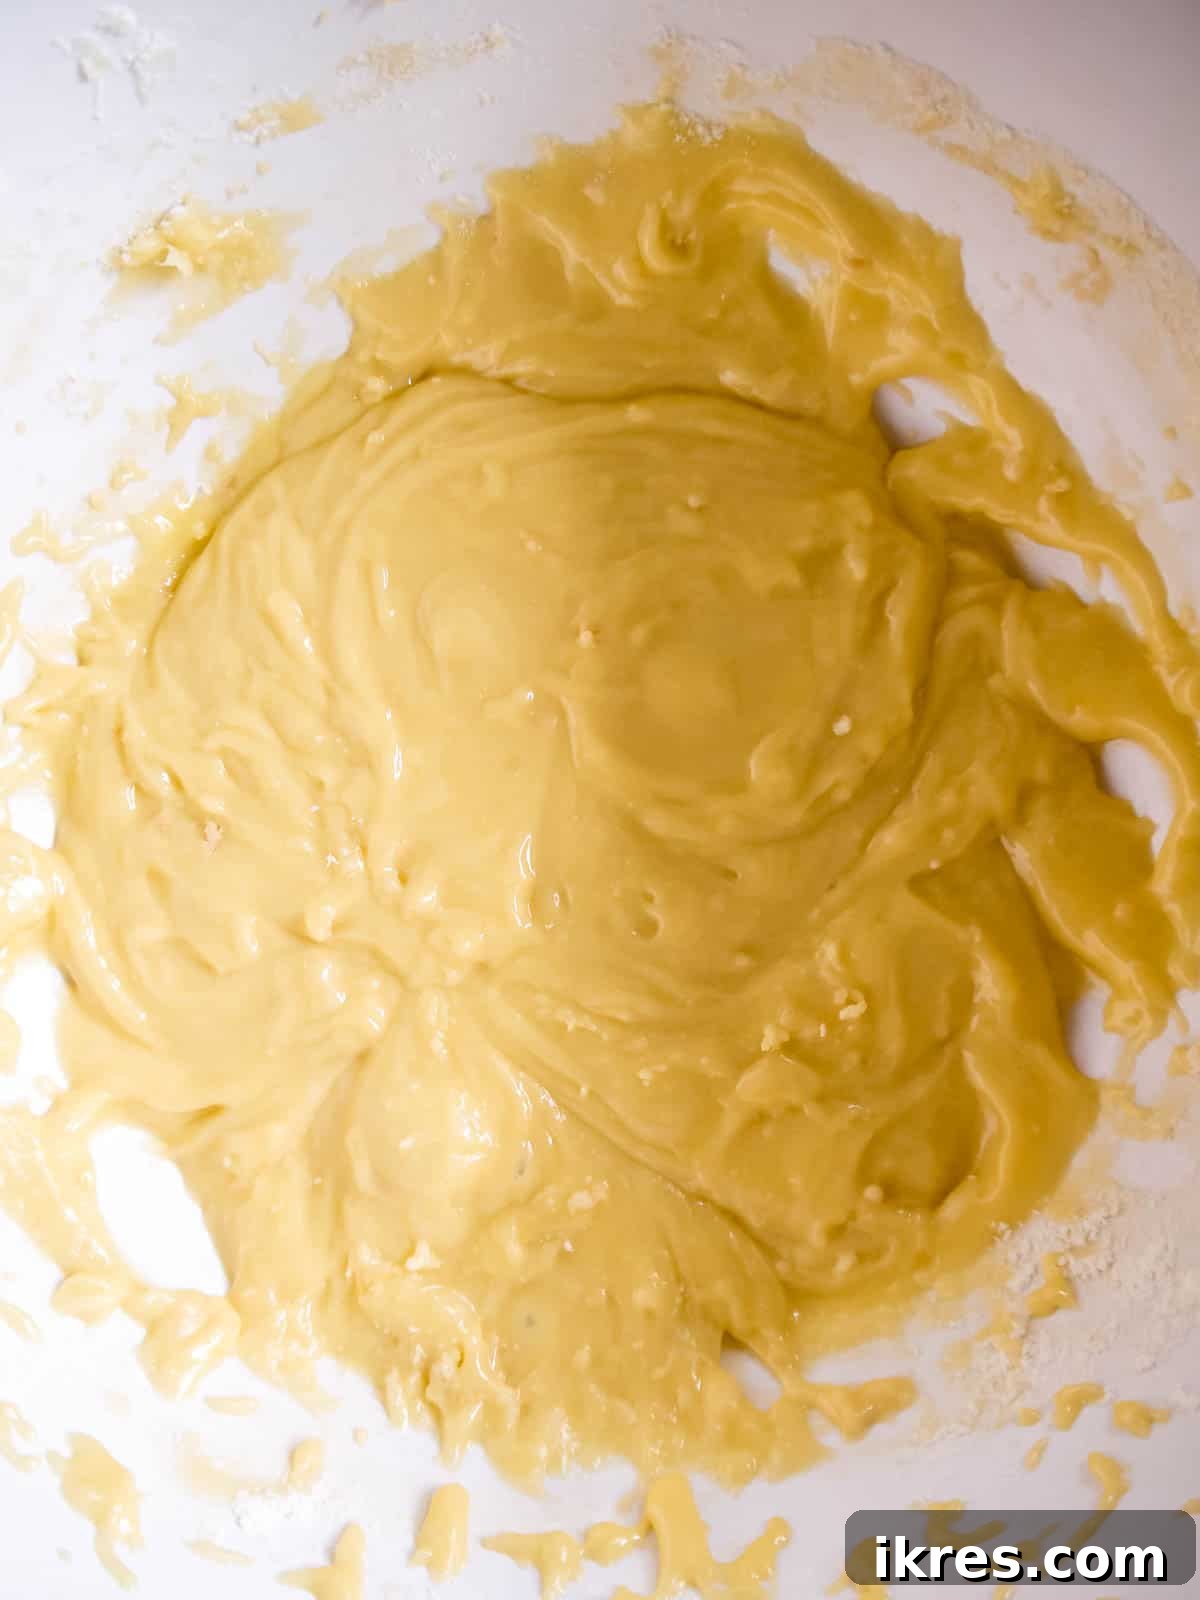
Step 3: Combine Wet and Dry Ingredients. Pour the slightly cooled melted white chocolate and butter mixture into the foamy egg and sugar mixture. Add the all-purpose flour, baking powder, and vanilla extract. Beat everything with the electric mixer on low speed just until combined. Be careful not to overmix, as this can lead to tough brownies. Stop mixing as soon as no dry streaks of flour remain.
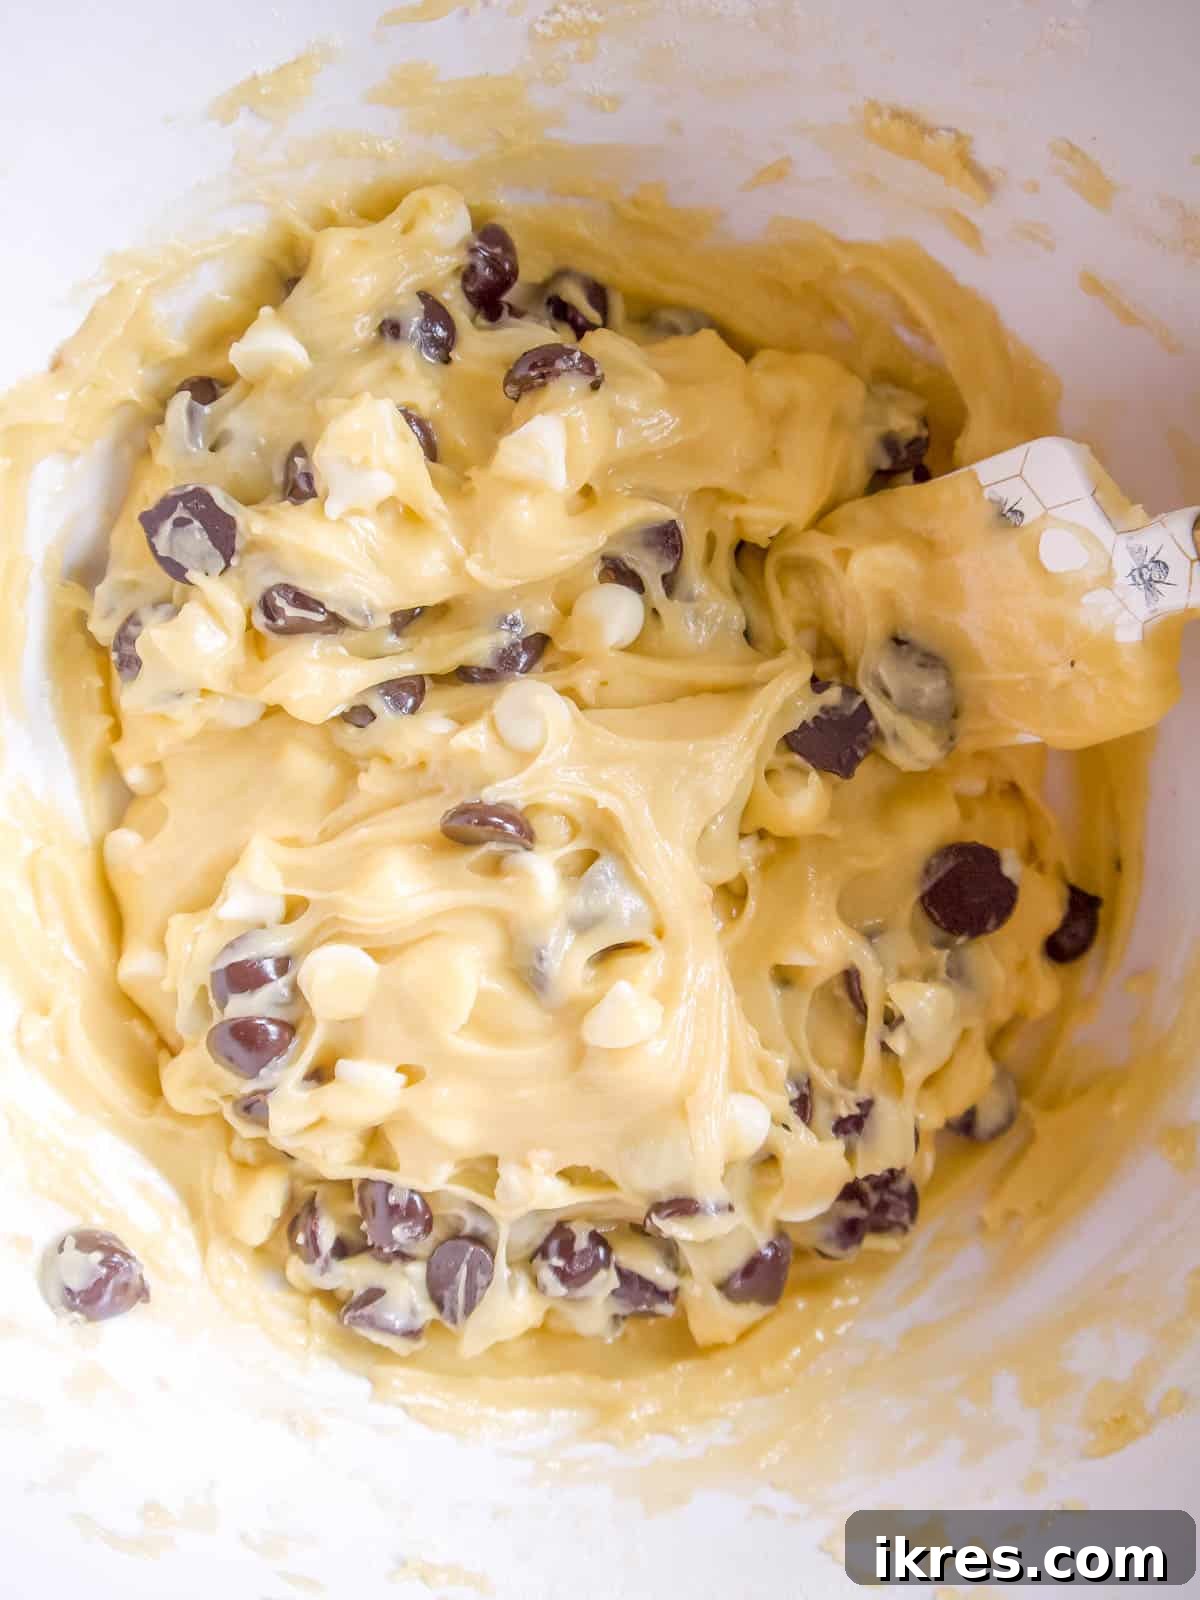
Step 4: Fold in the Chocolate Chips. Gently fold in the remaining 3/4 cups of white chocolate chips and all of the dark chocolate chips into the brownie batter using a rubber spatula. This ensures an even distribution of chocolate goodness throughout your brownies.
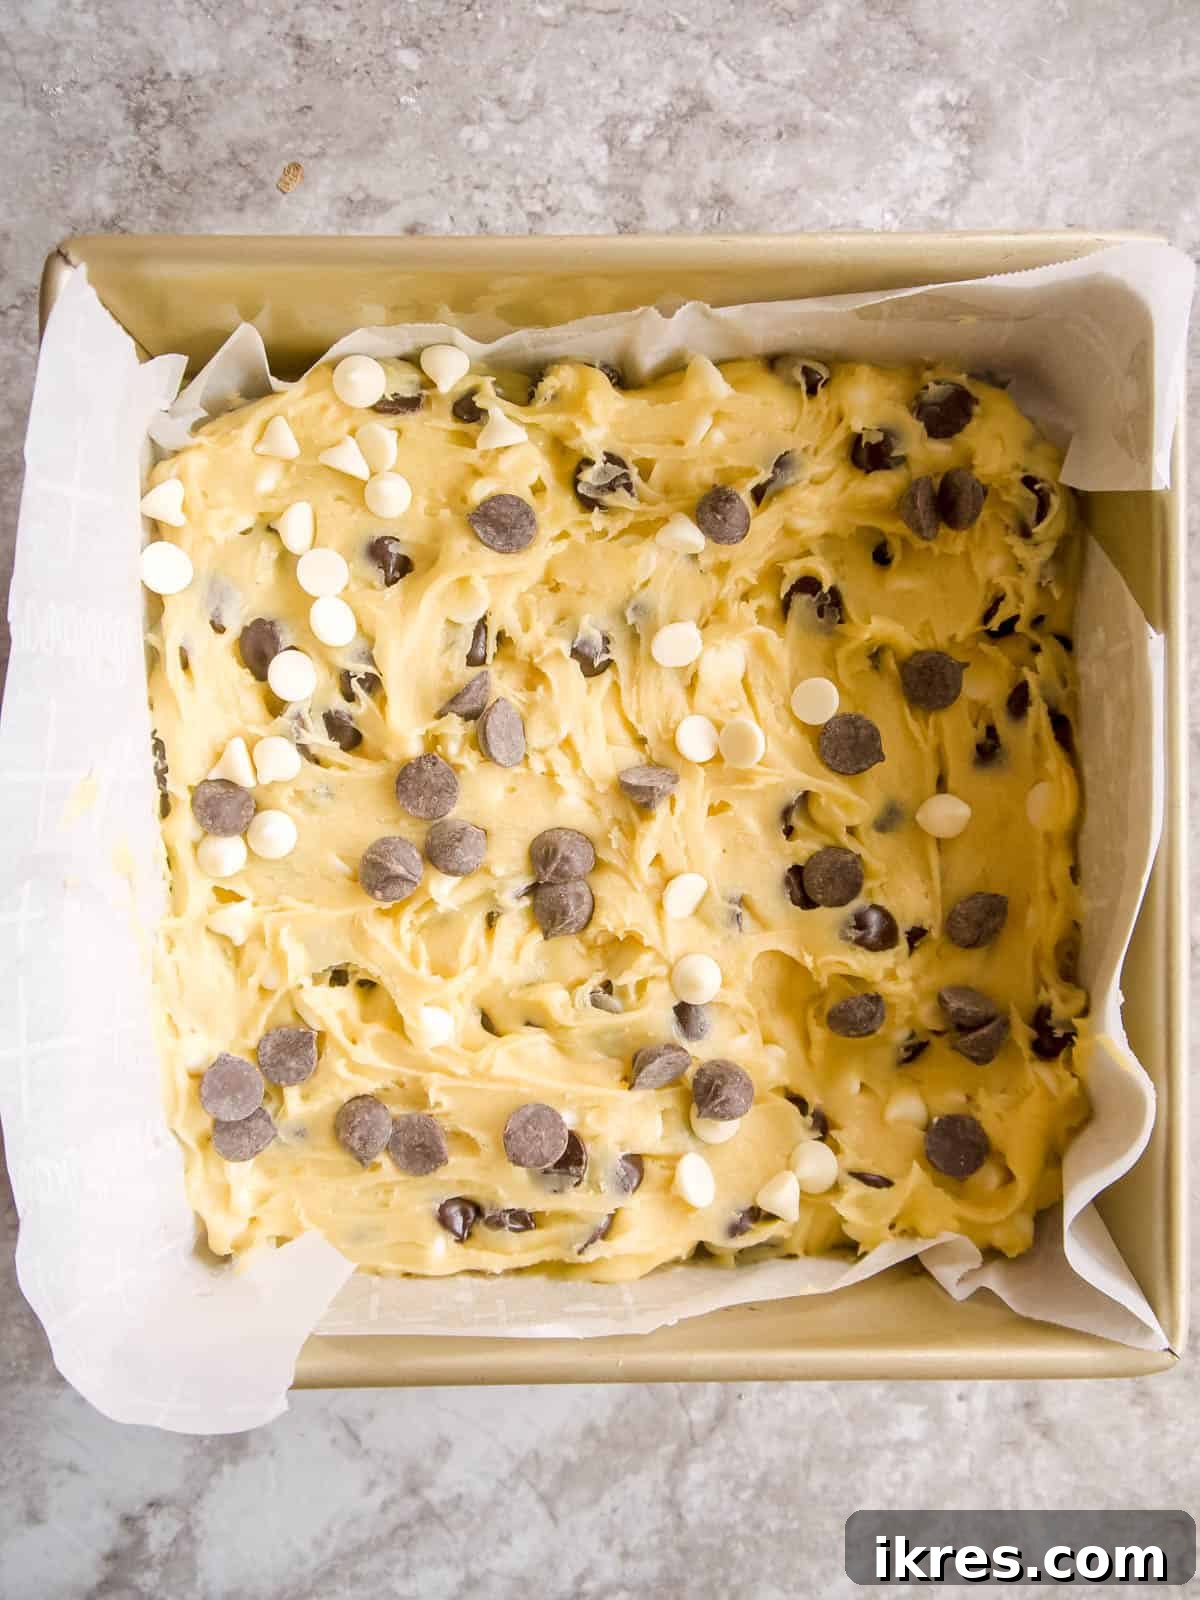
Step 5: Prepare for Baking. Pour the rich brownie batter into your prepared (greased and parchment-lined) 8×8 inch baking tin. Use a rubber spatula to gently press down and evenly spread the batter into all corners of the pan. This helps ensure uniform thickness and even baking.
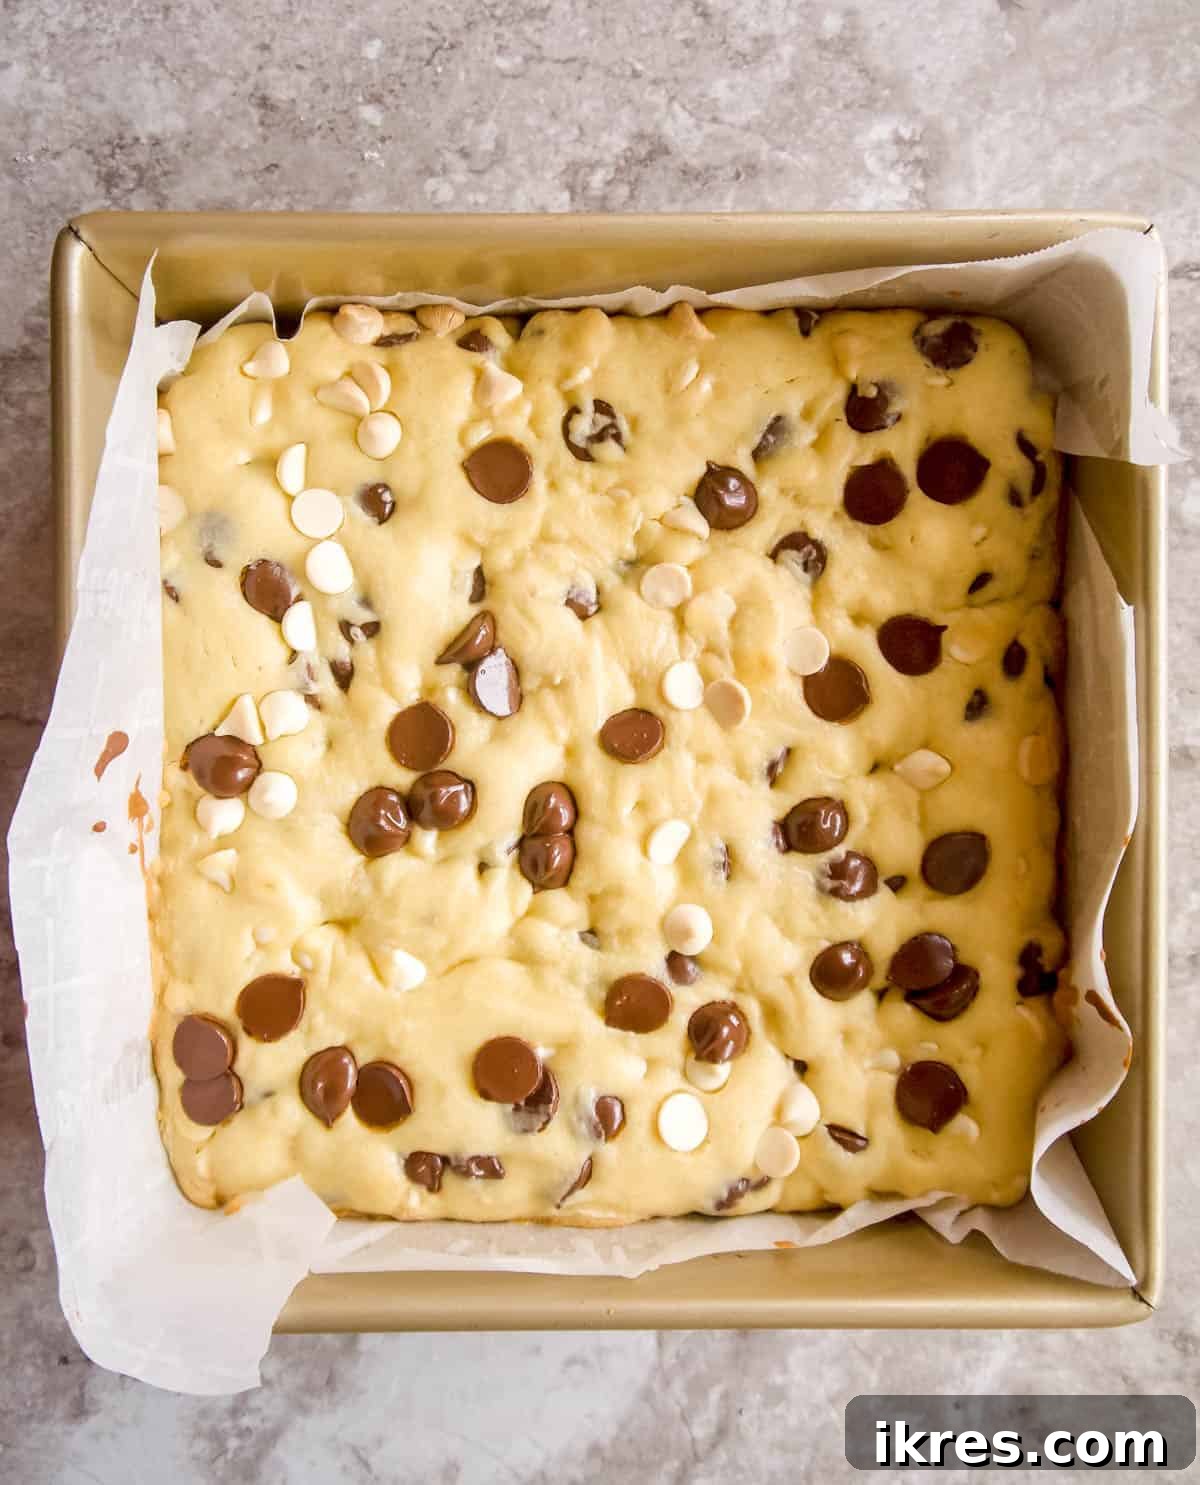
Step 6: Bake to Perfection. Transfer the baking pan to your preheated oven (325°F, top 1/3 rack). Bake for 20-25 minutes. Begin checking for doneness at the 20-minute mark. The brownies are ready when the edges appear slightly golden, and the center looks set with a slight jiggle. A toothpick inserted into the center should come out with moist crumbs, not wet batter.
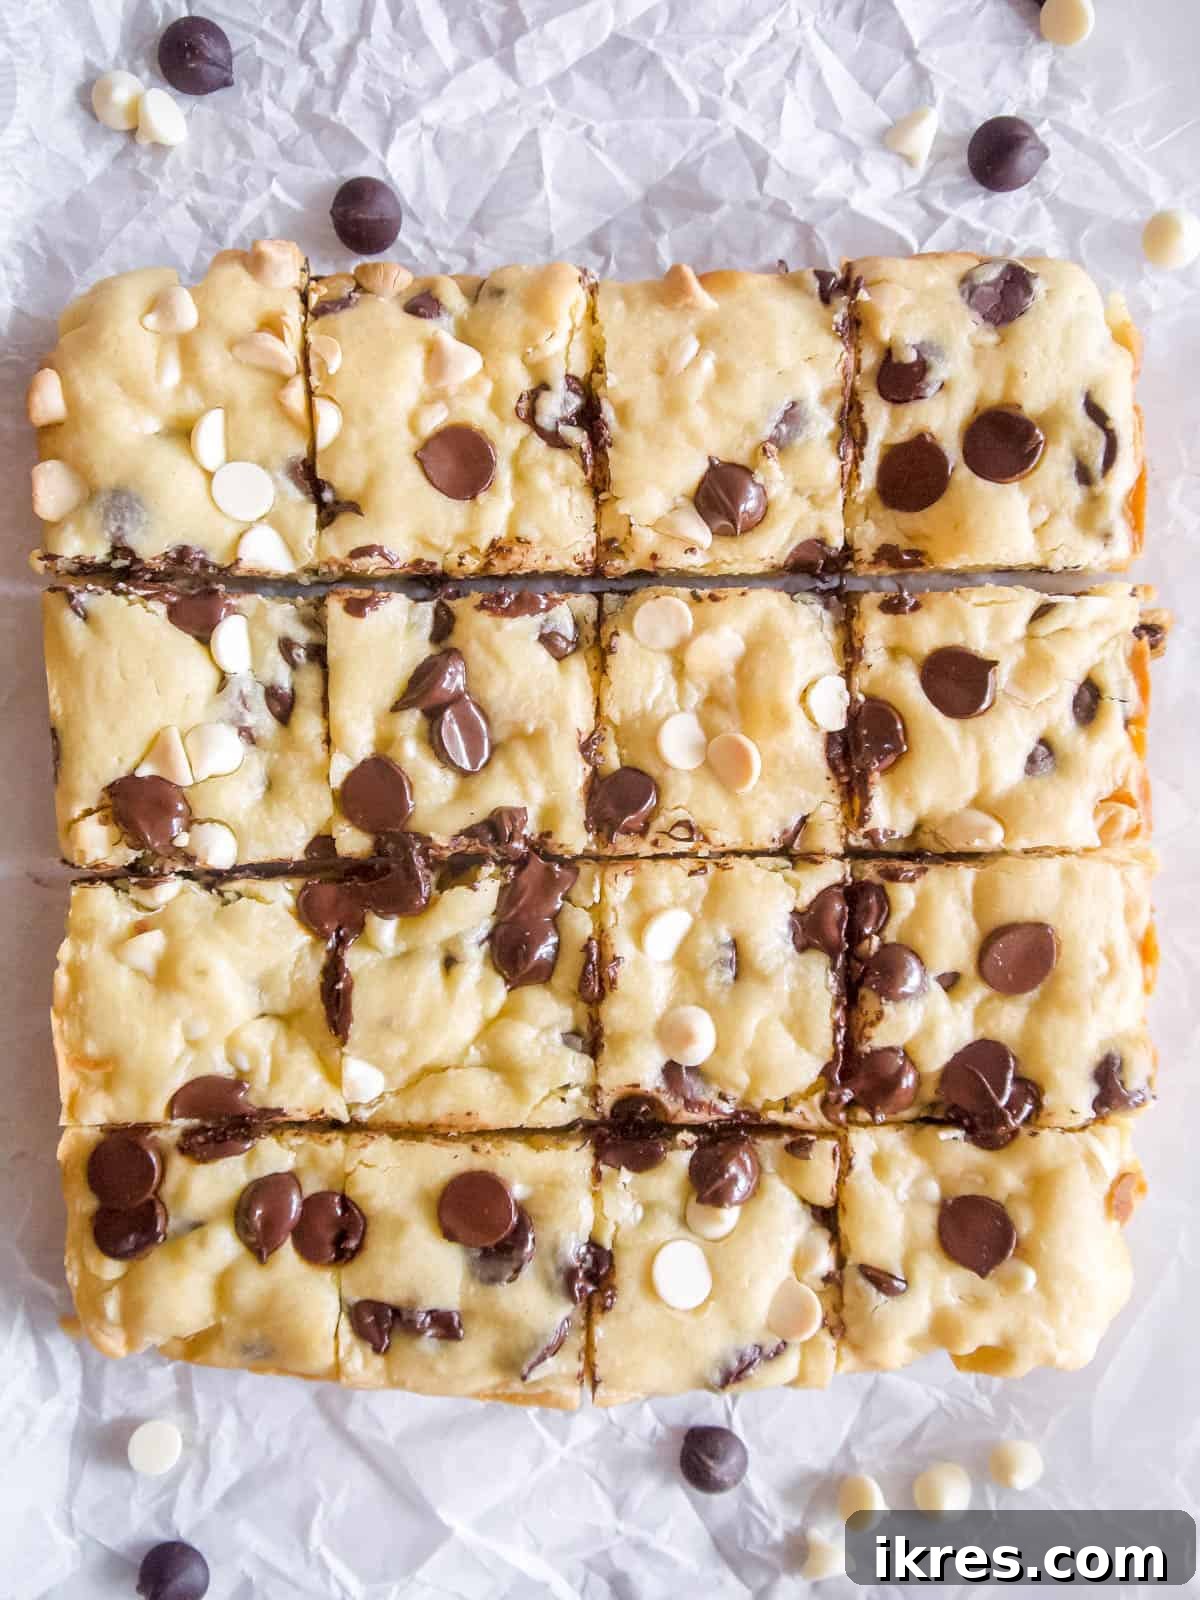
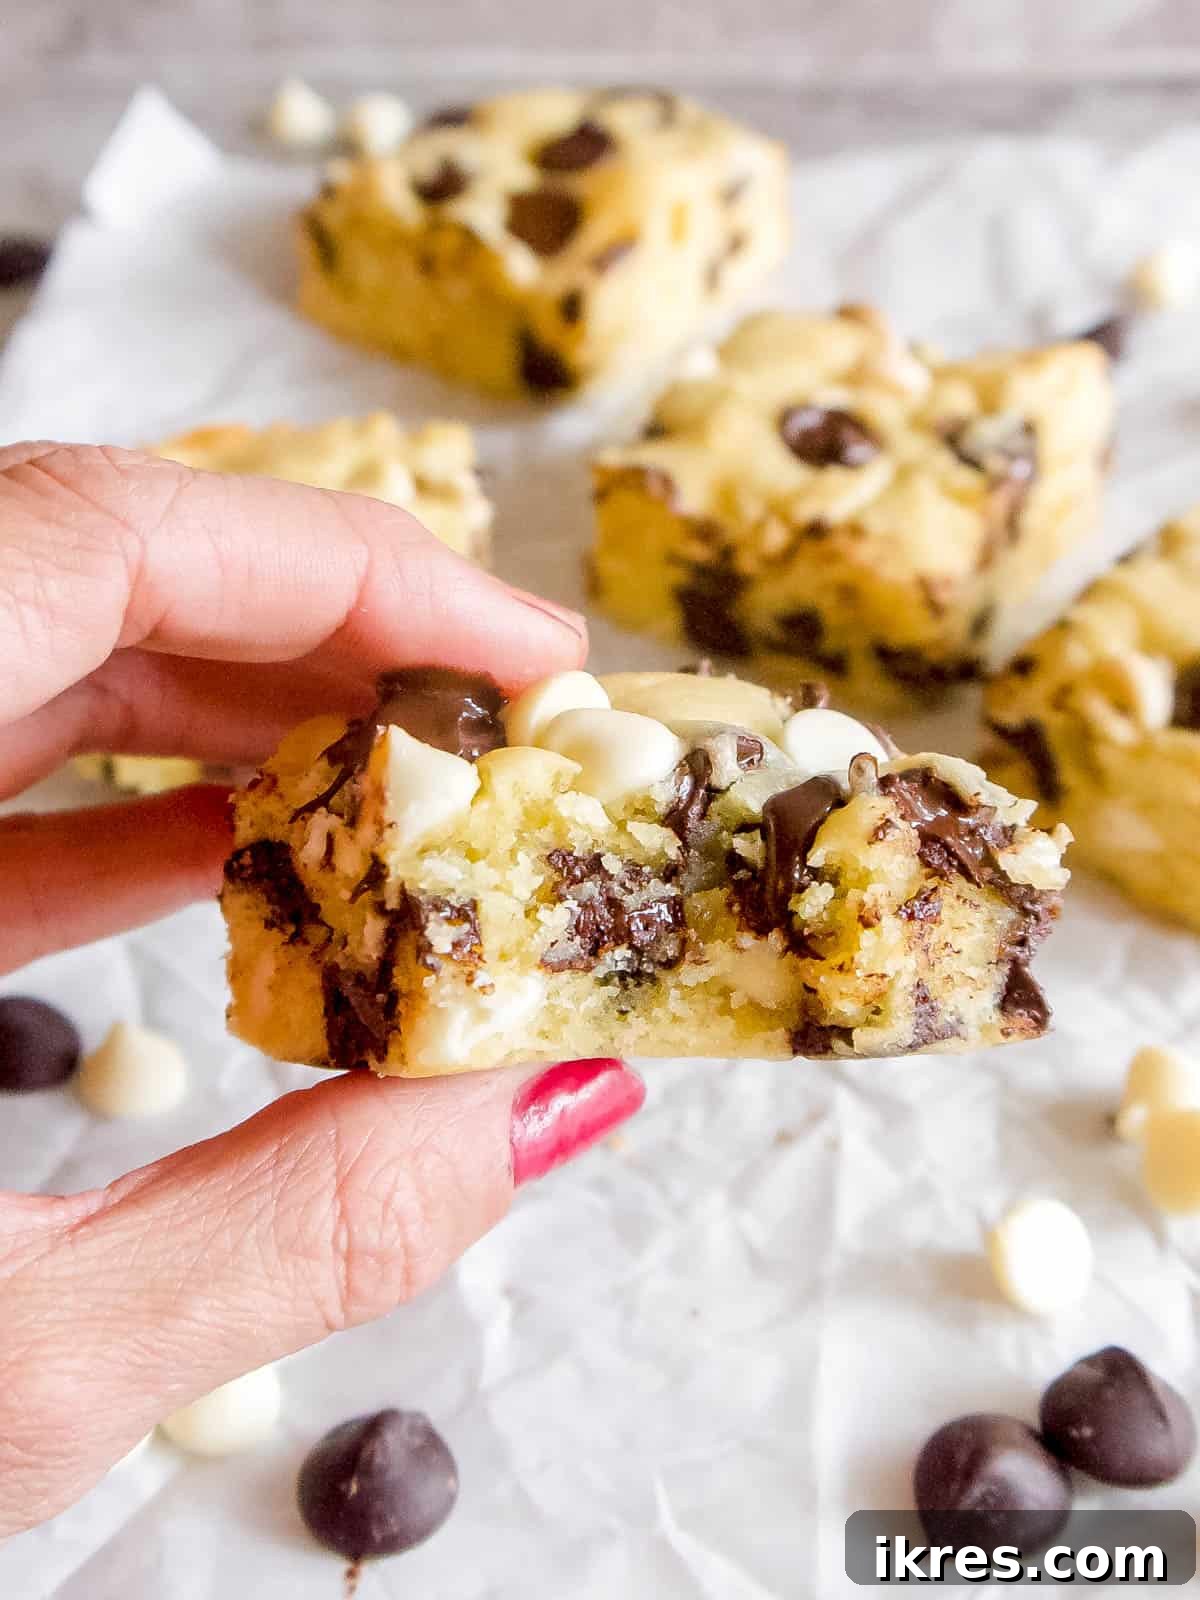
Step 7: Cool and Slice. This step is crucial for achieving that perfect fudgy texture. Allow the brownies to cool in the pan for at least 20 minutes before attempting to cut them. If you can wait longer, even better! While tempting to dive in immediately, cooling allows the brownies to set, making them easier to slice cleanly and ensuring maximum fudginess. They are absolutely delicious served warm or at room temperature.
Expert Tips for Perfect Brownies
Achieving brownie perfection is easier than you think with these insider tips:
- Gentle White Chocolate Melting: White chocolate is more delicate than dark chocolate. Avoid high heat or rushing the melting process, as this can cause it to seize and become grainy. Always microwave in short, 15-second bursts, stirring diligently after each one until completely smooth. Alternatively, use a double boiler for even gentler heat.
- Quality Matters: The flavor of your brownies largely depends on the quality of your white chocolate and butter. Invest in brands you genuinely enjoy eating. Good quality ingredients make a noticeable difference in the final taste.
- The Prettiest Brownies: For a visually stunning presentation, reserve a small handful of white and dark chocolate chips and sprinkle them over the top of the brownie batter just before baking. As they bake, they’ll melt slightly and create beautiful pools of chocolate on the surface.
- Control Your Texture: Your preferred brownie texture is within your control! If you adore gooey, intensely fudgy brownies, reduce the baking time by a couple of minutes. If you prefer a slightly firmer, chewier brownie, bake them for the full recommended time or even a minute or two longer until a toothpick inserted comes out with just moist crumbs.
- Don’t Overmix: After adding the flour, mix just until the ingredients are combined and no dry streaks remain. Overmixing develops the gluten in the flour, leading to tougher, more cake-like brownies rather than the desired fudgy texture.
- Parchment Paper is Your Friend: Always line your baking pan with parchment paper, leaving an overhang on two sides. This creates “handles” that make it incredibly easy to lift the entire slab of cooled brownies out of the pan, allowing for clean, effortless slicing.
- Cool Completely for Clean Slices: While the aroma of warm brownies is irresistible, patience pays off. Allowing the brownies to cool completely (or at least for 20-30 minutes) before slicing will result in cleaner, more defined squares. A sharp knife, wiped clean between cuts, also helps.
Serving & Storage Suggestions
These white chocolate brownies are delightful on their own, but a few simple additions can elevate the experience even further. Serve them warm with a scoop of vanilla bean ice cream for an indulgent treat, or alongside a hot cup of coffee or tea. A dusting of powdered sugar or a drizzle of raspberry sauce can also add a touch of elegance.
To store these brownies, place them in an airtight container at room temperature. They will stay fresh and delicious for 3-4 days. For longer storage, you can freeze individual slices. Wrap each slice tightly in plastic wrap, then place them in a freezer-safe bag or container. They can be frozen for up to 2-3 months. Thaw at room temperature or gently warm in the microwave for a few seconds before enjoying.
Brownie Variations and Customizations
One of the best things about brownies is their versatility! Once you master this basic white chocolate brownie recipe, feel free to experiment with these delicious variations:
- Nutty Crunch: Fold in 1/2 cup of chopped walnuts, pecans, or macadamia nuts with the chocolate chips for added texture and a rich, nutty flavor.
- Citrus Zest: Add 1-2 teaspoons of orange or lemon zest to the batter for a bright, refreshing twist that pairs wonderfully with white chocolate.
- Espresso Kick: Dissolve 1 teaspoon of instant espresso powder in 1 tablespoon of hot water and add it to the wet ingredients. This won’t make the brownies taste like coffee, but it will deepen and enhance the chocolate flavors.
- Berry Swirl: Swirl in a few tablespoons of raspberry or strawberry jam into the batter before baking for a fruity burst of flavor and a beautiful marbling effect.
- Caramel Drizzle: Once cooled, drizzle the brownies with a homemade or store-bought caramel sauce for an extra layer of sweetness and decadence.
- Spiced Delight: A pinch of cinnamon or cardamom can add a warm, inviting complexity to the white chocolate flavor.
Frequently Asked Questions (FAQs)
Store your freshly baked white chocolate brownies in an airtight container at room temperature. They will maintain their delicious fudginess and flavor for 3-4 days. For optimal freshness, you can also place a slice of bread in the container to help keep them moist.
Absolutely! To make these brownies gluten-free, simply substitute the all-purpose flour with your favorite 1:1 gluten-free all-purpose flour blend. Ensure your chosen blend contains xanthan gum for best results, or add 1/2 teaspoon per cup of flour if it doesn’t.
Yes, you can easily adapt this recipe to be dairy-free. Use your preferred vegan butter substitute (such as Miyoko’s Kitchen Cultured Vegan Butter or Earth Balance Vegan Butter Sticks) in place of regular butter. For the white chocolate chips, I recommend using Pascha dairy-free white chocolate chips, which offer a fantastic flavor and melt beautifully.
An 8×8 inch square metal baking pan is ideal for this recipe. Metal pans conduct heat evenly, ensuring the brownies bake consistently. Avoid glass pans if possible, as they can sometimes lead to uneven baking and burnt edges.
White chocolate seizes when it comes into contact with even a tiny amount of water or when exposed to too much heat too quickly. To prevent this, ensure your bowl and utensils are completely dry. When melting in the microwave, use very short intervals (15 seconds) and stir well each time. If using a double boiler, ensure the bottom of the bowl does not touch the simmering water, and no steam escapes into the chocolate.
Other Delicious Bars and Brownies You’ll Love!
If you’re a fan of these White Chocolate Brownies, you’re sure to enjoy these other delightful bar and brownie recipes from my collection. Each one is a guaranteed crowd-pleaser!
Did you try this recipe? Please leave me a ⭐ review below! Your feedback is greatly appreciated and helps other bakers.
White Chocolate Brownies
Dominique
16 pieces
10 mins
25 mins
35 mins
Share by Email
Print Recipe
Ingredients
- 4 Tablespoons unsalted butter
- 1 1/2 cups white chocolate chips, divided (3/4 cup for melting, 3/4 cup for folding)
- 2 large eggs
- 1/4 cup granulated sugar
- 1 cup all-purpose flour (or 1:1 gluten-free flour blend)
- 1/4 teaspoon baking powder
- 1 teaspoon pure vanilla extract
- 3/4 cups dark chocolate chips (semi-sweet or bitter-sweet)
Instructions
- Preheat your oven to 325 degrees F (160°C). Position your oven rack in the top 1/3 of the oven for optimal baking.
- Lightly grease an 8×8 inch (20×20 cm) baking pan, then line it with parchment paper, allowing an overhang on two sides for easy removal later.
- In a small microwave-safe bowl, combine the 4 tablespoons of butter and 3/4 cups of the white chocolate chips. Microwave in 15-second increments, stirring thoroughly after each interval, until the mixture is fully melted and smooth. Set aside to cool slightly.
- In a separate, larger mixing bowl, add the 2 large eggs and 1/4 cup of sugar. Using a hand-held electric mixer, beat the mixture on medium-high speed for about 2 minutes, until it becomes light in color, thick, and foamy.
- To the egg mixture, add the cooled melted white chocolate mixture, the 1 cup of all-purpose flour, 1/4 teaspoon of baking powder, and 1 teaspoon of vanilla extract. Beat with the electric mixer on low speed just until all ingredients are combined and no dry streaks of flour are visible. Be careful not to overmix.
- Gently fold in the remaining 3/4 cups of white chocolate chips and the 3/4 cups of dark chocolate chips into the batter using a rubber spatula. Pour the batter into your prepared baking pan. Use the spatula to press down and evenly spread the batter across the pan for uniform thickness.
- Bake for 20-25 minutes. Begin checking for doneness at the 20-minute mark. The brownies are ready when the edges appear lightly golden and the center looks set with a slight jiggle. A toothpick inserted into the center should come out with moist crumbs, not wet batter. Remember, slightly underbaked brownies yield a fudgier texture.
- Once baked, remove the pan from the oven and allow the brownies to cool in the pan for at least 20 minutes before attempting to cut them. For the cleanest slices and most fudgy texture, it’s best to let them cool completely. These brownies are delicious served warm or at room temperature.
Notes
- Careful Melting: To prevent white chocolate from becoming grainy, melt it slowly in 15-second microwave increments, stirring each time.
- Choose Quality Chocolate: The taste of your brownies depends on the white chocolate you use. Pick a brand whose flavor you truly enjoy.
- Visual Appeal: For prettier brownies, sprinkle a few extra chocolate chips on top of the batter before baking.
- Texture Preference: Adjust baking time for desired fudginess: less time for gooier brownies, more time for firmer ones.
- Storage: Store brownies in an airtight container at room temperature for 3-4 days to maintain freshness.
Nutrition
Carbohydrates: 24g
Protein: 3g
Fat: 12g
Saturated Fat: 8g
Polyunsaturated Fat: 0.4g
Monounsaturated Fat: 3g
Trans Fat: 0.1g
Cholesterol: 32mg
Sodium: 39mg
Potassium: 119mg
Fiber: 1g
Sugar: 16g
Vitamin A: 123IU
Vitamin C: 0.1mg
Calcium: 68mg
Iron: 1mg
Nutrition information is automatically calculated and should only be used as an approximation.
Additional Info
Dessert
American
Tried this recipe?
Mention @perchancetocook or tag #perchancetocook!