
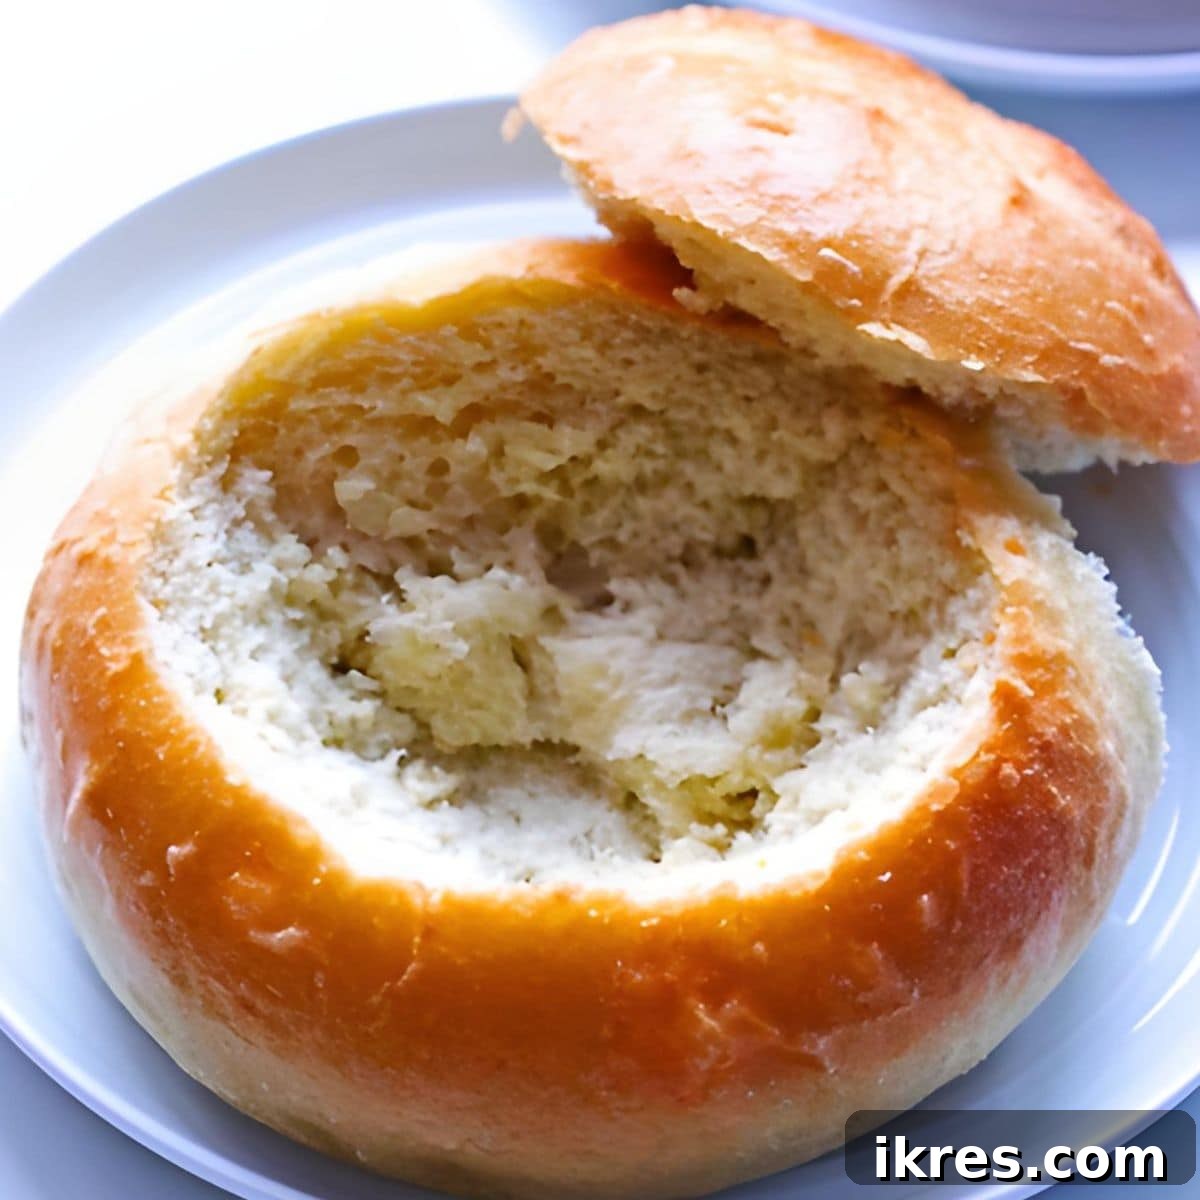
Welcome to the delightful world of homemade bread bowls! Imagine a meal where your vessel is as delicious as its contents. That’s the magic of a freshly baked bread bowl. With a perfectly crusty exterior that crackles with every touch and a soft, airy interior, these edible bowls transform any ordinary soup, chili, or stew into an extraordinary culinary experience. Made from simple ingredients and a basic bread dough, crafting these bowls at home is not only incredibly satisfying but also surprisingly easy. Get ready to elevate your comfort food game with this comprehensive guide to baking the best homemade bread bowls.
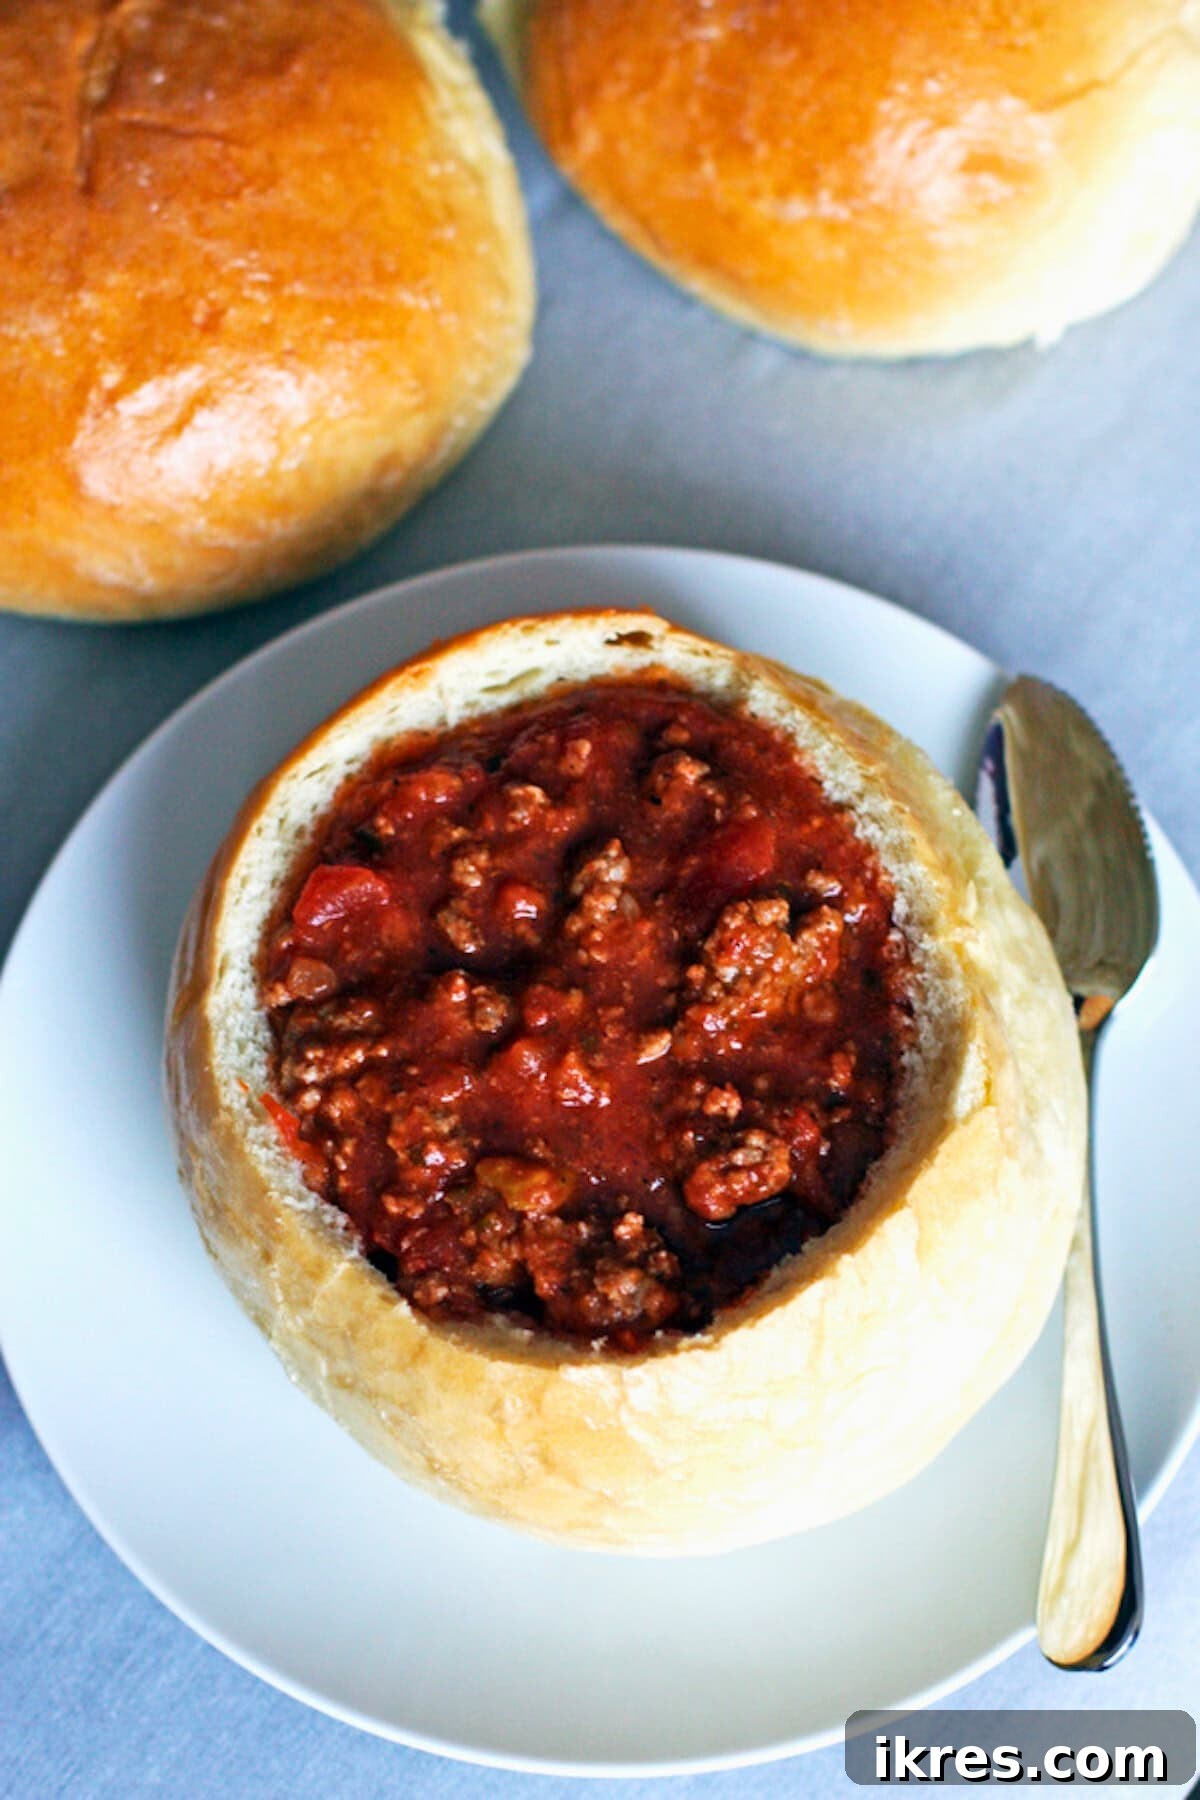
For many, chili is a hearty staple, a go-to comfort food that warms the soul on a cool evening. But what if you could take that experience to an entirely new level? For me, while chili alone is pleasant, serving it nestled inside a warm, crusty bread bowl turns it into an absolute favorite. The harmonious combination of the rich, savory chili and the chewy, wholesome bread is simply irresistible. These easy homemade bread bowls aren’t just a container; they’re an integral part of the meal, allowing you to savor every last drop of your delicious filling, then tear into the flavorful bowl itself. It’s an interactive, satisfying, and utterly delicious way to enjoy your favorite warming dishes.
After enjoying the delectable bread bowls from a local restaurant, I was inspired to recreate that same wonderful experience right in my own kitchen. This recipe has been perfected to yield the best bread bowls – ones that rival any restaurant version. While the process takes a couple of hours from start to finish, the rewarding aroma of fresh bread filling your home and the unparalleled taste of the finished product make every minute worthwhile. Beyond being a fantastic way to enjoy a meal, baking these bread bowls is a truly enjoyable and therapeutic activity, especially on a lazy Sunday afternoon during the cooler months. Plus, you can even freeze extra bowls for later, ensuring you always have a delightful, edible vessel ready for your favorite soups, stews, or even a creamy dip.
Why You’ll Love Making Your Own Bread Bowls
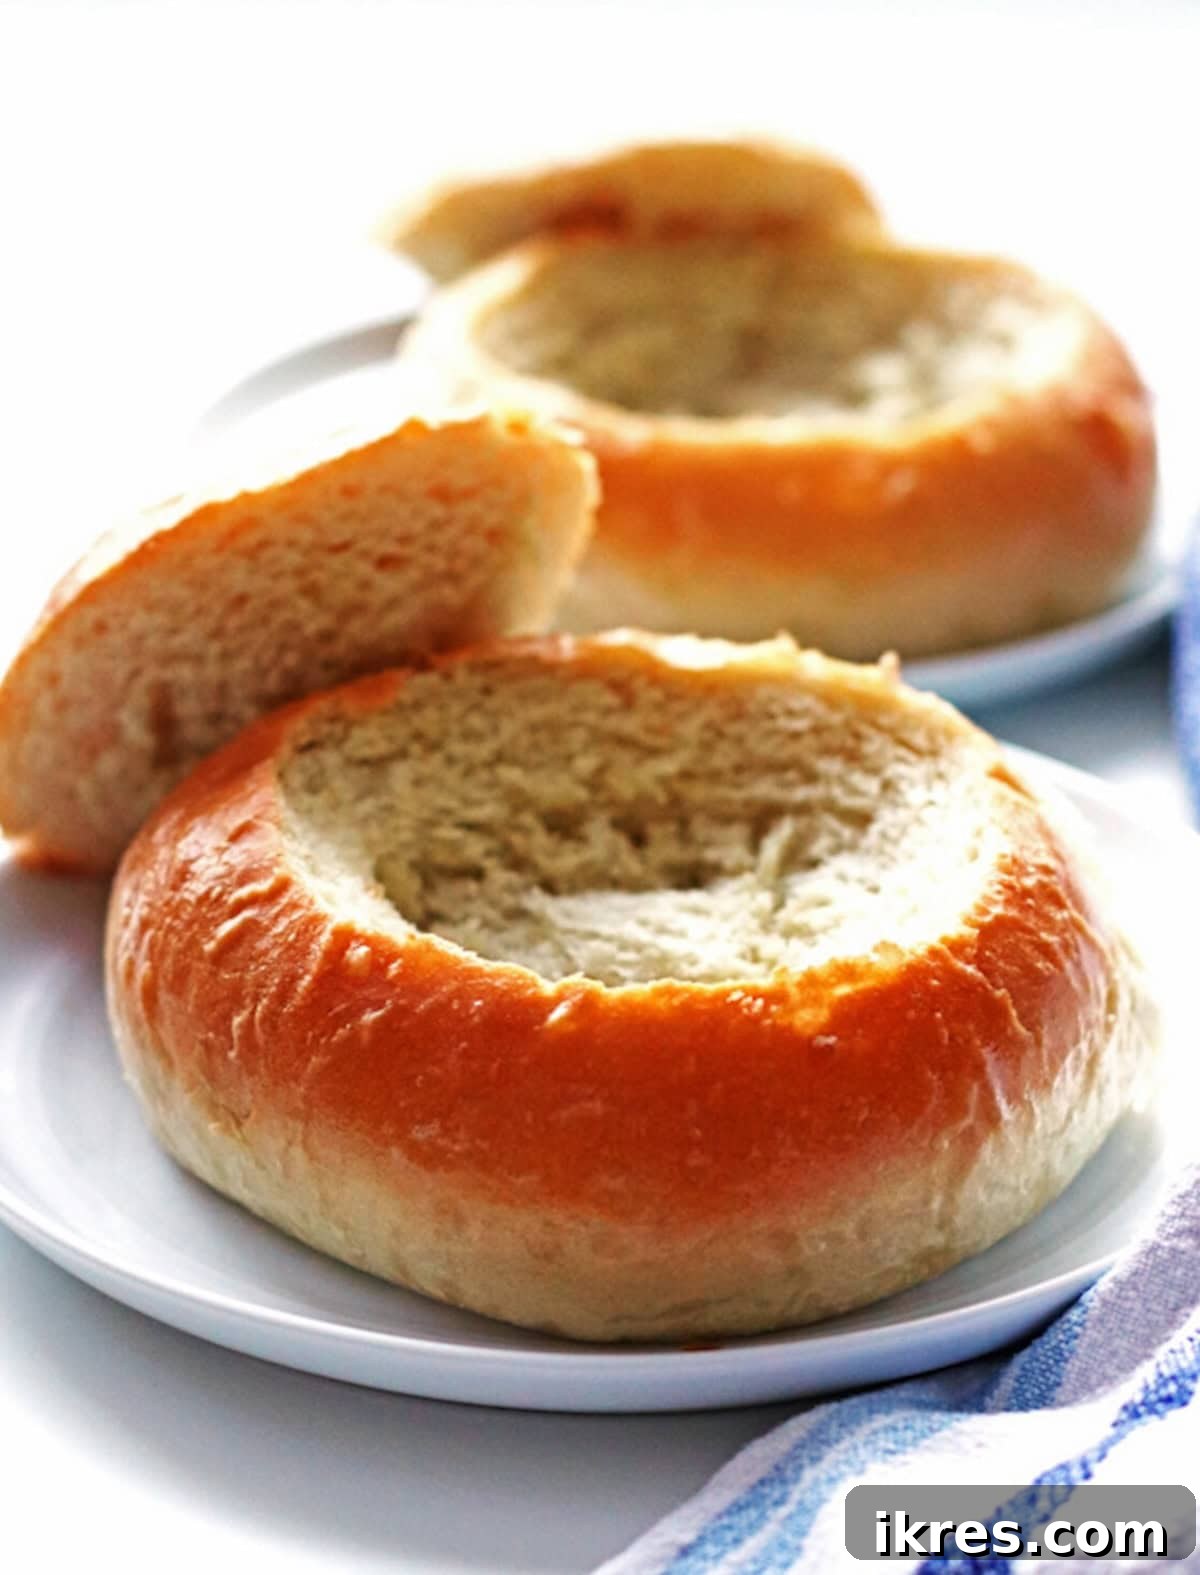
There’s a unique satisfaction that comes with baking your own bread, and transforming that bread into an edible bowl takes it a step further. This recipe allows you to control the quality of ingredients, ensuring a wholesome and flavorful result free from preservatives often found in store-bought options. The process itself is a rewarding culinary journey, from watching the dough magically rise to pulling golden-brown, aromatic bowls from the oven. These homemade bread bowls aren’t just a gimmick; they’re a practical and delicious solution for serving a variety of dishes. The thick, sturdy crust holds up beautifully to even the heartiest of stews, while the tender interior soaks up the flavors of your meal, creating an unparalleled eating experience. Plus, imagine the delight on your family’s or guests’ faces when you present them with their very own edible bowl!
Homemade Bread Bowl Ingredients
Crafting these delectable bread bowls requires just a handful of basic pantry staples. Each ingredient plays a crucial role in achieving that perfect balance of a crusty exterior and a soft, airy crumb. Here’s what you’ll need:
- Instant Yeast: This is the leavening agent that makes your bread rise beautifully and quickly. Instant yeast can be added directly to dry ingredients without proofing, saving you time.
- Warm Water: Essential for activating the yeast. Ensure the water is warm (around 105-115°F or 40-46°C), but not too hot, which can kill the yeast.
- Olive Oil: Adds richness and flavor to the dough, contributing to its tender texture. A little extra is used to lightly oil the mixing bowl for the first rise, preventing sticking.
- Granulated Sugar: Feeds the yeast, helping it to activate and providing a subtle sweetness to the bread.
- All-Purpose Flour: The primary structural component of our bread bowls. Use good quality unbleached all-purpose flour for the best results.
- Salt: A crucial ingredient that enhances the flavor of the bread and also helps to control yeast activity.
- Butter: Used to brush over the warm, freshly baked bread bowls, adding a golden sheen, incredible aroma, and a delectable richness to the crust.
Step-by-Step Guide to Baking Your Own Bread Bowls
Creating these delicious bread bowls is a straightforward process that anyone can master. Follow these detailed steps for a truly rewarding baking experience:
- Activate the Yeast: In the bowl of your stand mixer, combine the instant yeast, warm water, olive oil, and granulated sugar. Stir these ingredients together gently with a spoon. This step awakens the yeast and ensures your dough will rise properly.
- Begin Mixing the Dough: Add approximately half of the all-purpose flour to the yeast mixture. Give it a preliminary stir with a spoon or spatula to combine slightly.
- Knead the Dough: Attach the dough hook attachment to your stand mixer. On low speed, gradually add in the remaining flour, followed by the salt. Once all ingredients are incorporated, increase the mixer speed to low-medium and knead the dough for about 5-7 minutes. You’re looking for a smooth, elastic dough that pulls away from the sides of the bowl. This kneading develops the gluten, which gives bread its structure and chewiness.
- First Rise Preparation: Remove the dough from the mixer. Lightly oil the mixing bowl (no need for a second bowl!) with a little olive oil. Form the dough into a neat ball and place it back into the oiled bowl, turning it once to ensure the entire surface is coated with oil. This prevents the dough from sticking during its rise.
- First Rise: Cover the bowl tightly with plastic wrap, a clean tea towel, or a damp cloth. Place the dough in a warm, draft-free spot. Allow it to rise until it has visibly doubled in size, which typically takes about 40 minutes, depending on the warmth of your environment. This is where the yeast works its magic, producing air pockets that make the bread light and fluffy.
- Portioning the Dough: Once your dough has doubled, gently punch it down to release the air. Transfer the large dough ball to a lightly floured surface. Divide the dough into six equal portions. For uniform bread bowls, you can weigh each portion.
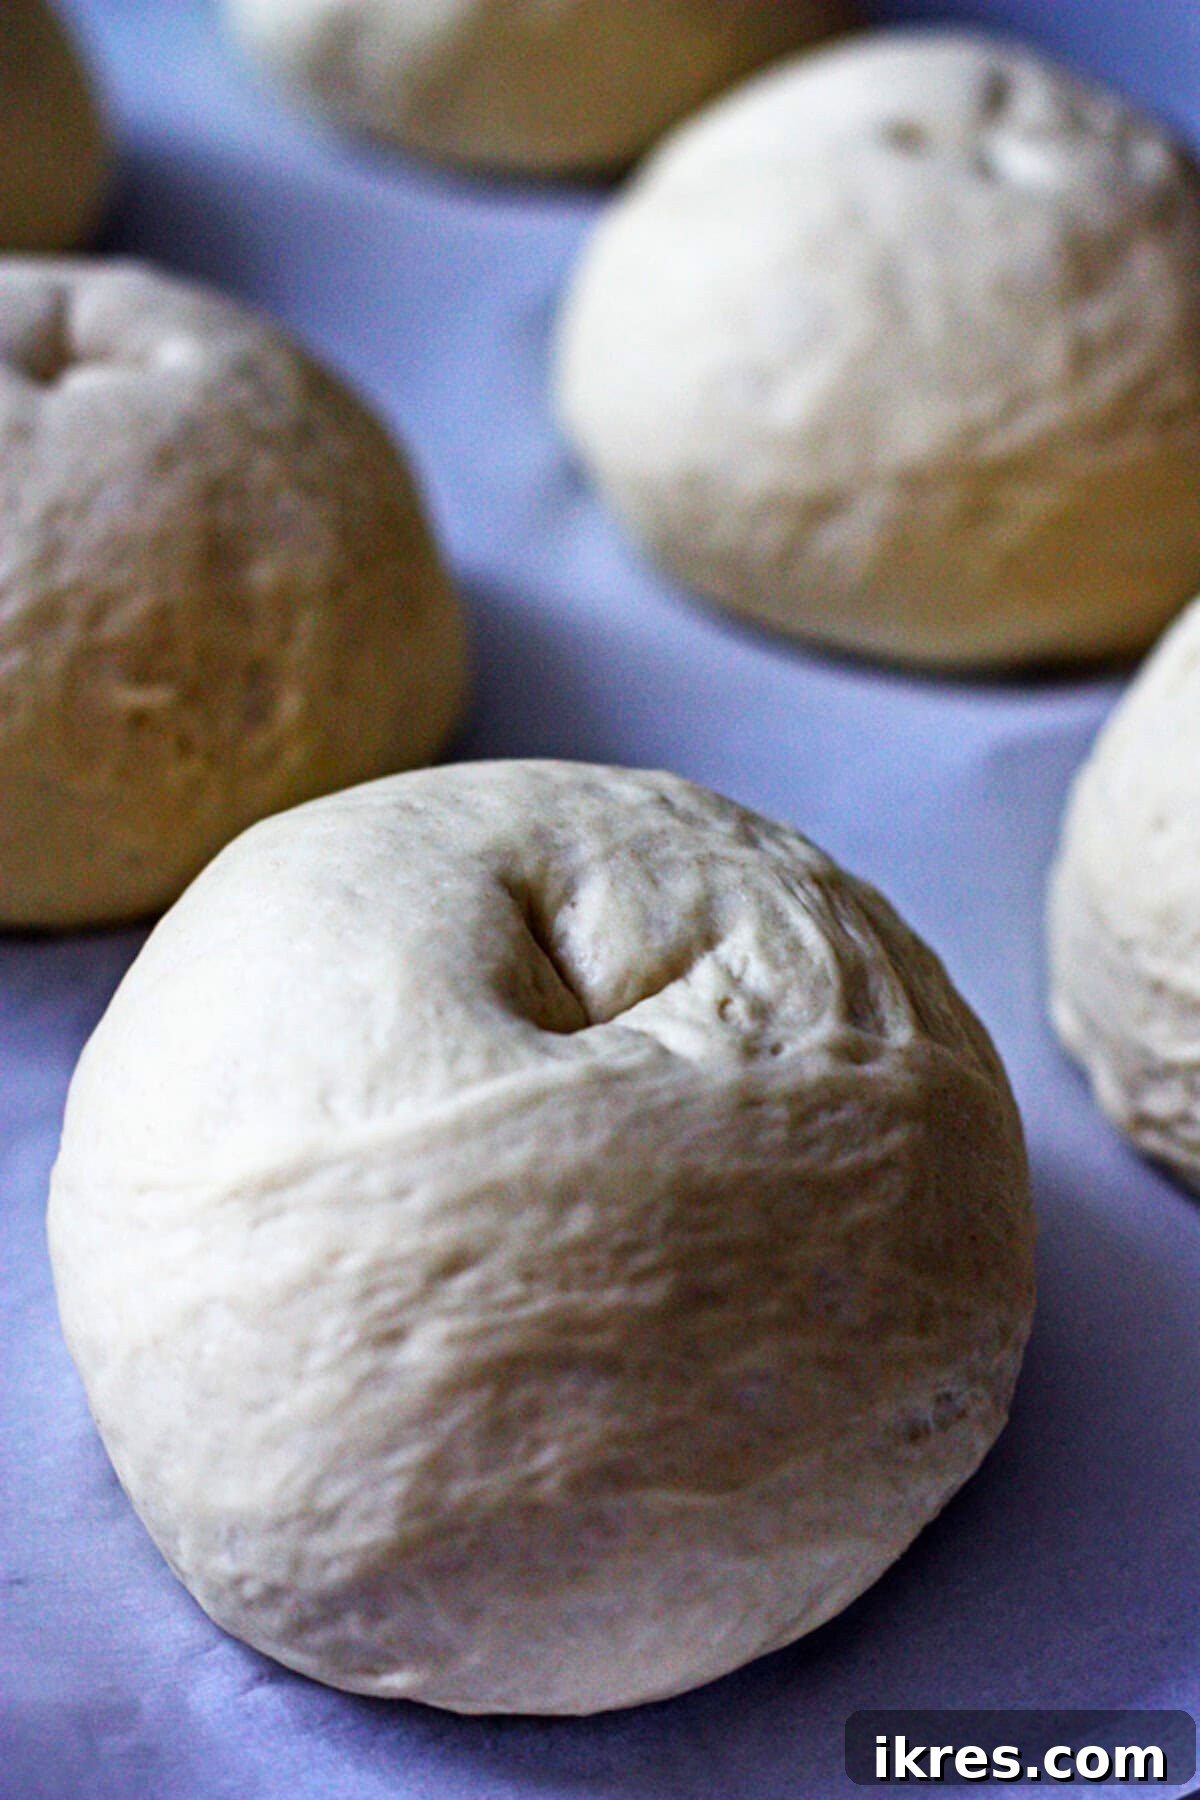
- Shaping the Dough Balls: Take each portion and round it into a tight ball. The key here is to pull the edges of the dough from the top down towards the bottom center, creating tension on the surface. Then, cup the dough ball with your hand and roll it against the counter in a circular motion to create a smooth, taut surface. This shaping helps the bowls hold their form during baking.
- Prepare for Second Rise: Line a baking pan with a piece of parchment paper. Arrange the shaped dough balls on the prepared pan, leaving ample space between them as they will expand. Using a sharp knife, make a shallow “X” incision on the top center of each dough ball. This “X” encourages an even rise and gives the bread bowls a rustic appearance.
- Second Rise: Cover the dough balls again with a damp towel and let them rise in a warm spot for approximately 30 minutes, or until they have nearly doubled in size once more. This second rise contributes to a lighter, airier texture.
- Preheat Your Oven: While the dough is on its second rise, preheat your oven to 400°F (200°C).
- Create Steam: Place another baking sheet on the bottom rack of your oven and fill it with about a cup of hot water. This step is crucial! The steam created during baking helps the bread bowls achieve that signature bubbly, crusty exterior and allows them to rise beautifully.
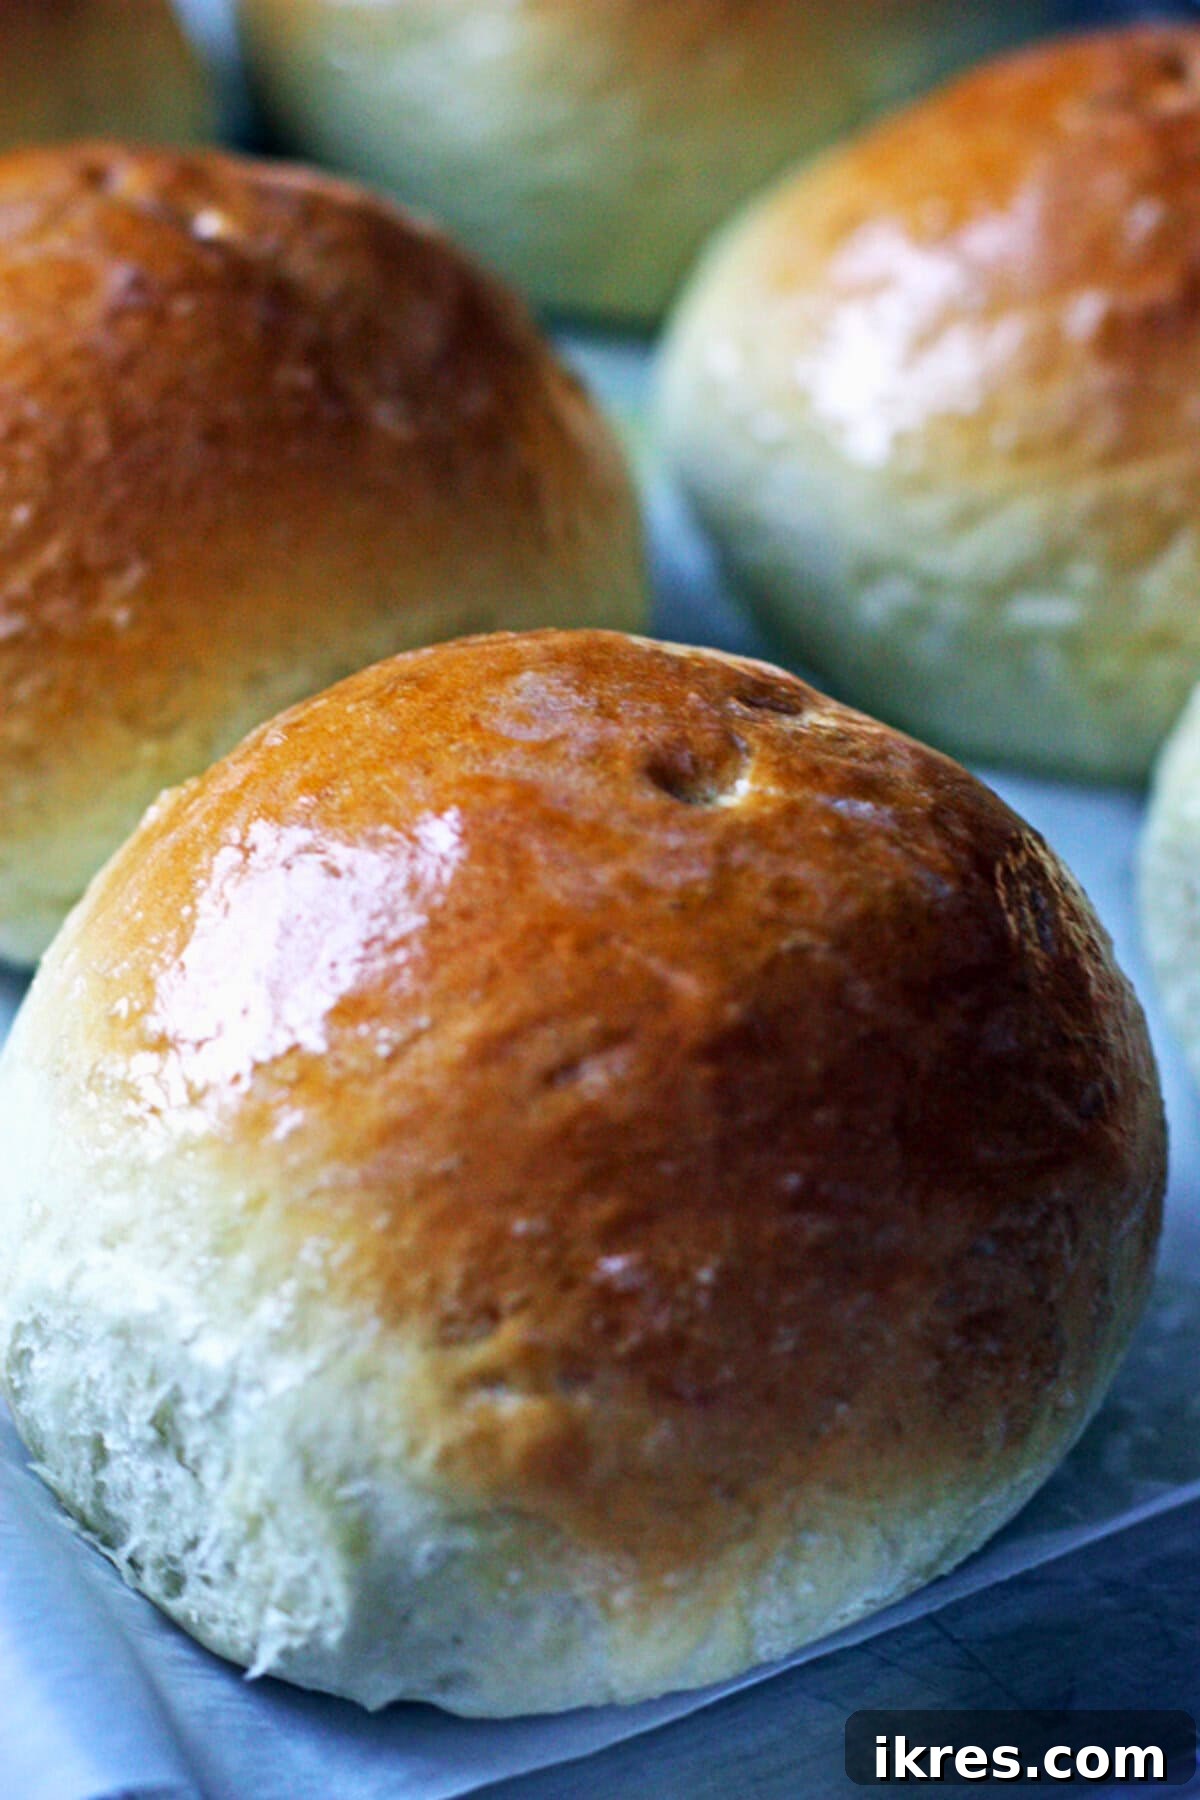
- Bake the Bread Bowls: Carefully place the baking sheet with your dough balls on the middle rack of the preheated oven, above the steaming water. Bake for 25 minutes, or until the bread bowls are deeply golden brown and sound hollow when tapped on the bottom.
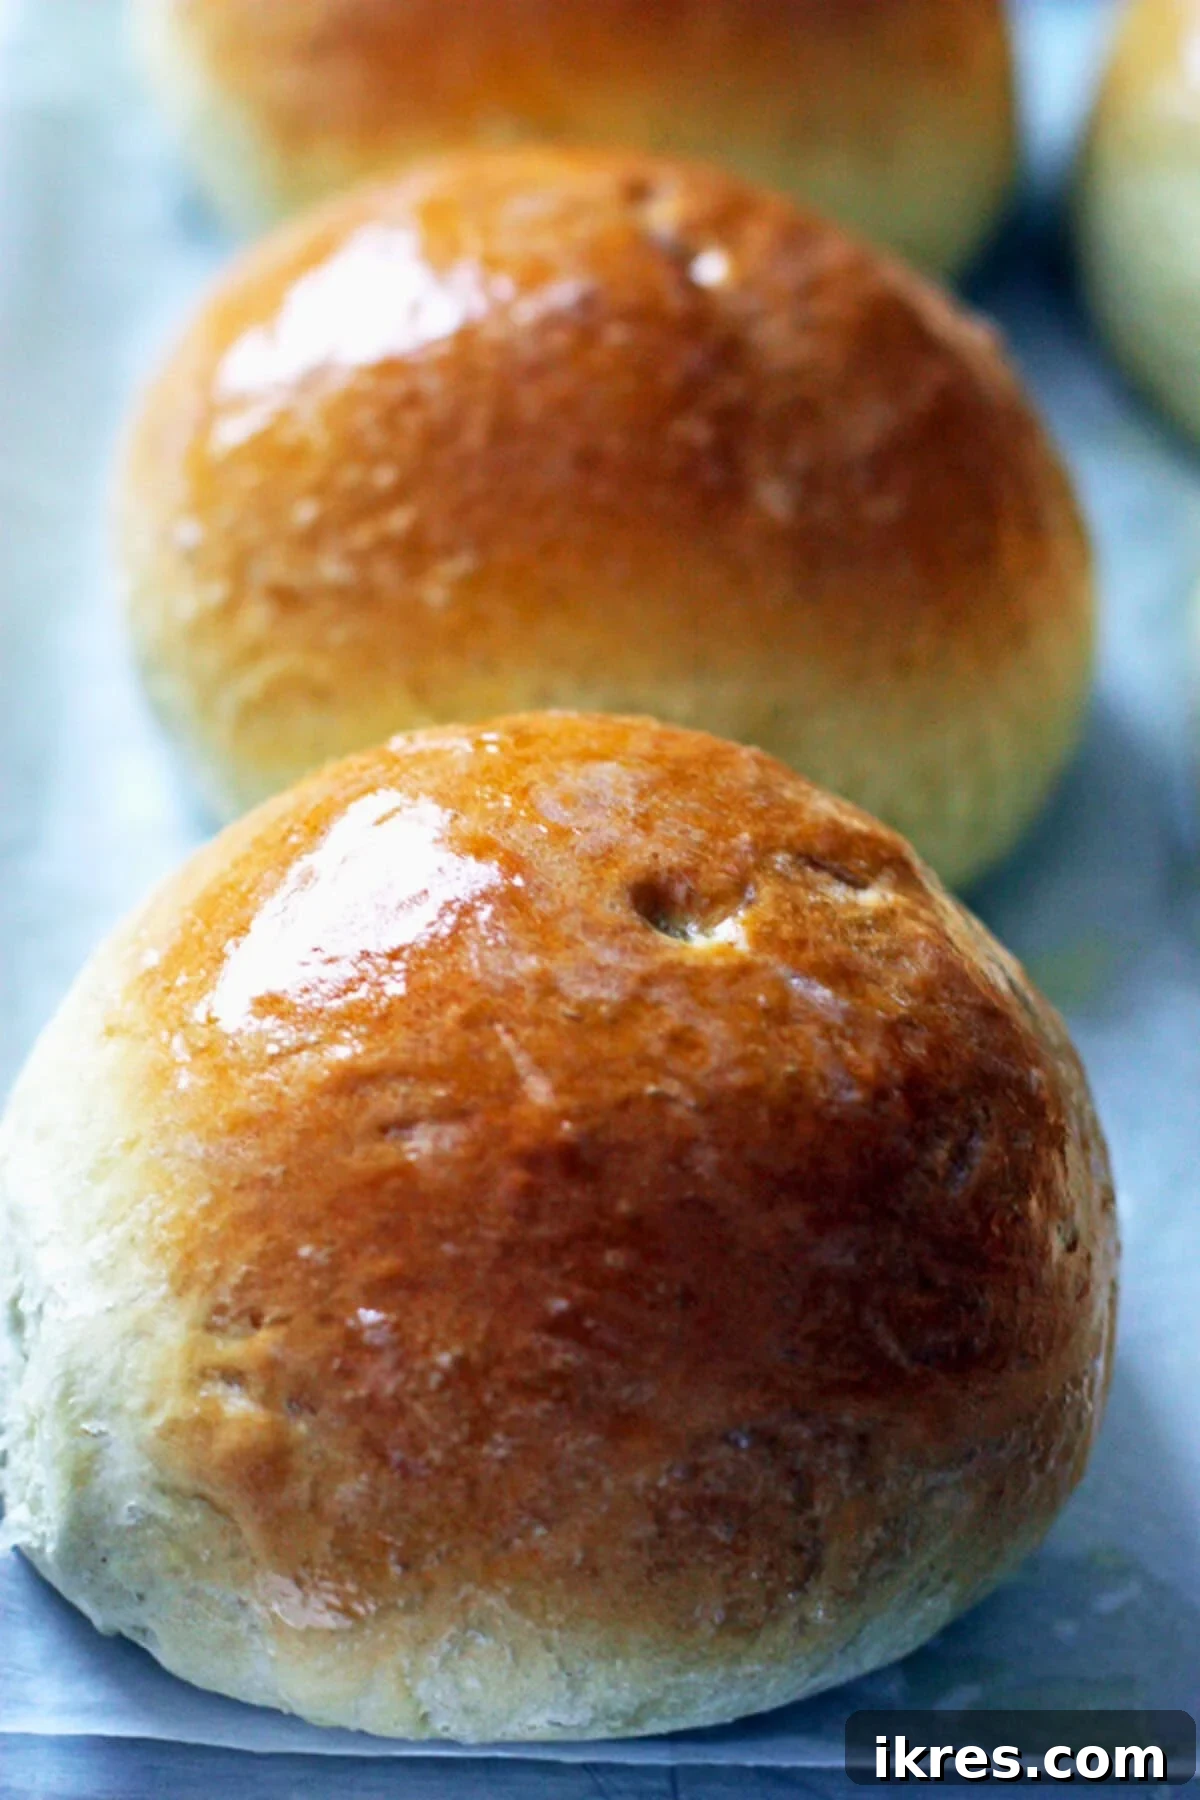
- Butter the Bowls: Immediately upon removing the bread bowls from the oven, generously rub butter over their tops and sides. It’s essential to do this while they are still piping hot; the butter will melt beautifully into the crust, enriching the flavor and giving them a lovely sheen. While you can use a fork, I often find it easiest and most effective to simply use my hands for this step (carefully, as they are hot!).
- Cool Before Serving: Transfer the buttered bread bowls to a wire rack and let them cool for at least 15-20 minutes before attempting to cut into them. While best served warm, allowing them to cool slightly helps the interior bread set and makes them easier to handle.
Flavor Variations to Elevate Your Bread Bowls
While delicious on their own, you can easily customize your bread bowls with additional flavors. For a savory twist, sprinkle some Italian seasoning, garlic powder, or onion powder over the buttered tops of the warm bread bowls. The melting butter will help the seasonings adhere perfectly. Alternatively, for a deeper infusion of flavor, you can mix these seasonings directly into the dough before the first rise. Consider adding grated Parmesan cheese, dried herbs like rosemary or thyme, or a pinch of red pepper flakes for a subtle kick. Even a tablespoon of sesame seeds or poppy seeds sprinkled on top before baking can add an interesting texture and nutty flavor profile.
How to Cut and Serve Your Homemade Bread Bowls
The final step before enjoying your creation is properly hollowing out the bread bowls. This technique ensures a sturdy bowl while providing delicious pieces of bread for dipping.
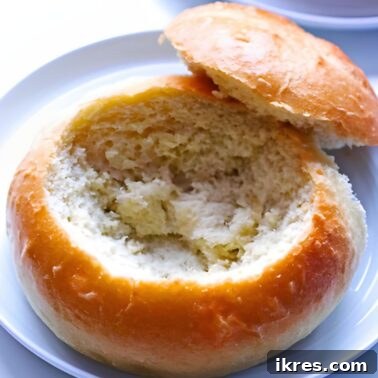
- Cut the Top: Once the bread bowls have cooled slightly, use a sharp serrated knife to cut out the top center of each bowl. Angle the knife inwards, creating a cone-like shape, similar to a paper snow cone cup or old-fashioned paper drinking cups. Rotate the bread bowl as you cut to maintain a consistent angle and create a neat, circular opening.
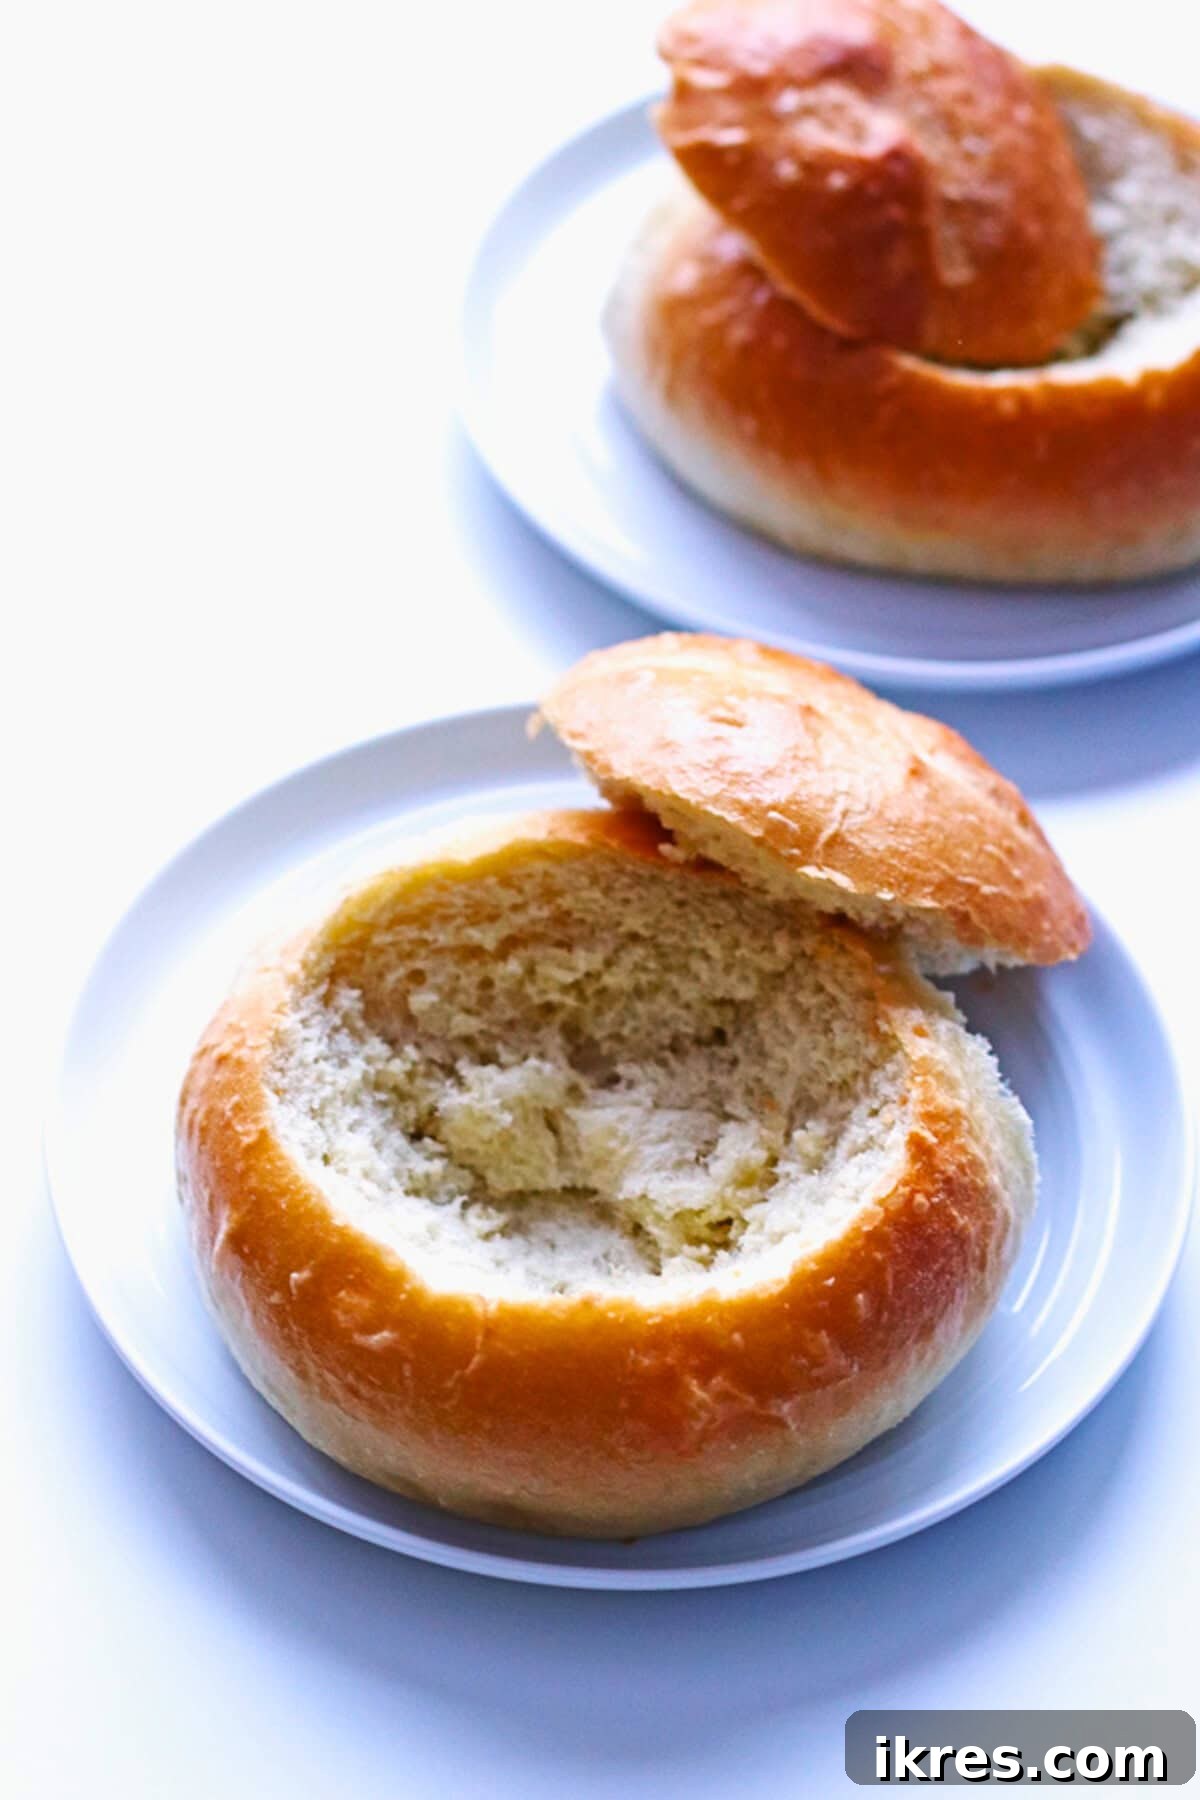
- Hollow the Interior: Gently pull out a little more bread from the inside of the bowl, along the sides and bottom, using your hands. Be careful not to remove too much, as you need to leave a sufficient amount of bread on the bottom and sides to maintain the bowl’s structural integrity and prevent it from leaking.
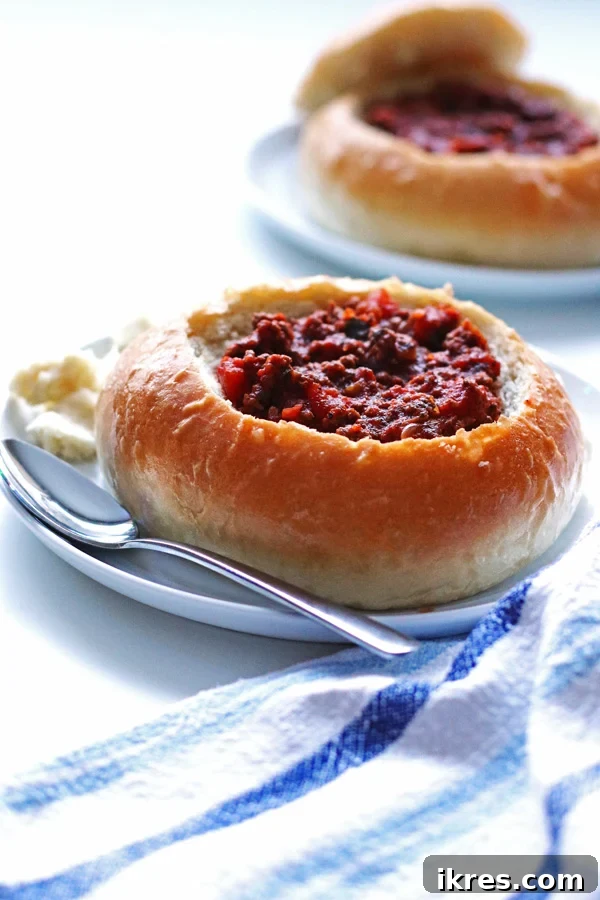
- Fill and Enjoy: Now your homemade bread bowls are ready to be filled with your favorite chili, a creamy soup, a hearty stew, or even a delicious dip. Don’t forget to serve the scooped-out bread pieces alongside; they are perfect for dipping into the flavorful contents of your edible bowl!
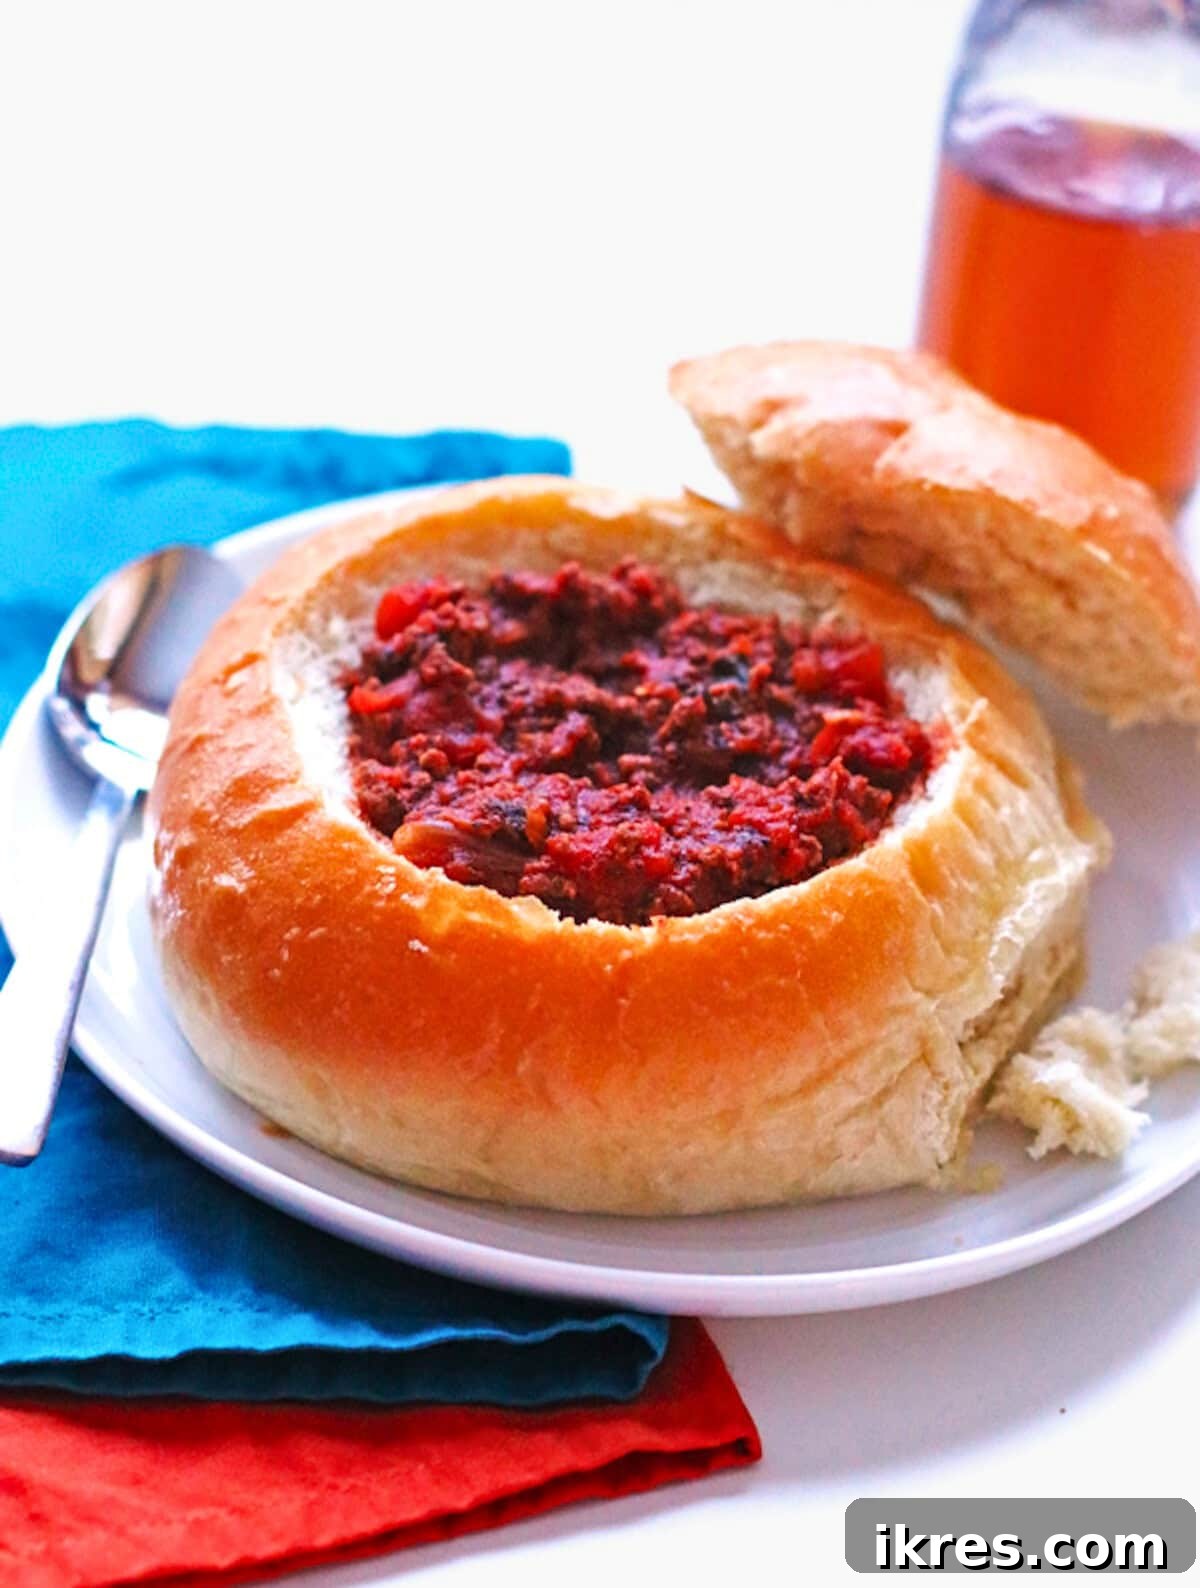
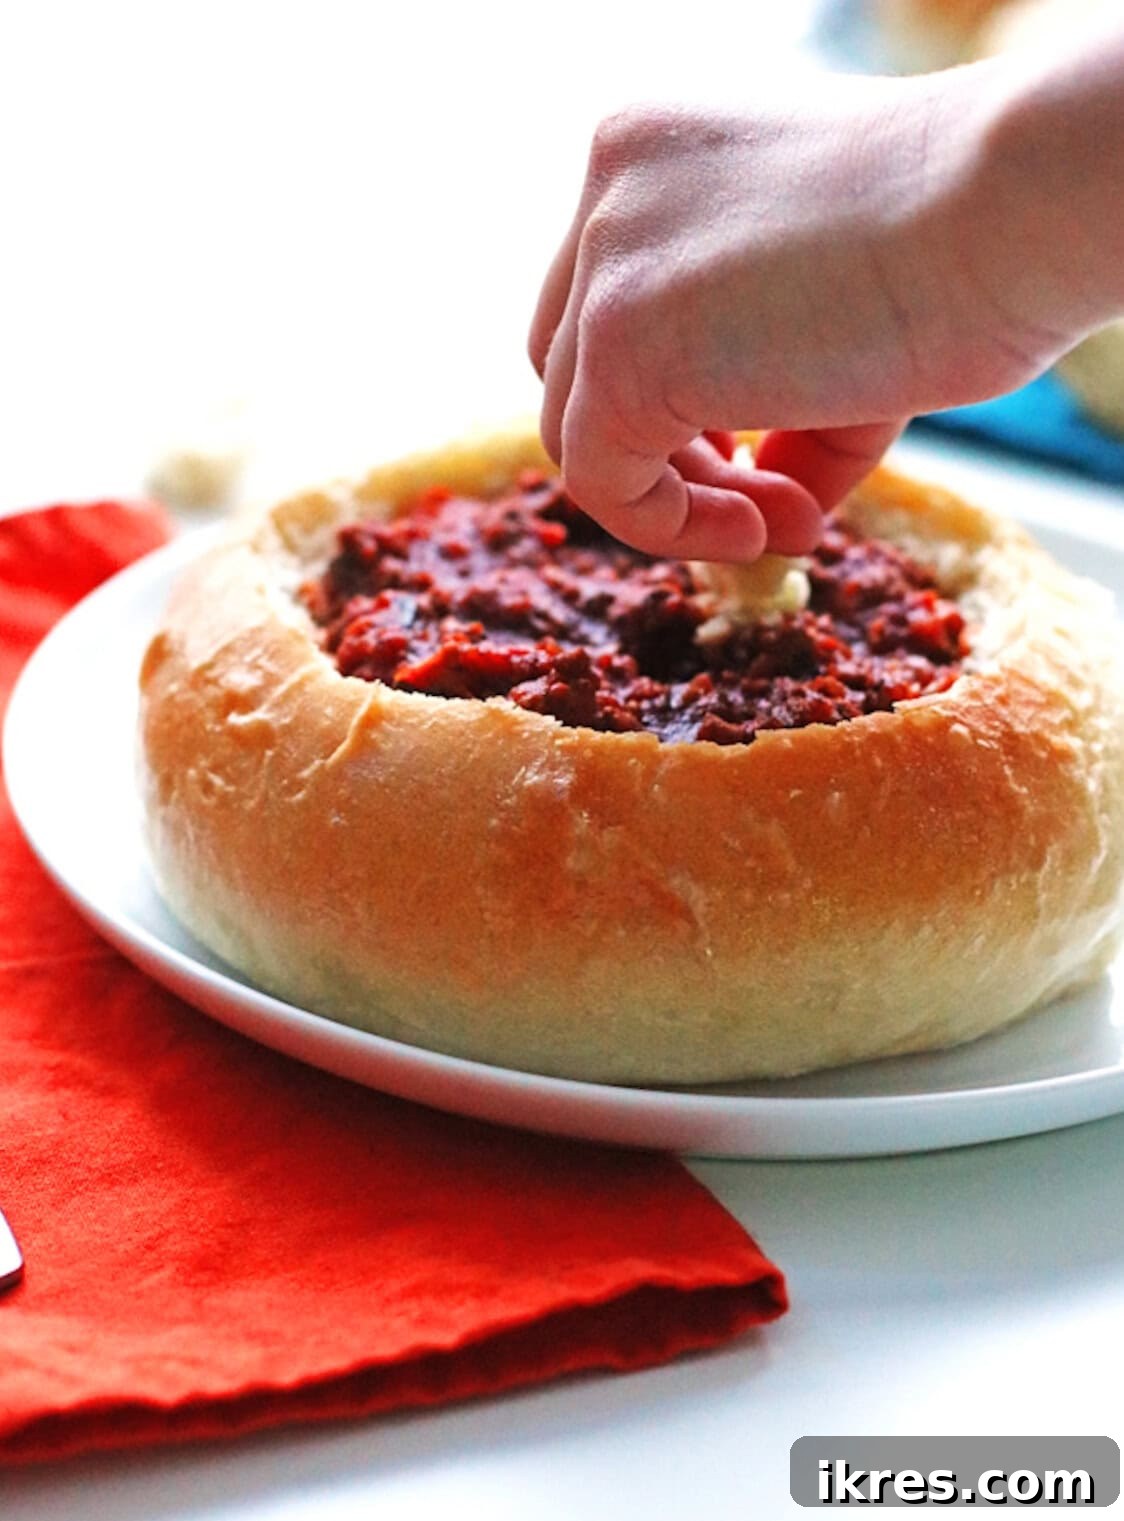
The joy of eating a meal from an edible bowl is unmatched. The bread soaks up the flavors, providing a warm, comforting bite with every spoonful. And don’t forget those extra pieces of bread you scooped out – they are ideal for dipping and ensuring no drop of your delicious meal goes to waste!
For a truly perfect pairing, check out this Quick and Easy Chili recipe that would be absolutely phenomenal served in these homemade bread bowls.
Tips for Perfect Bread Bowls Every Time
- Ensure Yeast Activity: Always use fresh yeast and warm water (not hot) to ensure proper activation. If your yeast mixture doesn’t get foamy after 5-10 minutes, your yeast might be old or the water temperature was off.
- Kneading is Key: Don’t cut short the kneading time. Properly kneaded dough develops gluten, which gives the bread its structure and elasticity, essential for holding its shape as a bowl.
- Warm Environment for Rising: A warm, draft-free place is crucial for the dough to rise effectively. If your kitchen is cool, you can place the covered bowl in a slightly warmed (but turned off) oven or near a sunny window.
- The Power of Steam: Don’t skip the baking sheet with hot water in the oven. The steam creates that beautiful, crispy crust and allows the bread to expand fully without cracking too much.
- Butter While Hot: Brushing with butter right out of the oven is vital for flavor, shine, and a softer crust.
- Cool Before Cutting: Allow the bread bowls to cool sufficiently before hollowing them out. If they are too hot, the interior will be gummy and difficult to remove cleanly.
Storage and Freezing Instructions
These homemade bread bowls are best enjoyed fresh, but they can certainly be stored for later use.
- Short-Term Storage: If you plan to use them within 1-2 days, store the cooled bread bowls in an airtight container or a large zip-top bag at room temperature.
- Freezing for Later: For longer storage, allow the bread bowls to cool completely after baking and buttering. Wrap each bread bowl individually in plastic wrap, then place them in a freezer-safe bag or container. They can be frozen for up to 2-3 months.
- Reheating: To reheat, simply remove from the freezer, unwrap, and bake in a preheated oven at 350°F (175°C) for 10-15 minutes, or until warmed through and the crust is crisp again.
What to Serve with Bread Bowls
The versatility of homemade bread bowls means they can host an array of delicious fillings. They are perfect for just about any hearty, spoonable meal:
- Easy Homemade Chili: A classic and undeniably delicious pairing.
- Chicken and Sausage Gumbo: The rich, spicy flavors of gumbo are perfectly complemented by the simple bread.
- Crockpot Chicken Soup: A comforting and convenient option for a busy weeknight.
- Slow Cooker Vegetable Soup: A healthy and hearty choice for a vegetarian meal.
- Crockpot Spaghetti Sauce: A creative and fun way to serve a meat sauce, especially with some grated cheese on top.
- Creamy Tomato Soup: The perfect contrast to a crisp bread bowl.
- Broccoli Cheddar Soup: A rich and cheesy delight that pairs wonderfully.
- Hearty Beef Stew: The bread is excellent for soaking up all the savory gravy.
- Spinach Artichoke Dip: For a unique appetizer or party dish, serve warm dip in smaller bread bowls.
Explore even more Bread Bowl Dinner Recipes → for endless inspiration!
Conclusion
Baking homemade bread bowls is a wonderfully rewarding experience that brings a touch of culinary magic to your table. From the initial mixing of simple ingredients to the final moment of savoring a meal from your edible creation, every step is infused with the joy of making something truly special. Not only are these bowls incredibly versatile and delicious, but they also offer a wholesome, customizable alternative to store-bought options. Embrace the warmth, aroma, and delight of freshly baked bread bowls – your family and friends will thank you!
Did you make this recipe? If so, please leave a comment and rating below. I love hearing from you.
How to Make a Bread Bowl
Jeannie Z
6
5
25
1 20
1 50
Ingredients
- 4 ½ teaspoons instant yeast (2 packets)
- 2 ½ cups warm water
- 2 tablespoons olive oil (plus a little extra to oil the bowl)
- 1 tablespoon granulated sugar
- 7 cups all-purpose flour
- 2 teaspoons salt
- butter
Instructions
-
Place the yeast, warm water, olive oil, and sugar in your stand mixer bowl and stir together with a spoon.
-
Add in half of the flour and mix together with a spatula or spoon. Place the dough hook on your stand mixer. On low speed, slowly add in the rest of the flour.
-
Add the salt.
-
Once the ingredients are well mixed, increase the speed to low-medium on your mixer and knead the dough until it is smooth and elastic. (About 5-7 minutes)
-
Remove the dough and lightly oil the mixing bowl. Place the dough ball back into the bowl, turning to coat.
-
Cover the bowl with a damp towel and let the dough rise until it is doubled in size. (About 40 minutes)
-
Remove the dough and cut it into six equal portions. Make each portion into a ball, pulling tightly towards the bottom of the ball. Roll in between your hand and the counter to give it a nice round shape.
-
Cover your baking sheet with parchment paper and place the six dough balls onto the baking sheet. Using a sharp knife, make an “X” on the top center.
-
Cover with the damp towel and let them double in size. (about 30 minutes)
-
Preheat your oven to 400°F.
-
Take another baking sheet and fill it with one cup of hot water.
-
Place the baking sheet with dough balls on the middle rack and the one with the water on the lower rack. Bake for 25 minutes, or until browned.
-
Remove the bread bowls from the oven and rub them with butter using your hands or a fork.
-
Let them cool slightly before serving. Best served warm.
-
Cut out centers of the bread bowls and scoop out the bread. (Save the bread to dip in the chili or soup.) Fill with chili or thick soup, using extra bread to dip with.
Notes
Nutrition
Serving: 1 bowl
Calories: 609 kcal
Carbohydrates: 117 g
Protein: 19 g
Fat: 7 g
Saturated Fat: 1 g
Sodium: 788 mg
Potassium: 242 mg
Fiber: 6 g
Sugar: 2 g
Calcium: 28 mg
Iron: 7 mg
Nutrition information is approximate and is automatically calculated, so should only be used as a guide.
Dinner, Side Dish
American, Italian
bread bowl, bread recipe
Like this? Leave a comment below!