
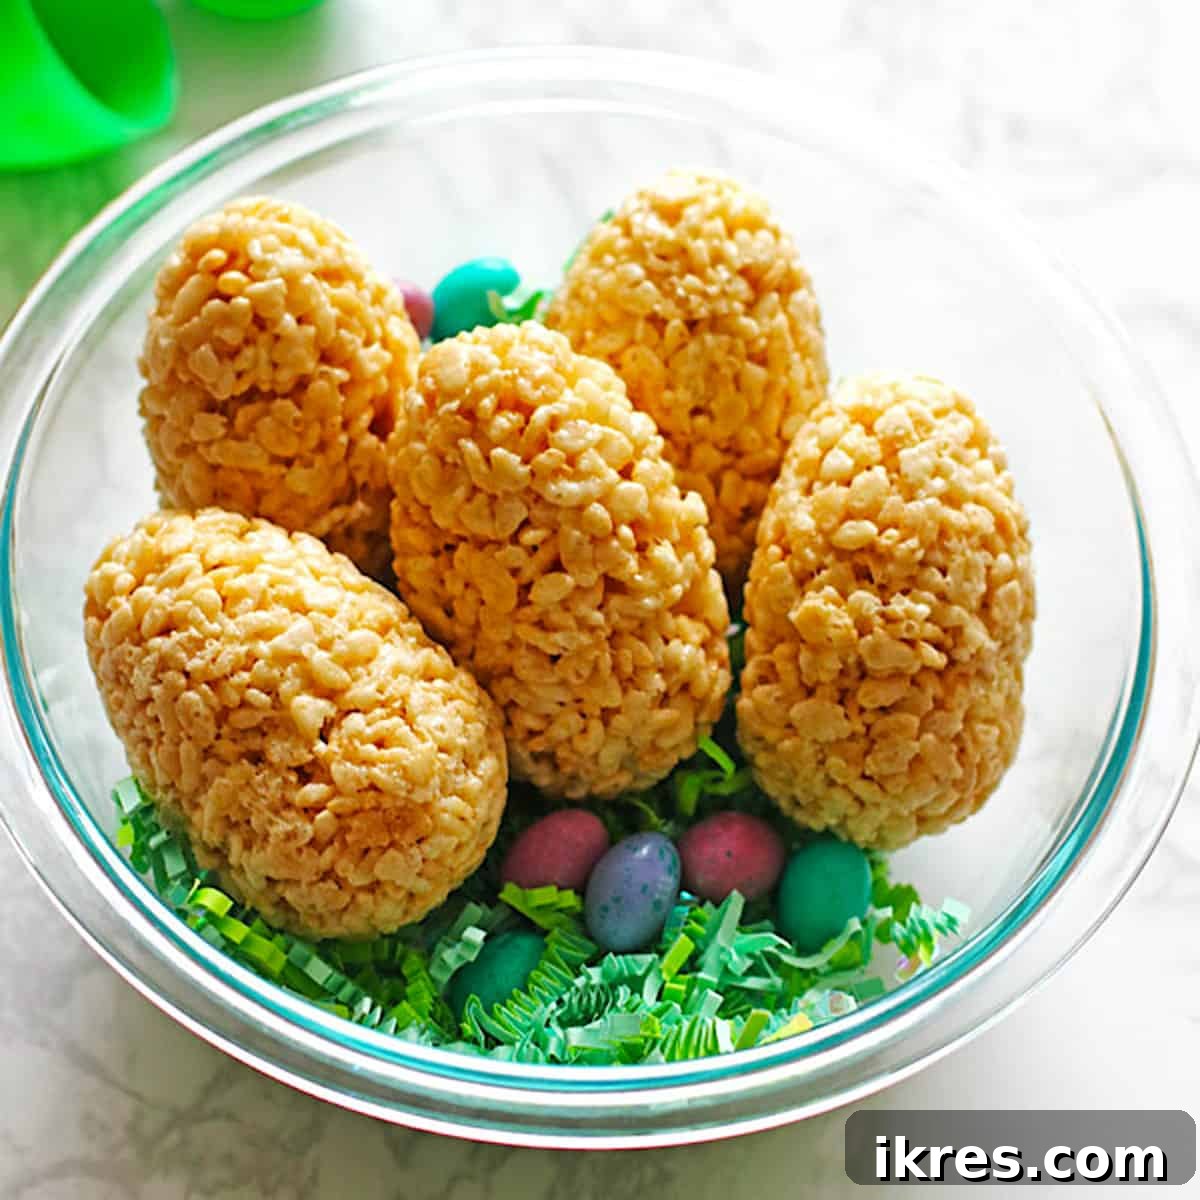
Delightful Easter Surprise Eggs: The Ultimate Rice Krispie Treat Recipe with a Hidden Candy Center
Transform your Easter celebrations into an unforgettable experience with these enchanting Easter Treat Eggs! Imagine the joy on little faces as they bite into a perfectly shaped Rice Krispie Treat egg, only to discover a delightful explosion of M&M candies hidden inside. These aren’t just desserts; they’re an interactive, delicious, and incredibly fun project that brings families together in the kitchen, making them the perfect centerpiece for your Easter dessert table.
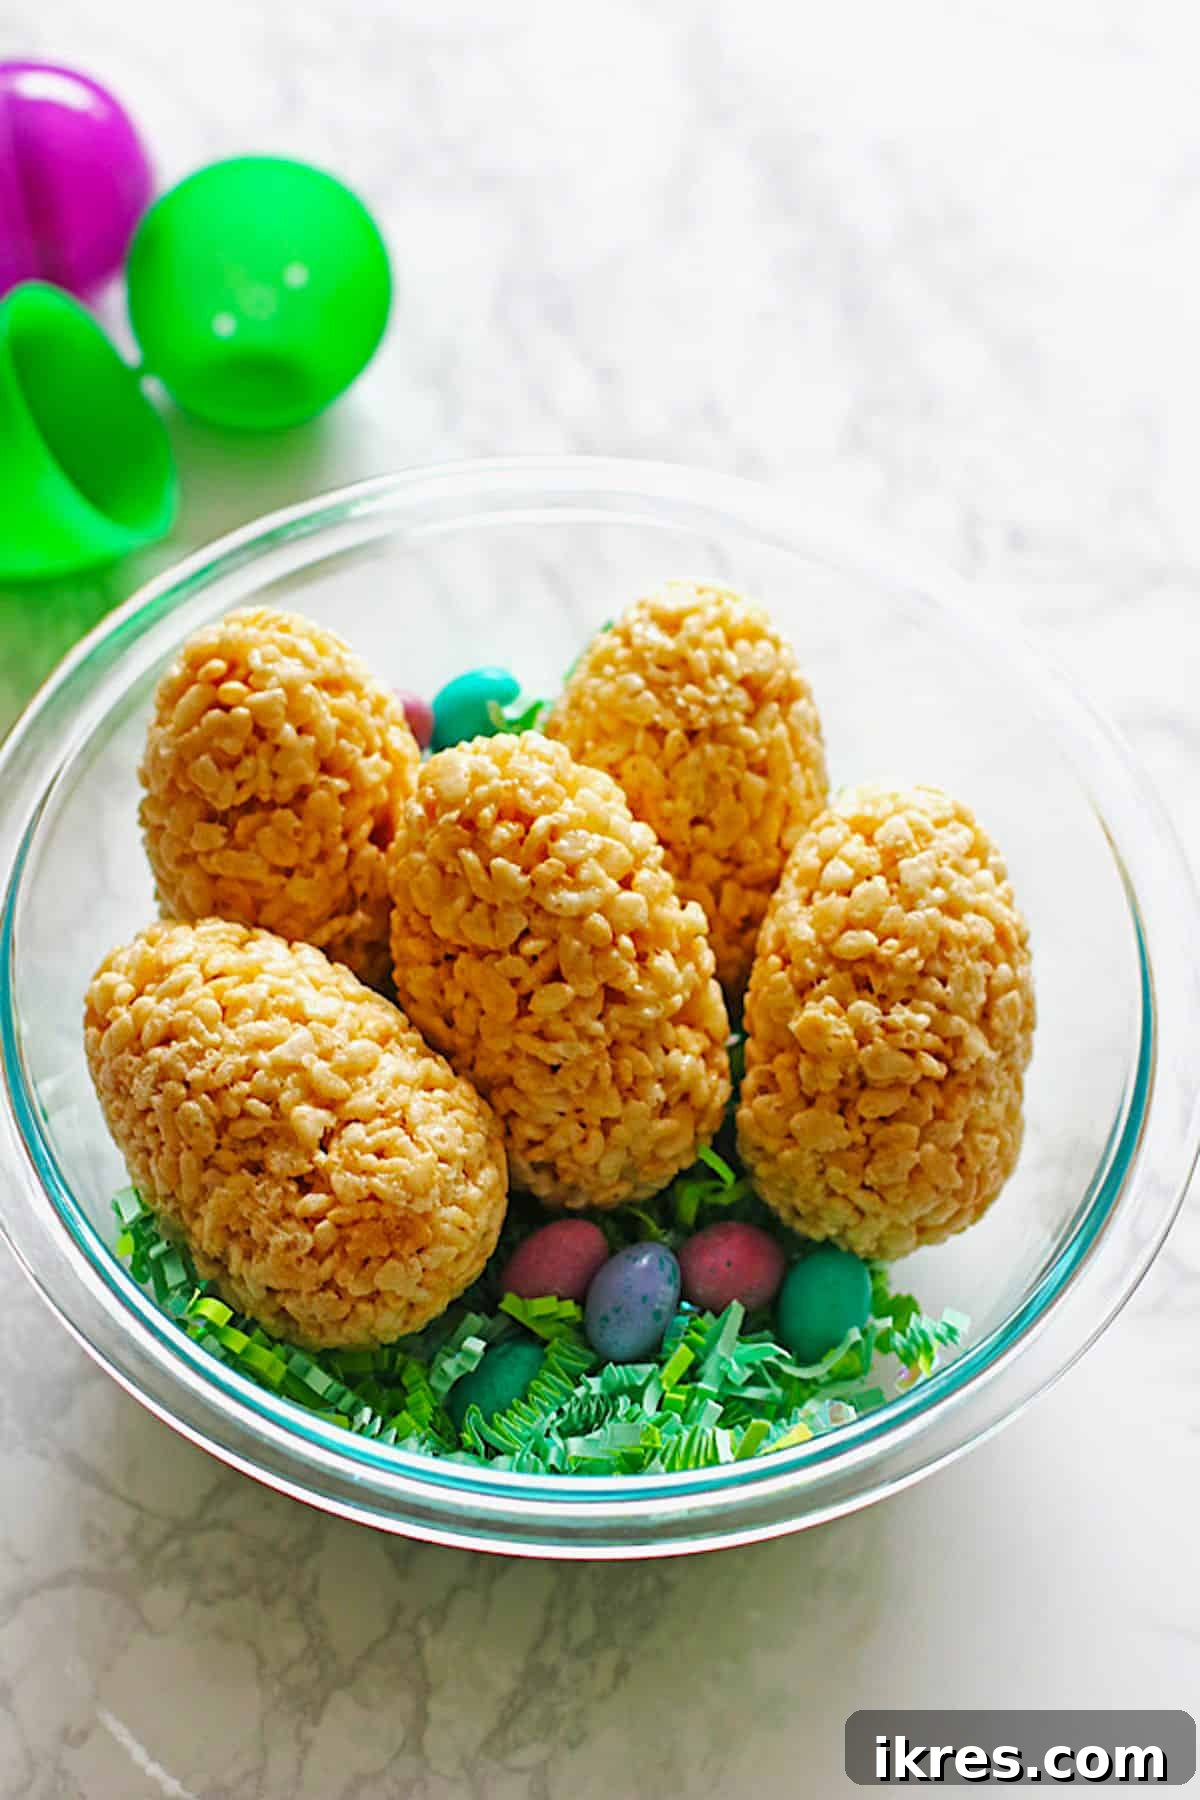
More Than Just a Dessert: A Fun Family Tradition
For many years, crafting these Rice Krispie Treat Easter eggs has become a cherished tradition in our home. While we still enjoy the classic tradition of coloring real eggs (which often become a delicious egg salad later), there’s something uniquely exciting about creating edible eggs filled with candy. It’s an activity that captivates both children and adults, fostering creativity and a sense of accomplishment.
These treats aren’t just incredibly tasty; they also offer a fantastic opportunity for kids to get involved in the kitchen. From helping mix the gooey marshmallow and cereal blend to meticulously placing the colorful M&M’s into the egg molds, every step provides a chance for little hands to contribute. This hands-on experience makes the final product even more rewarding and creates lasting memories. Plus, who can resist a classic Rice Krispie Treat, especially when it comes with a sweet surprise inside?
M&M’s are a universal favorite, and their vibrant colors make them an ideal choice for an Easter-themed treat. Combining the crispy, chewy texture of Rice Krispie Treats with the chocolatey crunch of M&M’s creates a flavor and texture combination that’s simply irresistible. These surprise-filled eggs are sure to be a hit with everyone, making them a staple for your annual Easter spread.
Essential Ingredients for Your Easter Rice Krispies Treat Eggs
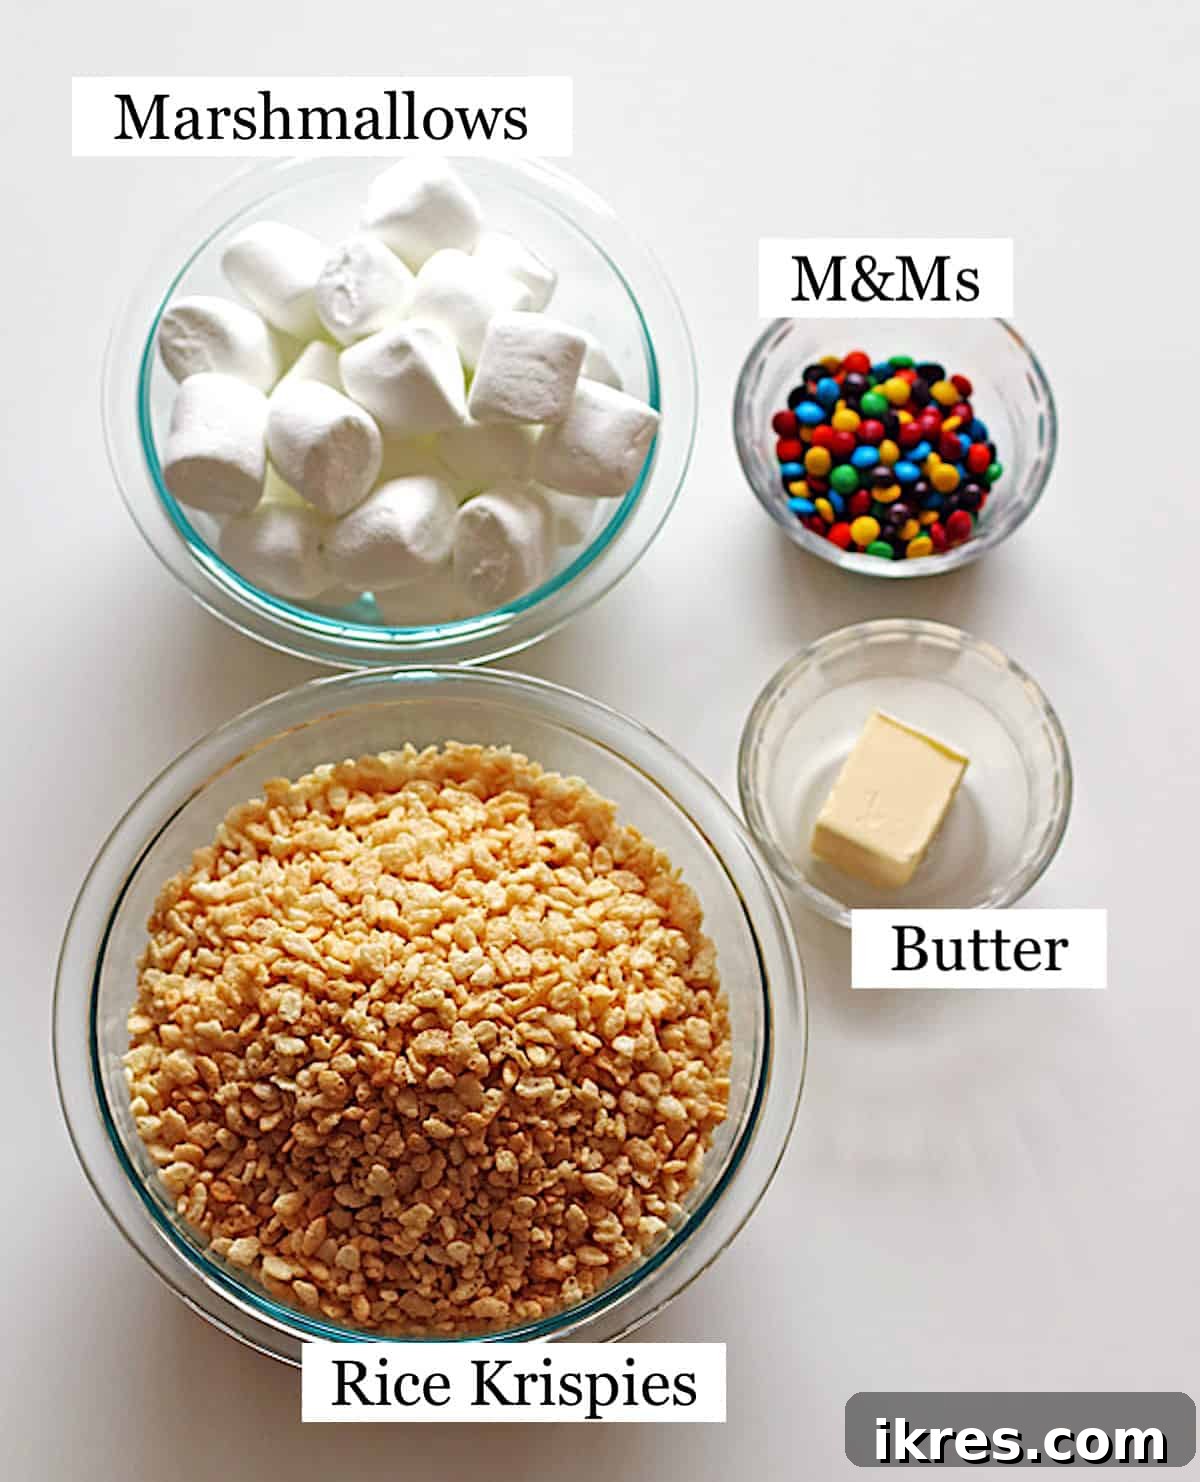
Creating these delightful Easter treats requires just a few simple, readily available ingredients. Here’s what you’ll need, along with some tips for the best results:
- Rice Krispies Cereal: The star of our show! Ensure you have fresh cereal for optimal crispiness. Generic brands work well too, but ensure they are plain, unsweetened rice cereal.
- Marshmallows: You can use either regular-sized or mini marshmallows. Mini marshmallows tend to melt more quickly and evenly, ensuring a smoother, more consistent treat mixture. A 10-ounce bag is typically sufficient for this recipe.
- Butter: Essential for melting the marshmallows and adding a rich, delicious flavor. Unsalted butter is preferred, as it allows you to control the salt content. You’ll also need a small amount of extra butter for greasing your hands and the plastic molds, which is crucial for preventing sticking.
- Hidden Candy: This is where the surprise comes in! We love using M&M’s, either mini or regular-sized, for their vibrant colors and classic chocolate taste. Other fantastic options include:
- Reese’s Pieces for a peanut butter twist.
- Skittles for a fruity burst of flavor.
- Easter sprinkles for a purely decorative inside.
- Smaller jelly beans, ensuring they fit within the egg’s cavity.
- For a truly luxurious surprise, if you make a slightly larger well in your eggs, Cadbury mini eggs are a fantastic choice, offering a creamy chocolate crunch.
The key is to choose a candy that fits snugly inside your plastic egg molds.
- Large Plastic Easter Eggs: These are critical for shaping your treats. We highly recommend using the 3-inch eggs, as they provide ample space for both the Rice Krispie mixture and a generous candy filling. Avoid the smaller 1.5-2 inch eggs, which can be difficult to work with and hold less candy. Before you begin, make sure to thoroughly wash these plastic eggs with warm water and dish soap, then dry them completely to ensure hygiene and prevent any sticking.
Step-by-Step Guide to Crafting Your Easter Treats
Making these delightful Easter Treat Eggs is a simple process, perfect for bakers of all skill levels. The first step involves preparing the classic Rice Krispie Treat mixture, followed by the fun part of shaping and filling your eggs with a sweet surprise!
Part 1: Preparing the Rice Krispies Treat Mixture
- Melt the Butter: In a medium to large non-stick pot, melt three tablespoons of butter over low heat. Stir frequently to ensure the butter melts evenly without burning. Low heat is key here to prevent scorching, which can affect the flavor of your treats.
- Add Marshmallows: Once the butter is almost fully melted, add the entire bag of marshmallows to the pot. Continue stirring constantly until the marshmallows are completely melted and smoothly combined with the butter. This creates the gooey base for your treats.
- Combine with Cereal: Remove the pot from the heat. Gradually add the Rice Krispies cereal to the marshmallow mixture, about two cups at a time. This makes it much easier to thoroughly combine the ingredients without overmixing. Use a sturdy spatula or a large spoon to gently fold the cereal into the marshmallow mix until every piece of cereal is fully coated. Be careful not to press down too hard, as this can crush the cereal and reduce the crispiness of the treats.
Recipe Success Tips: Preventing Stickiness
To ensure a smooth crafting process and perfect egg shapes, generously grease the inside of your plastic Easter egg molds with softened butter. This creates a non-stick surface, allowing the Rice Krispie treats to release easily. Additionally, lightly rub some softened butter onto your hands before handling the warm cereal mixture. This simple trick will prevent the sticky mixture from clinging to your fingers, making it much easier to press and shape the treats.
Part 2: Shaping and Filling Your Easter Eggs
- Prepare the Egg Molds: Ensure your plastic Easter egg molds are clean, dry, and thoroughly greased with butter (as per the tip above).
- First Layer of Treat Mixture: Take a small amount of the warm Rice Krispie mixture – enough to fill about half of one side of a plastic egg. Press it gently but firmly into both halves of the egg, creating a shell and leaving a small, hollow area in the center of each half. This well is where your hidden candy will go. Remember to butter your hands for easier handling!
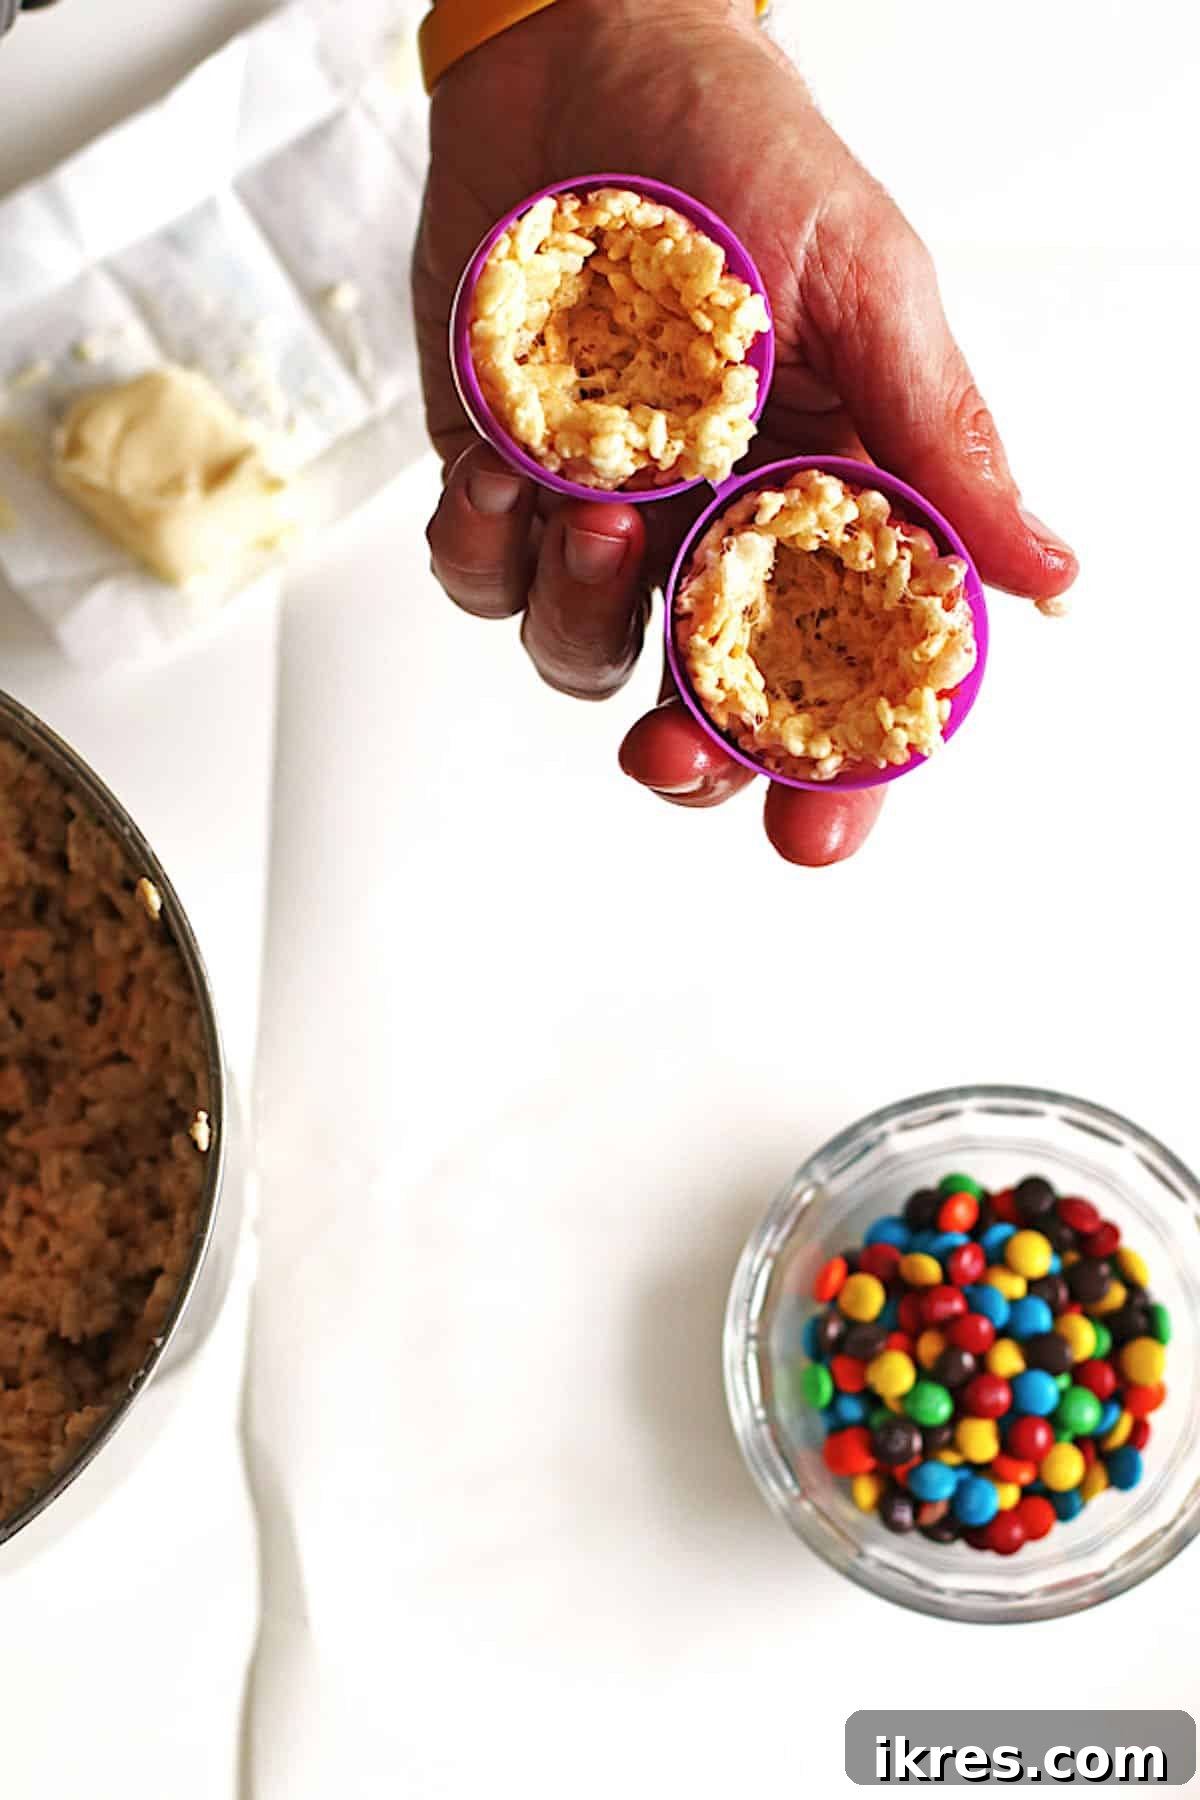
- Add the Hidden Candy: Now for the exciting part! Place a handful of M&M’s (or your chosen candy) into the hollow of each Rice Krispie-filled egg half. This is a fantastic job for younger helpers, as they’ll love being responsible for the “surprise.”
- Close and Seal the Egg: Carefully close the two halves of the plastic egg, ensuring they connect firmly. Gently press around the seam to seal the Rice Krispie mixture, effectively encasing the candy inside and forming a complete egg shape.
- Release and Repeat: Open the plastic egg mold and carefully remove your perfectly shaped Rice Krispie Treat egg. Set it aside on a plate or parchment paper to cool slightly. Continue this process until you have used up all of your cereal mixture. With our larger eggs, this recipe typically yields about 12 delightful Easter Treat eggs.
Reshaping for Perfection
If, after removing your treat, it needs a little refining to achieve that ideal egg shape, don’t worry! Simply place a tiny bit more of the fresh cereal mixture into the plastic egg mold. Then, gently place your newly formed Easter Treat egg back into the mold, close it, and apply light pressure. This will allow the egg to pick up the added mix and reshape itself perfectly. Remove and set aside, continuing with the rest of your batch.
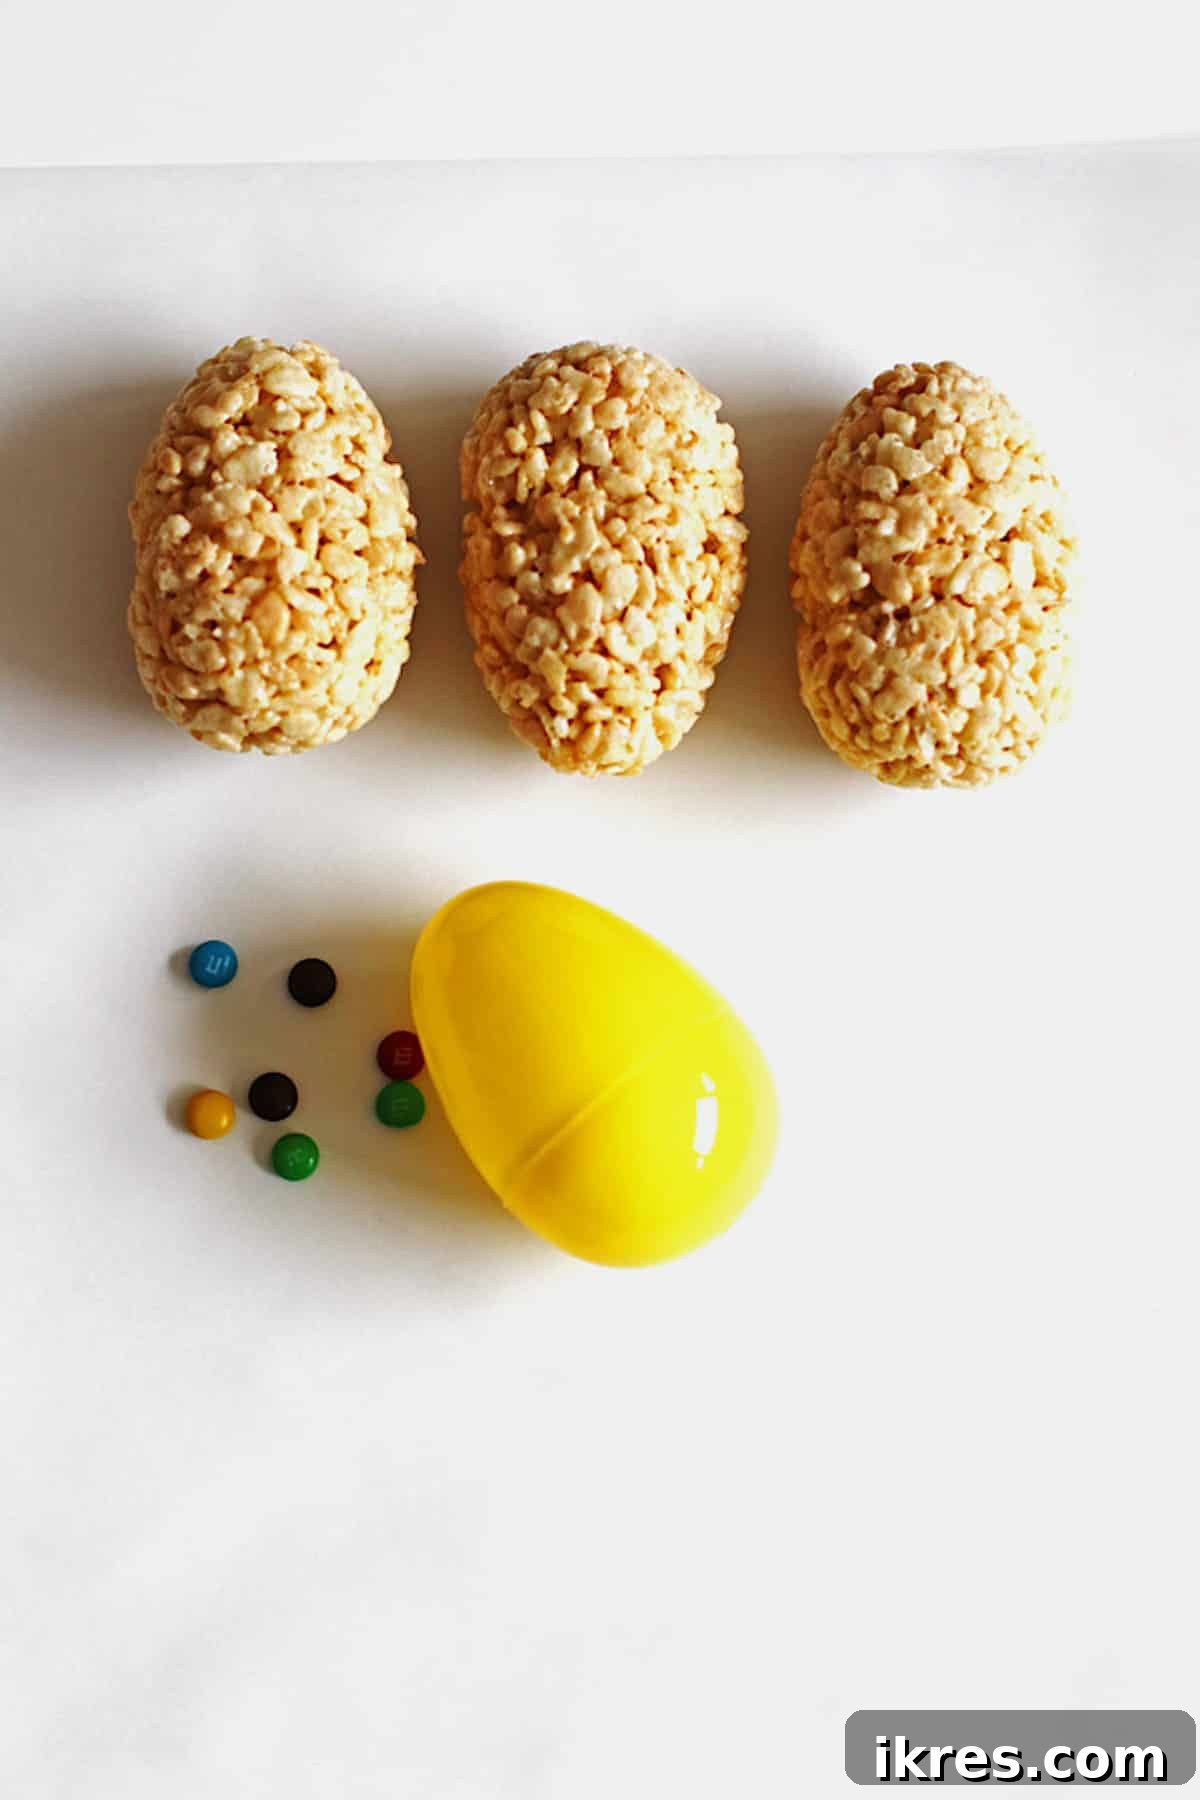
Pro Tip: Maximize Your Candy Surprise!
Using larger plastic eggs not only makes them easier to handle but also allows you to fill them with a more generous amount of candy. More candy means more delight, making each bite an even bigger surprise!
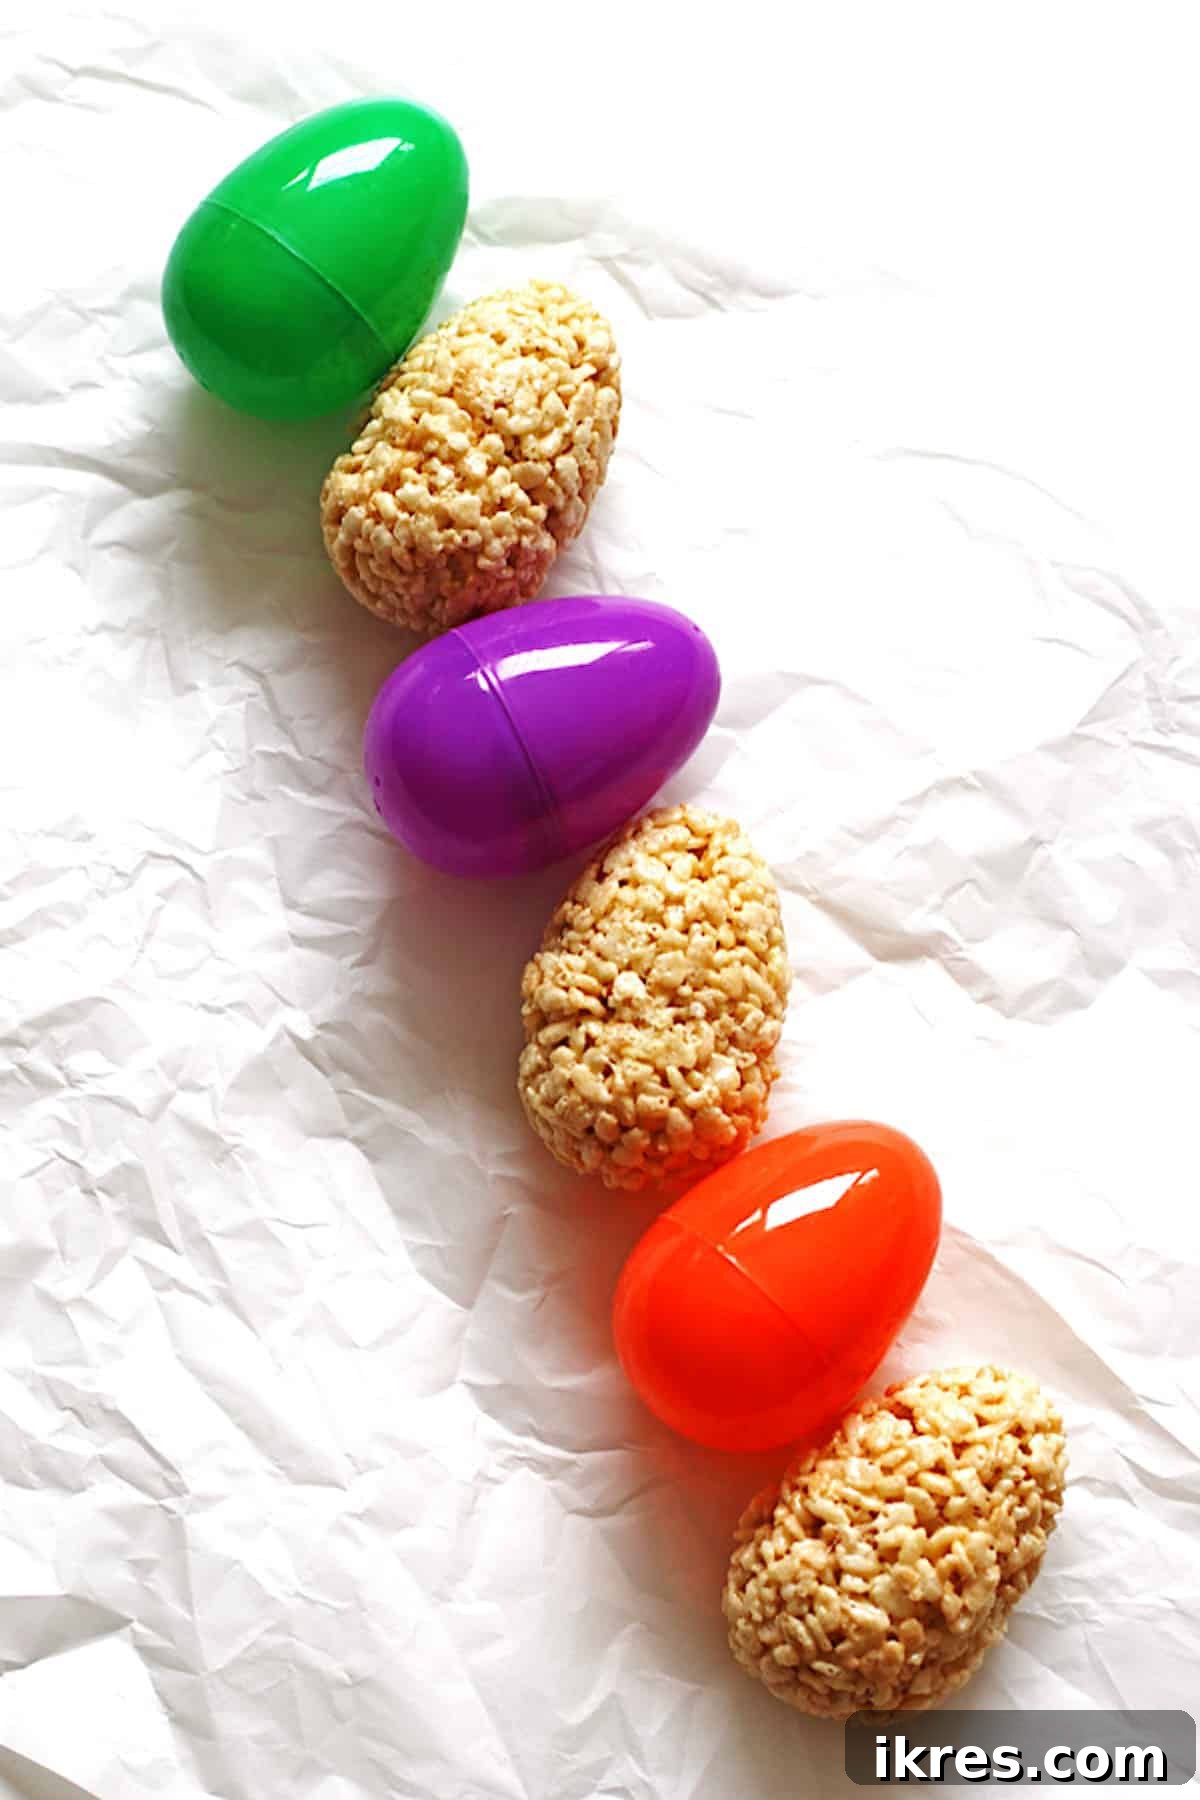
Storage and Freshness Tips
These delightful Easter Treat Eggs are best enjoyed within two days of making them, when they are at their optimal soft and chewy texture. To keep them fresh, store them in an airtight container at room temperature. Avoid refrigerating, as this can make them hard.
Bringing Back the Softness
If your Easter Treat eggs do become a little hard after a couple of days, a quick microwave session can work wonders! Place an egg in the microwave for about ten seconds. This will gently soften the marshmallow, restoring that irresistible chewy texture. For the best experience, warm them up in the microwave right before you plan to eat them.
Creative Recipe Variations to Explore
While the classic M&M-filled Rice Krispie egg is a crowd-pleaser, don’t hesitate to get creative and customize your treats! Here are some exciting variations to try:
- Alternate Candy Surprises: Beyond M&M’s, consider other small candies like chocolate chips, mini peanut butter cups, crushed Oreos, or even gummy bears for a different texture. The only limit is what fits inside your egg mold!
- Go Candy-Free: If you prefer a simpler treat, you can absolutely skip the hidden candy. The Rice Krispie eggs are wonderfully delicious on their own, offering pure nostalgic comfort.
- Add a Splash of Color: For an extra festive touch, add a few drops of food coloring to the melted marshmallow and butter mixture before adding the cereal. You can make pastel pink, blue, green, or yellow eggs, or even swirl different colors for a marbled effect!
- Easter Egg Hunt Fun: A clever idea from a reader: leave the finished Rice Krispie Treat eggs inside their plastic molds and hide them for an edible Easter egg hunt! Kids will be thrilled to find a double surprise.
- Decorative Toppings: Once the eggs are formed and slightly cooled, drizzle them with melted white chocolate, milk chocolate, or colored candy melts. You can then sprinkle them with additional Easter sprinkles, chopped nuts, or even coconut flakes for extra texture and visual appeal.
- Different Shapes for Other Holidays: Don’t limit this fun technique to just Easter! Use cookie cutters or other plastic molds to create different shapes for other holidays. Think hearts for Valentine’s Day, stars for patriotic celebrations, or pumpkins for Halloween.
Stay connected for more delightful recipes! Follow me on Instagram and Pinterest.
Expert Tips for Rice Krispie Easter Egg Perfection
To ensure your homemade Easter Treat eggs turn out perfectly every time, keep these valuable tips in mind:
- Plastic Egg Quantity: You only really need one plastic egg mold to make these treats, as you reuse it. However, if you have multiple helpers, having one plastic egg per person will speed up the process and maximize the fun!
- Choose the Right Size: As mentioned, we recommend using larger 3-inch plastic eggs. Not only do they make handling easier, but they also allow for a more generous and exciting candy filling.
- Hygiene First: Always wash your plastic eggs thoroughly with warm water and dish soap before use. If they are dishwasher safe, a quick cycle can ensure they’re sparkling clean. Make sure they are completely dry before you start shaping the treats.
- Low and Slow Butter/Marshmallow Melt: When melting the butter and marshmallows, always use low heat. This prevents the butter from burning and the marshmallows from scorching, which can give your treats an unpleasant flavor and tough texture. Stir continuously!
- Grease, Grease, Grease: Generously butter the inside of your plastic egg molds before adding any Rice Krispie mixture. This is the secret to easy release and perfectly formed eggs without any frustration.
- Butter Your Hands: Don’t forget to lightly butter your hands before handling the warm, sticky Rice Krispies mixture. This simple step will save you from a lot of mess and make shaping the treats much more enjoyable.
- Reshaping for Aesthetics: If your finished egg isn’t quite as smooth or perfectly egg-shaped as you’d like, don’t hesitate to reshape it. Add a tiny bit more fresh mixture to the mold, place the existing egg back in, close, and gently press.
- Softening Hardened Treats: Rice Krispie Treats can firm up after a day or two. To revive their chewiness, microwave them for about 10 seconds. Enjoy them immediately after warming for the best texture.
Pin this now to find it later!
Pin It
Need More Easter Dessert Inspiration?
If you’re looking to expand your Easter dessert table with more delicious options, we have plenty of ideas! Complement these surprise eggs with our delightful Carrot Cake Muffins, a classic Easter Dirt Cake, or our adorable Peeps Rice Krispie Treats. All are fantastic choices for Easter brunch or dessert.
For even more ideas, check out my extensive list of over 40 favorite Easter Desserts for Kids – you’re sure to find something everyone will love!
Did you make this recipe? We’d love to hear from you! Please leave a comment and rating below to share your experience.
Easter Egg Rice Krispies Treats
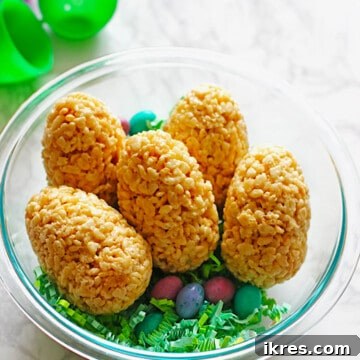
Rice Krispie treats shaped into festive Easter eggs make an easy and beloved dessert. With the exciting addition of M&M’s hidden inside each egg, these irresistible treats are sure to be a favorite!
Author: Jeannie Z
Yields: 12 large eggs
Prep Time: 40 mins
Cook Time: 10 mins
Total Time: 50 mins
Ingredients
- 3 tablespoons butter
- 1 (10 ounce) bag marshmallows (mini or regular)
- 6 cups Rice Krispies cereal
- 1 tablespoon butter (for greasing molds and hands)
- Plastic Easter eggs (3-inch recommended)
- M&M’s (or other desired candy)
Instructions
- Lightly grease the inside of your plastic Easter egg molds with softened butter. Set aside.
- In a large pot, melt 3 tablespoons of butter over low heat, stirring frequently.
- Add the marshmallows to the melted butter. Continue stirring until the marshmallows are completely melted and smoothly combined.
- Remove the pot from heat. Gradually add the Rice Krispies cereal, about 2 cups at a time, mixing gently with a spatula until all cereal is well coated with the marshmallow mixture.
- Butter your hands. Take a small amount of the warm Rice Krispie mixture and press it into both halves of a plastic egg mold, creating a hollow well in the center of each half.
- Place some M&M’s (or your chosen candy) into the hollow of each Rice Krispie-filled egg half.
- Carefully close the two halves of the plastic egg, pressing gently to seal the mixture and encase the candy, forming a complete egg shape.
- Open the plastic egg mold and carefully remove the finished Easter Treat egg. Set it aside to cool. Repeat until all the Rice Krispie treat mixture is used.
- Store in an airtight container at room temperature. They are best enjoyed within two days.
Notes
- Only one plastic egg mold is needed, but additional molds can speed up the process with helpers.
- Using larger 3-inch plastic eggs allows for more candy filling.
- Always wash and thoroughly dry plastic eggs before use.
- Melt butter and marshmallows over low heat to prevent burning and achieve a smooth mixture.
- Generously butter molds and your hands to prevent sticking.
- If eggs need reshaping, add a small amount of fresh mixture to the mold, place the egg back in, close, and press gently.
- To soften hardened treats, microwave for about 10 seconds just before eating.
Nutrition information is approximate and is automatically calculated, so should only be used as a guide.
Course: Dessert
Cuisine: American
Keywords: Rice Krispie Treats, Easy Easter dessert recipe, Easter egg recipe, Hidden Candy Eggs, Kid-Friendly Easter Treat
Update Note: This beloved recipe was originally shared in 2016 and was meticulously updated in 2021 to include enhanced step-by-step directions, fresh photography, and additional tips to ensure your baking success.