
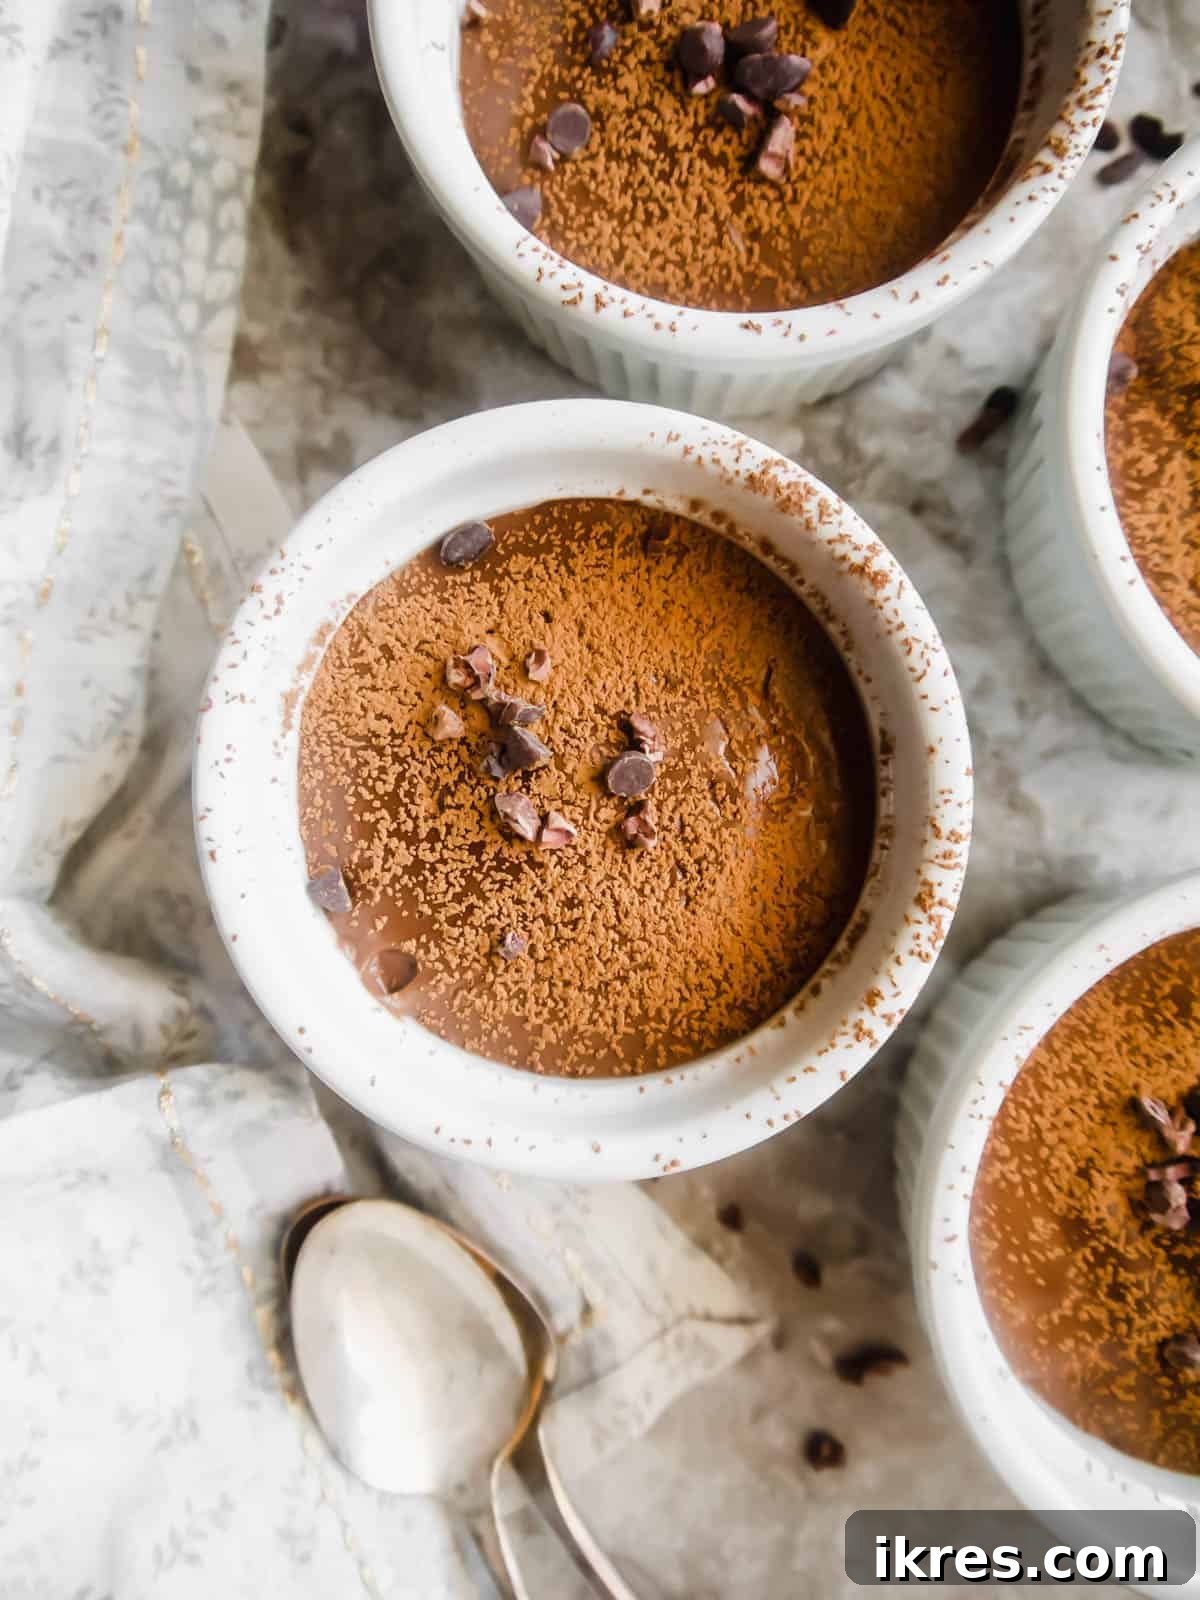
Satisfy your sweet tooth with this incredibly simple and delicious dairy-free chocolate pudding. This recipe delivers a rich, creamy, and decadent chocolate tapioca flour pudding in just 5 minutes, using only a handful of wholesome ingredients. It’s naturally Vegan and Paleo, making it a perfect healthy dessert for almost any dietary preference.
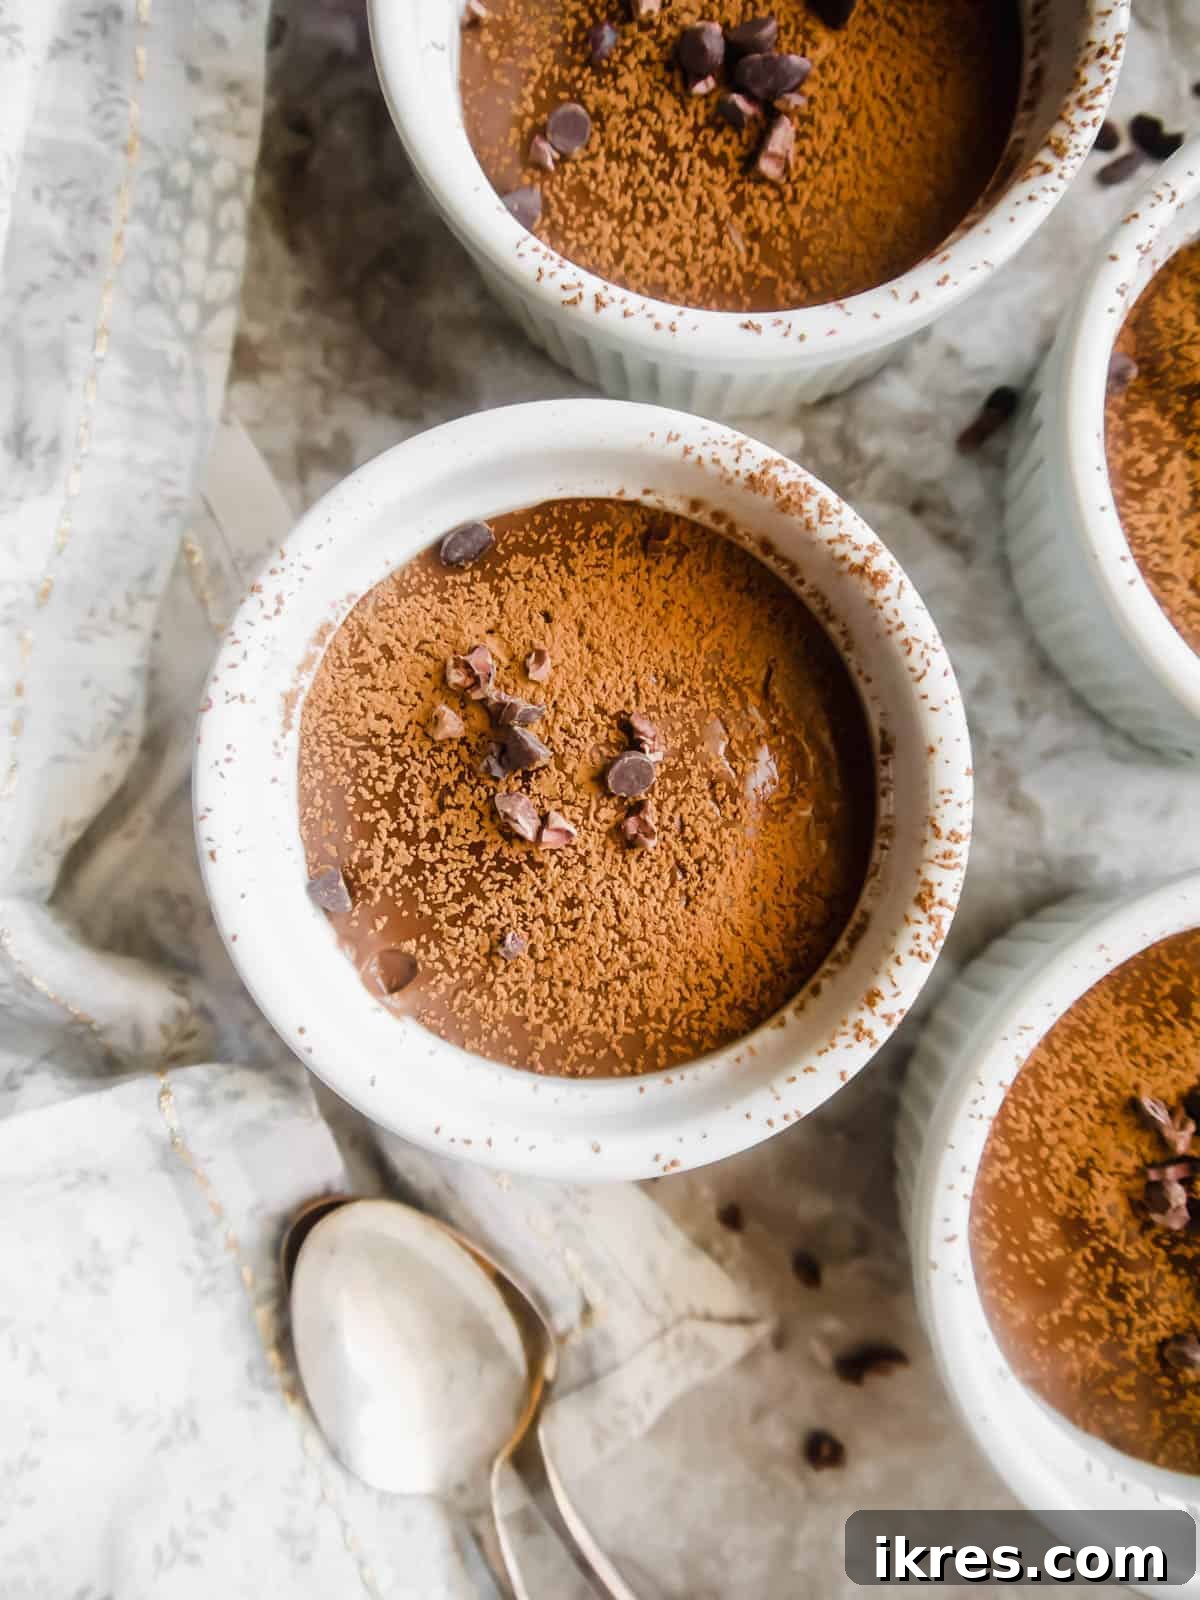
Craving a quick, easy, and healthy dessert that genuinely hits the spot? Your search ends here with this amazing 5-minute chocolate pudding! It’s designed for those moments when you need a luxurious treat without spending hours in the kitchen. Crafted from nourishing ingredients like unsweetened almond milk, rich coconut cream, and thickening tapioca flour, this pudding not only tastes fantastic but also aligns with a clean eating philosophy. This fuss-free recipe will quickly become a go-to in your repertoire, perfect for a spontaneous craving or a last-minute gathering.
If you’re a true chocolate connoisseur, this dairy-free delight will surely become a favorite. For more chocolatey goodness, don’t miss my Almond Flour Chocolate Cherry Lava Cakes or these rich Gluten-free Molten Chocolate Espresso Lava Cakes. Absolute bliss!
Table of Contents
- Why This Dairy-Free Chocolate Pudding Recipe Works
- Essential Recipe Ingredients
- Step-by-Step Instructions for Perfect Pudding
- Expert Tips for the Best Dairy-Free Pudding
- Storage and Make-Ahead Tips
- Possible Variations and Customizations
- Frequently Asked Questions (FAQ)
- More Irresistible Chocolate Desserts You’ll Love
- Dairy-free Chocolate Pudding (Paleo, Vegan) Recipe Card
Why This Dairy-Free Chocolate Pudding Recipe Works
- Unbelievably Fast: This recipe truly comes together in just 5 minutes of active cooking time. It’s ideal for busy weeknights or unexpected dessert cravings, proving that healthy eating doesn’t have to be time-consuming.
- Dietary Inclusive: Perfect for those following Vegan, Dairy-free, Soy-free, or Paleo diets, this pudding ensures everyone can enjoy a luscious chocolate treat without compromise. It’s free from common allergens and irritants, making it a safe and delightful option for many.
- Healthier Thickener: We use tapioca flour instead of traditional cornstarch. Tapioca flour is a fantastic grain-free alternative that lends a wonderfully smooth and glossy texture to the pudding, and it’s derived from the cassava root, making it Paleo-friendly.
- Incredible Flavor: Beyond its health benefits, this pudding is simply delicious! It boasts a deep, rich chocolate flavor complemented by the subtle sweetness of maple syrup and a hint of vanilla, all culminating in a delightfully creamy consistency.
- Simple Ingredients: You won’t find any obscure ingredients here. This recipe calls for pantry staples that are easy to find and work together harmoniously to create a delightful dessert.
Essential Recipe Ingredients
Creating this decadent pudding requires only a few high-quality ingredients. Here’s a closer look at what you’ll need and why each component is key:
- Almond Milk: Opt for unsweetened, unflavored almond milk to ensure your pudding maintains a pure chocolate taste without any added sugars or artificial flavors. Its neutral profile makes it an excellent dairy-free base. Other unsweetened plant milks like cashew or oat milk can also work, but almond milk tends to be lighter.
- Coconut Cream: This is the secret to achieving that luxurious, rich creaminess. It’s crucial to use a brand whose taste you genuinely enjoy, as the subtle coconut flavor will come through. My personal favorite is Savoy coconut cream for its exceptional richness and delicate coconut note. Make sure to use the thick cream from the top of a chilled can, not coconut milk beverage.
- Maple Syrup: Pure maple syrup is the ideal sweetener for this recipe, offering a natural, complex sweetness that pairs beautifully with chocolate. It’s a fantastic Paleo-friendly alternative to refined sugars. You could also experiment with agave nectar or a liquid stevia blend if you prefer.
- Unsweetened Cocoa Powder: This provides the deep, authentic chocolate flavor. Always ensure you’re using unsweetened cocoa powder to control the sugar content. Dutch-processed cocoa powder can give a darker color and milder flavor, while natural cocoa powder is slightly more acidic and can enhance other flavors.
- Vanilla Extract: A touch of vanilla is essential for rounding out the chocolate flavor and adding warmth. Both vanilla extract with or without alcohol will work equally well. For an extra intense flavor, consider using vanilla bean paste.
- Tapioca Flour: This is the star thickener of our dairy-free pudding. Tapioca flour (also known as tapioca starch) provides a beautifully smooth, almost translucent consistency, unlike cornstarch which can sometimes result in a slightly gummy texture. Ensure you use good quality tapioca flour for the best results.
- A Dash of Salt: Don’t skip this! A tiny pinch of salt enhances the chocolate flavor, balances the sweetness, and prevents the pudding from tasting flat. It truly makes a difference.
For exact measurements and ingredient quantities, please refer to the comprehensive recipe card located further down the page.
Step-by-Step Instructions for Perfect Pudding
Making this incredible dairy-free chocolate pudding is incredibly straightforward. Just follow these simple steps for a perfect batch every time:
Step 1: Combine and Whisk Cold Ingredients
Begin by adding all your liquid ingredients (almond milk, coconut cream, maple syrup, vanilla extract) along with the cocoa powder, tapioca flour, and a dash of salt into a medium-sized saucepan. Before applying any heat, thoroughly whisk the mixture until all the dry ingredients are mostly incorporated. It might still be slightly lumpy at this stage, especially with the cocoa powder, but don’t worry, these will dissolve as the mixture heats up.
Step 2: Heat and Bring to a Gentle Boil
Place the saucepan over medium heat. Continue whisking gently and continuously for the first minute or two until the mixture starts to become more uniform and smooth, with no visible lumps of cocoa or tapioca flour. Once smooth, you can let it sit and heat without constant whisking, but keep a close eye on it. Allow the mixture to come to a gentle boil, with small bubbles breaking the surface. This usually takes about 3-4 minutes from when you start heating.
Step 3: Whisk Until Thickened
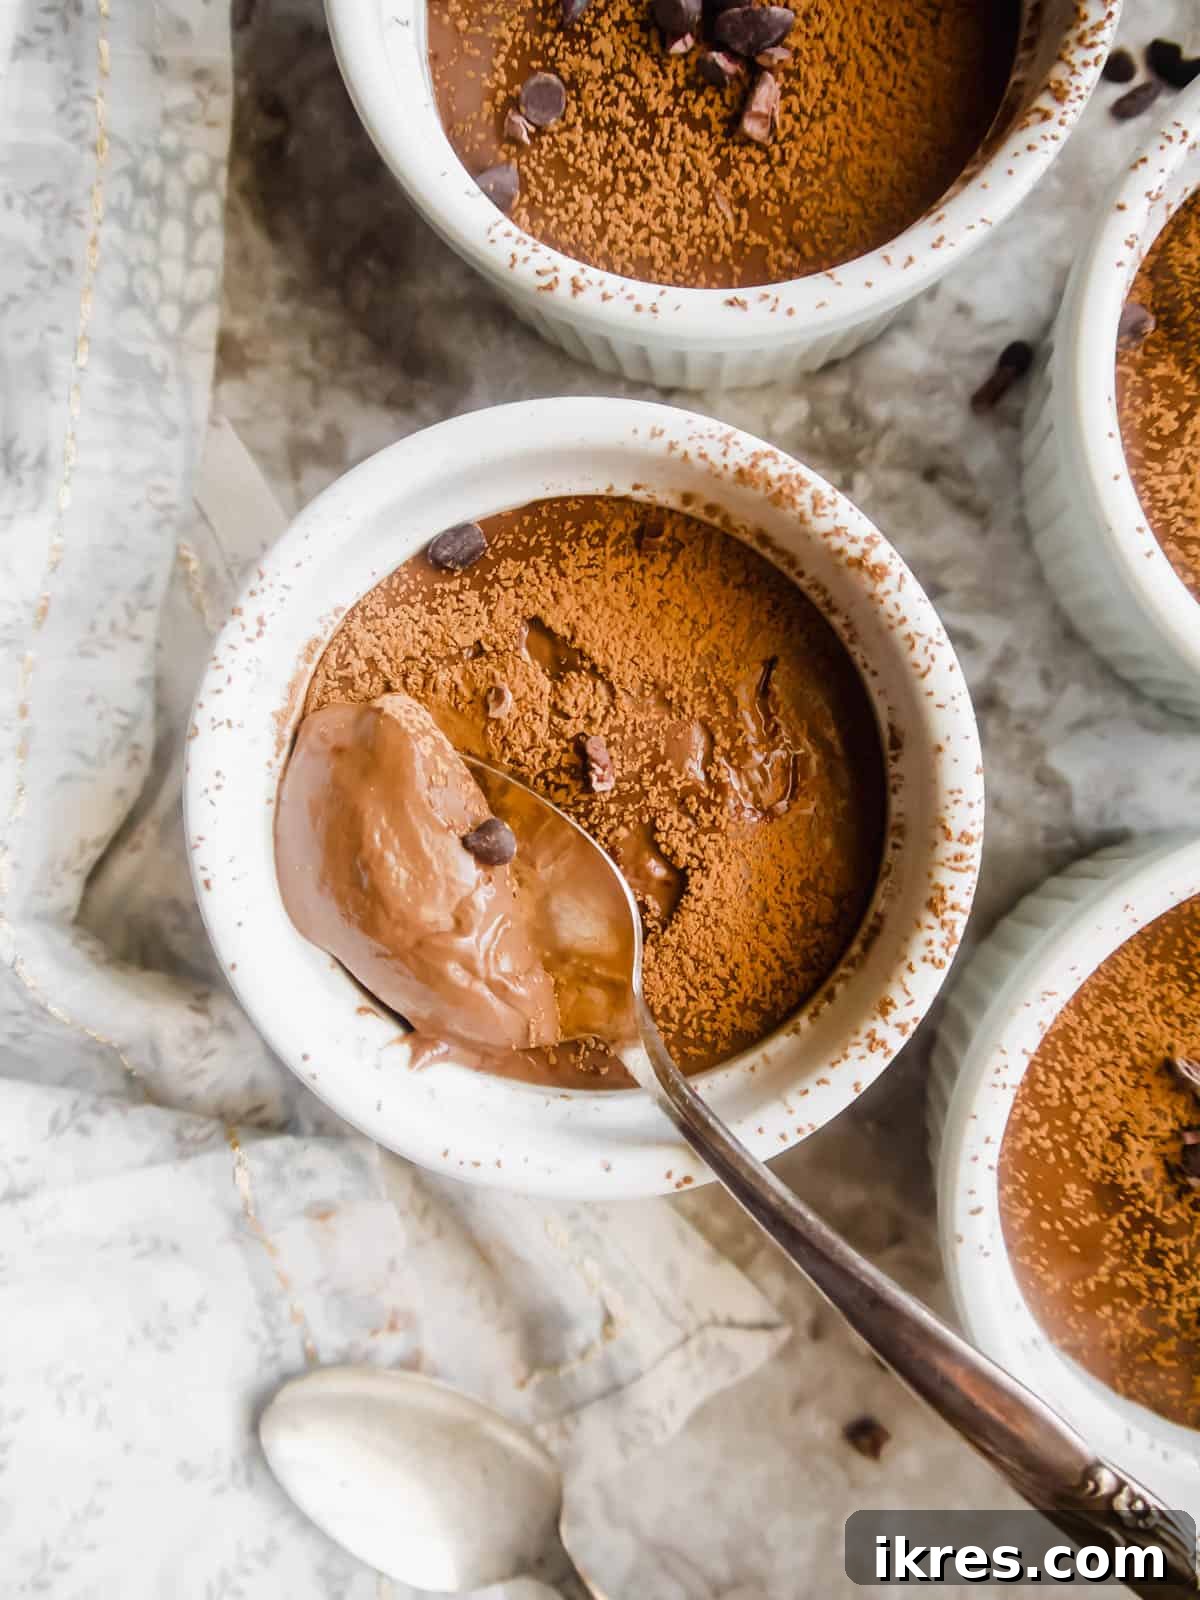
As soon as you notice the mixture beginning to boil, start whisking vigorously again. The tapioca flour will activate quickly, causing the pudding to thicken rapidly. Continue whisking for about 30 seconds to 1 minute until it reaches a thick, custard-like consistency. It should coat the back of a spoon and hold its shape slightly. The moment it reaches your desired thickness, immediately remove the saucepan from the heat. This entire cooking process, from turning on the stove to removing it, should take no more than 5-6 minutes.
Step 4: Portion and Chill
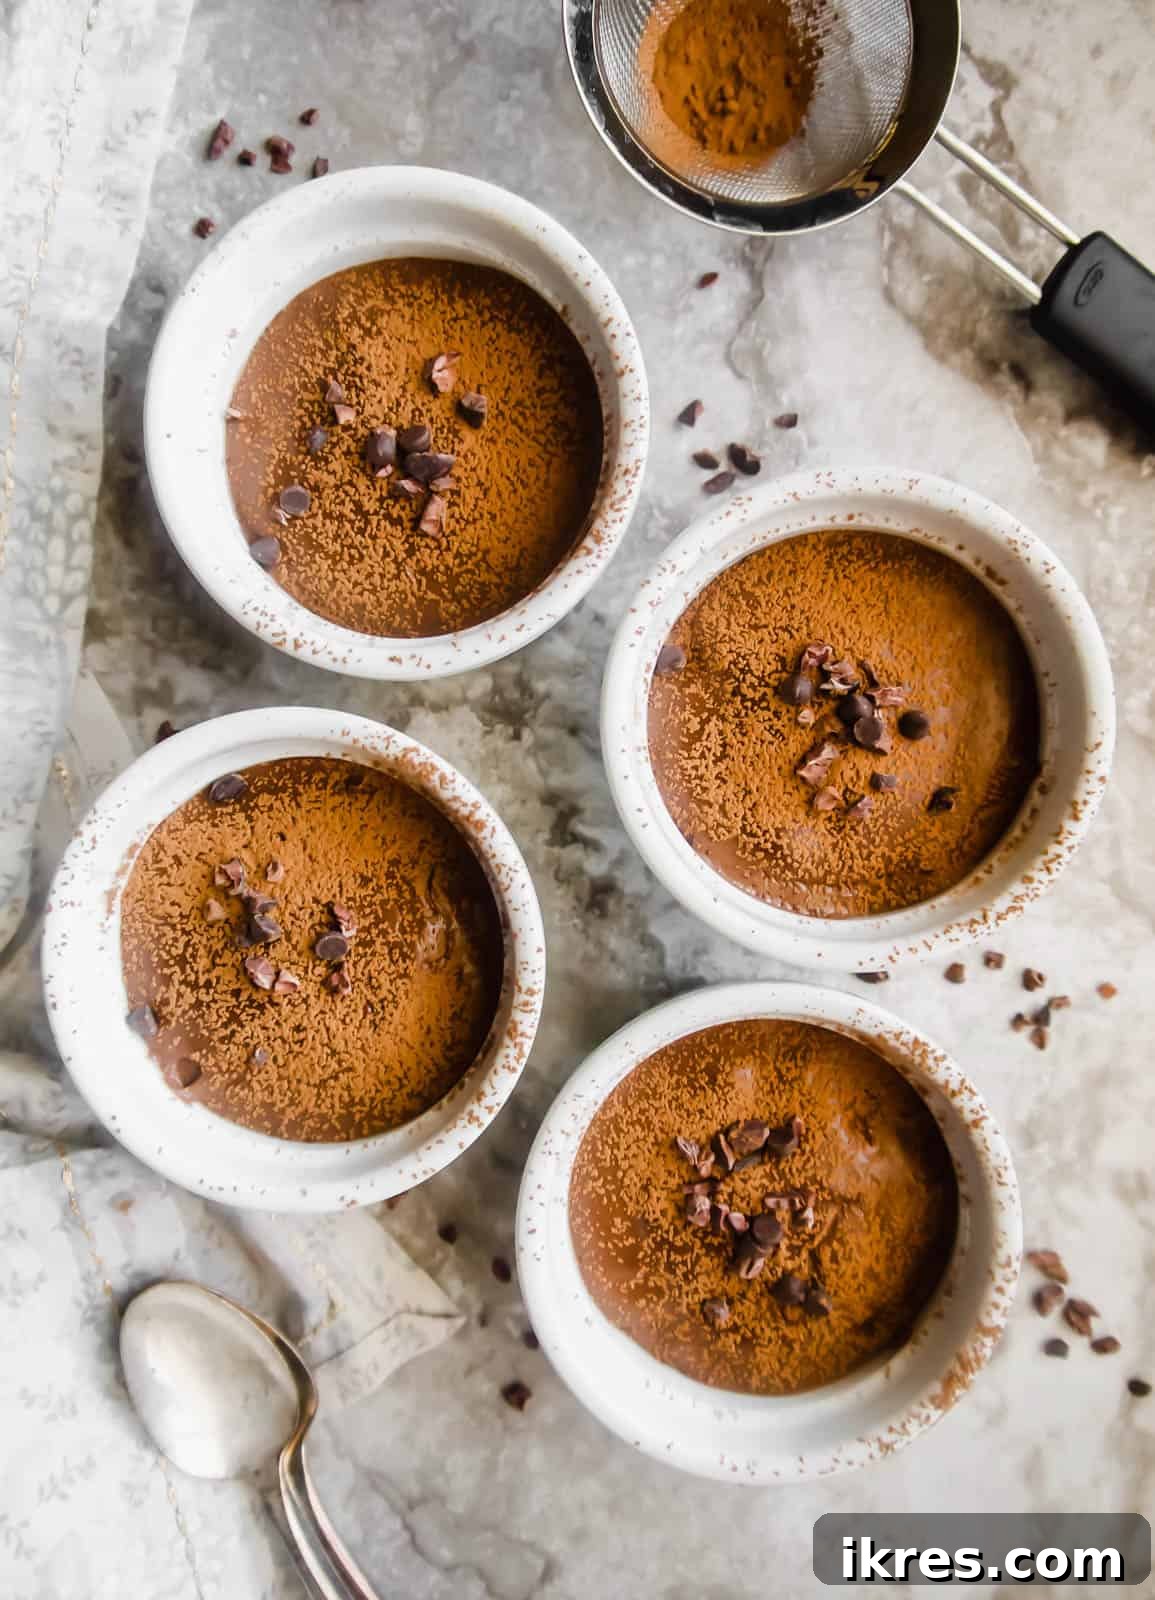
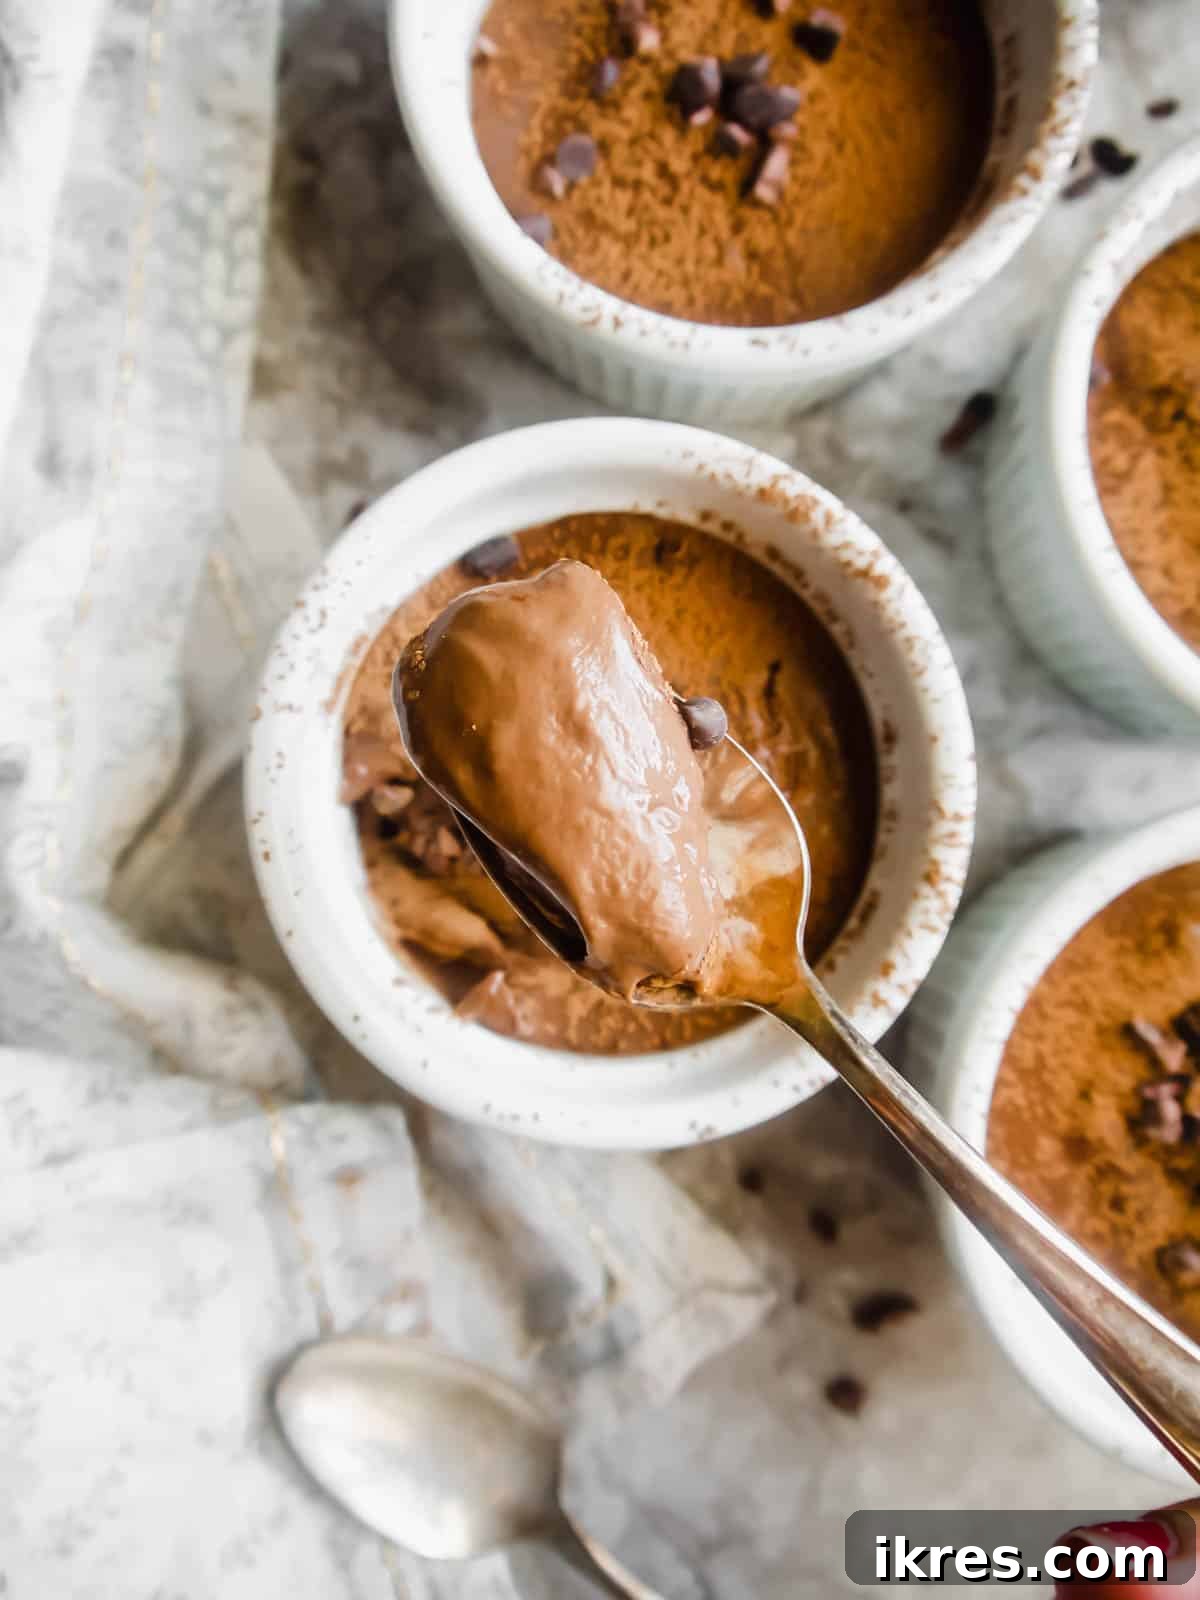
Once thickened, give the pudding one final quick whisk to ensure it’s perfectly smooth, then promptly divide the warm pudding among four individual ramekins or a larger serving bowl. Allow the puddings to cool at room temperature for about 10-15 minutes, then transfer them to the refrigerator. Chill for a minimum of 2-4 hours, or until thoroughly set and cold. Chilling is essential for the pudding to firm up and develop its ultimate creamy texture.
Expert Tips for the Best Dairy-Free Pudding
- Mind the Cooking Time – Don’t Overcook!
- The magic of tapioca flour is its quick thickening power, but this also means it can be easily overcooked. If you leave the pudding on the heat for too long after it has thickened, or if you use too much tapioca flour, the texture can turn from smooth and creamy to an unpleasantly thick, gummy consistency.
- Similarly, continuous, vigorous whisking after it has fully thickened can break down the starch structure, leading to a sticky, “gummy creature” instead of a luscious pudding. The key is precise timing: heat it, whisk to combine, bring to a boil, then whisk *just* until it thickens, and immediately remove from heat.
- Trust your instincts; once it starts to visibly thicken and coats the back of your spoon, it’s done. Turn off the heat and quickly portion it out.
- Perfect Serving Suggestions:
- This dairy-free chocolate pudding is delightful on its own, but it truly shines with a variety of toppings. Consider enhancing your dessert with:
- Whipped Coconut Cream: A dollop of light and airy whipped coconut cream adds an extra layer of richness and a beautiful contrast in texture.
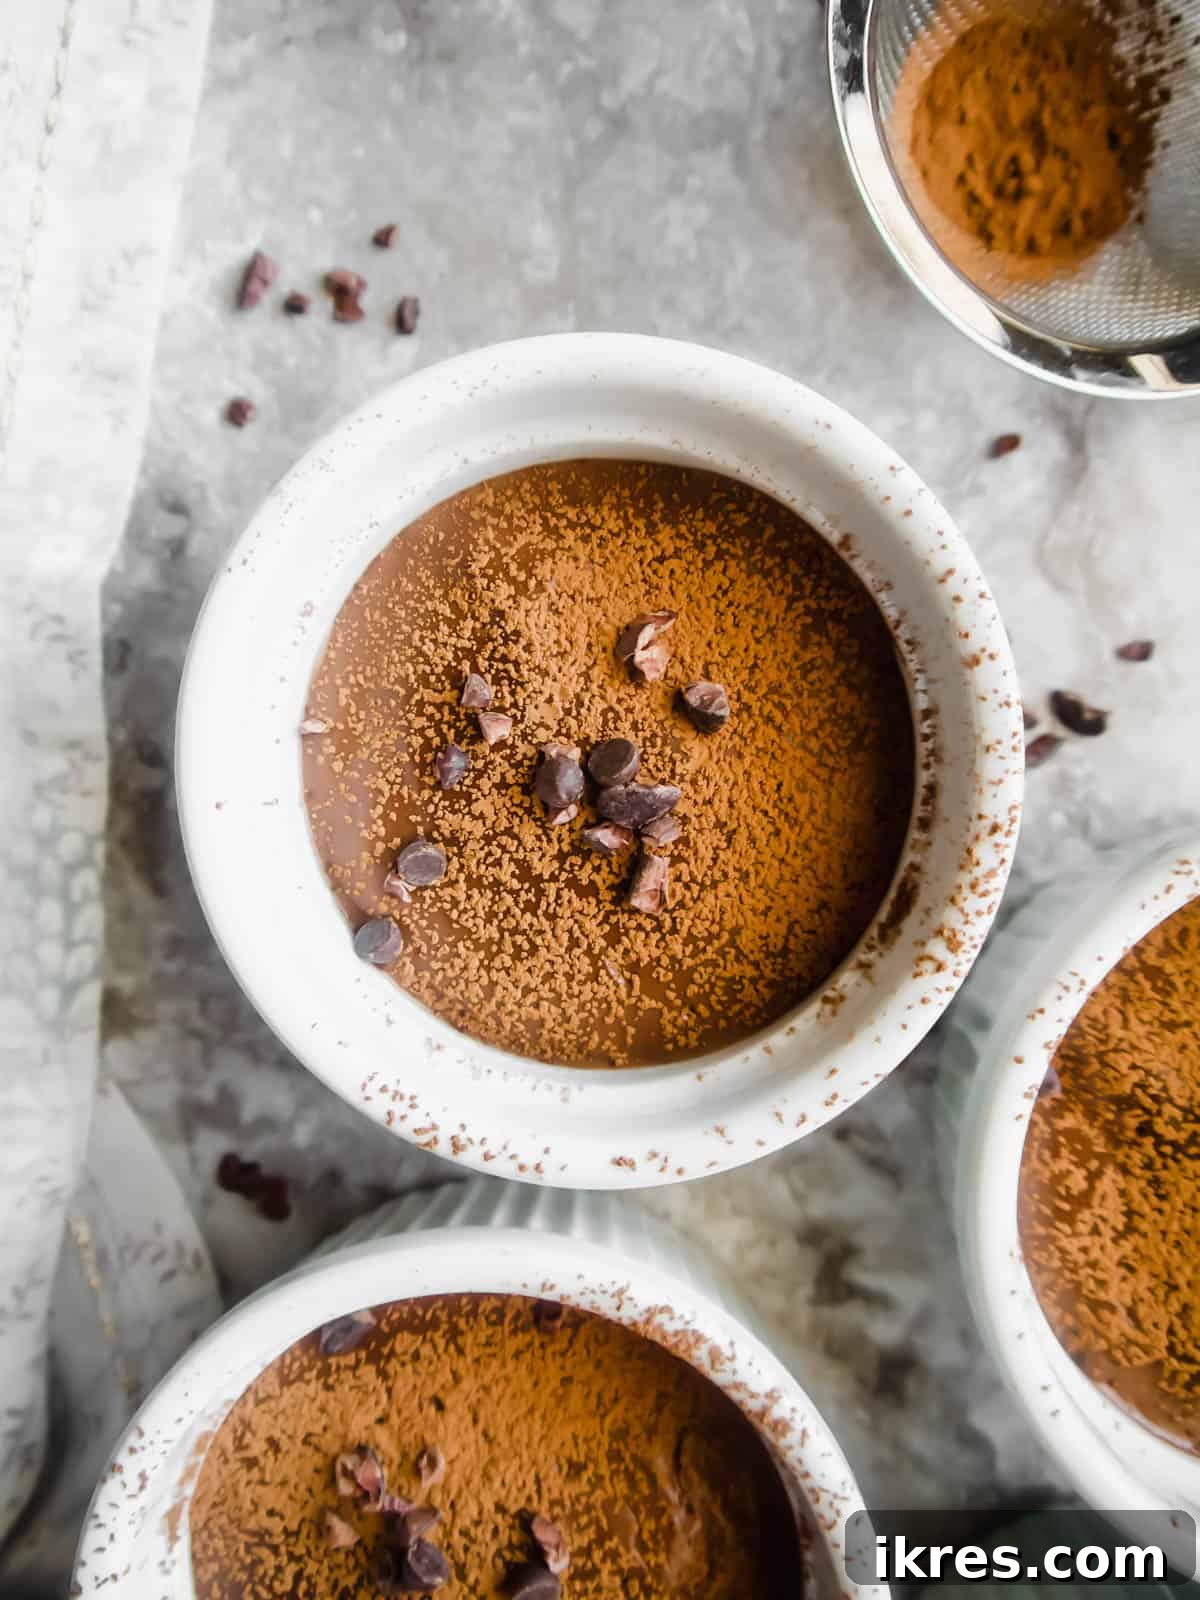
- Chocolate Chips or Cocoa Nibs: A sprinkle of dairy-free chocolate chips or crunchy cocoa nibs provides an extra chocolate boost and textural interest.
- Fresh Berries: Strawberries, raspberries, or blueberries offer a refreshing, slightly tart counterpoint to the sweet chocolate.
- Any Fresh Fruit: Sliced bananas, mango, or even orange segments can add a burst of fruity flavor and vibrant color.
- Melted Dairy-Free Chocolate: A drizzle of melted dairy-free chocolate on top makes for an extra decadent presentation.
- Dairy-Free Ice Cream: Serve alongside a scoop of your favorite dairy-free vanilla or chocolate ice cream for an indulgent a la mode experience.
- Toasted Nuts: A sprinkle of toasted almonds, pecans, or walnuts adds a delightful crunch and nutty flavor.
Storage and Make-Ahead Tips
This dairy-free chocolate pudding is excellent for making ahead, which allows the flavors to deepen and the pudding to achieve its ideal chilled texture. Store any leftover pudding in an airtight container in the refrigerator for up to 3-4 days. You can also cover individual ramekins with plastic wrap to prevent a skin from forming on top. This pudding does not freeze well, as freezing and thawing can alter its smooth consistency, making it grainy or watery.
Possible Variations and Customizations
While this recipe is perfect as written, there are many ways to customize it to your taste:
- Spiced Chocolate: Add a pinch of cinnamon, a dash of cayenne pepper for a Mexican hot chocolate twist, or a tiny bit of cardamom for an exotic flavor.
- Coffee Infusion: Stir in a teaspoon of instant espresso powder along with the cocoa for a mocha-flavored pudding. The coffee also deepens the chocolate flavor.
- Mint Chocolate: A few drops of pure peppermint extract (to taste) can transform this into a refreshing mint chocolate pudding.
- Nut Butter Swirl: Swirl a tablespoon of your favorite smooth nut butter (like almond or cashew butter) into the warm pudding before chilling for an added layer of flavor and creaminess.
- Citrus Zest: A little orange zest grated into the warm pudding can brighten the chocolate notes beautifully.
Frequently Asked Questions (FAQ)
- Can I use a different plant-based milk? Yes, you can. Full-fat canned coconut milk (the liquid part, not the cream) can be used, but it will result in a slightly less rich pudding. Cashew milk or even oat milk (ensure it’s certified gluten-free if needed for Paleo) can also be used, but may slightly alter the flavor and creaminess. Stick to unsweetened varieties.
- What if my pudding is lumpy? Lumps usually occur if the dry ingredients (cocoa and tapioca flour) aren’t thoroughly whisked into the cold liquids before heating, or if the mixture isn’t whisked continuously at the start of cooking. If you find lumps after cooking, you can try straining the warm pudding through a fine-mesh sieve before chilling, but prevention is best!
- Why didn’t my pudding thicken? This almost always comes down to not reaching a full boil or not cooking long enough after the boil. Tapioca flour needs adequate heat to activate and thicken. Ensure you see gentle boiling and whisk until it coats a spoon. Conversely, if it’s too thin, you might need to add a *tiny* bit more tapioca flour dissolved in cold water, then bring it back to a boil briefly (but be cautious not to overdo it!).
- Can I make this sugar-free? Yes, you can substitute the maple syrup with an equivalent amount of a liquid sugar-free sweetener such as erythritol-based syrups or stevia blends. Adjust to your taste preferences.
More Irresistible Chocolate Desserts You’ll Love:
If you’re a devoted fan of chocolate, be sure to explore these other fantastic recipes:
This Edible Eggless Chocolate Chip Cookie Dough recipe offers a nostalgic treat that’s safe to eat raw and can also be baked into delicious cookies. It’s truly hard to resist!
Indulge in this rich and smooth Vegan Chocolate Mousse from Eat at Our Table. It looks incredibly delicious and is perfect for a more elegant dessert.
These Dairy-free Fudgesicles by Tessa the Domestic Diva are a refreshing and wholesome frozen treat, easily adaptable to be sugar-free and Vegan.
For another creamy delight, try this Dairy-free Chocolate Mousse, also from Tessa the Domestic Diva, promising perfect mousse consistency without any dairy.
Did you try this recipe? Please leave me a ⭐ review below!
Dairy-free Chocolate Pudding (Paleo, Vegan)
Dominique
4 people
5 mins
5 mins (plus chilling)
Share by Email
Print Recipe
Ingredients
- 1 1/2 cups unsweetened almond milk
- ¾ cup full-fat coconut cream, (Savoy is a favorite brand)
- 1/3 cup pure maple syrup
- 4 Tablespoons unsweetened cocoa powder
- A dash of salt
- 1 teaspoon vanilla extract
- 3 Tablespoons tapioca flour
Instructions
-
Combine all ingredients: In a medium saucepan, add almond milk, coconut cream, maple syrup, cocoa powder, salt, vanilla extract, and tapioca flour. Whisk thoroughly until all ingredients are well combined and most lumps (especially from the cocoa and tapioca flour) are dissolved. The mixture will still be thin at this stage.
-
Heat and thicken: Place the saucepan over medium heat. Continue to whisk constantly for the first 1-2 minutes until the mixture is completely smooth and starts to warm up. Then, allow the mixture to heat, stirring occasionally, until it reaches a gentle boil (you’ll see small bubbles forming and breaking on the surface). Once boiling, whisk vigorously for another 30 seconds to 1 minute. The pudding will thicken very quickly. As soon as it reaches a rich, creamy, custard-like consistency that coats the back of your spoon, immediately remove it from the heat. Avoid overcooking, as tapioca flour can become gummy if heated too long after thickening. The total active cooking time should be about 5-6 minutes.
-
Portion and chill: Immediately pour the warm pudding into four individual ramekins or a single serving bowl. Let it cool at room temperature for about 10-15 minutes, then transfer to the refrigerator. Chill for at least 2-4 hours, or until thoroughly set and cold, for the best texture and flavor.
Notes
Don’t overcook or over thicken the pudding!
- If you use too much tapioca flour, or cook it for too long after it has thickened, the mixture can turn into a very thick, gummy texture.
- Vigorous mixing once it has thickened can also lead to a sticky, gummy consistency. Gentle whisking until just thickened is key.
- Achieving the perfect consistency for this pudding is all a matter of hitting the right timeframe when heating and whisking.
Nutrition
Carbohydrates: 30g
Protein: 3g
Fat: 17g
Saturated Fat: 14g
Polyunsaturated Fat: 1g
Monounsaturated Fat: 1g
Sodium: 137mg
Potassium: 285mg
Fiber: 3g
Sugar: 16g
Vitamin C: 1mg
Calcium: 153mg
Iron: 2mg
Nutrition information is automatically calculated and should be used as an approximation only.
Additional Info
Dessert
Paleo
Tried this recipe?
Mention @perchancetocook or tag #perchancetocook!