
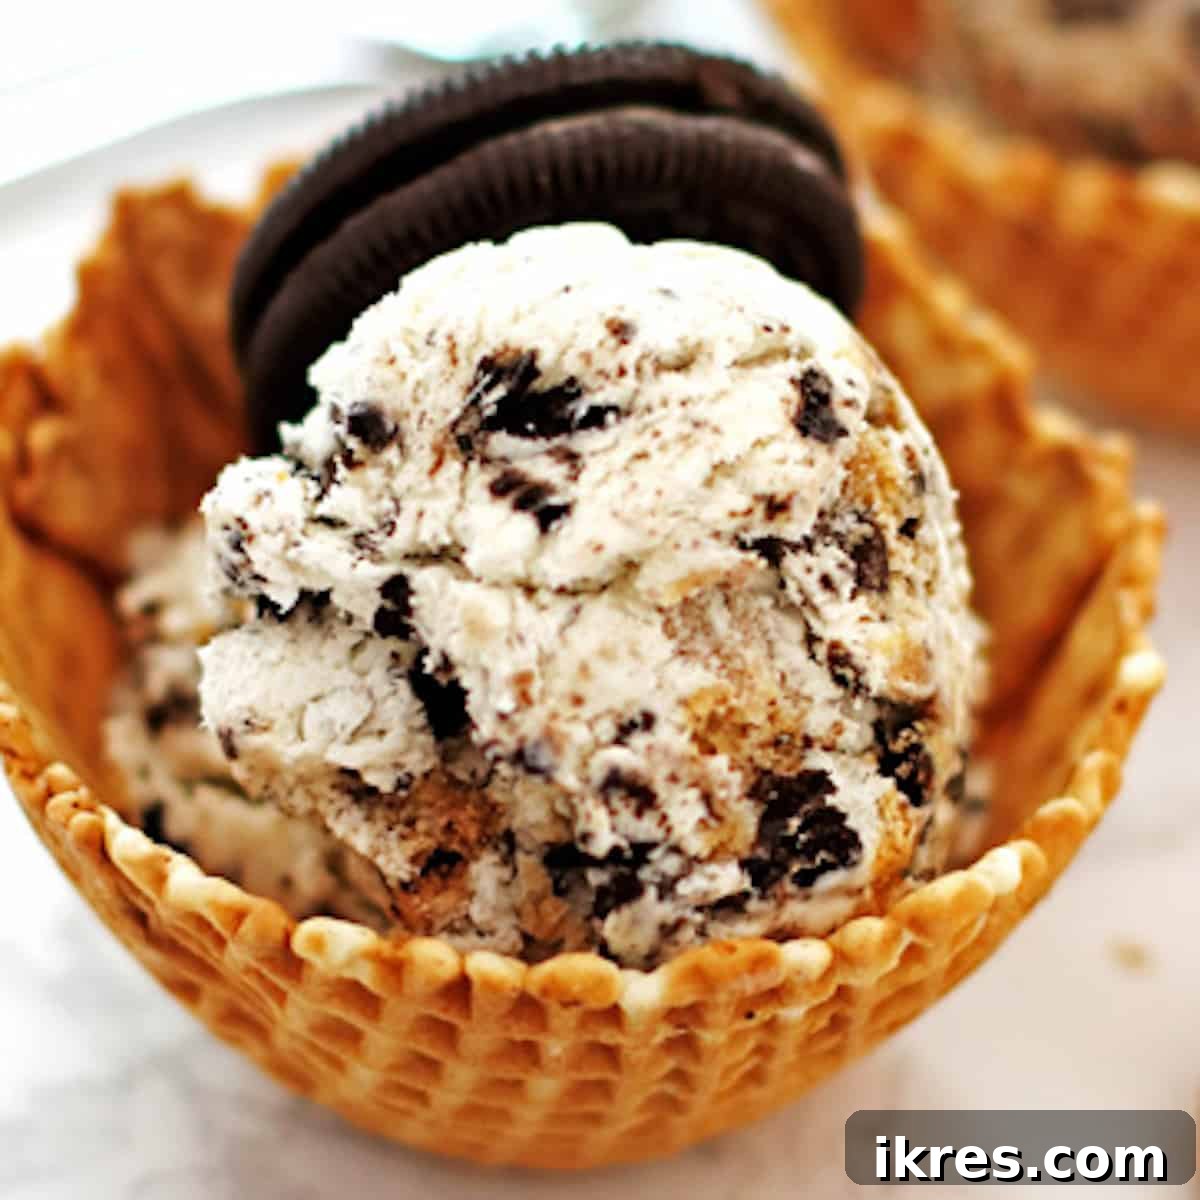
Craving a fun, whimsical, and incredibly delicious treat? Look no further than this sensational No-Churn Cookie Monster Ice Cream recipe! Forget the hassle of an expensive ice cream maker; all you need are a few simple ingredients and a trusty mixer to whip up this vibrant blue, cookie-packed delight. Bursting with the beloved flavors of chocolate chip and chocolate sandwich cookies, this homemade ice cream is guaranteed to bring a smile to faces of all ages.
There’s something uniquely satisfying about homemade ice cream, and this “no-churn” method makes it accessible to everyone. Whether it’s the scorching heat of summer, a cozy winter evening, or any moment in between, ice cream is the quintessential dessert that never goes out of style. Our Cookie Monster Ice Cream elevates this classic indulgence by combining two universally adored treats: creamy ice cream and crunchy, chewy cookies. It’s a dessert that not only tastes incredible but also adds a playful splash of color to your dessert table.
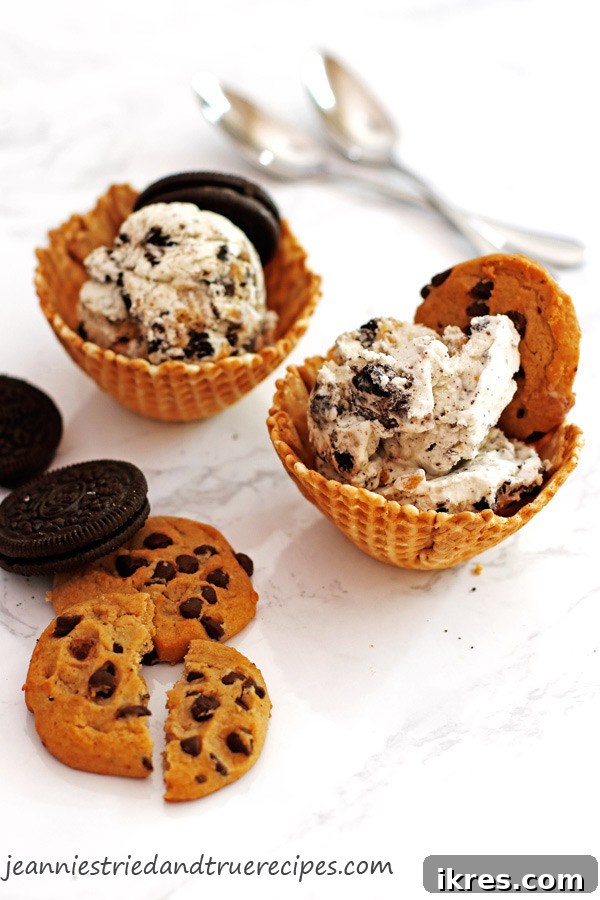
The magic behind this incredibly easy dessert lies in its minimalist base, requiring just two core ingredients: rich heavy cream and sweet, creamy sweetened condensed milk. This dynamic duo creates a wonderfully smooth and stable foundation that needs no churning. From this simple base, the culinary possibilities are truly endless, allowing for boundless creativity. While you can certainly create a pure vanilla masterpiece, our personal favorite, and the star of this article, is this delightful Cookie Monster variation, generously studded with an irresistible medley of cookies.
Why Choose Homemade No-Churn Ice Cream?
In a world of countless dessert options, homemade no-churn ice cream stands out for several compelling reasons. It’s more than just a sweet treat; it’s an experience. Here’s why you should consider making this delicious dessert at home:
- Effortless Preparation: No need for specialized equipment or intricate techniques. This recipe is designed for simplicity, making it perfect for beginners and seasoned bakers alike.
- Minimal Ingredients: With a base of just two main ingredients, heavy cream and sweetened condensed milk, you’ll be amazed at the luxurious texture and rich flavor you can achieve. Adding your favorite mix-ins is where the fun truly begins!
- Fantastic Family Activity: Making ice cream at home is a wonderful way to bond with children. From crushing cookies to watching the cream transform, it’s an engaging and delicious project that creates lasting memories. It’s especially exciting for kids when they see the familiar blue hue of their favorite cookie-loving monster come to life!
- Unbeatable Freshness and Flavor: Store-bought ice cream is convenient, but nothing compares to the fresh, vibrant taste of a batch made right in your own kitchen. You control the quality of ingredients and the exact proportions of your favorite mix-ins.
- Customization at Its Best: This no-churn base is a blank canvas. While we’re making Cookie Monster ice cream today, you can easily swap cookies for candies, fruits, nuts, or sauces to create an entirely new flavor profile every time.
- Beat the Heat (or Any Time Craving!): A scoop of cold, creamy ice cream is the ultimate refreshment on a warm day, but honestly, who needs an excuse? This dessert is perfect for celebrations, casual gatherings, or simply satisfying a sudden sweet craving, no matter the season.
Understanding “No-Churn” Ice Cream
“No-churn” is a term that excites many home cooks, primarily because it liberates you from the need for an expensive and often bulky ice cream maker. Traditional ice cream machines work by slowly freezing and continuously stirring (churning) a custard base, which prevents large ice crystals from forming, resulting in a smooth, creamy texture. The no-churn method achieves a similar, delightfully creamy result through a different mechanism.
Instead of continuous churning, no-churn ice cream relies on the whipped consistency of heavy cream and the emulsifying, sweetening power of sweetened condensed milk. When heavy cream is whipped to stiff peaks, it incorporates a significant amount of air, creating a light, airy structure. When this aerated cream is gently folded with sweetened condensed milk, the high sugar content of the milk helps to inhibit ice crystal formation during freezing. The fat in the heavy cream also contributes to the rich, smooth mouthfeel. This combination means you get all the creamy goodness without any specialized churning equipment.
To prepare no-churn ice cream, you will need a mixer equipped with a whisk attachment. Most home kitchens already have one of these, whether it’s a versatile handheld mixer or a powerful stand mixer like a KitchenAid. While a stand mixer can make the whipping process slightly easier and quicker, a handheld mixer works just as effectively. The key is to achieve those beautiful stiff peaks with your heavy cream, which is easily done with either tool.
Essential Ingredient List for Cookie Monster Magic:
Gathering your ingredients is the first step to creating this enchanting ice cream. Each component plays a crucial role in achieving the perfect texture and flavor:
- Heavy Cream: This is the backbone of our no-churn recipe. You’ll need cold heavy whipping cream (at least 36% milk fat) to achieve the stiff peaks necessary for a light and airy ice cream. Its high-fat content is essential for creaminess and preventing large ice crystals.
- Sweetened Condensed Milk: The other half of our magical base. Sweetened condensed milk not only provides sweetness without adding extra sugar but also gives the ice cream its characteristic smooth, dense texture. It’s already cooked down, ensuring no grainy sugar crystals.
- Assorted Cookies: This is where the “Cookie Monster” fun truly comes to life! We recommend a mix of your favorites for varied textures and flavors. Chocolate sandwich cookies (like Oreos) offer a deep chocolate flavor and satisfying crunch, while chocolate chip cookies add classic sweetness and a softer chew. Feel free to experiment with other cookies like sugar cookies, shortbread, or even peanut butter cookies to personalize your monster’s treat!
- Optional – Blue Food Coloring: To achieve that iconic, playful Cookie Monster hue, a few drops of blue food coloring are essential. Gel food coloring typically provides a more vibrant color with less liquid, ensuring it doesn’t thin out your mixture. You can adjust the amount to get your desired shade, from a subtle pastel blue to a bold, cartoonish tint.
- Parchment Paper: Crucial for easy removal of your frozen treat from the loaf pan and for protecting it from freezer burn.
Step-by-Step Guide to Crafting No-Churn Cookie Monster Ice Cream:
Creating this delightful ice cream is a straightforward process. Follow these detailed steps to ensure a perfectly creamy and cookie-filled dessert every time:
1. Prepare Your Cookies (Coarsely Crushed): Begin by taking eight chocolate sandwich cookies and eight chocolate chip cookies. Place them in a sturdy bowl or a Ziploc bag. Using a rolling pin, the bottom of a glass, or even your hands, coarsely crush these cookies into small, varied pieces. You want a mix of textures – some crumbs, some larger chunks – to give your ice cream character. Set these aside in a separate bowl.
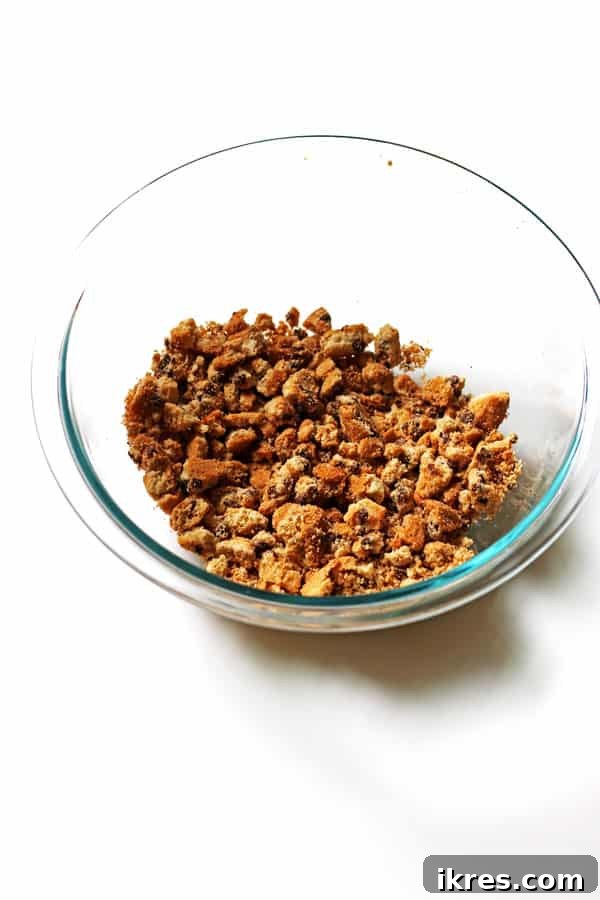
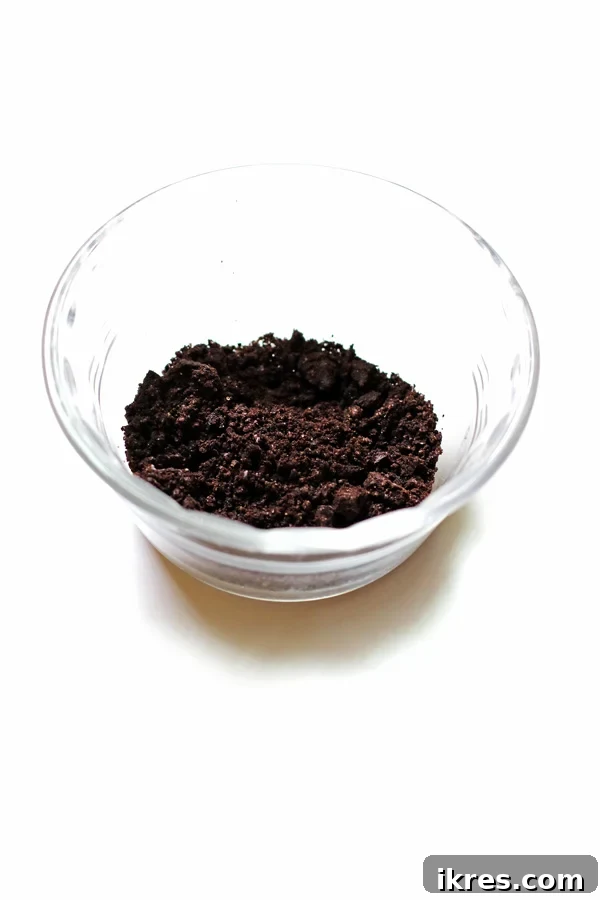
2. Prepare Your Cookies (Finely Crushed): Next, take the remaining two chocolate sandwich cookies. For these, you want a much finer crumb. You can achieve this by pulsing them in a blender or food processor, or by placing them in a small bag and crushing them thoroughly with a rolling pin until they resemble fine crumbs. These finely crushed cookies will be folded into the ice cream base, adding a subtle cookie flavor throughout. Set these aside in a separate small bowl.
3. Line Your Loaf Pan: Take a standard loaf pan (approximately 9×5 inches) and line it with parchment paper. Make sure to leave a generous overhang on all sides. This extra parchment will serve as a lid to cover the ice cream before freezing, protecting it from ice crystals and allowing for easy lifting out of the pan once frozen.
4. Prepare the Sweetened Condensed Milk: Pour the entire can of sweetened condensed milk into a large mixing bowl. This bowl will eventually hold all the ingredients, so ensure it’s spacious enough. Set this bowl aside for a moment.
5. Whip the Heavy Cream: In a separate, clean mixing bowl, pour in the cold heavy whipping cream. Attach the whisk attachment to your stand mixer or use a handheld mixer. Begin whisking on medium-high speed. Continue to whisk until stiff peaks form. This typically takes about three to five minutes, depending on your mixer’s power and the cream’s temperature. Stiff peaks mean that when you lift the whisk, the cream holds its shape firmly without collapsing.
6. Gently Combine the Base: Take about one cup of your whipped heavy cream and gently fold it into the bowl with the sweetened condensed milk. To “fold in” means to carefully combine the ingredients using a spatula, lifting from the bottom of the bowl and turning over the mixture, rather than stirring vigorously. This preserves the airiness of the whipped cream.
7. Incorporate Remaining Cream and Fine Crumbs: Add the remaining whipped heavy cream to the sweetened condensed milk mixture. Now is also the time to add your finely crushed cookie crumbs and, if desired, a few drops of blue food coloring for that classic Cookie Monster look. Start with a few drops and add more until you reach your desired shade of blue. Gently fold all these ingredients together until just combined and the color is evenly distributed. Be careful not to overmix, as this can deflate the cream.
8. Layer the Ice Cream and Cookies: Pour half of your creamy ice cream mixture into the prepared parchment-lined loaf pan. Spread it evenly. Then, sprinkle half of your coarsely crushed cookies generously over this first layer. Repeat this step: add the remaining cream mixture, spread it out, and then sprinkle the remaining coarsely crushed cookies on top.
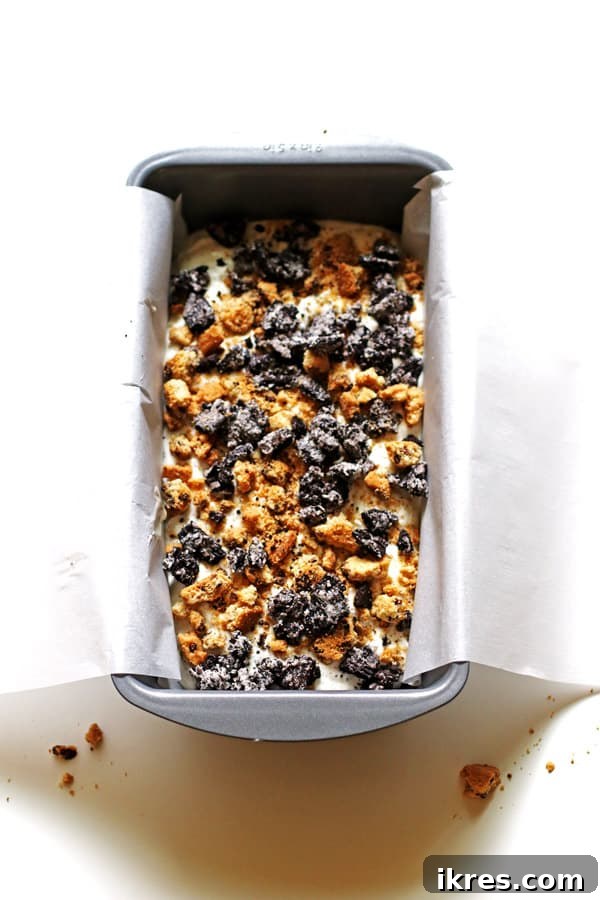
9. Swirl for Marbling (Optional): For a beautiful marbled effect and to ensure the cookies are well distributed, take a knife or a thin spatula and gently drag it through the cream mixture a few times. This will create lovely swirls of cookies throughout your ice cream.
10. Prepare for Freezing: Fold the overhanging parchment paper neatly over the top of the ice cream mixture, completely covering it. You can use a piece of tape to secure the parchment if needed, ensuring a tight seal. This prevents freezer burn and keeps your ice cream fresh.
11. Freeze to Perfection: Place the loaf pan in your freezer. Allow the ice cream to freeze for a minimum of six hours, or preferably overnight, to achieve a firm, scoopable consistency.
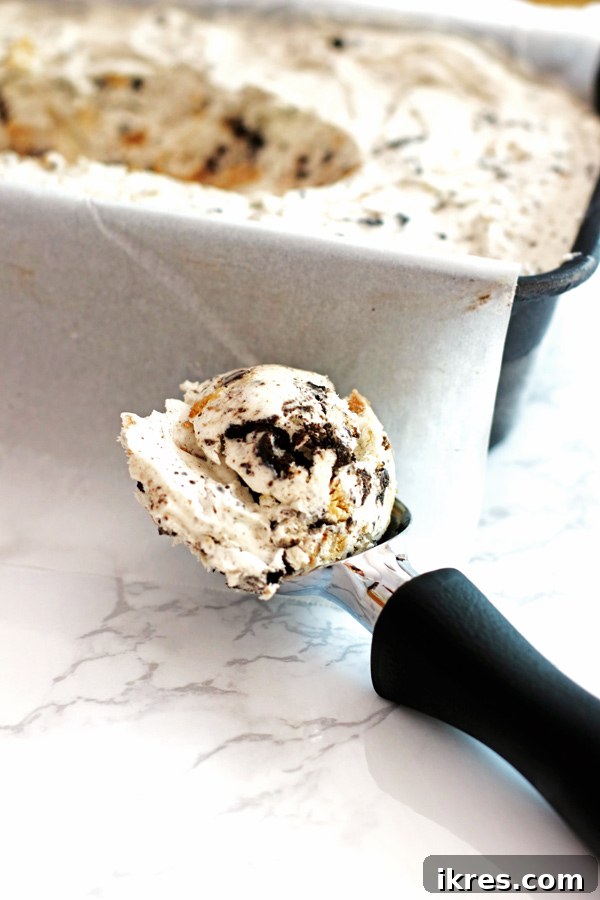
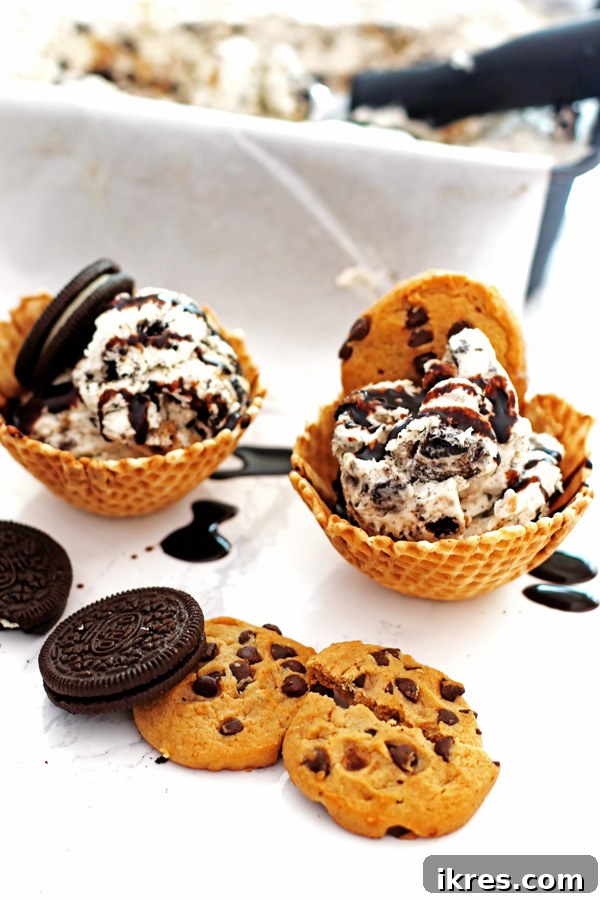
12. Serve and Enjoy: Once frozen solid, your No-Churn Cookie Monster Ice Cream is ready! Lift it out of the loaf pan using the parchment paper, slice, scoop into cones or bowls, and serve immediately. Remember, C is for Cookie, and this ice cream is packed with them! This homemade delight will stay fresh and delicious in your freezer for up to two weeks when stored properly.
Creative Ice Cream Flavor Variations: Beyond Cookie Monster!
While the Cookie Monster version is undeniably fun and delicious, the beauty of the no-churn ice cream base is its incredible versatility. Once you’ve mastered the basic technique, a world of flavor possibilities opens up! Here are some exciting ideas to spark your creativity and keep your freezer stocked with delightful homemade treats:
Candy Crush Creation: For a different kind of sweet adventure, transform your basic cream mix into a candy-lovers dream. Simply follow the recipe to create the whipped cream and sweetened condensed milk base, but omit the cookie crumbs entirely. Instead, gently fold in about 2 cups of your favorite crushed candies. This is particularly fantastic for using up holiday candy!
Candy Suggestions:
- M&M’s: Add a colorful crunch and chocolatey goodness.
- Butterfingers: For a delightful peanut buttery, flaky texture.
- Reese’s Peanut Butter Cups: Chopped pieces provide that classic sweet and salty peanut butter-chocolate combination.
- Crunch Bars: Offer a satisfying crispy texture within the smooth ice cream.
- Snickers or Twix: Chop them into small pieces for a caramel and nougat surprise.
Choose one or two of your absolute favorite candies, crush them into varying sizes, and gently fold them into the finished cream mixture before freezing. Kids (and adults!) will adore this, especially around Halloween for repurposing extra trick-or-treat spoils. It’s a fantastic way to enjoy beloved candies in a whole new, frozen form!
Fruit Swirl Extravaganza: For a fresher, lighter flavor, create a fruit swirl. Puree about 1 cup of berries (strawberries, raspberries, blueberries) or mango, then gently swirl it into the final cream mixture before freezing. You can even add small chunks of fresh fruit for extra texture.
Nutty Indulgence: Fold in chopped nuts like pecans, walnuts, or almonds for a satisfying crunch and earthy flavor. You can also add a drizzle of caramel or chocolate sauce along with the nuts for a turtle-like ice cream.
Coffee or Chai Infusion: For a sophisticated twist, dissolve 1-2 tablespoons of instant coffee powder (or espresso powder) in a tiny bit of hot water, let it cool, then mix it into the sweetened condensed milk before folding in the whipped cream. Similarly, you could add chai spice blend for a warm, aromatic flavor.
S’mores Delight: Swirl in crushed graham crackers, mini marshmallows, and chocolate chunks for a campfire-inspired treat.
Craving More Easy Dessert Recipes?
If you’re a fan of simple yet impressive desserts, we have more delicious ideas for you! For a truly show-stopping frozen dessert, be sure to make our Ice Cream Pie recipe. This incredible pie features rich chocolate ice cream combined with fresh strawberries, all nestled in a delicious crust. It’s a perfect dessert for any ice cream aficionado and makes a fantastic centerpiece for gatherings.
And for those days when turning on the oven feels like too much, our Eclair Cake is another super easy, no-bake option that’s ideal for summer. It’s light, creamy, and requires absolutely no baking, keeping your kitchen cool while delivering maximum flavor. It’s a win-win!
Expert Tips for No-Churn Ice Cream Success:
Achieving perfectly creamy and delicious no-churn ice cream is simple, but a few key tips can elevate your results:
- Crushing Cookies Made Easy: If you don’t have a blender or food processor, a reliable method for crushing cookies is to place them in a sealed Ziploc bag. Lay the bag flat on a sturdy surface and roll over them with a rolling pin. This allows you to control the size of the pieces, from fine crumbs to chunky bits.
- The Art of “Folding In”: When the recipe instructs you to “fold in” ingredients, it’s crucial to do so gently. Use a wide spatula or a large spoon. Scoop from the bottom of the bowl, lifting the mixture up and over, rather than stirring in a circular motion. This technique helps to maintain the airiness of the whipped cream, which is vital for the light texture of no-churn ice cream. Avoid vigorous stirring, which can deflate the cream.
- Enhance Sweetness with Drizzles: For an extra layer of sweetness and flavor, consider drizzling your finished ice cream with chocolate syrup, caramel sauce, or even a strawberry puree before serving. This adds an attractive visual element and another dimension of taste.
- Optimal Storage for Freshness: While this ice cream is best enjoyed fresh, it stores wonderfully. Keep it in an airtight container in your freezer for up to two weeks. The parchment paper lining helps to protect it, but an additional tight-fitting lid will further prevent freezer burn.
- Customizing Flavors with Candy: As mentioned, this base is incredibly adaptable. To create a candy-infused ice cream, simply replace the crushed cookies with about two cups of your favorite crushed candies. Gently fold these candy pieces into the cream mixture before pouring it into your loaf pan and freezing. This is a fantastic way to experiment and discover new favorite flavors!
- Temperature Matters: Ensure your heavy cream is very cold before whipping. This helps it whip up faster and achieve stiffer, more stable peaks.
- Preventing Ice Crystals: A tight cover (like the parchment paper and potentially aluminum foil or a lid) is essential to prevent ice crystals from forming on the surface of your ice cream during freezing.
Stay Connected for More Deliciousness!
Don’t miss out on more mouth-watering recipes and helpful cooking tips. Follow me on Pinterest and Instagram for daily inspiration and all my latest creations!
Your Feedback Matters!
Have you tried this irresistible Cookie Monster Ice Cream recipe? I would absolutely love to hear about your experience! Please share your thoughts, tips, and any delicious variations you tried in the comment and ratings section below. Your feedback helps others and brings joy to me!
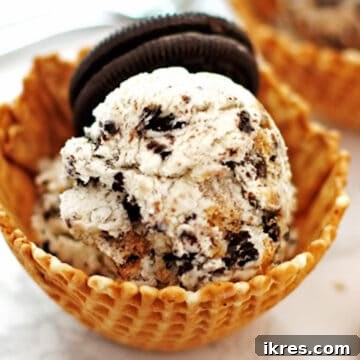
No-Churn Cookie Monster Ice Cream
Making No-Churn Cookie Monster Ice Cream could not be easier – no ice cream machine needed. Loaded with cookies and using heavy cream and sweetened condensed milk as a base, the options are limitless.
Jeannie Z
8 servings
40 mins
6 hrs
6 hrs 40 mins
Ingredients
- 2 cups heavy whipping cream
- 1 can (14 ounce) sweetened condensed milk
- 8 chocolate sandwich cookies, coarsely crushed (like Oreos)
- 8 chocolate chip cookies, coarsely crushed
- 2 chocolate sandwich cookies, finely crushed
- Optional: Blue food coloring
Instructions
- Coarsely crush 8 chocolate sandwich cookies and 8 chocolate chip cookies into small pieces. Keep them in a separate bowl. Finely crush the remaining 2 chocolate sandwich cookies until they are fine crumbs; keep them in another separate bowl. Set both aside.
- Line a loaf pan with parchment paper, ensuring extra overhang on the sides for covering the ice cream later.
- Pour the sweetened condensed milk into a large bowl. Set aside.
- In a separate mixing bowl, pour the heavy whipping cream. Using a whisk attachment on your mixer, whisk the heavy whipping cream until stiff peaks form (this usually takes about three to five minutes).
- Gently fold about one cup of the whipped heavy cream into the sweetened condensed milk until just combined.
- Add the remaining whipped heavy cream, the finely crushed cookie crumbs, and optional blue food coloring to the sweetened condensed milk mixture. Gently fold until all ingredients are combined and the color is evenly distributed. Be careful not to overmix.
- Pour half of the cream mixture into your prepared loaf pan. Evenly sprinkle half of the coarsely crushed cookie pieces over this layer. Repeat this step with the other half of the cream mixture and the remaining coarsely crushed cookies.
- Drag a knife or spatula through the cream mixture a few times to create swirls and spread out the cookie pieces.
- Fold the overhanging parchment paper over the top of the ice cream to cover it completely. You can use masking tape to secure it if desired.
- Place the loaf pan in the freezer and freeze for at least six hours, or until firm.
- The ice cream will keep well in the freezer for up to two weeks when stored in an airtight container.
Notes
You can use a blender or a sealed sandwich bag with a rolling pin to crush the cookies.
To ‘fold in’ ingredients, use a spatula or large spoon and gently combine the ingredients to keep the mixture airy.
Drizzle with chocolate syrup for more sweetness when serving!
Store the ice cream in your freezer for up to two weeks.
For a different flavor, try replacing the crushed cookies with about two cups of crushed candy pieces. Gently fold them in once the cream mixture is made and pour into your loaf pan.
Nutrition information is approximate and is automatically calculated, so should only be used as a guide.
Dessert
American
homemade ice cream, easy dessert, summer dessert recipe, no-churn ice cream, cookie monster, cookies and cream
Update Note: This delightful recipe was originally shared in 2016 and has been lovingly refreshed in 2022 to include clearer step-by-step directions, enhanced tips, and beautiful new photos, ensuring an even better experience for our readers.