
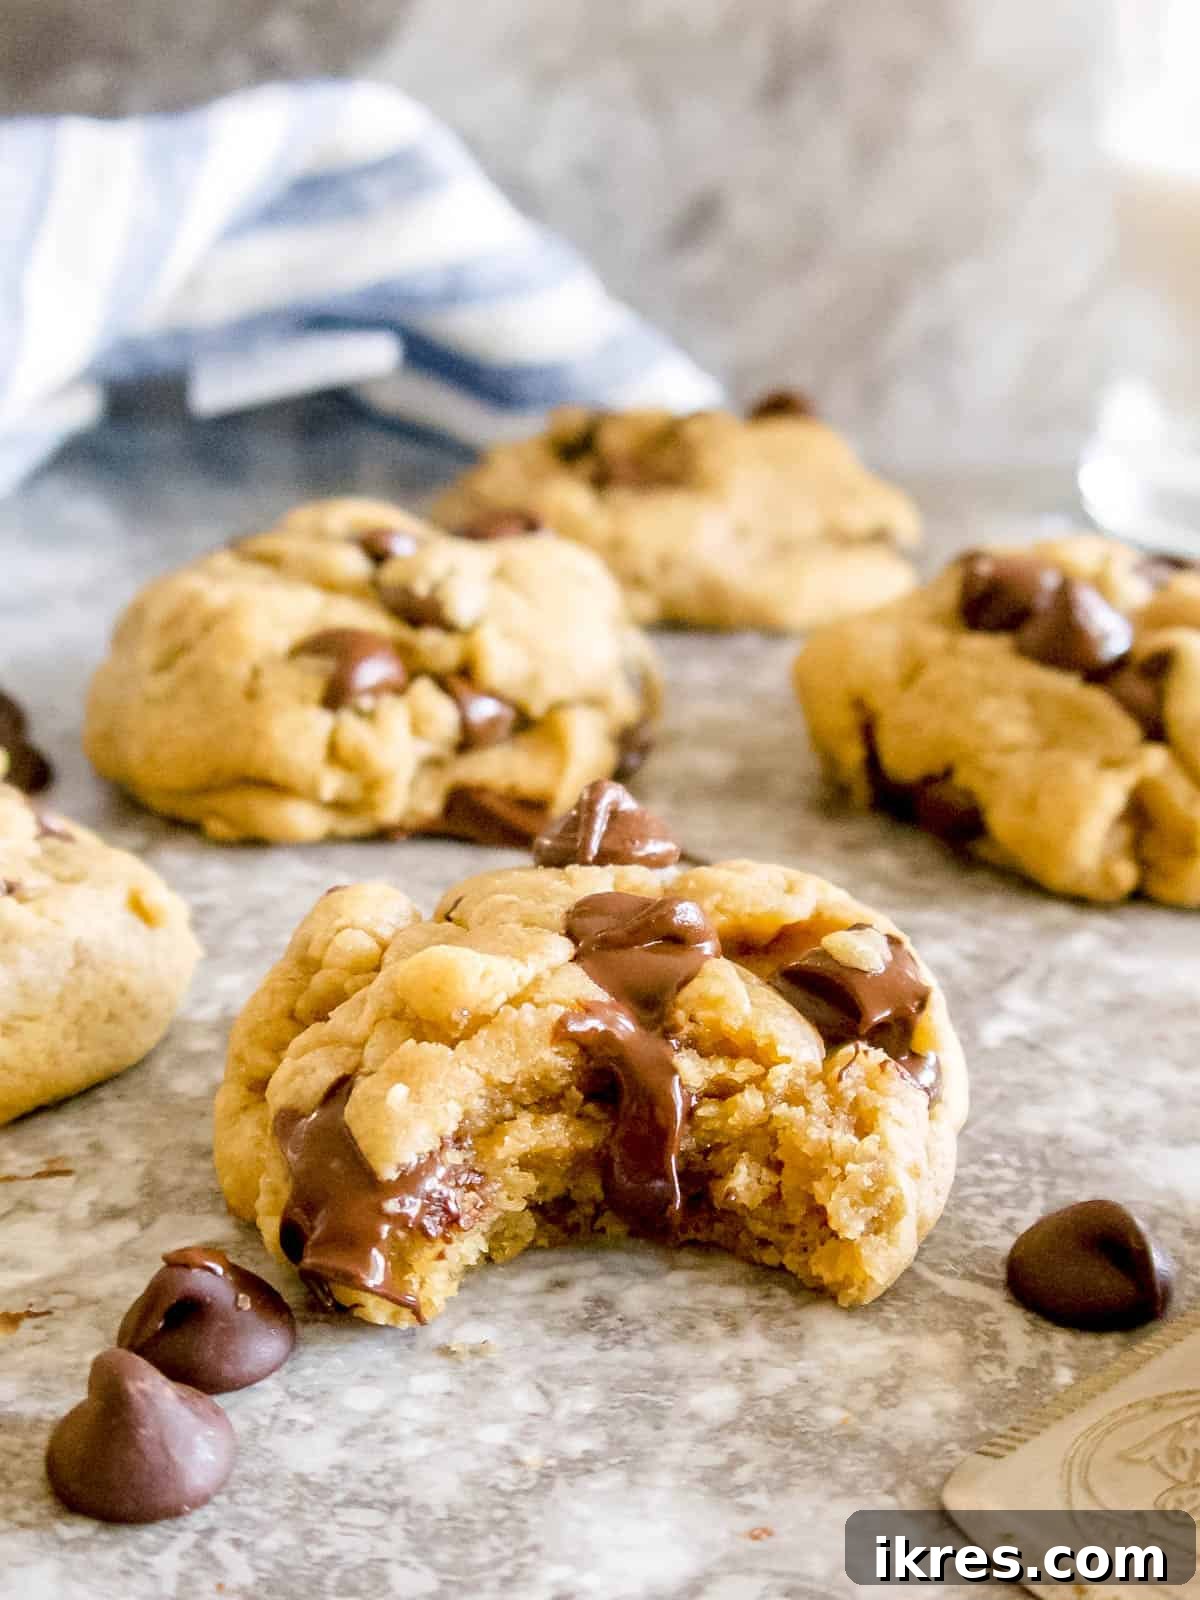
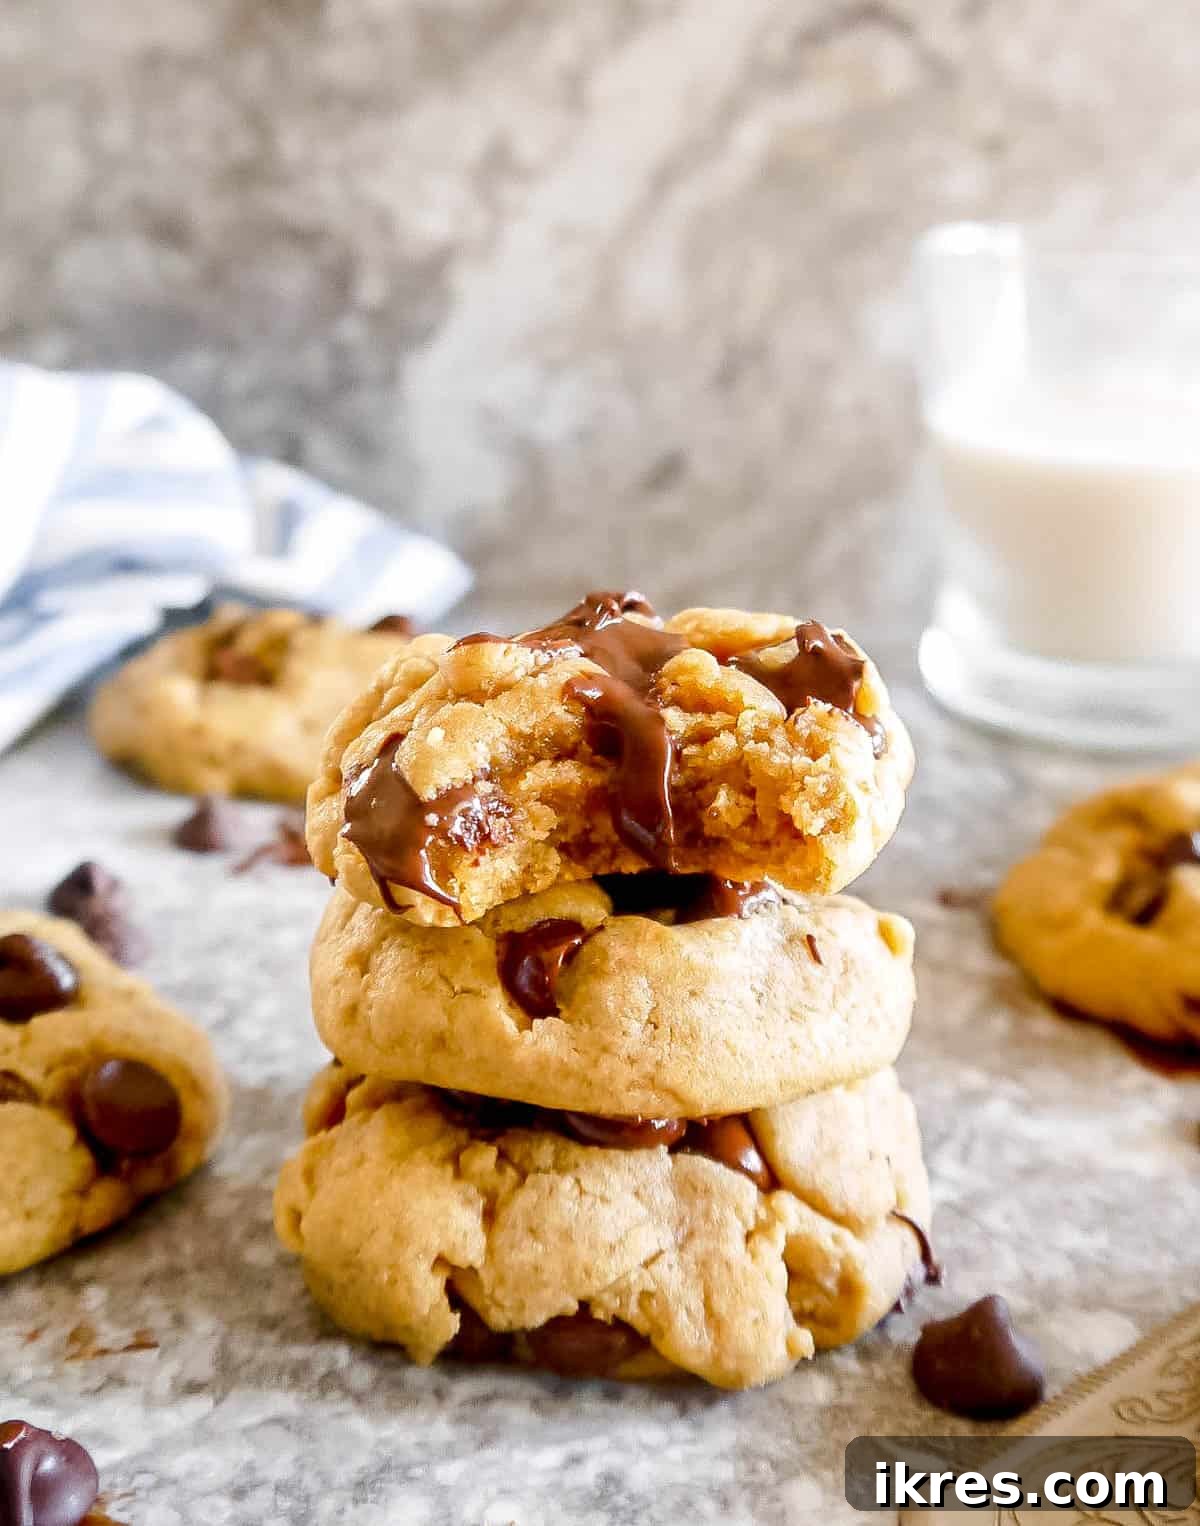
These from-scratch Olive Oil Chocolate Chip Cookies are a revelation for anyone seeking incredibly chewy, soft, and melt-in-your-mouth dairy-free cookies. Made with a touch of premium olive oil instead of traditional butter, they boast the perfect cookie texture and delightful flavor. Best of all, this simple recipe comes together in less than 30 minutes, making it an ideal choice for last-minute cravings or entertaining!
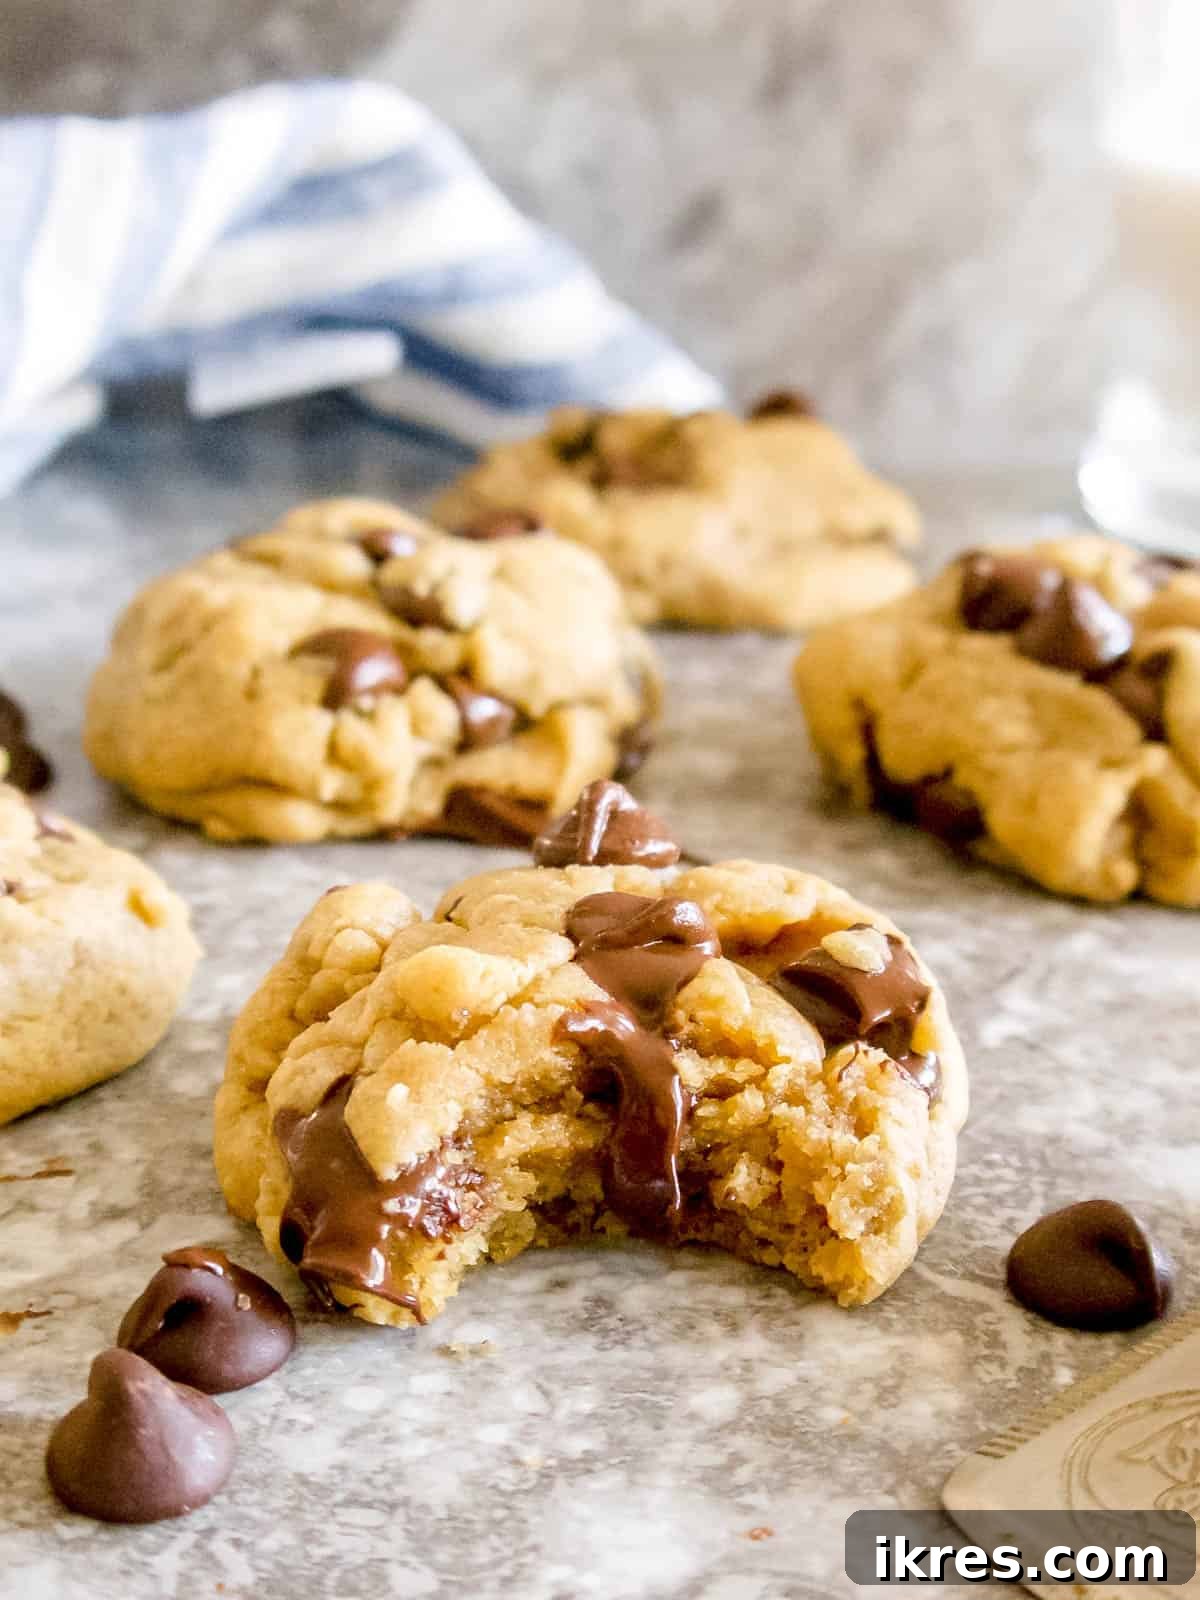
For years, these olive oil cookies have been my unwavering go-to dairy-free chocolate chip cookie recipe. Truthfully, they’ve ascended to the top of my list as my favorite chocolate chip cookie recipe of all time. Their unparalleled softness and chewiness consistently hit the mark, perfectly satisfying that irresistible gooey chocolate chip cookie craving without any dairy.
Baking these cookies has become a cherished tradition in my home, especially every Christmas Eve. I also love whipping up a batch when friends visit, and they are always met with rave reviews. What’s truly amazing is that no one ever suspects these delectable treats are made without butter! If you’re looking to explore other variations, you might also enjoy my white chocolate chip cookies, which offer a delightful spin on this classic.
Table of Contents
- Why You’ll Love These Cookies
- Recipe Ingredients
- Additions & Substitutions
- Step-by-Step Cookie Instructions
- Expert Tips and Tricks
- Recipe FAQs
- Other Desserts with Olive Oil You May Enjoy
- Olive Oil Chocolate Chip Cookies (Dairy-free) Recipe
Why You’ll Love These Olive Oil Chocolate Chip Cookies
There’s a reason these dairy-free olive oil chocolate chip cookies have become a household favorite. They offer a unique combination of textures and flavors that will make them a staple in your baking repertoire. Here’s why you’ll fall in love with them:
- Unbeatable Texture: They are wonderfully pillowy on the inside, yet perfectly gooey with melted chocolate chips, offering a truly indulgent bite every time.
- Rich, Balanced Sweetness: The use of brown sugar imparts a deep, molasses-rich sweetness that complements the subtle fruitiness of the olive oil beautifully.
- Toddler Approved: Even the pickiest eaters, including my own little ones, adore these cookies, making them a fantastic family-friendly treat.
- Incredibly Quick: From gathering your ingredients to pulling warm cookies from the oven, this recipe takes less than 30 minutes, perfect for spontaneous baking.
- Minimal Ingredients: You only need 8 common pantry ingredients to create these gourmet-tasting cookies. Simplicity meets deliciousness!
- Perfect for Dairy-Free Lifestyles: As a fantastic dairy-free dessert, these no-butter chocolate chip cookies are ideal for those with a dairy intolerance or allergy, ensuring everyone can enjoy a classic treat.
- Lighter Baking: Using olive oil instead of butter eliminates the heaviness often associated with traditional butter-based baked goods, resulting in a lighter yet deeply satisfying cookie.
Essential Recipe Ingredients for Olive Oil Cookies
Creating these delightful dairy-free chocolate chip cookies requires a few key ingredients. Each one plays a crucial role in achieving the perfect texture and flavor. Here’s a detailed look at what you’ll need:
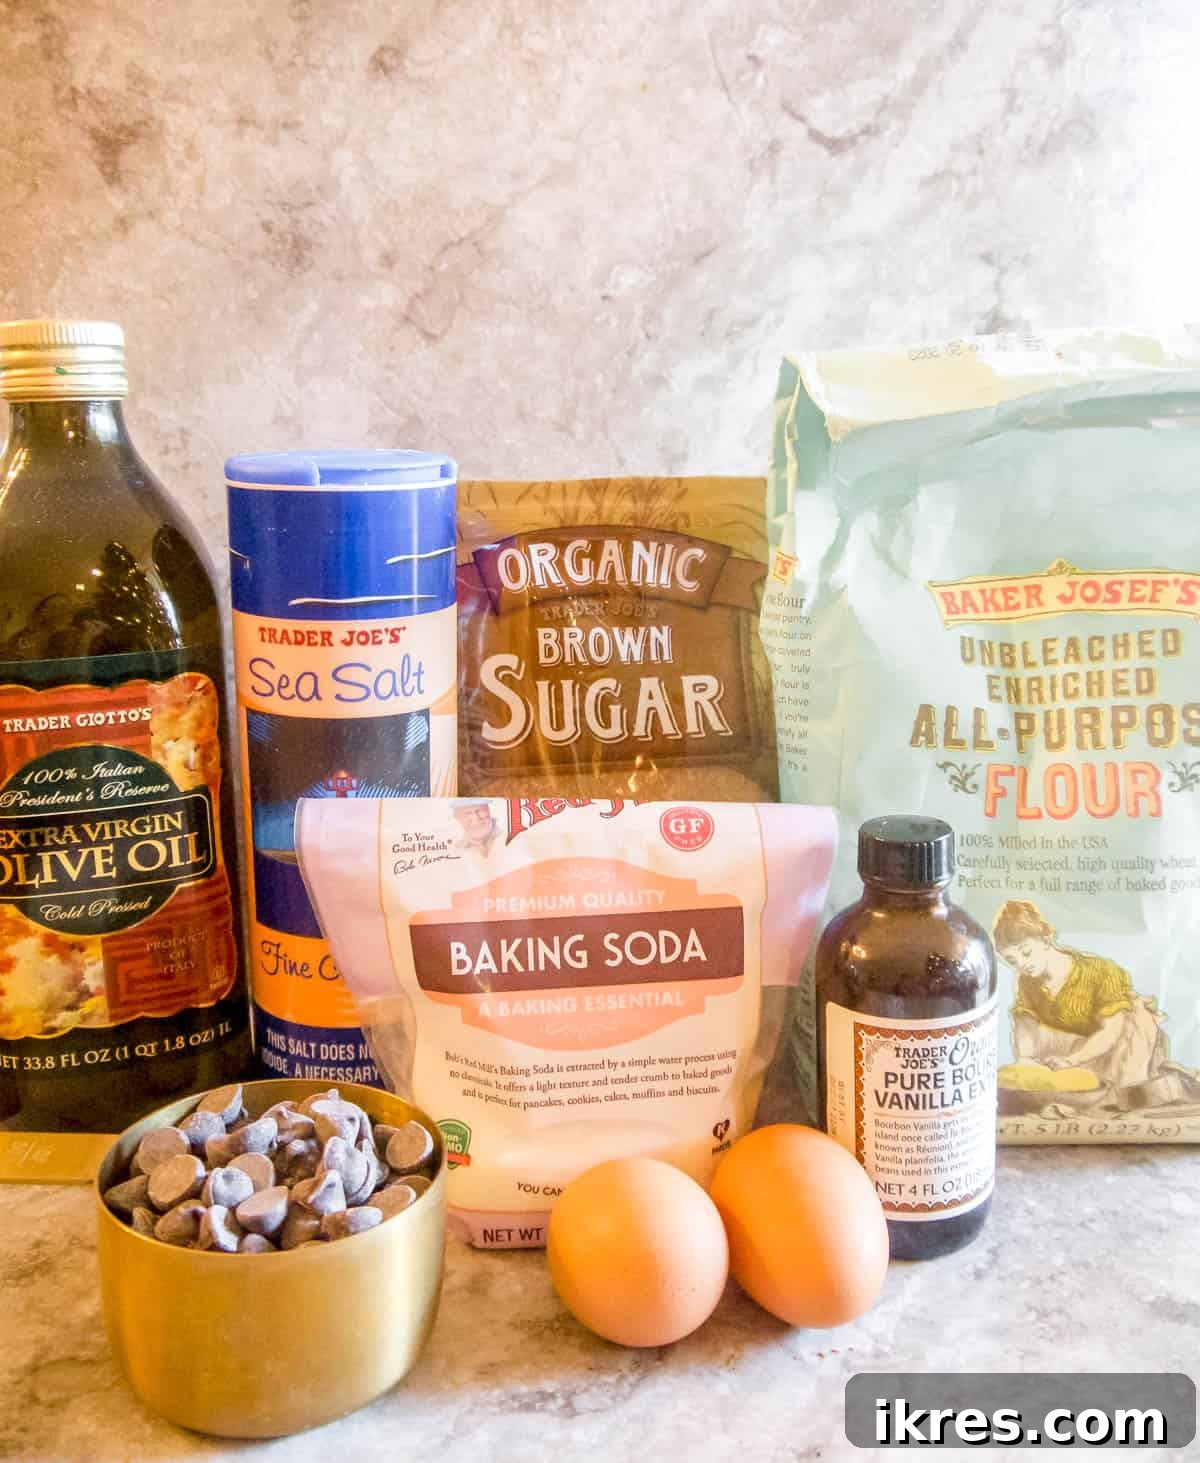
- All-Purpose Flour: Unbleached all-purpose flour is my top recommendation for this recipe. It provides the ideal structure and chewiness without being too dense. Remember to measure it correctly by spooning it into the measuring cup and leveling it off.
- Olive Oil: The star of the show! Use a good quality extra virgin olive oil for the best flavor. The olive oil will contribute a subtle, fruity note that enhances the chocolate. If you prefer a very light olive oil flavor, opt for a light-tasting olive oil. For a more robust, earthy note, a darker, stronger olive oil works beautifully.
- Brown Sugar: Any type of brown sugar will work, but I personally love using golden brown sugar varieties. They offer a richer, deeper molasses flavor that makes these cookies exceptionally chewy and adds a wonderful depth of sweetness. Brown sugar also contributes significantly to the soft, moist texture of the cookies.
- Egg and Extra Egg Yolk: This is a crucial element for achieving that signature chewy texture. Using one large egg plus an additional egg yolk adds extra fat and moisture, which directly impacts the cookie’s tenderness and chewiness, preventing them from becoming dry or crumbly.
- Dairy-Free Chocolate Chips: To keep these cookies truly dairy-free, select high-quality dairy-free chocolate chips. Brands like Enjoy Life, HU Chocolate, and Trader Joe’s offer excellent options that melt beautifully and provide that classic chocolate chip cookie experience.
- Baking Soda & Salt: These leavening agents and flavor enhancers are essential. Baking soda helps the cookies rise and spread, contributing to their soft texture, while salt balances the sweetness and brings out all the delicious flavors.
- Vanilla Extract: A splash of vanilla extract deepens the overall flavor profile, adding warmth and aroma that makes these cookies utterly irresistible.
For precise measurements and detailed quantities, please refer to the complete recipe card below.
Additions & Substitutions for Your Olive Oil Chocolate Chip Cookies
This recipe is wonderfully versatile, allowing for several additions and substitutions to suit various dietary needs or personal preferences. Experiment and make them your own!
- Gluten-Free Flour: If you’re looking for a gluten-free option, you can easily substitute regular all-purpose flour with a good quality 1:1 gluten-free flour blend. Ensure your blend contains xanthan gum for optimal texture.
- Avocado Oil: While olive oil provides a unique flavor, if you prefer a more neutral-tasting oil or don’t have olive oil on hand, avocado oil is an excellent alternative. It’s also a healthy fat and will yield equally delicious results.
- Coconut Sugar: You can certainly use coconut sugar instead of brown sugar, but be aware that it will change the texture and require a slight adjustment to the recipe.
- Coconut sugar results in a slightly denser, less chewy cookie because it doesn’t retain moisture as effectively as brown sugar. To counteract this and prevent a dry cookie, you’ll need to add an extra 1-2 Tablespoons of olive oil or 2-4 Tablespoons of unsweetened applesauce to the dough. This will help maintain moisture and tenderness. Coconut sugar also imparts a more subtle, caramel-like flavor compared to the molasses notes of brown sugar.
- Chocolate Candies or Chunks: Feel free to get creative with your chocolate! Instead of chocolate chips, you can use chopped dairy-free chocolate bars, your favorite dairy-free chocolate candies, or even a mix of dark and “milk” dairy-free chocolate for added complexity.
- Nuts or Seeds: For an extra crunch and flavor boost, consider folding in a ½ cup of chopped walnuts, pecans, or sunflower seeds (for a nut-free option) along with the chocolate chips.
- Spices: A pinch of cinnamon or a tiny dash of espresso powder can deepen the chocolate flavor and add a warm complexity to your cookies.
Step-by-Step Instructions: Baking Your Perfect Olive Oil Cookies
Follow these simple steps to create a batch of the best dairy-free chocolate chip cookies you’ve ever tasted!
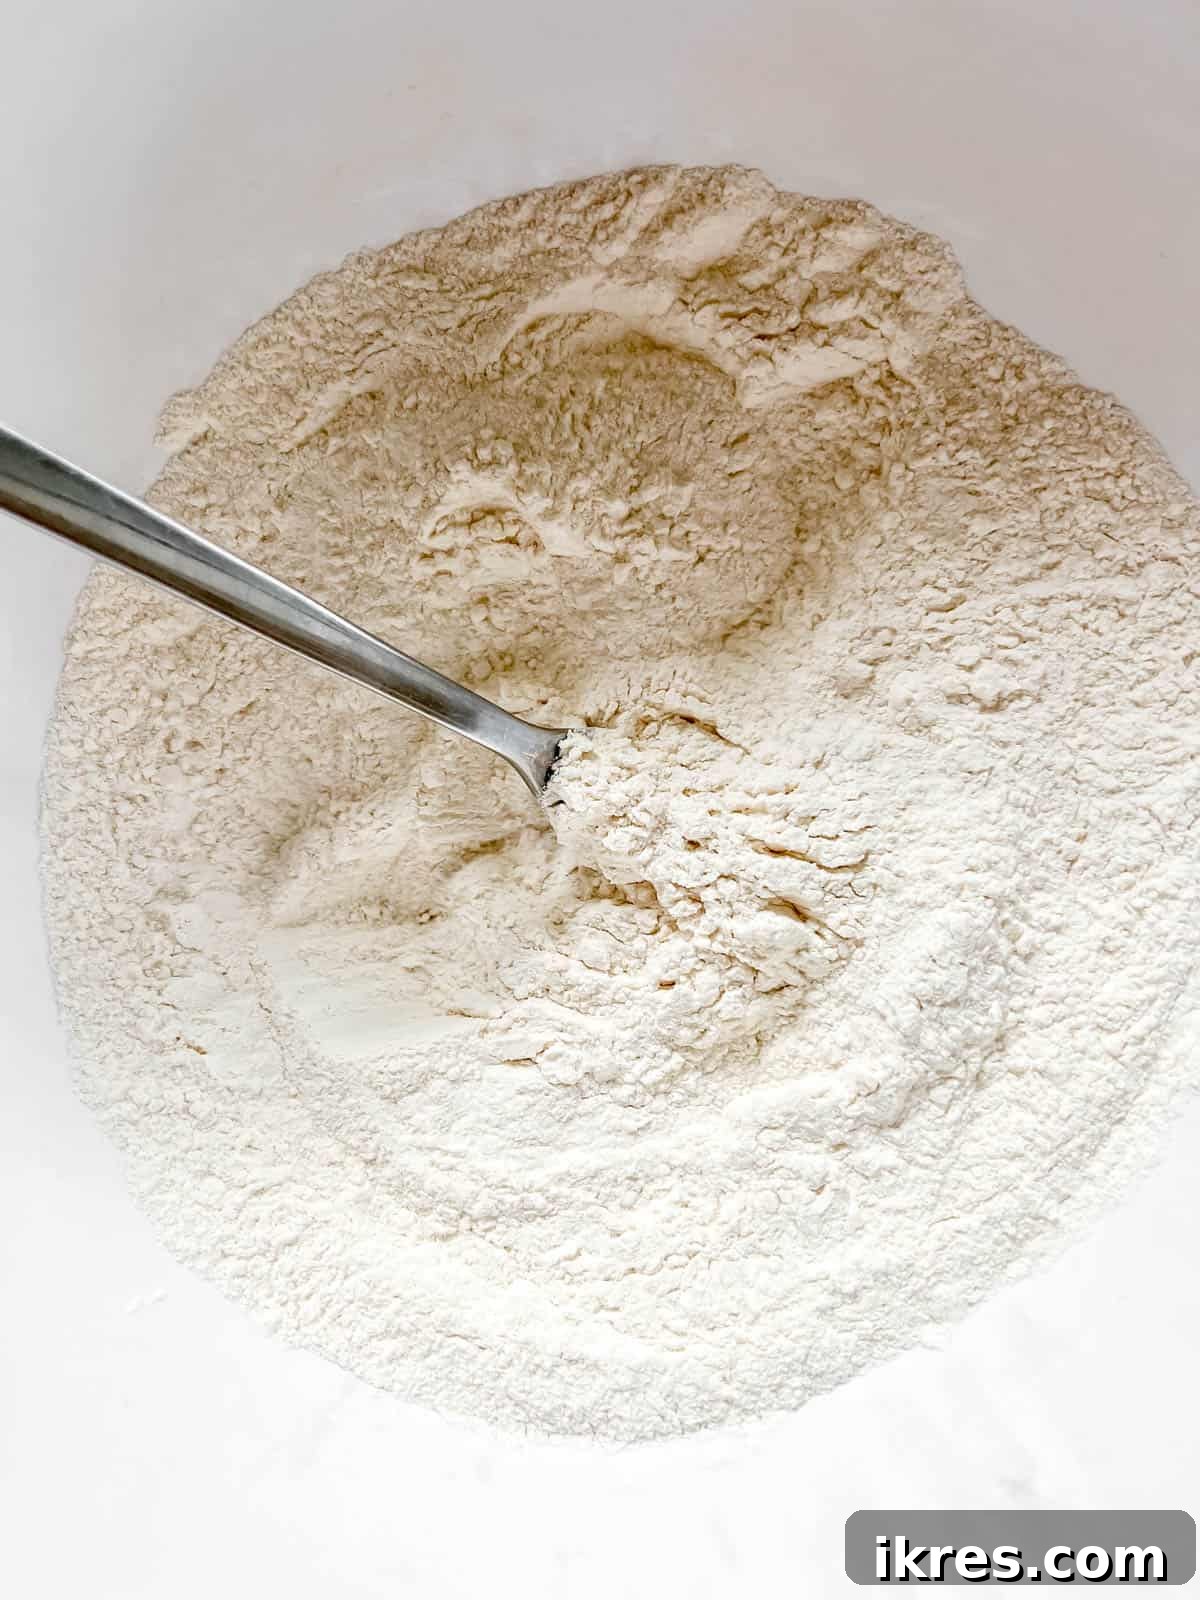
Step 1: Prepare Dry Ingredients. In a medium-sized mixing bowl, thoroughly whisk together the all-purpose flour, baking soda, and salt. Whisking ensures that the leavening agent and salt are evenly distributed throughout the flour, which is crucial for uniform baking. Set this bowl aside for a moment.
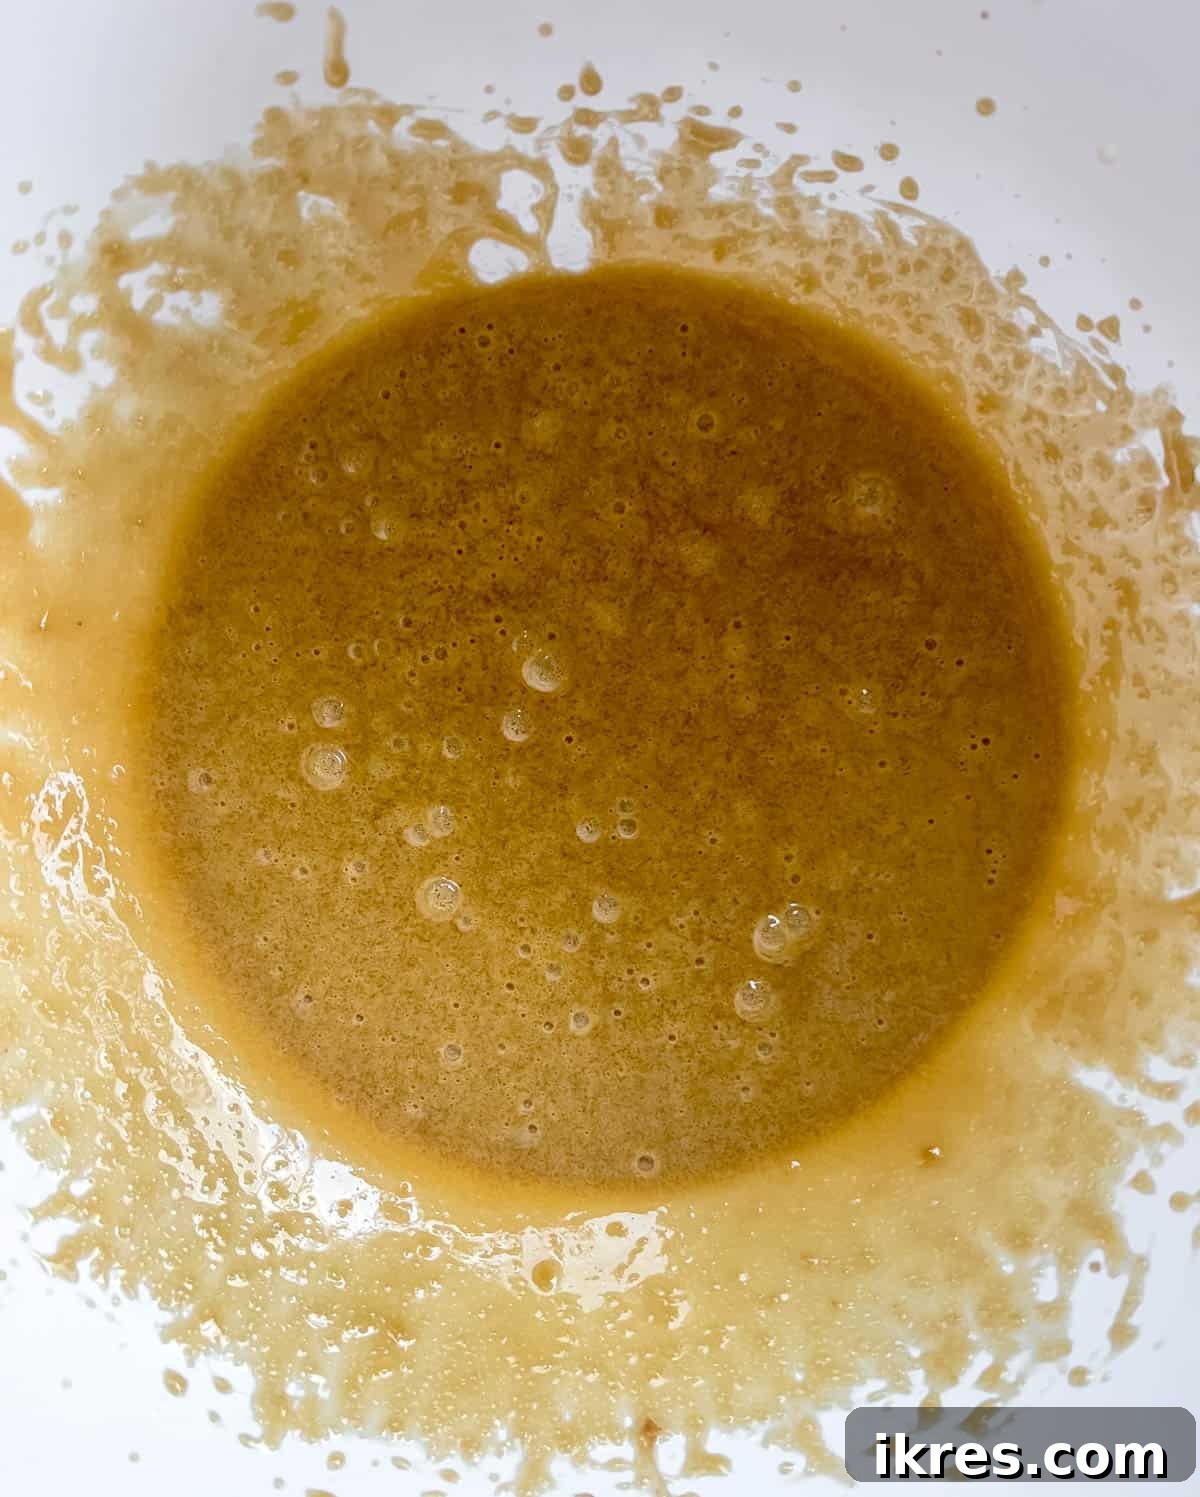
Step 2: Mix Wet Ingredients. In a separate, larger bowl, combine the olive oil and brown sugar. Whisk them together until they are thoroughly combined and the mixture looks smooth. Then, add the large egg, the extra egg yolk, and the vanilla extract. Use a hand-held mixer to beat these wet ingredients together until they are fully incorporated and the mixture is light and fluffy, usually about 1-2 minutes.
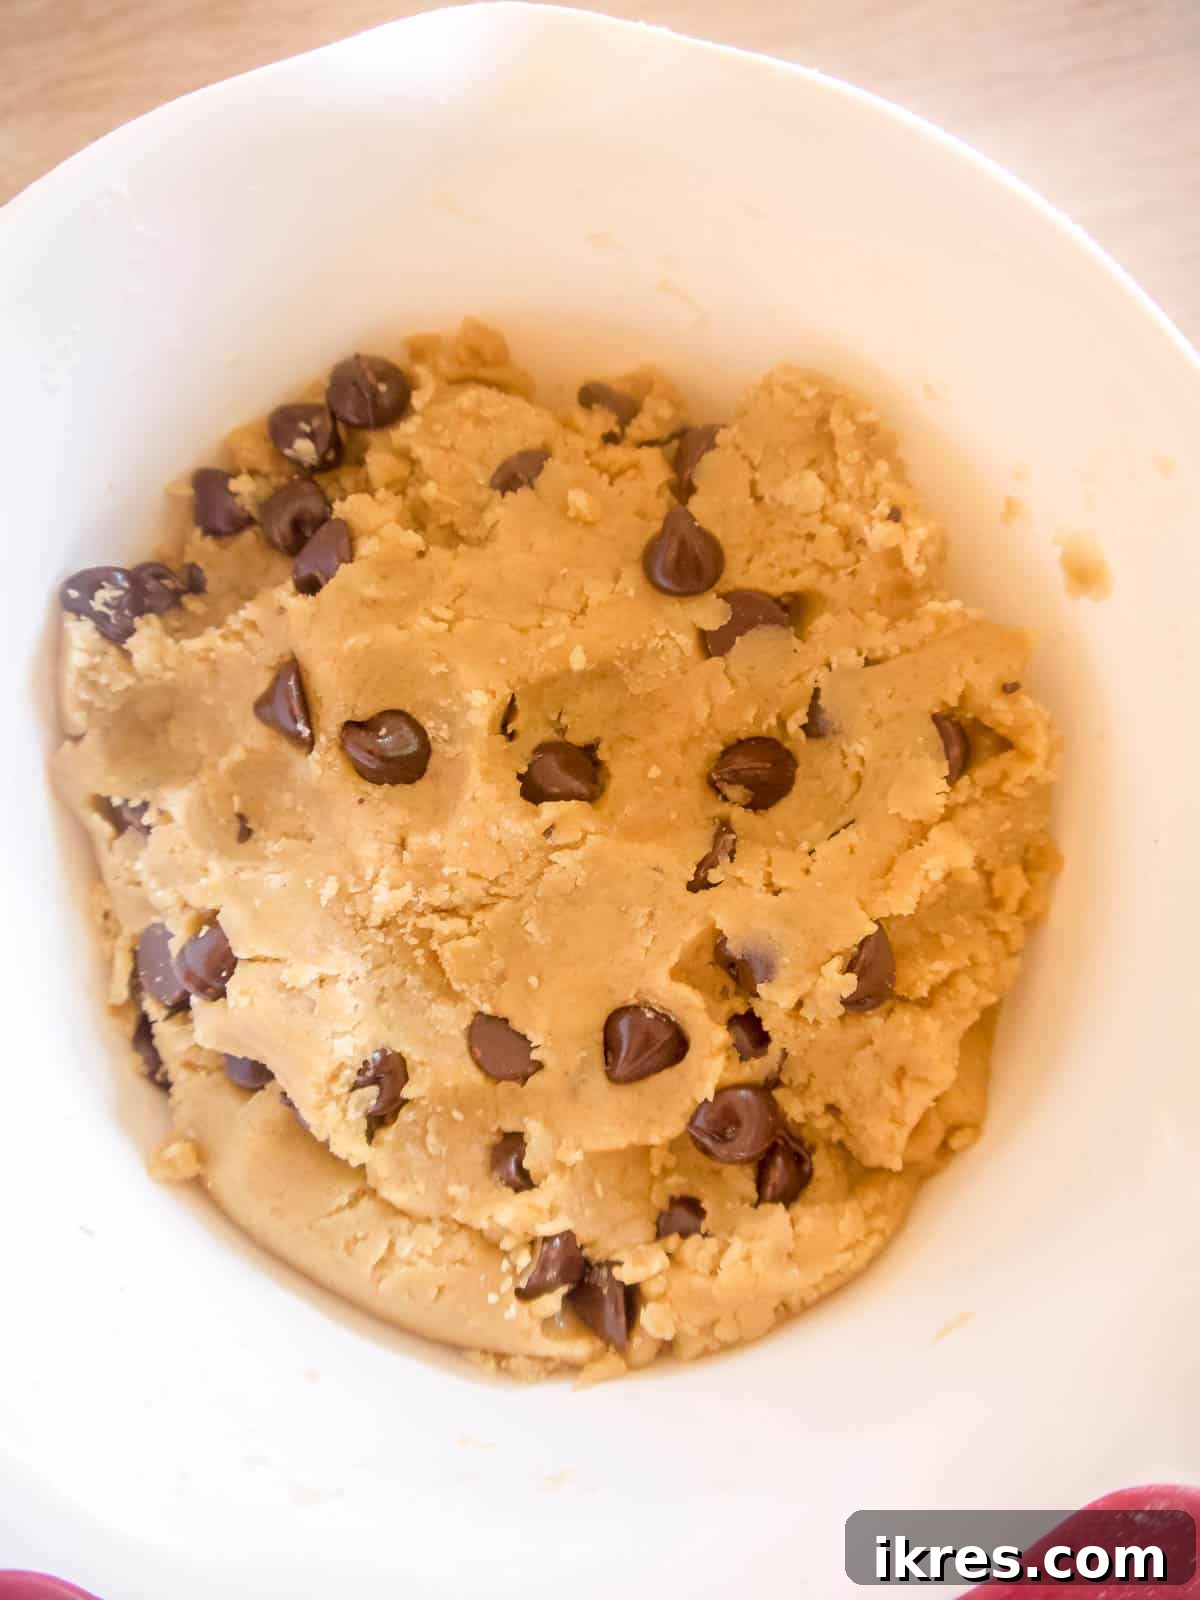
Step 3: Combine and Fold. Gradually add the dry ingredients into the wet ingredients. Start by adding about half of the dry mixture and beat with your hand-held mixer until just combined. Then, add the remaining dry ingredients and continue mixing until a cohesive dough forms. Be careful not to overmix, as this can lead to tough cookies. Finally, gently fold in your dairy-free chocolate chips until they are mostly distributed throughout the dough. Don’t worry if some chips don’t fully incorporate – you can always add them to the tops of the cookies later!
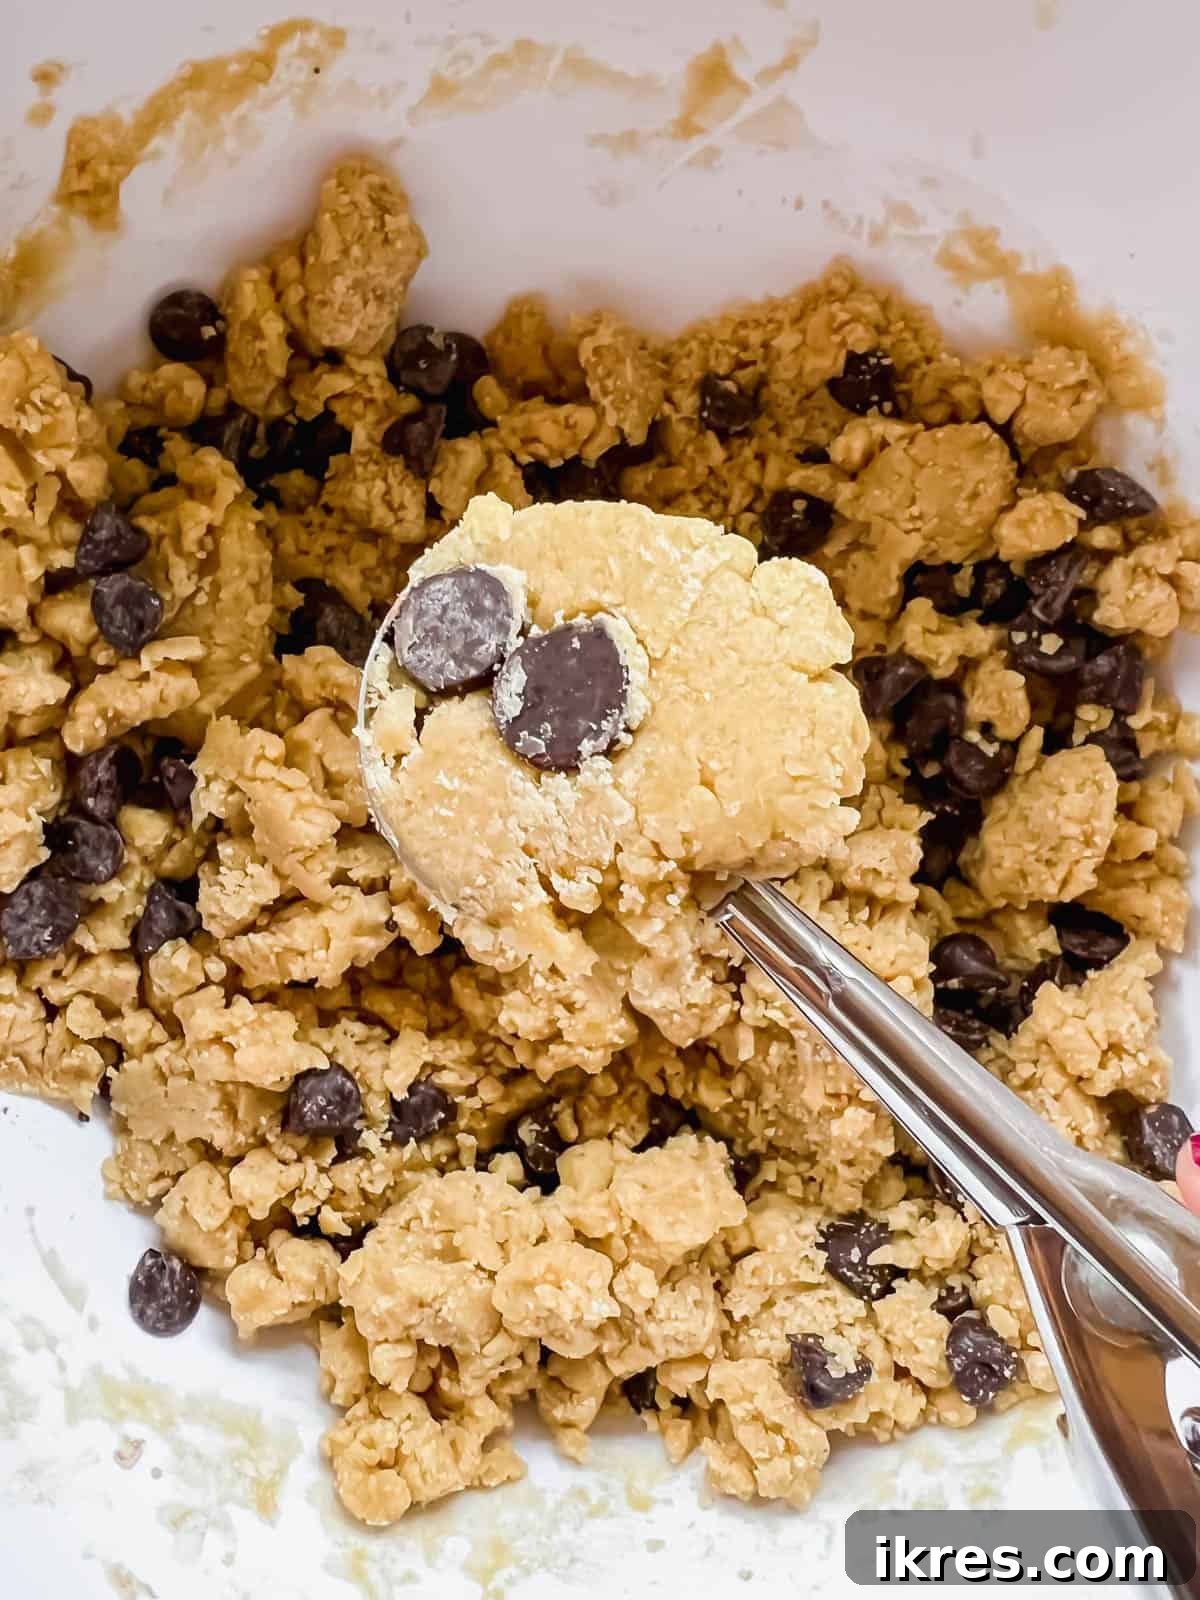
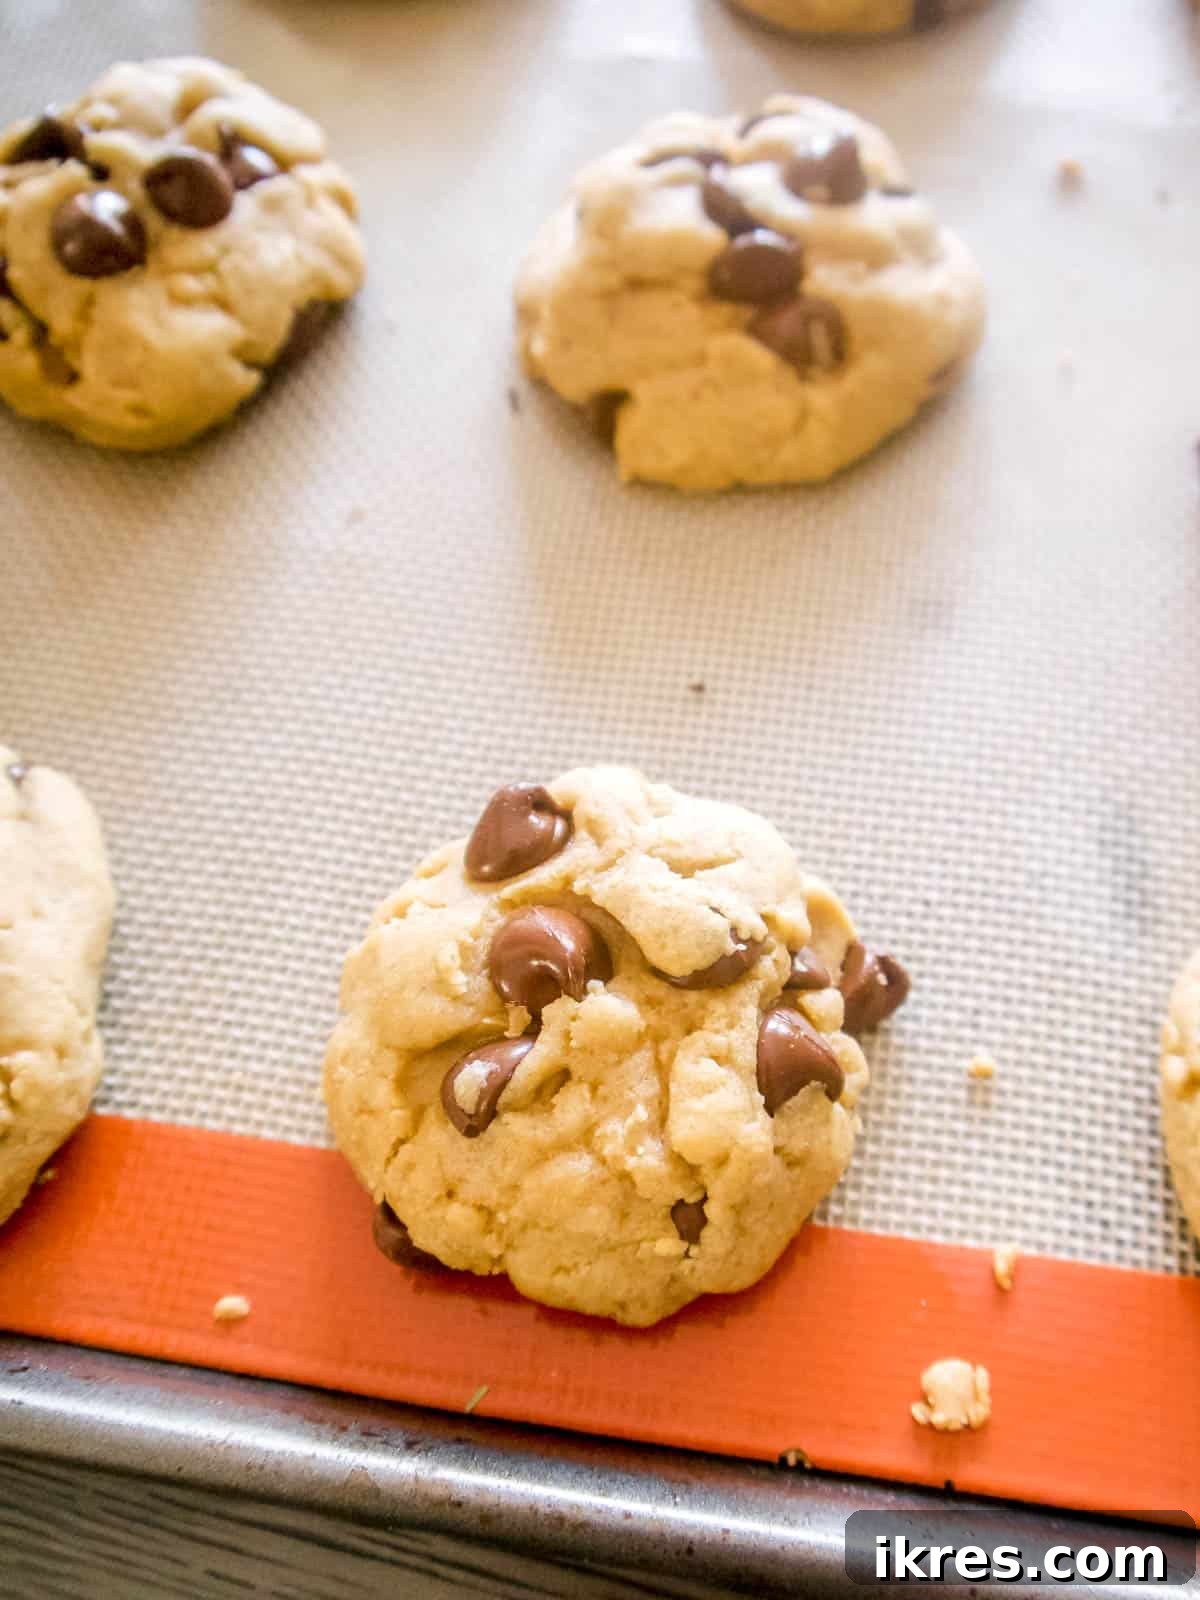
Step 4: Scoop, Roll, and Bake. Preheat your oven to 325°F (160°C) and line two cookie sheets with parchment paper or silicone baking mats. Scoop golf ball-sized portions of the cookie dough. Because this dough is on the thicker and drier side, it’s important to roll each portion into a smooth ball between your hands before placing it on the prepared cookie sheet. This helps the cookies hold their shape and develop a better texture. If you have any extra chocolate chips, press a few onto the tops of the dough balls for a beautiful presentation. Bake for 12-14 minutes, or until the edges are set and lightly golden, and the centers are still soft. Do not over-bake!
Expert Tips and Tricks for Perfect Olive Oil Chocolate Chip Cookies
Achieving bakery-quality olive oil chocolate chip cookies is easy with these insider tips:
- Precision in Flour Measurement: Always measure your flour correctly. Spoon the flour into your measuring cup and then level it off with the back of a knife. Scooping directly with the measuring cup can compact the flour, leading to too much flour and dry cookies.
- Embrace the Thick Dough: The batter for these cookies is intentionally thick and can seem a bit dry. This is perfectly normal and contributes to their amazing chewiness. Due to this consistency, it’s crucial to roll each portion of dough with your hands into a ball before placing them on the cookie sheet. This physical action helps bind the dough together, ensures even baking, and results in a superior cookie texture.
- Chocolate Chip Placement: Don’t fret if not all the chocolate chips fully mix into the dough during the initial stirring. This often happens with thick doughs. Simply reserve any leftover chocolate chips and press them into the tops of the rolled cookie dough balls before baking. This not only makes for a prettier cookie but also guarantees a generous amount of melty chocolate in every bite.
- Choosing Your Olive Oil: The type of olive oil you use will subtly influence the final flavor. For a delicate, lighter taste that allows the chocolate and brown sugar to shine, opt for a “light” olive oil, which is typically paler in color. If you prefer a more pronounced, earthy olive oil presence, choose a darker, more robust extra virgin olive oil. Both options are delicious, so pick what suits your palate!
- Avoid Over-Baking: This is perhaps the most critical tip for achieving soft, chewy cookies. Bake them until the edges are just set and slightly golden, but the centers still look a bit soft and puffy. They will continue to set as they cool on the hot cookie sheet. Over-baking will lead to hard, dry cookies. The cookies should still be light in color on top when they are done, with bottoms that are firm.
- Don’t Forget the Salt: A good pinch of salt is vital in chocolate chip cookies, especially when paired with sweet chocolate and brown sugar. It enhances all the flavors and prevents the cookies from tasting overly sweet or flat.
- Cooling is Key: Allow the cookies to cool on the cookie sheets for a few minutes before transferring them to a wire rack. This allows them to firm up slightly and prevents them from breaking apart.
Recipe FAQs: Your Olive Oil Cookie Questions Answered
Yes, you can, but it will slightly alter the final cookie. Brown sugar is key to the really chewy, soft texture and rich sweetness, thanks to its molasses content. Coconut sugar, while less refined and having a lower glycemic index, lends a nice caramel or toffee note. However, coconut sugar doesn’t hold moisture as well as brown sugar, which can result in a cookie that’s a bit denser and drier. To compensate, if you use coconut sugar, you must add 1-2 Tablespoons of extra olive oil or 2-4 Tablespoons of applesauce to the dough to maintain moisture and prevent dryness.
Absolutely! Olive oil is a fantastic and often healthier replacement for butter, vegetable oil, or canola oil in many baking recipes, especially cookies. It imparts a wonderful depth of flavor and contributes to a moist, chewy texture while keeping the cookies dairy-free.
Traditionally, most chocolate chip cookie recipes are not dairy-free, as they rely on butter and often contain milk in the chocolate chips. However, by making simple substitutions – using olive oil instead of butter, omitting any milk, and specifically choosing dairy-free chocolate chips – you can easily transform them into a completely dairy-free indulgence!
Yes, these cookies freeze beautifully! Once they have been fully baked and cooled to room temperature, wrap them individually in plastic wrap or foil, then place them in an airtight freezer-safe container or bag. When you’re ready to enjoy one, simply take it out of the freezer and let it thaw at room temperature for a bit, or microwave it for a few seconds for that warm, gooey cookie experience.
The flavor of olive oil is generally quite subtle in baked goods, especially when paired with strong flavors like chocolate and brown sugar. If you’re concerned, use a “light” or mild-flavored extra virgin olive oil. For those who appreciate the nuanced, fruity notes of olive oil, a more robust EVOO will add a wonderful layer of complexity without being overpowering.
Other Delightful Desserts with Olive Oil You May Enjoy
If you’ve fallen in love with baking with olive oil, you’re in for a treat! This versatile ingredient can elevate many of your favorite desserts. Here are a few more olive oil creations you might enjoy:
These Paleo Almond Flour Brownies with Olive Oil are incredibly fluffy, fudgy, and satisfying. They prove that healthy baking can be utterly decadent.
Bursting with fresh fruit and rich chocolate, these Strawberry Chocolate Chip Muffins made with Olive Oil are a perfect breakfast treat or afternoon snack. So good, you’ll want to make them again and again.
A delightful twist on a classic, these Lemon Sugar Cookies with Olive Oil offer a bright, zesty flavor. They’re dairy-free and wonderfully light thanks to the olive oil.
My Olive Oil Pumpkin Cake is a seasonal favorite, boasting incredible moisture and warmth. It’s perfectly spiced and topped with a luscious cream cheese frosting that everyone adores.
Did you try this recipe? Please leave me a ⭐ review below! Your feedback helps other bakers!
⭐⭐⭐⭐⭐ 4.64 from 11 votes
Olive Oil Chocolate Chip Cookies (Dairy-free)
Dominique
18
cookies
15
mins
12
mins
27
mins
⎙Print Recipe
Ingredients
-
2
cups
all-purpose flour -
½
tsp
baking soda -
½
tsp
salt -
¾
cup
light olive oil -
1
cup
brown sugar,
(see notes and FAQs for tips on using coconut sugar) -
1
large egg plus 1 egg yolk -
2
tsp
vanilla extract -
1
cup
dairy-free chocolate chips
Want to save this recipe? Bookmark this page or pin it to your favorite Pinterest board!
Instructions
-
Preheat your oven to 325° F (160°C). Line two cookie sheets with parchment paper or silicone baking mats to prevent sticking.
-
In a medium bowl, whisk together the flour, baking soda, and salt. Whisk well to ensure all dry ingredients are evenly distributed. Set this bowl aside.
-
In a separate, larger bowl, whisk the olive oil and brown sugar together until thoroughly combined and smooth. Add the large egg, the extra egg yolk, and the vanilla extract to this mixture. Using a hand-held mixer, beat the wet ingredients until they are well combined and slightly lightened in color. Gradually add half of the dry ingredients to the wet mixture and beat until just combined. Then, add the remaining dry ingredients and mix until a dough forms. Be careful not to overmix.
-
Gently stir in the dairy-free chocolate chips. The dough will be thick and may appear a little dry, which is normal for these cookies. Don’t worry if all the chocolate chips don’t fully incorporate into the batter; you can use any extra to press onto the tops of the cookies before baking.
-
Scoop out golf ball-sized portions of dough. Roll each portion between your hands to form a smooth ball. This step is important for the cookie’s texture. Place the dough balls onto the prepared cookie sheets, leaving some space between them. If you have spare chocolate chips, gently press a few onto the tops of each cookie for an extra visual appeal.
-
Bake for 12-14 minutes. It is crucial not to over-bake these cookies. They will not turn golden brown but should appear puffed up and set around the edges, while the centers still look soft. When you lightly touch the tops, they should feel set but still tender.
-
Allow the cookies to cool on the cookie sheets for a few minutes after baking. This helps them firm up and prevents them from breaking. Then, carefully transfer them to wire racks or plates to cool completely.
Notes
- Accurate Flour Measurement: For the best results, always measure flour by spooning it into the measuring cup and leveling it with a knife, rather than scooping directly, which can lead to over-measurement.
- Dough Consistency is Key: The dough for these cookies is naturally thick and somewhat dry. This is intentional and contributes to their chewy texture. Make sure to roll each portion of dough into a smooth ball with your hands before placing it on the baking sheet. This ensures the cookies bake evenly and have a better overall texture.
- Chocolate Chip Distribution: If some chocolate chips don’t fully mix into the dough, don’t worry! Simply take the extra chips and press them onto the tops of the cookie dough balls before baking for a more appealing finish.
- Olive Oil Flavor Profile: Choose your olive oil wisely based on your preference. A lighter-colored, milder olive oil will result in a more subtle flavor, allowing the chocolate and brown sugar to dominate. A darker, more robust olive oil will impart a more distinct, fruity note.
- Coconut Sugar Adjustment: If substituting brown sugar with coconut sugar, remember to add an additional 1-2 Tablespoons of olive oil or 2-4 Tablespoons of unsweetened applesauce to the batter. Coconut sugar does not retain moisture as well as brown sugar, and this adjustment will prevent the cookies from becoming dry or dense.
- Prevent Over-Baking: This is crucial for chewy cookies! Bake until the edges are just set and lightly firm, but the centers still look soft and slightly undercooked. They will continue to set as they cool. Over-baked cookies will be hard and crumbly.
Nutrition
Serving:
1
cookie
Calories:
179
kcal
Carbohydrates:
20.8
g
Protein:
2.2
g
Fat:
10
g
Nutrition information is automatically calculated and should be used as an approximation.
Additional Info
Dessert
American
Tried this recipe?
Mention @perchancetocook or tag #perchancetocook on Instagram!