
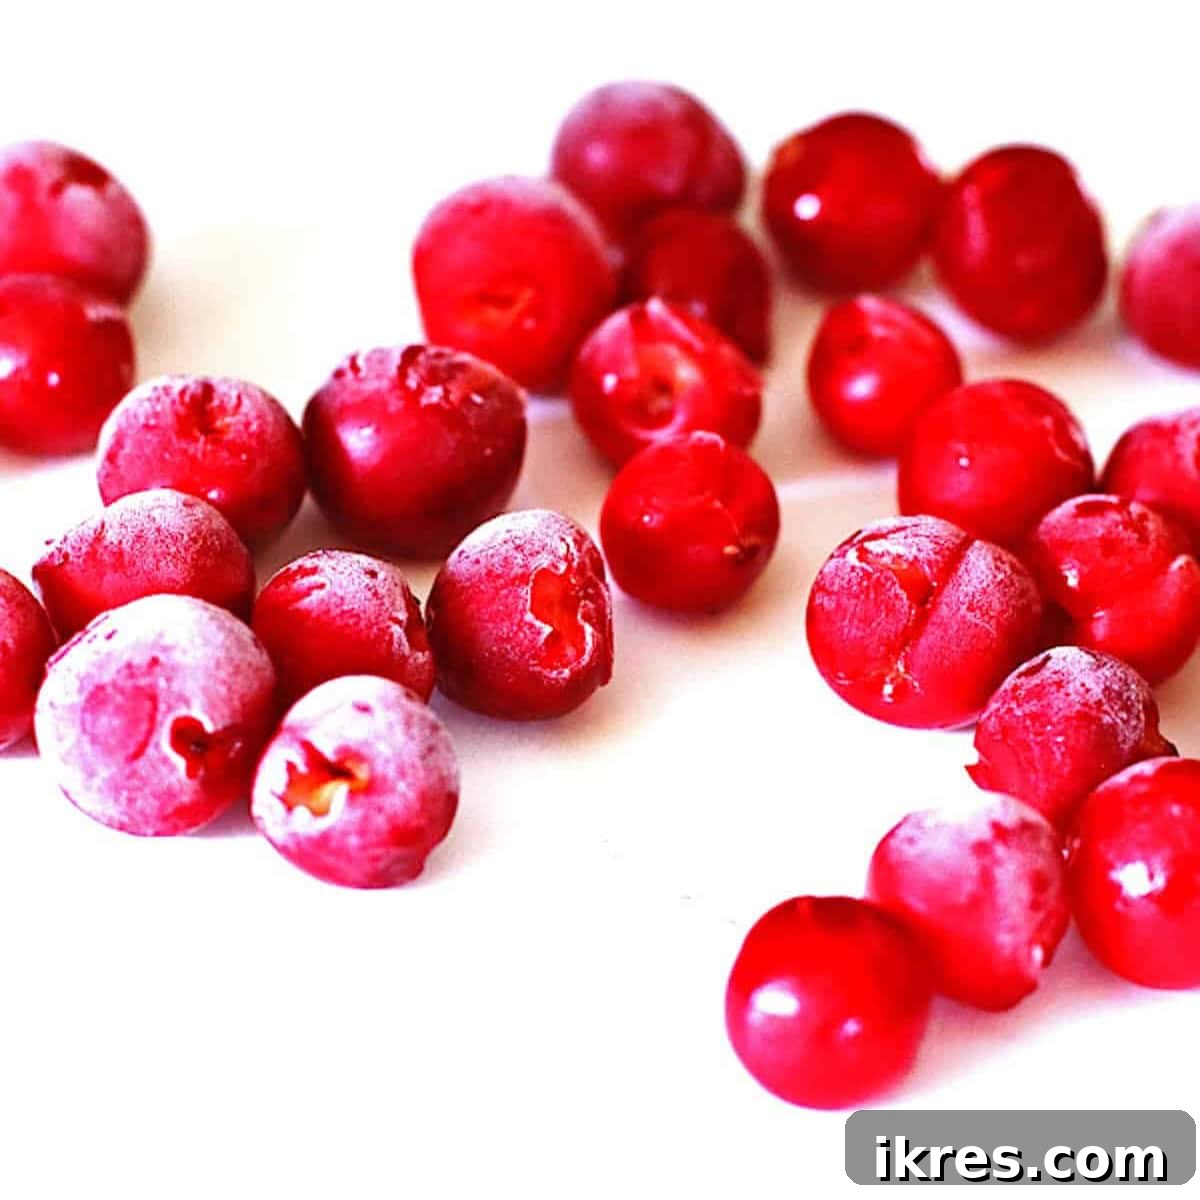
Cherries are a beloved seasonal fruit, celebrated for their vibrant color and delightful taste. Whether you’re a fan of the intensely tart Montmorency or the lusciously sweet Bing and Rainier varieties, the cherry season often feels too short. Fortunately, with the right techniques, you can capture their peak flavor and enjoy this versatile fruit long after summer has faded. Freezing cherries is an incredibly simple yet effective method to extend their shelf life, making them readily available for your favorite smoothies, pies, crumbles, sauces, and countless other culinary creations. This comprehensive guide will walk you through everything you need to know about how to freeze cherries, ensuring they retain their delicious taste and texture for year-round enjoyment, perfect for everything from a quick morning smoothie to a decadent baked treat.
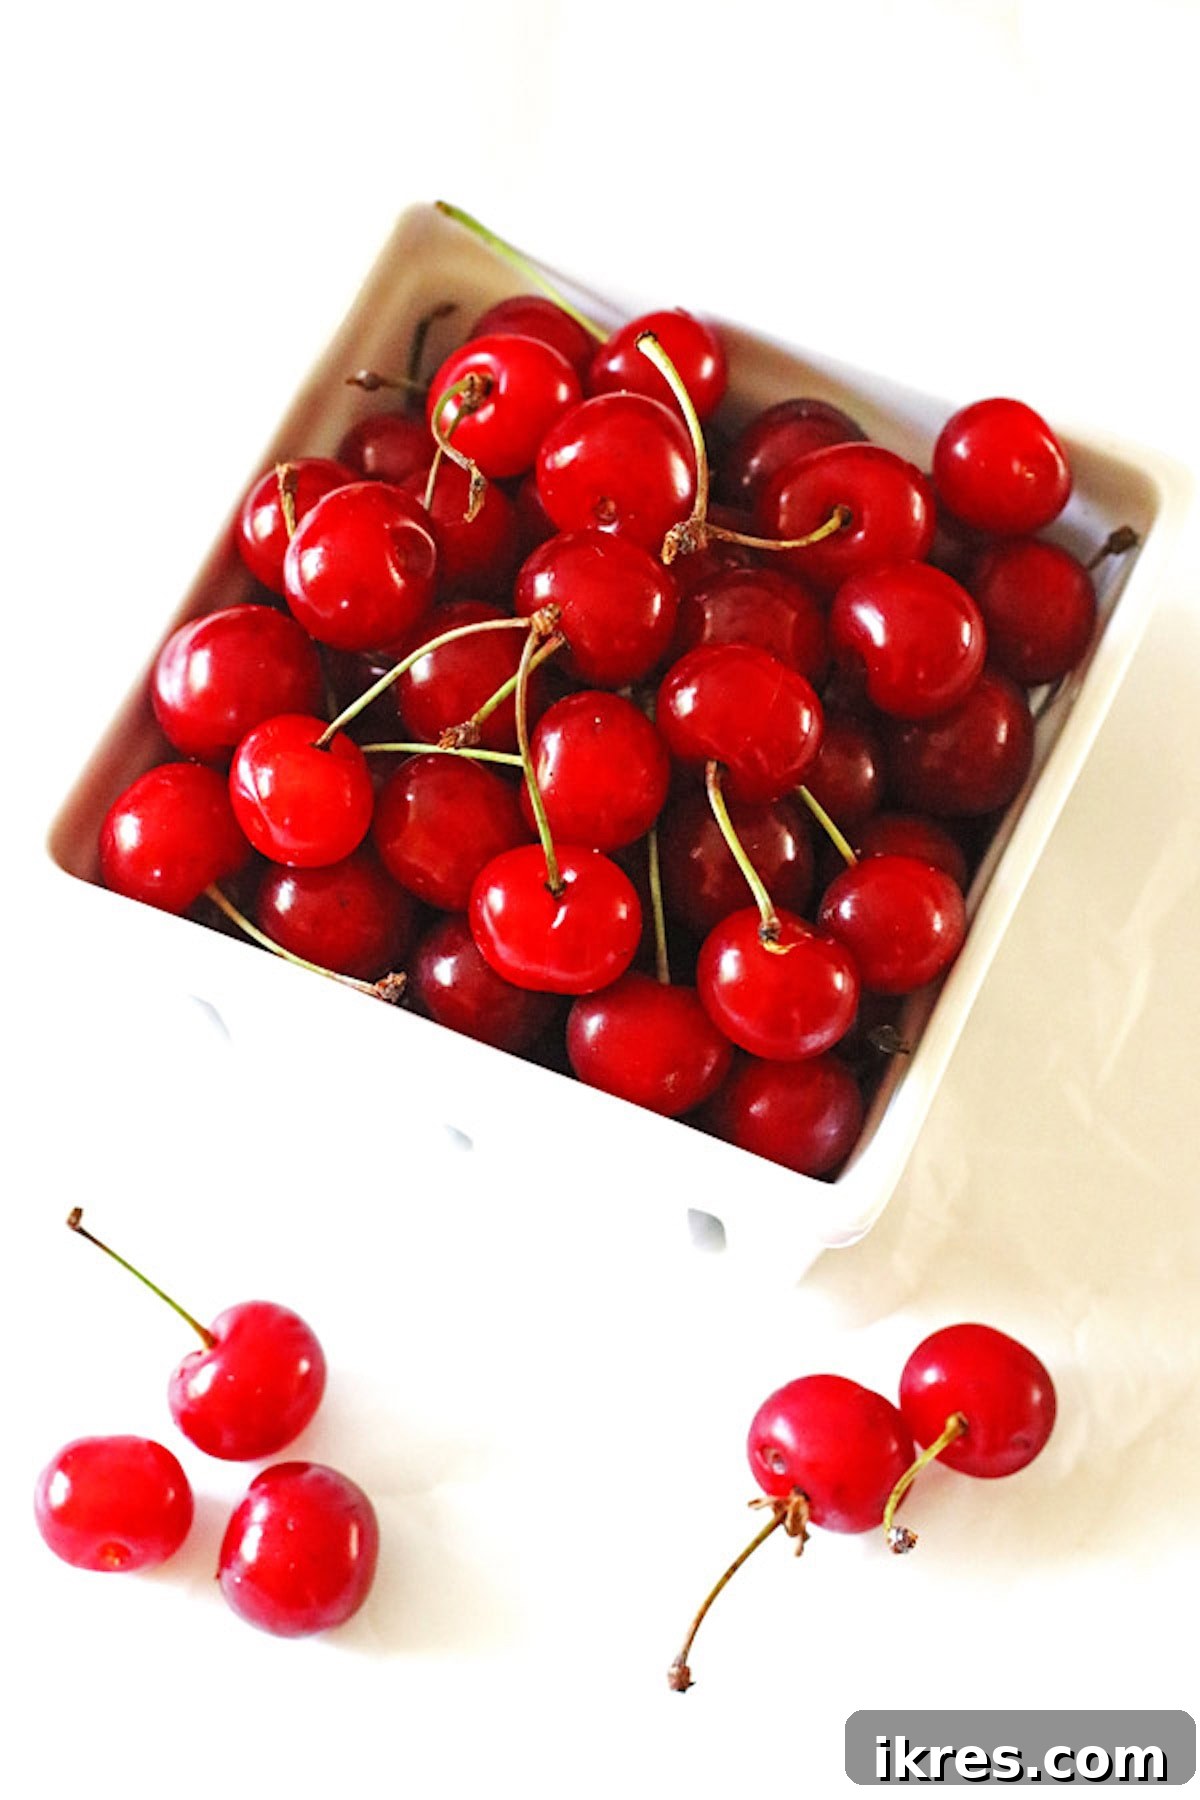
Why Freeze Fresh Cherries? Extend the Season & Enhance Your Recipes
Freezing offers numerous benefits that make it the preferred preservation method for many cherry enthusiasts. Primarily, it allows you to savor the taste of fresh cherries long past their short harvest window, which typically spans from late spring to mid-summer. Imagine enjoying a refreshing cherry smoothie in the dead of winter or baking a homemade cherry pie for a holiday gathering, all with fruit picked at its prime. This significantly extends the fleeting joy of cherry season, transforming it into a year-long indulgence for your palate.
Beyond extending availability, freezing effectively preserves the nutritional integrity of cherries, locking in essential vitamins, minerals, and powerful antioxidants, such as Vitamin C and the anthocyanins responsible for their vibrant color and associated health benefits. It also offers unparalleled convenience; having pre-pitted, flash-frozen cherries on hand means considerably less prep time for impromptu baking sessions, healthy snacks, or morning smoothie routines. Frozen cherries are remarkably versatile and can be used directly from the freezer in most recipes, reducing the need for thawing. Furthermore, buying cherries in bulk during their peak season and freezing them can be a highly cost-effective way to enjoy this delightful fruit throughout the year, preventing food waste and ensuring a steady supply of natural sweetness for your kitchen without compromising on quality or flavor.
Selecting the Perfect Cherries for Freezing
Choose Ripe, High-Quality Cherries
The success of your frozen cherries hinges on selecting the right fruit from the very beginning. Always opt for cherries that are at their peak ripeness – they should be plump, firm to the touch, and possess a deep, rich color characteristic of their variety. For sweet varieties such as Bing, Chelan, Lapins, or Rainier, look for a glossy skin and a uniform, vibrant hue. Rainier cherries, in particular, will exhibit a distinctive red blush over a yellow skin, which is a key indicator of optimal ripeness. For tart varieties like Montmorency or Morello, seek out bright red, firm fruits that yield slightly to gentle pressure.
It is crucial to inspect your cherries meticulously: avoid any that appear bruised, excessively soft, shriveled, or show even the slightest signs of mold, as these imperfections will only become more pronounced after freezing and thawing, ultimately diminishing the overall quality and taste of your preserved fruit. While the stems can technically be removed before or after freezing, it is generally easier to manage the pitting process without them. If you are purchasing pre-packaged cherries, carefully examine the container for any signs of spoilage or excessive moisture, which could indicate a compromised shelf life. Choosing the freshest, highest-quality cherries available ensures that your frozen bounty will deliver the best possible flavor and texture when you’re ready to incorporate them into your favorite recipes.
How to Freeze Fresh Cherries: A Step-by-Step Guide for Optimal Results
Freezing cherries is a straightforward process, but following these precise steps will ensure your fruit remains delicious and easy to use all year long.
Step 1: Wash and Thoroughly Dry Your Cherries
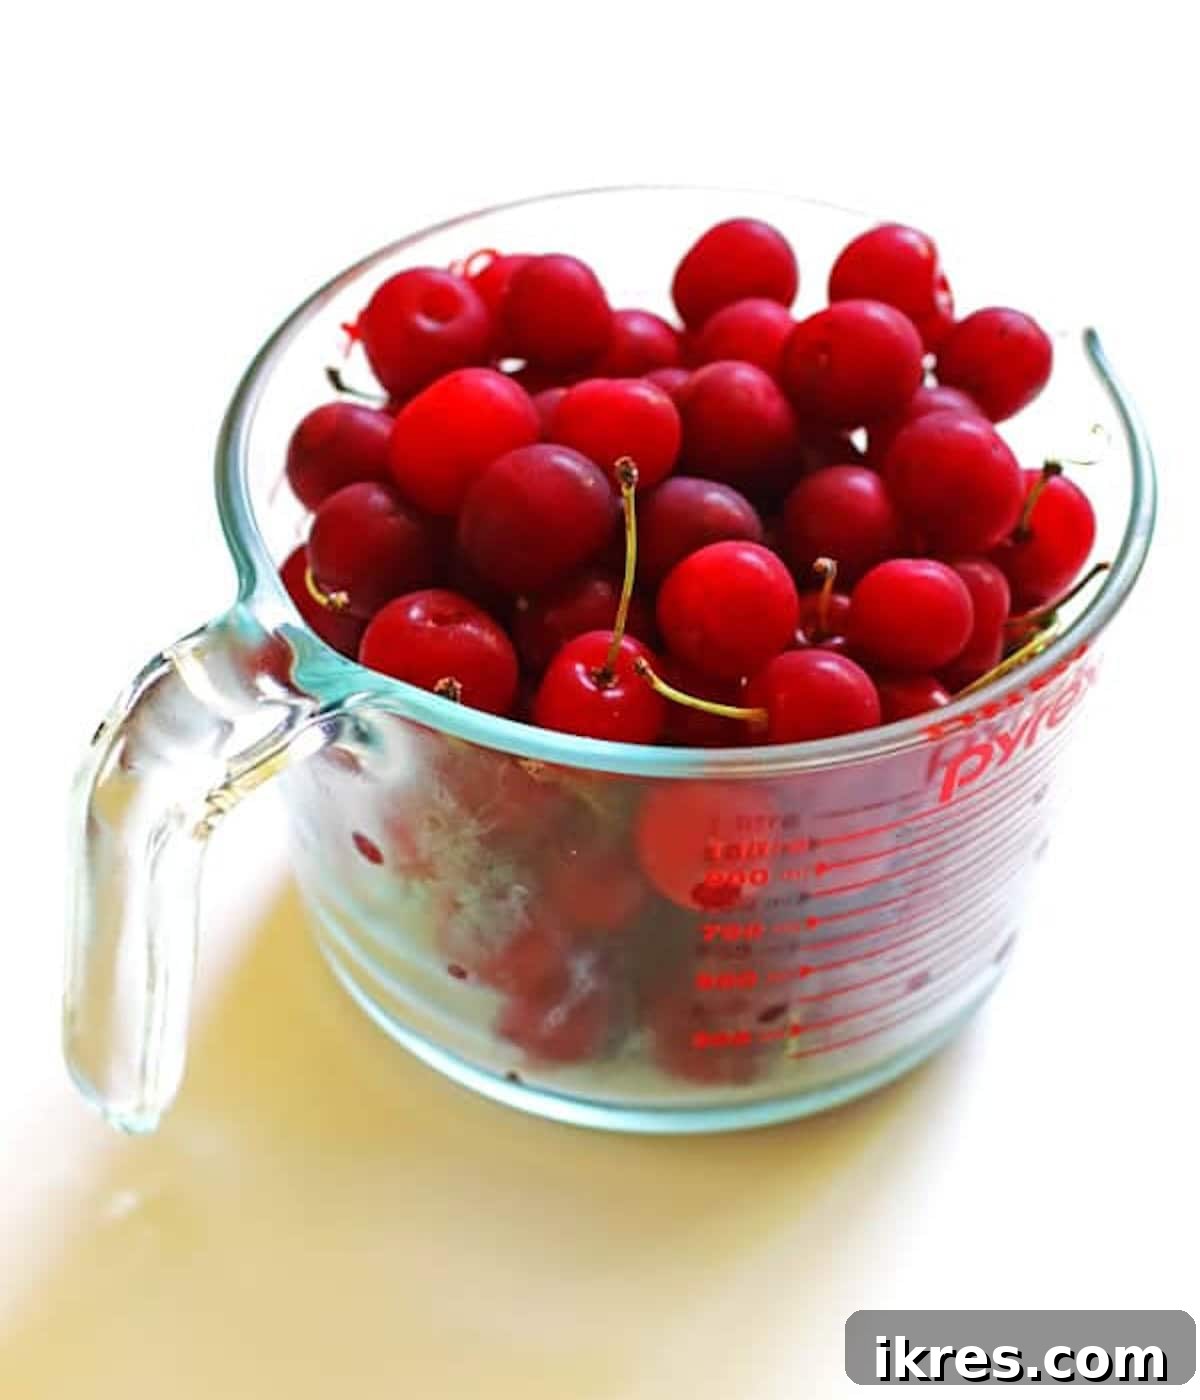
Before any freezing takes place, proper cleaning is an essential first step. Gently rinse your cherries under cool running water. You can place them in a colander or a large bowl to make this process easier and ensure all fruits are cleaned thoroughly. This action effectively removes any surface dirt, lingering debris, or residual pesticides that might be clinging to the fruit’s skin. After rinsing, the most critical step for successful freezing is thorough drying. Any excess moisture clinging to the cherries’ surface can lead to the formation of undesirable ice crystals during the freezing process. These ice crystals can damage the fruit’s delicate cell structure, resulting in a mushy or watery texture once thawed, and significantly increasing the risk of freezer burn. To dry them effectively, spread the washed cherries in a single layer on a clean kitchen towel or several layers of absorbent paper towels. Gently pat them dry, or allow them to air-dry for an extended period, turning them occasionally, until all visible surface moisture has completely evaporated. This meticulous drying process is key to maintaining the cherries’ firm texture and preventing them from sticking together in the freezer, ensuring a superior quality frozen product.
Step 2: Pit the Cherries (Highly Recommended for Convenience and Flavor)
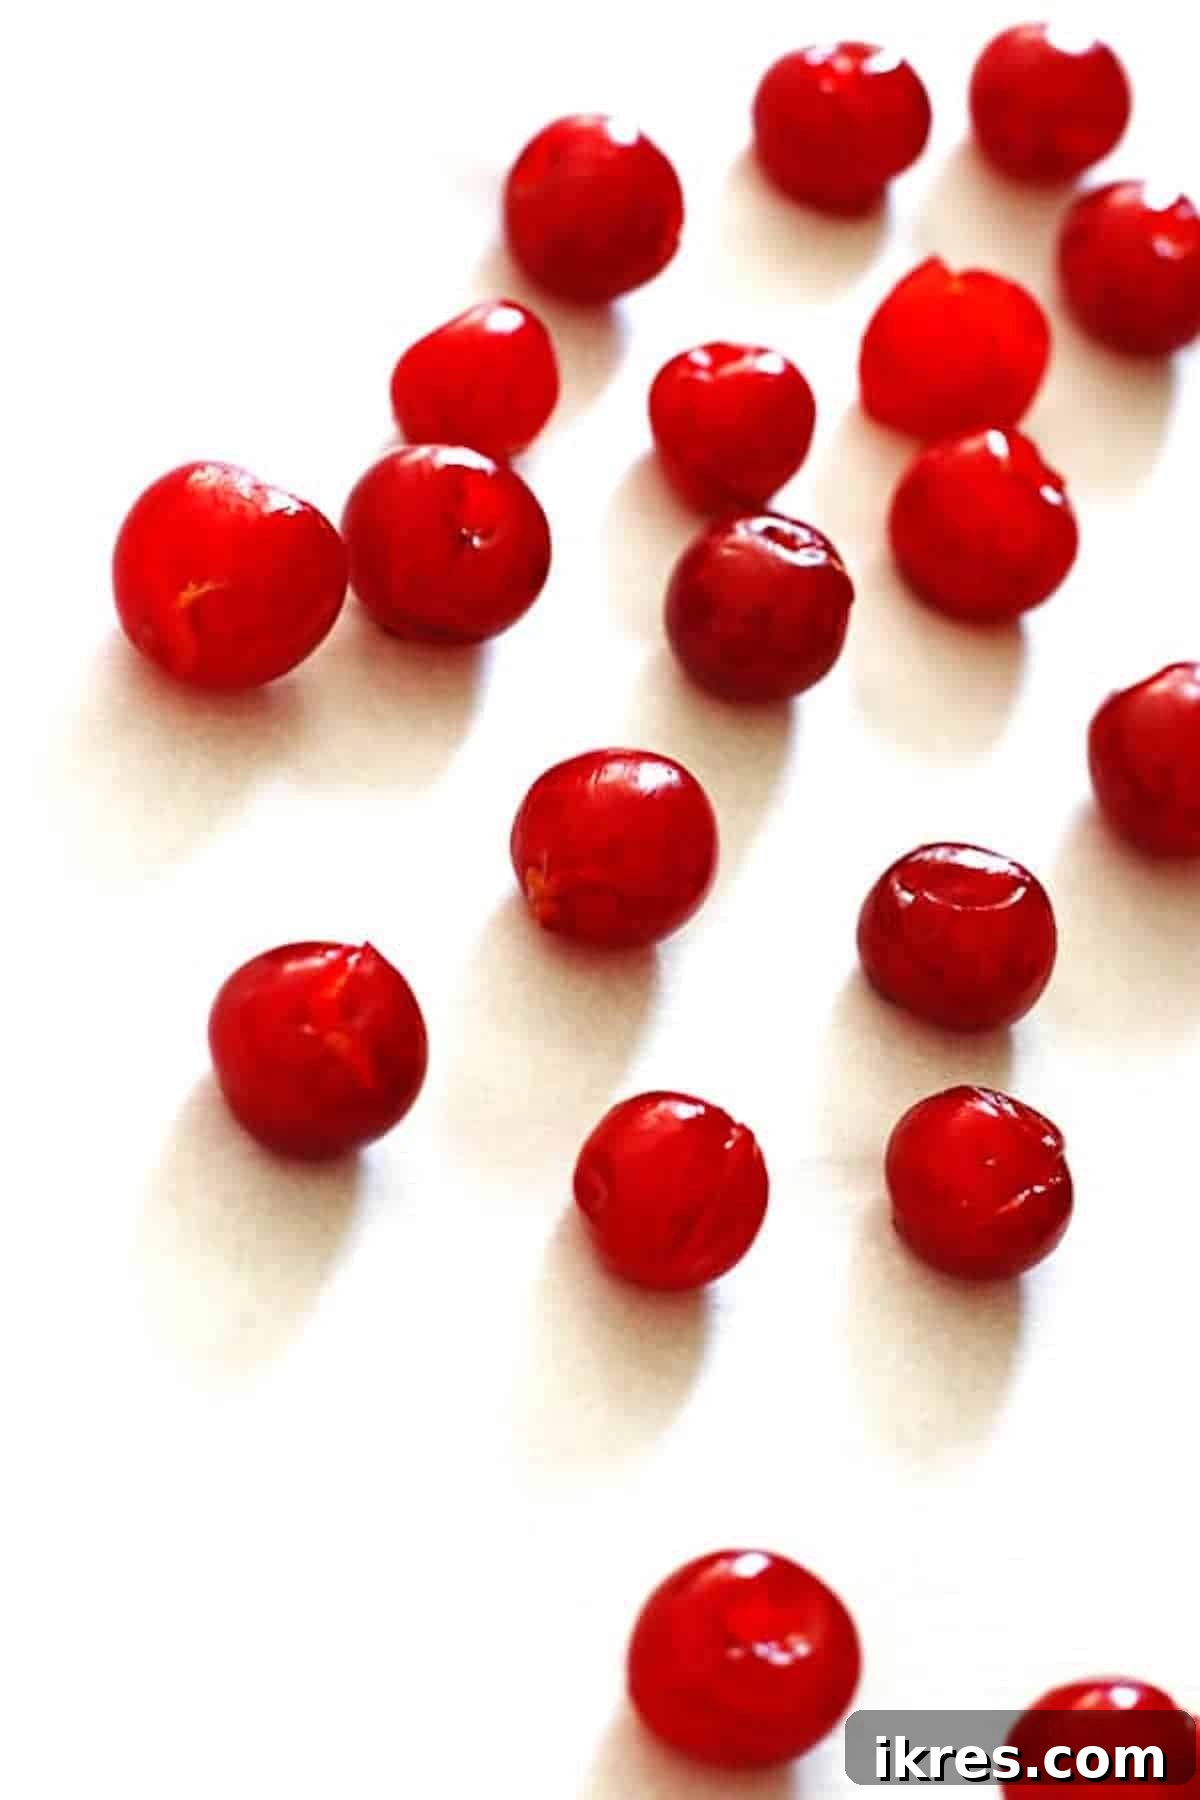
Pitting cherries before freezing is a preparatory step you will undoubtedly be grateful for later. While it is technically possible to freeze cherries with their pits intact, removing them beforehand offers significant advantages in terms of convenience, culinary versatility, and overall flavor and safety. Pitted cherries are far more straightforward and enjoyable to use directly from the freezer in various recipes such as cherry pies, smoothies, sauces, crumbles, or cobblers, eliminating the messy and often tedious task of pitting frozen fruit. Furthermore, many culinary experts suggest that cherry pits can impart a subtle bitter or even an almond-like flavor to the fruit when frozen for extended periods, due to certain compounds present within the pit. Removing the pits ensures that the pure, unadulterated sweet or tart cherry flavor remains untainted and enjoyable.
There are several effective and popular ways to pit cherries:
- Cherry Pitter: This specialized kitchen gadget is undeniably designed for maximum efficiency and precision, making quick work of even large batches of cherries. Simply place a cherry in the pitter’s designated holder, squeeze the handles firmly, and a plunger mechanism pushes the pit cleanly out of the fruit. Many models also come equipped with a clever container to collect the extracted pits, thereby minimizing mess and making cleanup a breeze. A reliable cherry pitter is a worthwhile and time-saving investment if you frequently work with fresh cherries.
- Paring Knife: If you don’t happen to own a dedicated cherry pitter, a small, sharp paring knife can be used effectively. Carefully cut the cherry in half along its natural seam, gently exposing the pit, which can then be easily removed with the tip of the knife or your fingers. This method is perfectly effective, especially for smaller batches of cherries, though it can be a bit more time-consuming than using a pitter.
- Chopstick or Straw Method: For a clever and resourceful DIY approach, first remove the cherry stem. Then, hold the cherry firmly with one hand and, using a sturdy chopstick or a thick plastic/metal straw, push it through the stem end of the cherry until the pit pops cleanly out the other side. This method is surprisingly efficient and relatively clean, often leaving most of the cherry fruit intact.
Whichever pitting method you choose, always double-check your cherries to ensure all pits have been thoroughly removed for safety and enjoyment. Once pitted, your cherries are now perfectly prepared for the next crucial stage of the freezing process.
Step 3: Single Layer Flash Freezing for Perfect Separation
To prevent your prepared cherries from clumping together into an unusable frozen block – a common issue with batch freezing – a technique known as flash freezing (or tray freezing) is absolutely essential. Begin this step by lining a large, rimmed baking sheet with either parchment paper or a silicone baking mat. This crucial lining prevents the cherries from sticking firmly to the pan’s surface and makes transferring them significantly easier later on. Next, carefully spread the pitted cherries in a single, even layer on the prepared baking sheet. It is vital to ensure that the individual cherries do not touch each other. Ample space between each cherry is paramount for individual freezing, which maintains their distinct shape and makes it incredibly simple and convenient to grab just the amount you need from the freezer without having to chisel them apart. This particular step is a game-changer for enhancing both the convenience and the overall quality of your frozen cherries, ensuring they remain loose and easy to use for all your culinary endeavors.
Step 4: The Initial Deep Freeze
Once your cherries are meticulously arranged on the baking sheet for flash freezing, carefully transfer the entire sheet into your freezer. Position it on a flat, level surface where it won’t be disturbed or tilted during the freezing process. Allow the cherries to freeze for approximately 2 to 4 hours, or until they are completely solid and hard to the touch. The exact freezing time may vary slightly depending on the temperature setting of your freezer and the size and density of your cherries. This initial flash-freezing process is critical because it rapidly locks in their freshness, prevents them from clumping, and ensures that each cherry freezes independently. Once frozen solid, they should be easily separable when gently nudged, confirming they are perfectly ready for the final, long-term storage stage.
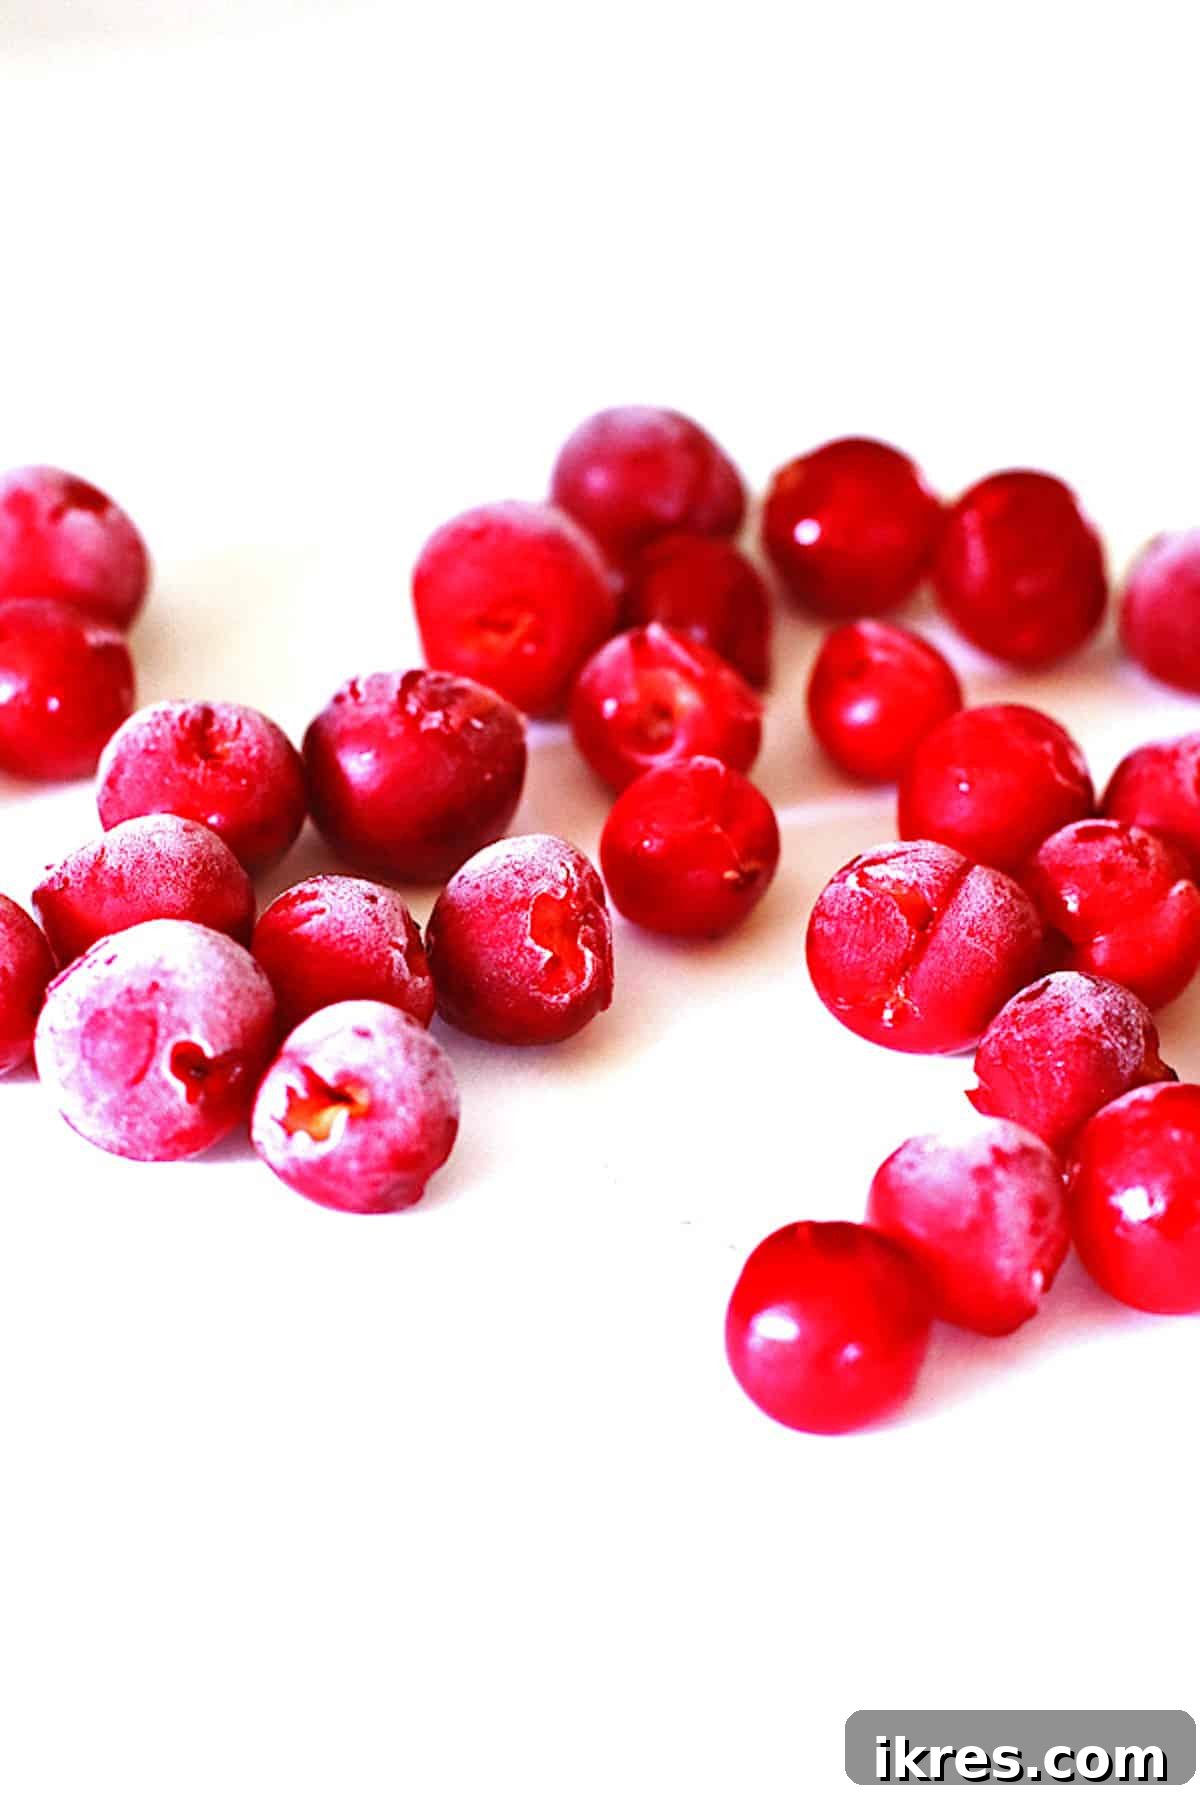
Step 5: Transfer to Airtight Containers or Freezer Bags for Long-Term Storage
Once your cherries are perfectly flash-frozen and no longer sticky or prone to clumping, it’s time to transfer them for long-term storage. Gently gather the frozen cherries from the baking sheet and immediately place them into airtight, freezer-safe containers or heavy-duty freezer bags. The primary goal here is to minimize their exposure to air as much as possible, which is the key to preventing freezer burn. If you are using freezer bags, press out as much air as you can before sealing. For an even more effective seal, you can use a straw to suck out the remaining air just before fully zipping the bag closed, creating a rudimentary vacuum effect. Reducing air exposure is paramount for preventing freezer burn, which can manifest as dry, tough, discolored, or icy patches on the fruit, significantly degrading the cherries’ quality, flavor, and texture over time. Don’t forget to meticulously label your containers or bags with the date of freezing and the contents (e.g., “Frozen Pitted Cherries – 07/2024”) to easily keep track of their shelf life and ensure proper rotation. Reusable silicone bags, such as Stasher bags, are an excellent eco-friendly and highly effective option for this step, offering superior durability and an airtight seal that helps maintain optimal freshness.
Optimal Storage & Shelf Life of Frozen Cherries
Properly frozen and stored cherries can maintain their peak quality in a consistently cold freezer (ideally at 0°F or -18°C or colder) for an impressive period of 8 to 12 months. Beyond this recommended timeframe, they are still perfectly safe to eat, but you might begin to notice a gradual decline in their flavor intensity, vibrant color, and firm texture. For the absolute best taste and consistency, it’s generally recommended to make use of your stash of frozen cherries within 6 months of freezing. To significantly maximize their shelf life and prevent any premature loss of quality, always ensure your storage containers or bags are truly airtight and that your freezer temperature remains stable without frequent fluctuations. Temperature variations, often caused by frequent opening of the freezer door, overfilling the freezer, or inconsistent thermostat settings, can lead to the formation of large ice crystals and accelerate the onset of freezer burn. Freezer burn is characterized by dry, icy, and sometimes discolored spots on the fruit, indicating a loss of moisture. While freezer-burned cherries are still safe to consume, their culinary quality will be noticeably diminished, making them less appealing for many recipes. Regular inventory checks of your freezer contents will help you rotate your stock effectively, ensuring you enjoy your perfectly preserved cherries at their freshest and most delicious.
Delicious Ways to Use Your Frozen Cherries
With a well-stocked supply of frozen cherries, your culinary possibilities are truly endless and exciting. Their vibrant flavor, natural sweetness (or tartness), and convenient, pre-prepared form make them an incredibly versatile ingredient in a wide range of both sweet and savory applications. There’s often no need to thaw them for many uses; frequently, they can be used directly from the freezer, especially in recipes where they will be cooked, baked, or blended. Here are some inspiring and delicious ideas to make the most of your frozen bounty:
Smoothies and Shakes: A Chilly Burst of Flavor
Frozen cherries are an absolute staple for any smoothie enthusiast, and for very good reason. They not only impart a beautiful, deep ruby-red color and a wonderful natural sweetness to your drinks but also contribute a wonderfully creamy, frosty texture, often eliminating the need for additional ice. Simply toss a generous handful of frozen, pitted cherries directly into your blender along with your preferred liquid (dairy milk, almond milk, coconut water, or fruit juice), a scoop of yogurt or protein powder, and any other fruits or greens you enjoy. For a particularly delightful and tropical combination, try blending them into a refreshing Cherry Pineapple Smoothie. The bright tanginess of pineapple beautifully complements the rich sweetness of cherries, creating a perfectly balanced and highly nutritious drink that is ideal for a quick and energizing breakfast, a satisfying post-workout refuel, or a healthy and delicious afternoon snack.
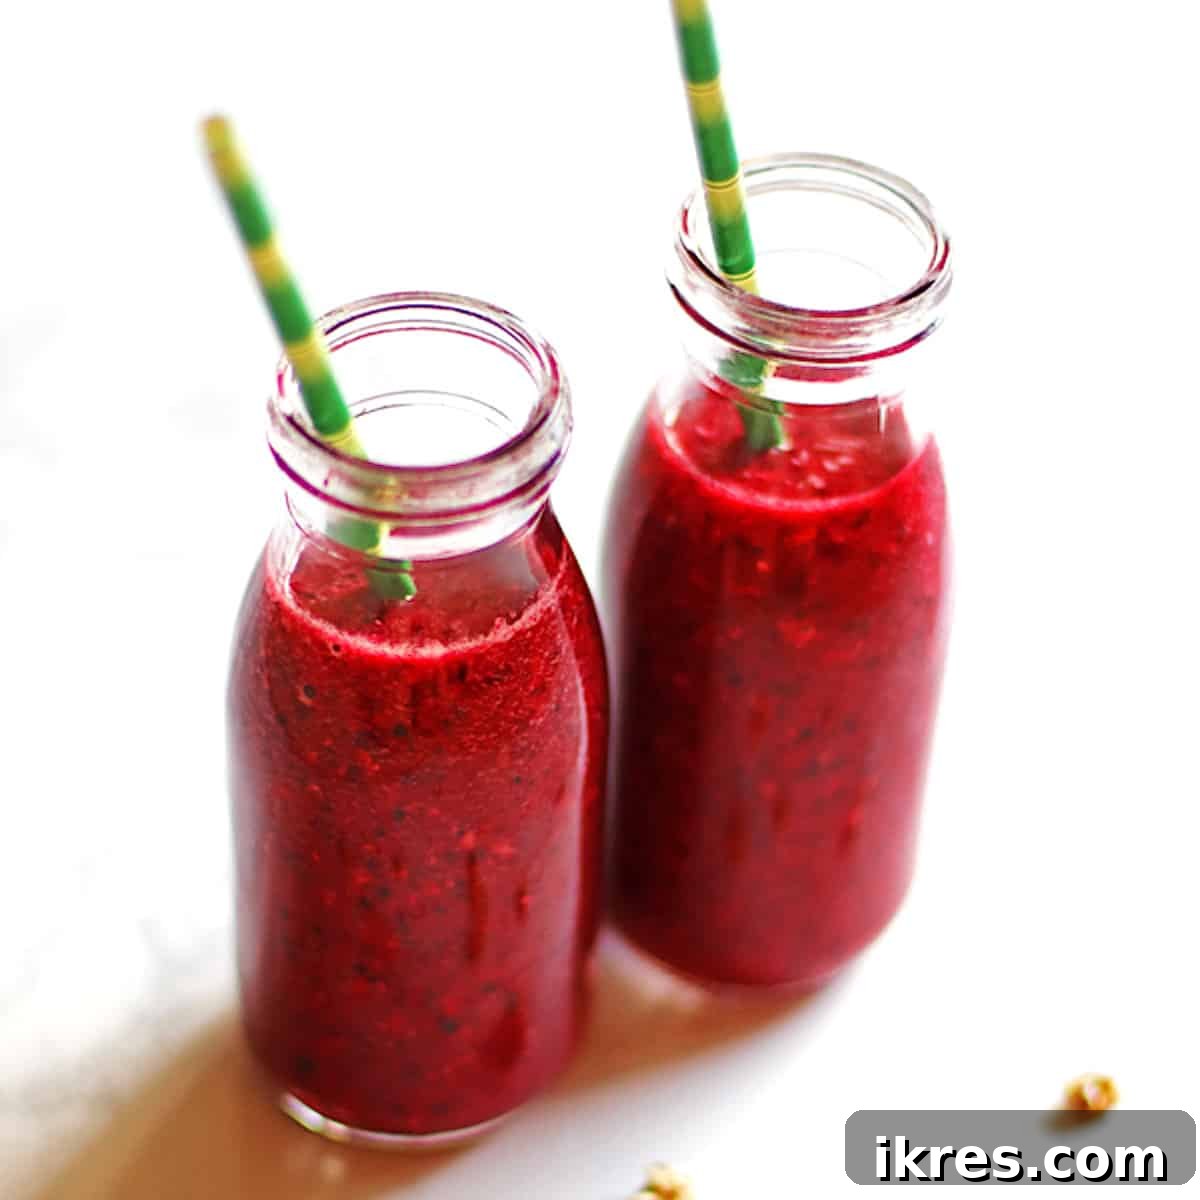
Cherry Pineapple Smoothie
A refreshing blend of sweet cherries and tangy pineapple, perfect for a quick breakfast or healthy snack.
Decadent Desserts: Baked Goods & Sweet Treats
Frozen cherries truly shine and come alive in a wide array of baked goods and desserts, bringing a burst of intense and delightful fruit flavor to every bite. They can very often be used directly from the freezer in many recipes, typically requiring little to no thawing beforehand. Their natural juices readily release during the baking or cooking process, creating rich, flavorful fillings and sauces that wonderfully enhance your sweet creations, making them taste as if they were made with freshly picked fruit.
- Pies and Tarts: The classic Cherry Pie is a timeless and beloved dessert, and frozen cherries are absolutely ideal for creating luscious, bubbling pie fillings. For the best results, you might need to slightly adjust your recipe to account for the extra moisture frozen fruit can release, perhaps by adding a bit more thickener like cornstarch or flour to achieve the perfect consistency.
- Cobblers and Crisps: These comforting, rustic desserts are perfect for showcasing the vibrant flavor of frozen cherries. Combine them with a delightful, crumbly sweet topping (oats for crisps, biscuits for cobblers) for an easy, warming, and incredibly satisfying treat that’s ideal for any season or gathering.
- Sauces and Compotes: Simmer frozen cherries with a touch of sugar, a squeeze of fresh lemon juice, and optional aromatic spices like cinnamon, cloves, or vanilla extract to create a luxurious compote or a vibrant fruit sauce. This versatile topping is excellent over fluffy pancakes, crispy waffles, rich French toast, creamy plain yogurt, warm oatmeal, indulgent ice cream, or even as an elegant and surprising accompaniment to savory dishes like roasted duck or tender pork tenderloin.
- Muffins, Scones, and Breads: Gently fold frozen cherries directly into your muffin, scone, or quick bread batter. Using them in their frozen state helps significantly prevent the fruit from sinking to the bottom during baking, ensuring an even distribution and delightful pockets of juicy, fruity flavor throughout your baked goods.
- Ice Cream and Sorbets: Blend frozen cherries into homemade ice cream bases or refreshing sorbets for a natural, intense fruit flavor and a beautiful, inviting color.

Classic Cherry Pie
A timeless dessert that highlights the sweet-tart balance of cherries in a flaky, buttery crust.
Other Creative Culinary Uses for Frozen Cherries
- Jams and Preserves: Whip up homemade cherry jam or preserves, adding a touch of lemon juice for brightness and pectin if needed, for a delightful, vibrant spread that captures the essence of summer.
- Cocktails and Drinks: Muddle frozen cherries into your favorite cocktails for a fruity kick, drop them into sparkling water or iced tea for a refreshing and decorative garnish, or infuse them into spirits like vodka or gin for a unique homemade liqueur.
- Yogurt and Oatmeal Topping: A quick, healthy, and flavorful addition to plain yogurt, overnight oats, or hot oatmeal for an instant boost of fruit and nutrients.
- Salads: Thawed and roughly chopped, they can add a surprisingly delightful sweet-tart note to various green salads, especially those featuring nuts, goat cheese, or dark leafy greens.
Thawing Frozen Cherries: When and How
For many culinary applications, such as blending into smoothies, baking directly into muffins and crumbles, or simmering into compotes, there’s often no need whatsoever to thaw frozen cherries – they can be used straight from the freezer. However, if your recipe requires them to have a fresh-like texture, or if excess liquid would be detrimental, such as for a delicate fruit salad or as a precise garnish, controlled thawing is highly beneficial. To thaw, simply place the desired amount of frozen cherries in a bowl and transfer them to the refrigerator overnight. This slow, gradual thawing process helps to minimize cellular damage and allows the fruit to retain as much of their original texture as possible. For quicker thawing, you can place them in a colander under cold running water for a few minutes, or, if time is of the essence, microwave them on a defrost setting, stirring occasionally until partially thawed. Be aware that even with careful thawing, frozen cherries will typically be softer than their fresh counterparts and may release more juice. This liquid can either be drained off or skillfully incorporated into your recipe, depending on the desired outcome. Using a slotted spoon can be helpful to separate the cherries from any excess liquid during the thawing process.
Recipe Card: How to Freeze Cherries
A Simple Guide to Preserving Fresh Cherries
How to Freeze Cherries
Rating: 5 out of 5 stars (based on 1 review)
Discover the best way to preserve fresh cherries with this guide on freezing cherries for smoothies and desserts. Learn how to pit and freeze fresh cherries.
Author: Kari A
Yields: 6 servings
Prep Time: 5 mins
Freezing Time: 2 hrs
Total Time: 2 hrs 5 mins
Ingredients
- 4-6 pints ripe cherries
Instructions
- Choose ripe cherries for the best flavor. Line a baking sheet that will fit in your freezer with parchment paper.
- Use a cherry pitter or a small paring knife to remove the pits from the cherries. (Freezing the pits can make the cherries bitter.)
- Rinse the cherries under cold water and pat them dry with a paper towel. Removing any excess moisture helps prevent ice crystals from forming on the cherries.
- Arrange the pitted cherries in a single layer on a rimmed baking sheet lined with parchment paper.
- Place the baking sheet of cherries in the freezer and let them freeze for about 2-3 hours, or until they are completely frozen solid.
- Once the cherries are frozen, transfer them into airtight freezer-safe containers or freezer bags. Remove as much air as possible from the bags before sealing to prevent freezer burn.
- When you’re ready to make a smoothie or cherry pie, remove the cherries from the freezer and use them from frozen.
- For the best flavor and texture, I recommend that you use the cherries within 6 months.
Special Equipment Needed
- Parchment paper
- Baking sheet
- Cherry pitter
Nutrition (Approximate per serving)
- Calories: 35 kcal
- Carbohydrates: 9g
- Protein: 0.4g
- Fat: 0.1g
- Saturated Fat: 0.04g
- Sodium: 0.4mg
- Potassium: 141mg
- Fiber: 1g
- Sugar: 5g
- Calcium: 2mg
- Iron: 0.1mg
Nutrition information is approximate and is automatically calculated, so should only be used as a guide.
Course: Breakfast, Snack
Cuisine: American
Keywords: how to freeze cherries, how to freeze cherries for baking, how to freeze cherries for smoothies
Conclusion: Enjoy Cherries Year-Round, Effortlessly
Freezing fresh cherries is a wonderfully straightforward and incredibly rewarding process that empowers you to enjoy the unparalleled taste of this vibrant fruit all year long. By diligently following these simple yet highly effective steps – from selecting the perfect ripe cherries to proper washing, thorough pitting, crucial flash freezing, and airtight long-term storage – you can confidently preserve their peak flavor, delightful texture, and valuable nutritional content. No longer will your culinary options be limited by the fleeting cherry season; your home freezer will transform into a convenient treasure trove of sweet and tart possibilities, readily available at your fingertips.
Whether you’re blending them into a refreshing morning smoothie for an energizing start to your day, baking them into a comforting, bubbling dessert that effortlessly evokes cherished summer memories, or experimenting with exciting new savory or sweet culinary creations, frozen cherries consistently add a vibrant burst of fruity goodness that elevates any dish. Embrace the convenience, versatility, and sheer deliciousness of homemade frozen cherries, and savor the taste of summer whenever the craving strikes, enriching your meals and snacks throughout every season.
Did you find this comprehensive guide helpful for freezing cherries? We’d love to hear about your experiences and favorite ways to use frozen cherries. Please share your thoughts and tips in the comments below!