
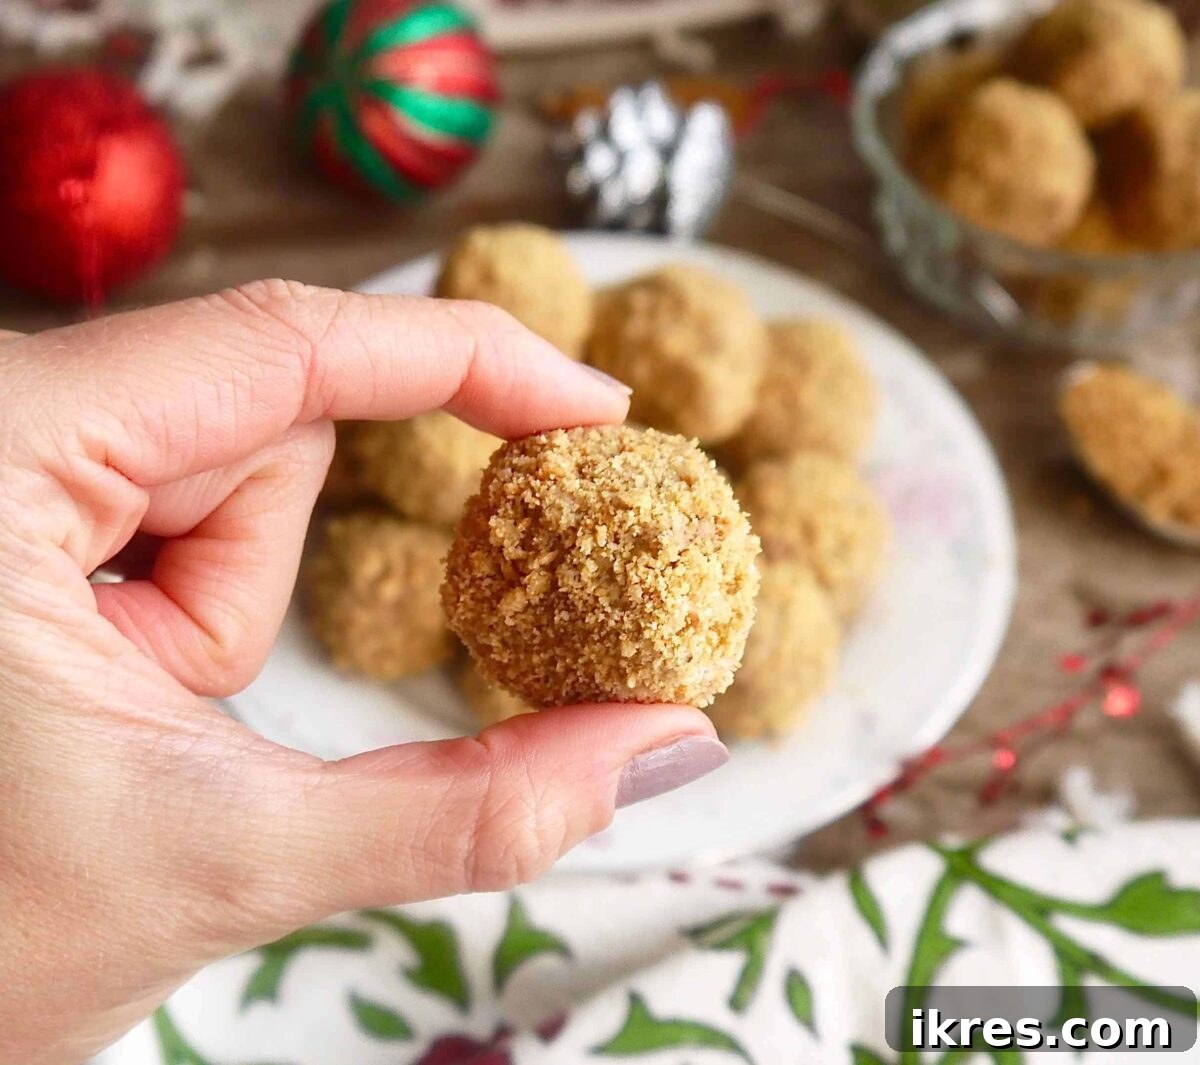
Paleo Chocolate Mousse Truffles: A Decadent Dairy-Free & Gluten-Free Treat
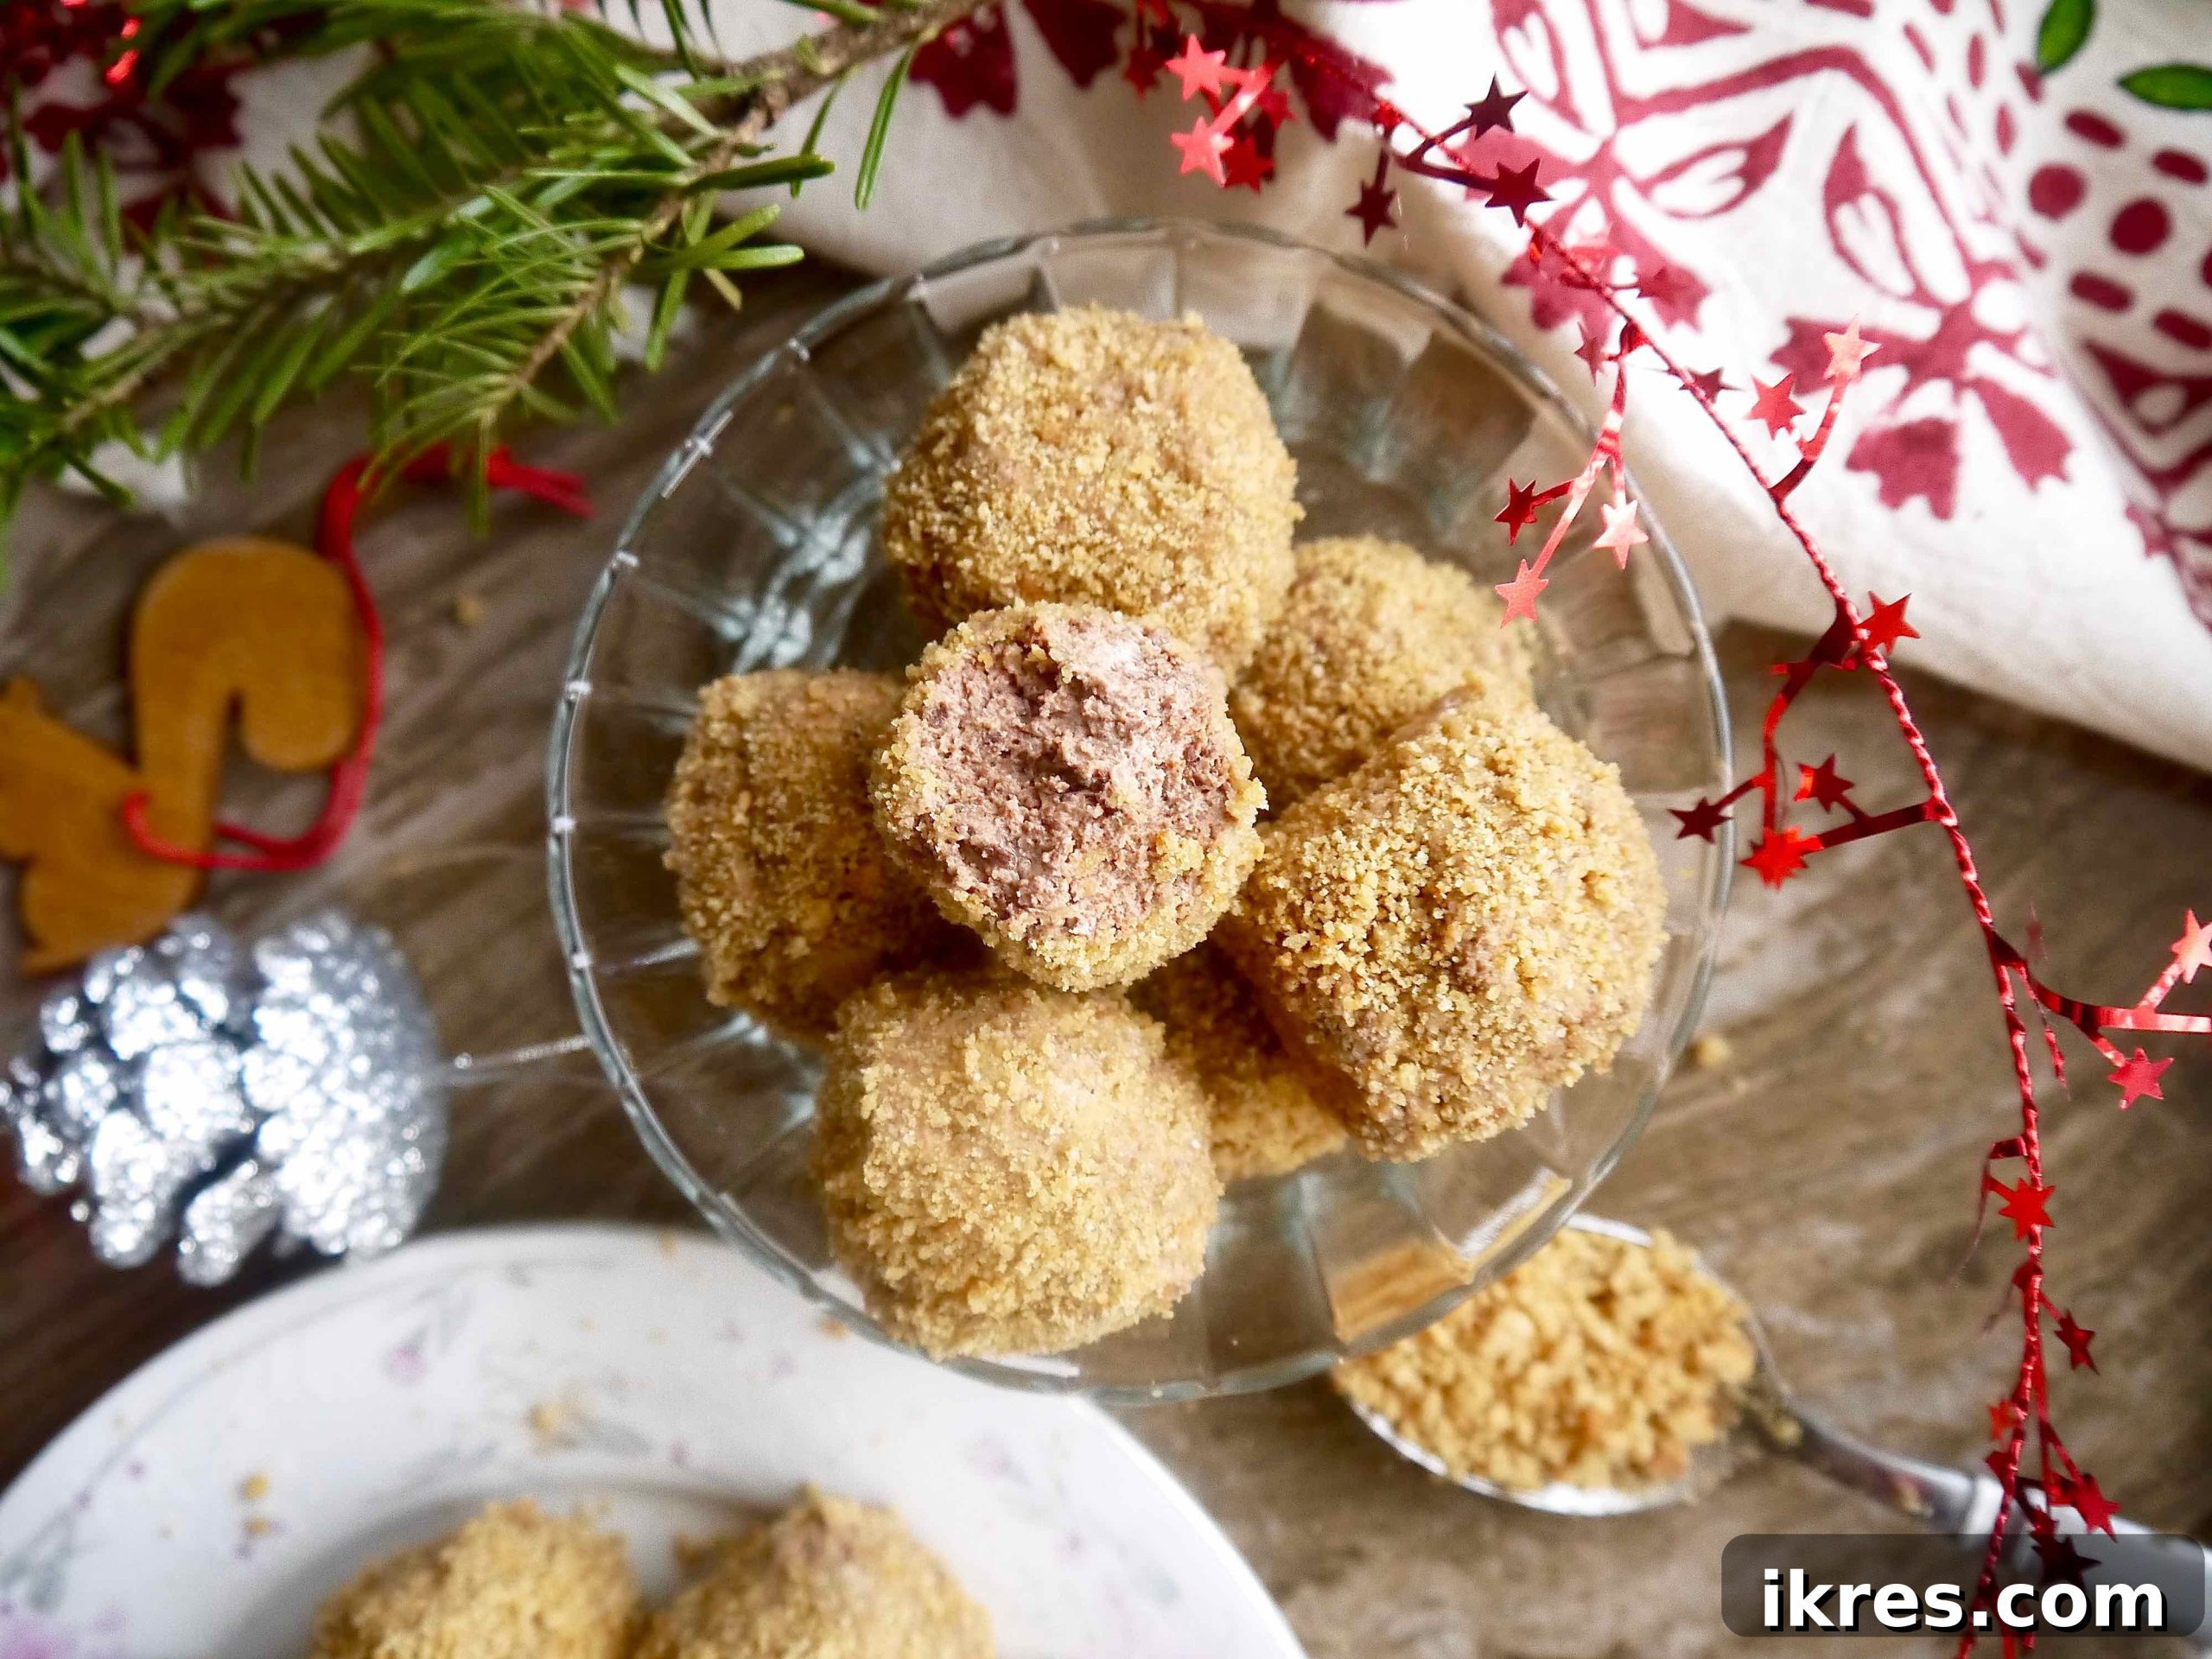
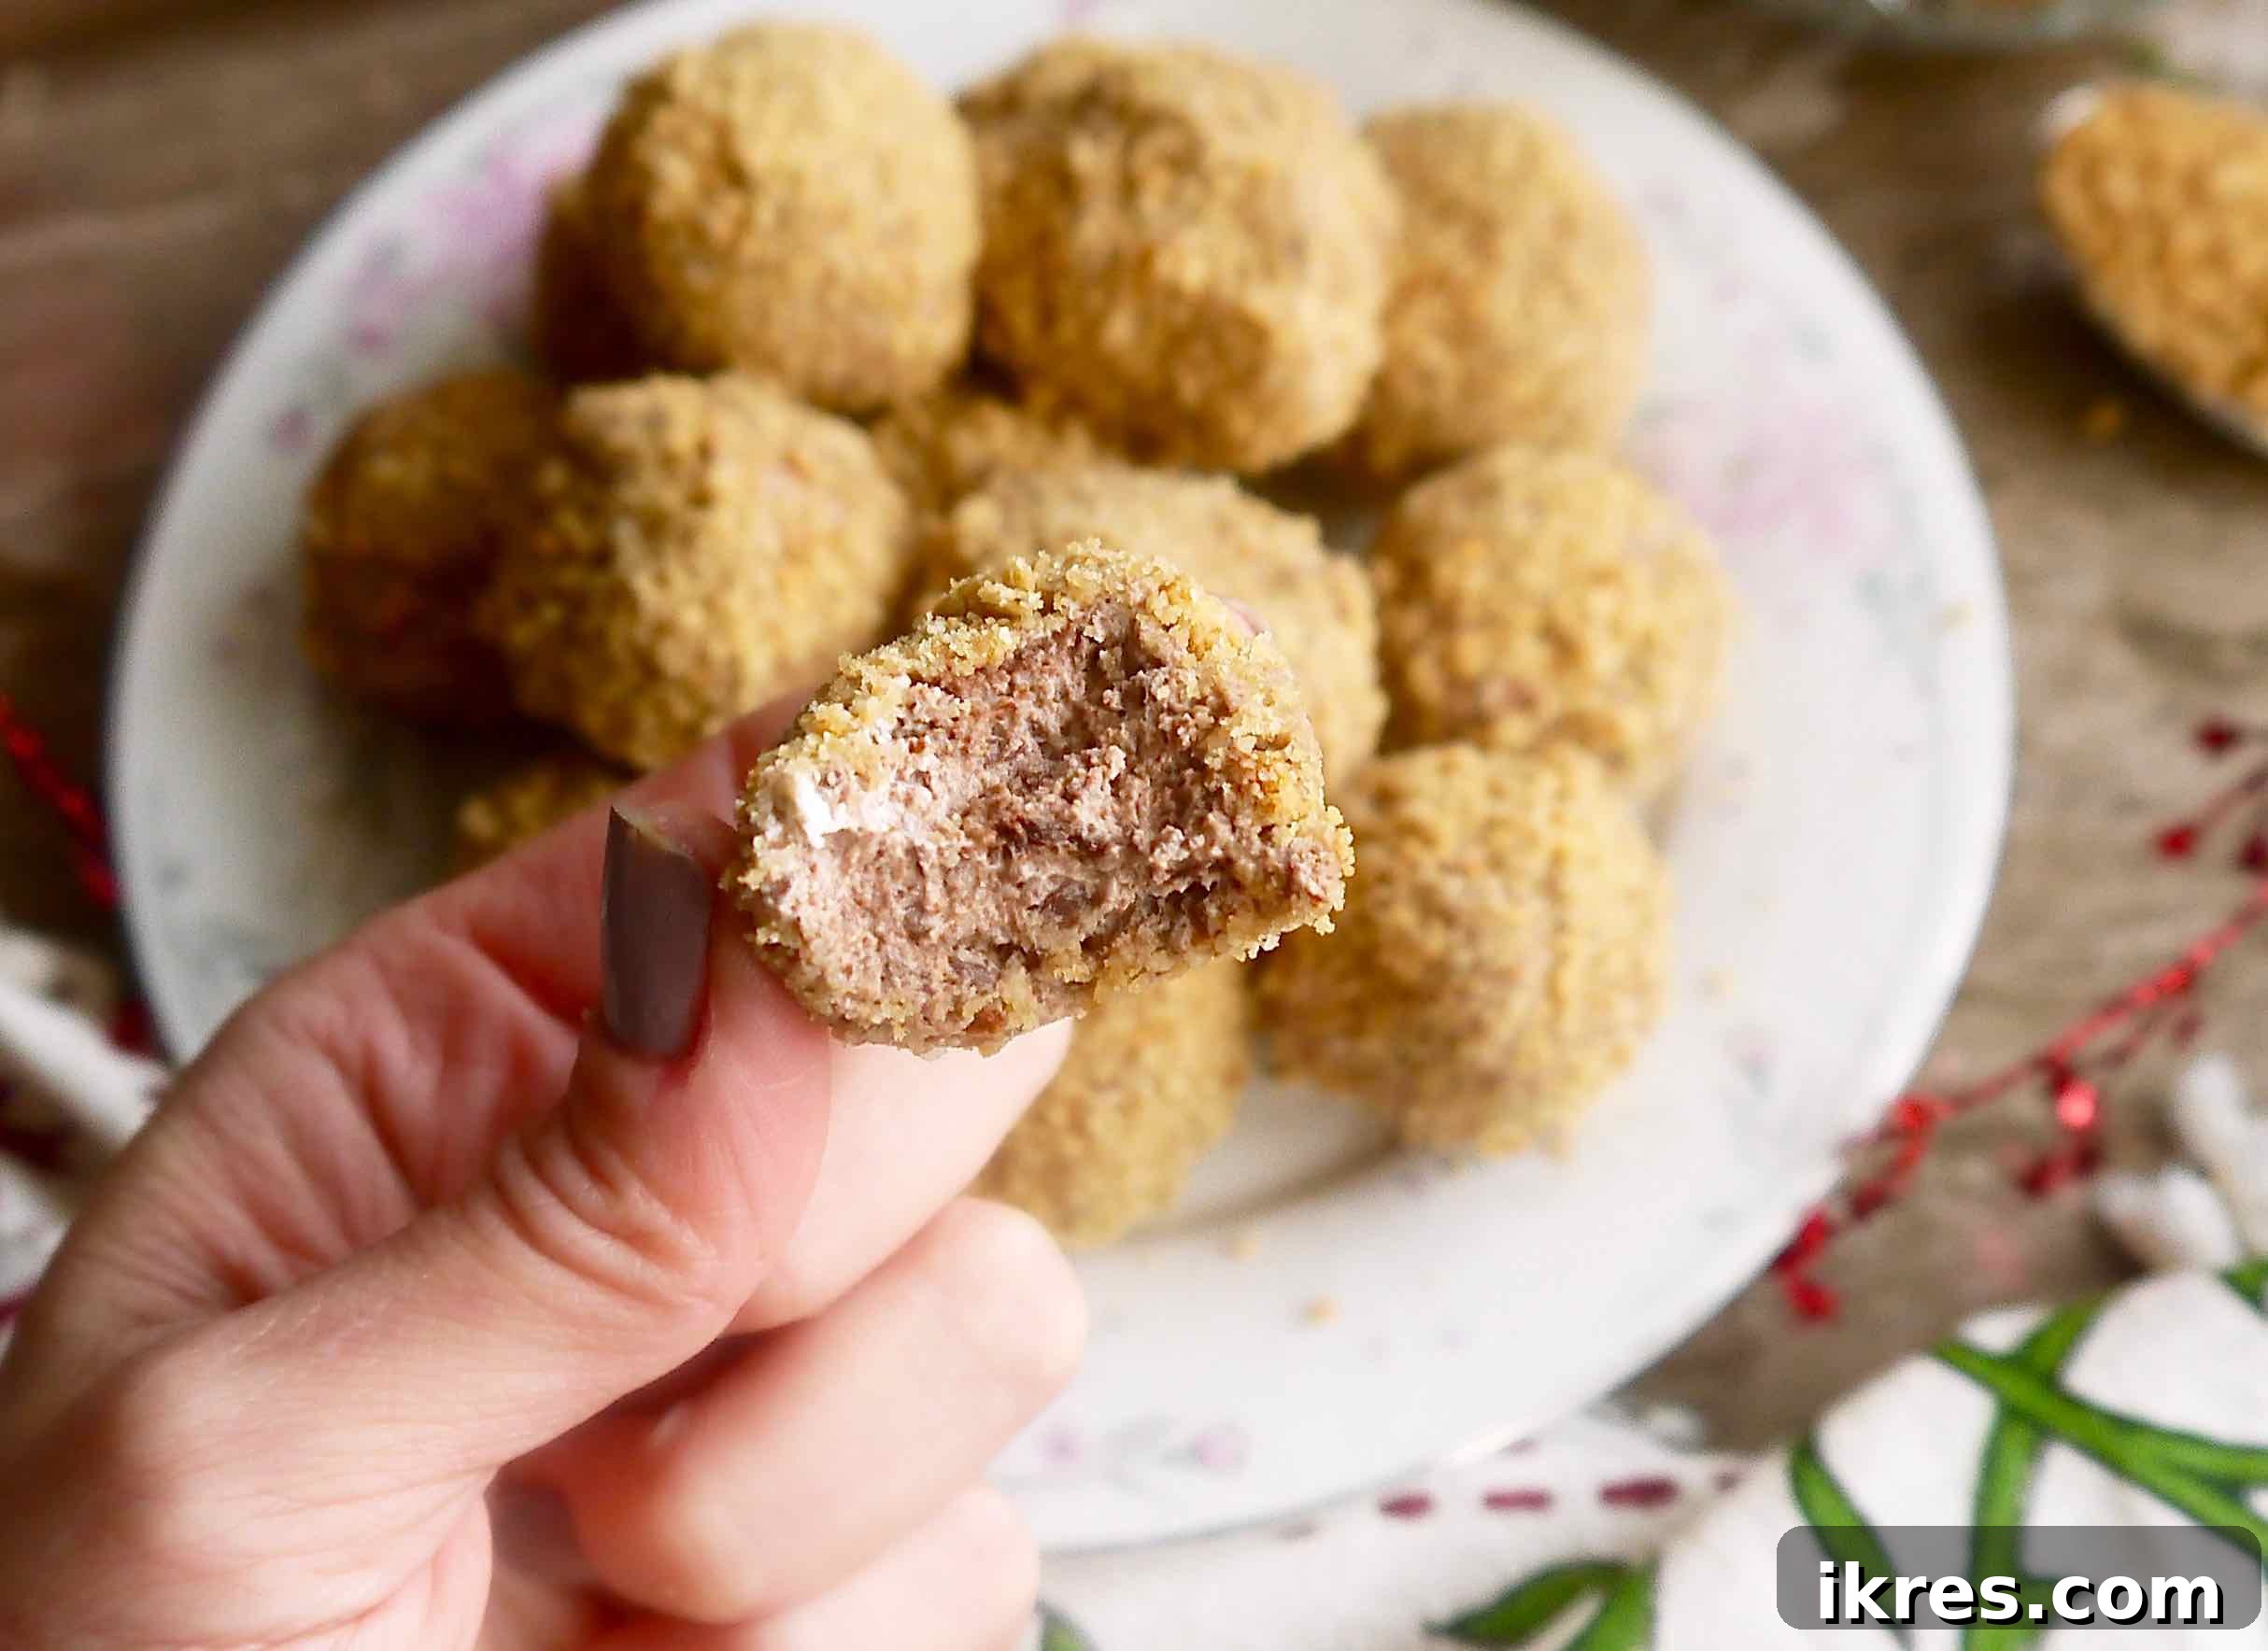
Indulge your sweet tooth with these exquisite Paleo Chocolate Mousse Truffles. Crafted from rich, dairy-free chocolate mousse, chilled to perfection, then lovingly rolled into bite-sized balls and coated in a delightful medley of homemade, grain-free cookie crumbs, these truffles are a dream come true for healthy dessert lovers.
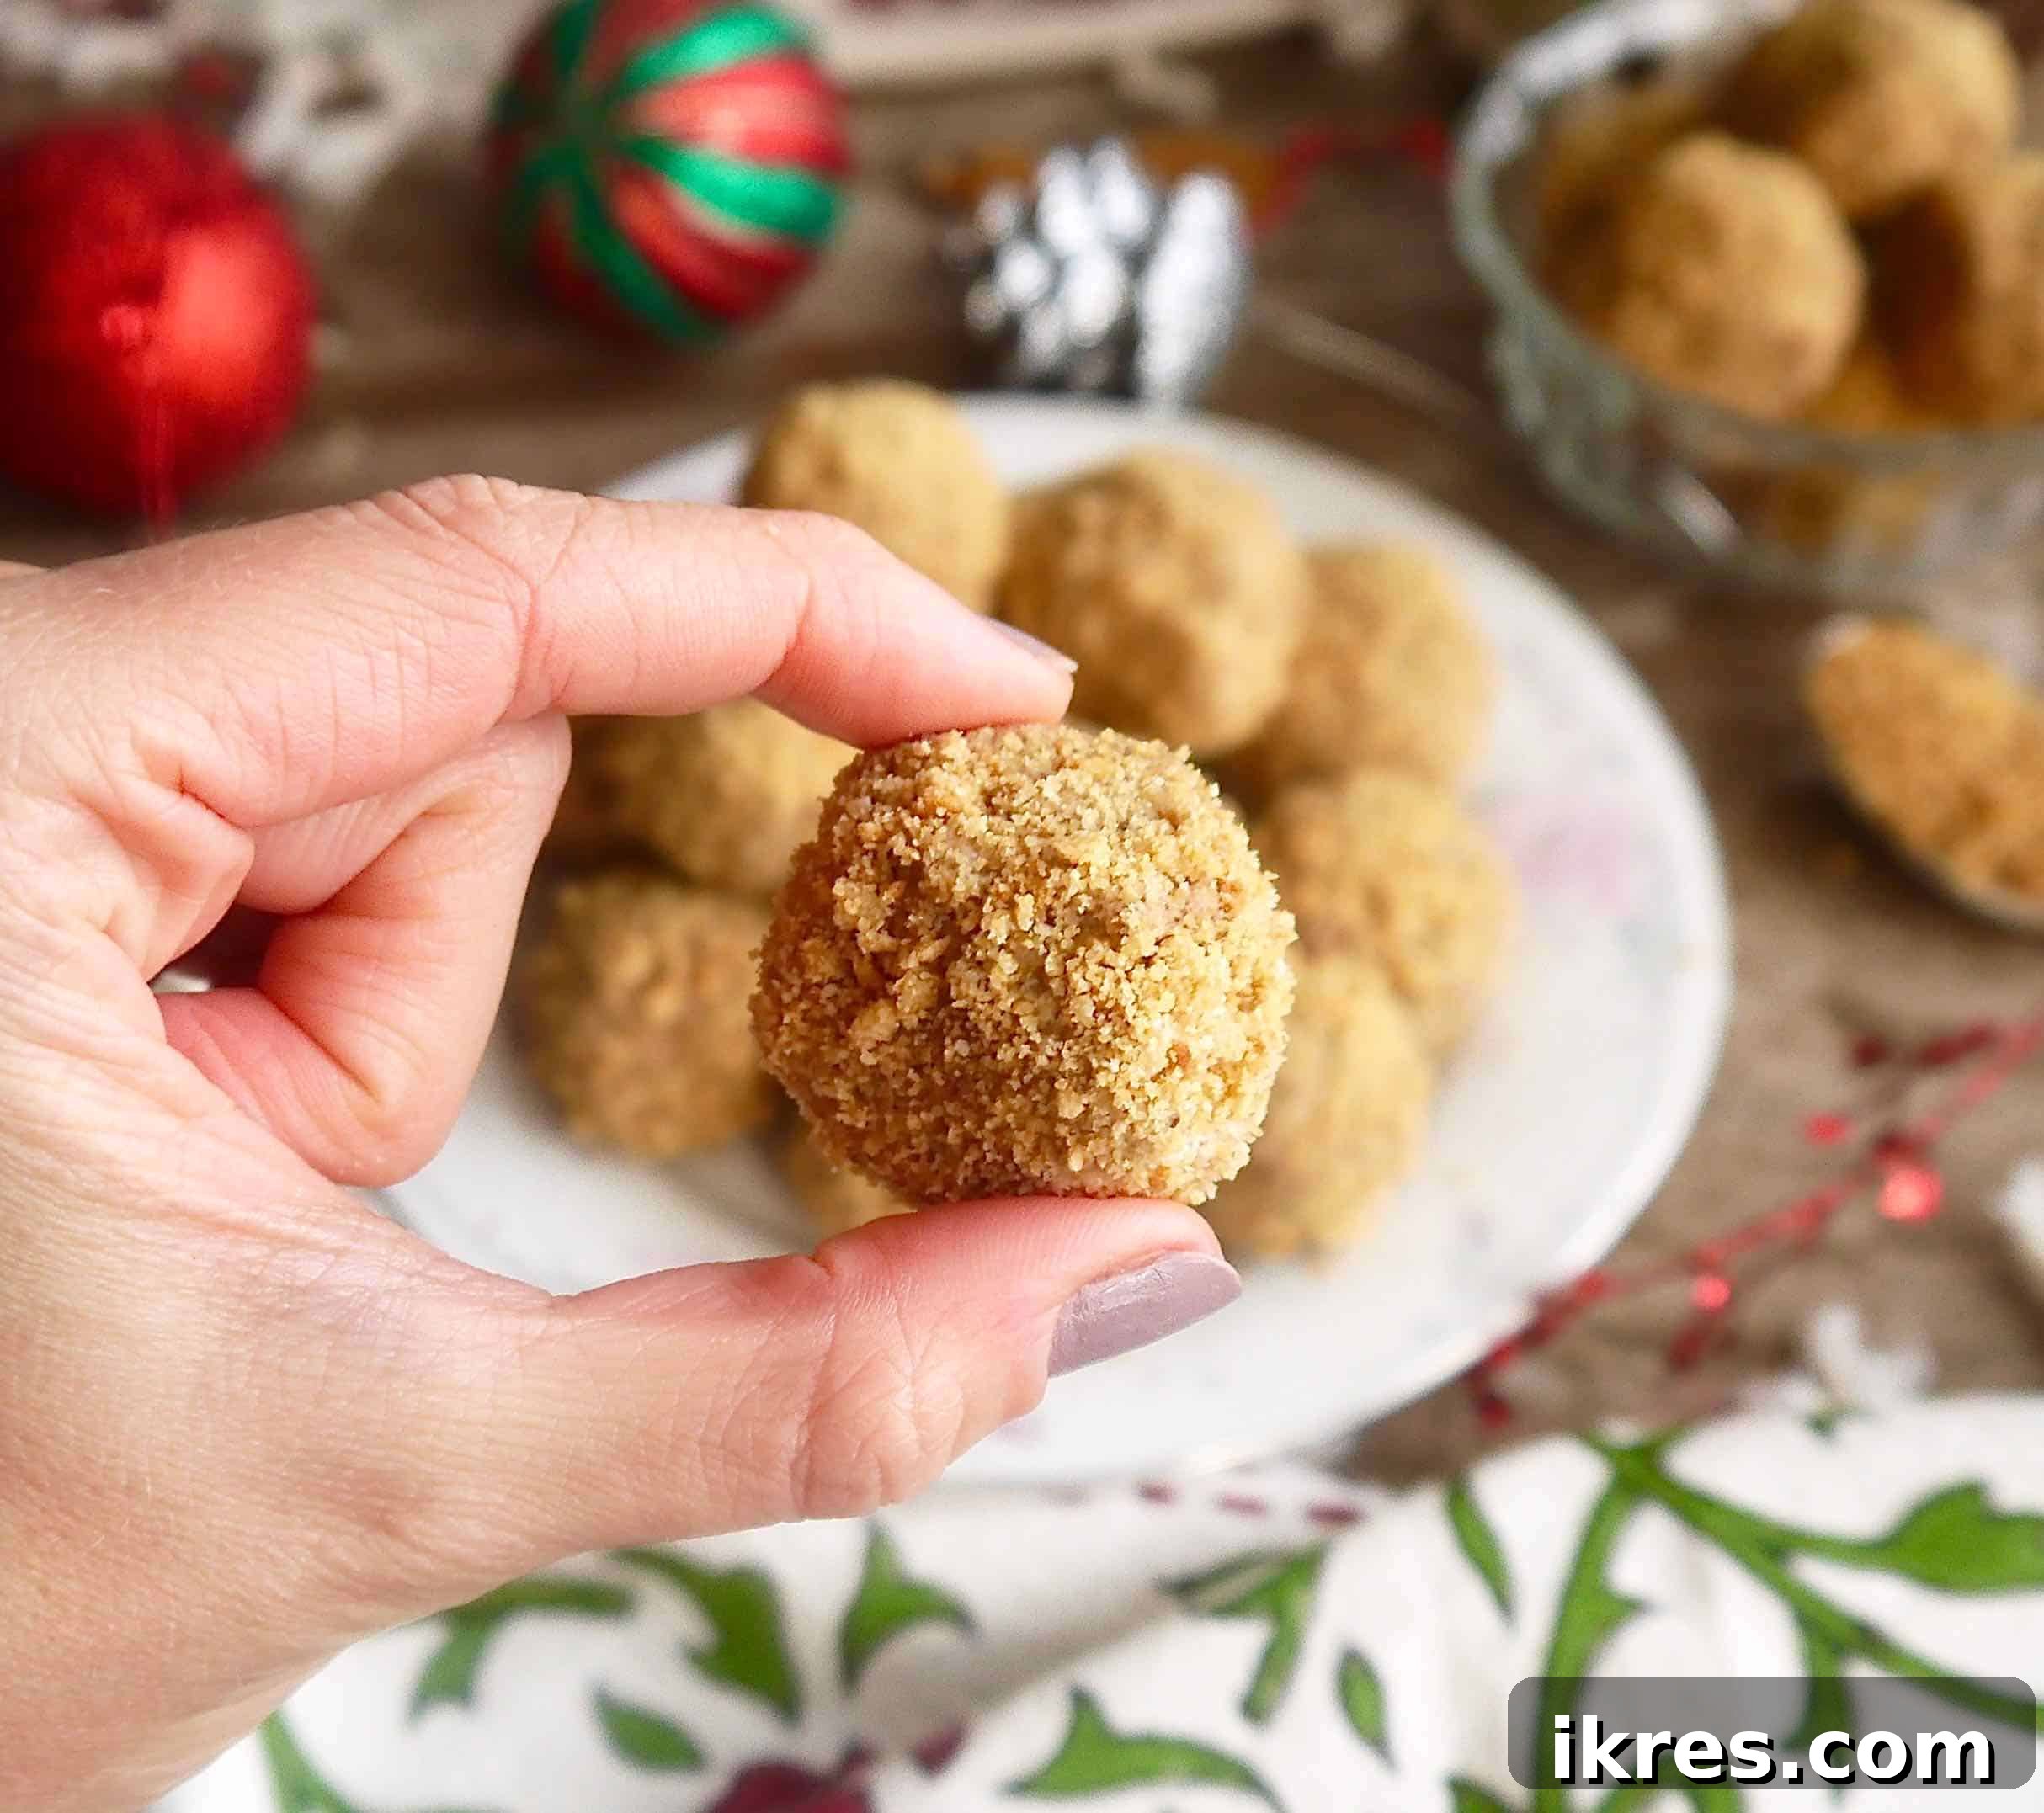
Prepare to discover a new favorite among Paleo chocolate desserts! Imagine the luxurious texture of classic chocolate mousse seamlessly combined with the elegant form of chocolate truffles, but reimagined as a completely dairy-free, grain-free, and gluten-free delight. These aren’t just a dessert; they’re a celebration of mindful indulgence.
The journey to these exquisite truffles begins with creating a truly decadent chocolate mousse, rich and smooth, made from the finest coconut cream and dairy-free chocolate. Next, you’ll bake a batch of our specially designed gluten-free Paleo cookies. Once cooled, these wholesome cookies are crushed into perfect crumbs, ready to embrace the chilled mousse balls. The final result is nothing short of pure bliss – a harmonious blend of creamy chocolate and subtly sweet cookie crunch that will transport your taste buds to a realm of dreamy satisfaction.
Why These Paleo Chocolate Truffles Stand Out
This recipe isn’t just about deliciousness; it’s about crafting a treat that aligns with a healthy lifestyle without compromising on flavor or texture. Here’s why these Paleo chocolate truffles are an absolute winner:
- Allergy-Friendly Indulgence: Catering to common dietary needs, this recipe is meticulously crafted to be completely free of dairy and gluten. This makes it a fantastic option for those with sensitivities or allergies, allowing everyone to enjoy a sumptuous chocolate treat without worry.
- Perfectly Paleo: Every ingredient thoughtfully selected for this recipe adheres strictly to Paleo principles. This means no refined sugars, grains, or dairy, ensuring you’re fueling your body with wholesome, natural goodness that supports a balanced lifestyle.
- Wholesome, Real Food Ingredients: Unlike many conventional desserts, these truffles prioritize healthier, real food ingredients. They offer a delightful and nutritionally superior alternative to traditional mousse balls, which often rely on heavily processed ingredients like conventional chocolate, vanilla wafers, and artificial whipped toppings. Here, you get pure, unadulterated flavor from natural sources.
- Unforgettable Decadence: Let’s be honest, taste is paramount! These truffles are incredibly delicious, boasting the deep, rich flavor of dark chocolate mousse perfectly complemented by the subtle sweetness and crunch of vanilla cookie crumbs. It’s a sophisticated flavor profile that appeals to even the most discerning palates.
- Irresistibly Addictive: Be warned, these Paleo chocolate truffles are known to be highly addictive! Much like the buzz around popular treats such as Gluten-free Christmas Crack, once you try one, it’s incredibly hard to stop. Their perfect balance of flavor and texture makes them truly captivating.
Essential Ingredients for Your Paleo Chocolate Mousse Truffles
Crafting these delectable truffles requires a carefully curated selection of high-quality ingredients. Each component plays a vital role in achieving the perfect flavor and texture:
- Coconut Oil: Opt for extra virgin coconut oil. Its neutral flavor profile ensures your truffles taste purely of chocolate and vanilla, rather than overpowering coconut notes. It also contributes to the rich texture of both the cookies and the mousse.
- Coconut Sugar: A fantastic natural sweetener, coconut sugar offers a lower glycemic index compared to conventional sugars. It provides a subtle caramel-like sweetness that beautifully enhances the overall flavor of the cookies.
- Apple Cider Vinegar: While it might seem like an unusual addition to a sweet recipe, apple cider vinegar (any brand or type works) reacts with baking soda to help the cookies rise and achieve a tender crumb, contributing to their light texture.
- Egg: This essential ingredient acts as a binder, holding the cookie dough together and providing structure. Use a large egg for consistent results.
- Vanilla Extract: High-quality vanilla extract is crucial for imparting a warm, aromatic flavor to the vanilla cookies, making them a perfect complement to the rich chocolate mousse.
- Almond Flour: Blanched almond flour is highly recommended for baking. Its fine texture and low carb content create a tender, cake-like consistency for the grain-free cookies, superior to coarser almond flours.
- Coconut Flour: This highly absorbent flour is used in a balanced ratio with almond flour. It helps to achieve the ideal cookie texture, preventing them from being too crumbly or too dense, and adds a slight natural sweetness.
- Baking Soda: A leavening agent that works with the apple cider vinegar to give the cookies their gentle rise and a pleasant chewiness.
- Dairy-Free Chocolate Chips: The heart of your chocolate mousse! Choose a high-quality dairy-free chocolate that you genuinely love to eat on its own, as its flavor will be prominent in the truffles. Dark chocolate chips (70% or higher cacao) work wonderfully for a rich, intense flavor.
- Coconut Cream: This is the secret to a luscious, dairy-free mousse. For the best results, ensure your coconut cream does not contain any added gums or preservatives, as these can affect its whipping ability and final texture. Savoy coconut cream is an excellent choice for its purity and consistency.
- Honey: Raw honey is used as a natural sweetener for the chocolate mousse. Its delicate sweetness balances the bitterness of the dark chocolate beautifully, creating a well-rounded flavor profile.
- Olive Oil: A touch of extra virgin or light-flavored olive oil is added to the chocolate during melting. This helps achieve a smooth, pourable consistency and contributes to the silkiness of the finished mousse.
For precise measurements and a detailed list of ingredients, please refer to the comprehensive recipe instructions below.
Step-by-Step Guide: Crafting Your Paleo Chocolate Mousse Truffles
Creating these delightful truffles is a fun and rewarding process, broken down into three main, manageable steps. You’ll start by preparing the wholesome Paleo vanilla cookies, then move on to whipping up the rich Paleo chocolate mousse, and finally, bring it all together by rolling the mousse into balls and coating them in the delicious cookie crumbs.
Step 1: Master the Paleo Vanilla Cookies
These grain-free vanilla cookies form the perfect crunchy coating for our truffles. Their delicate flavor provides an excellent contrast to the rich chocolate mousse.
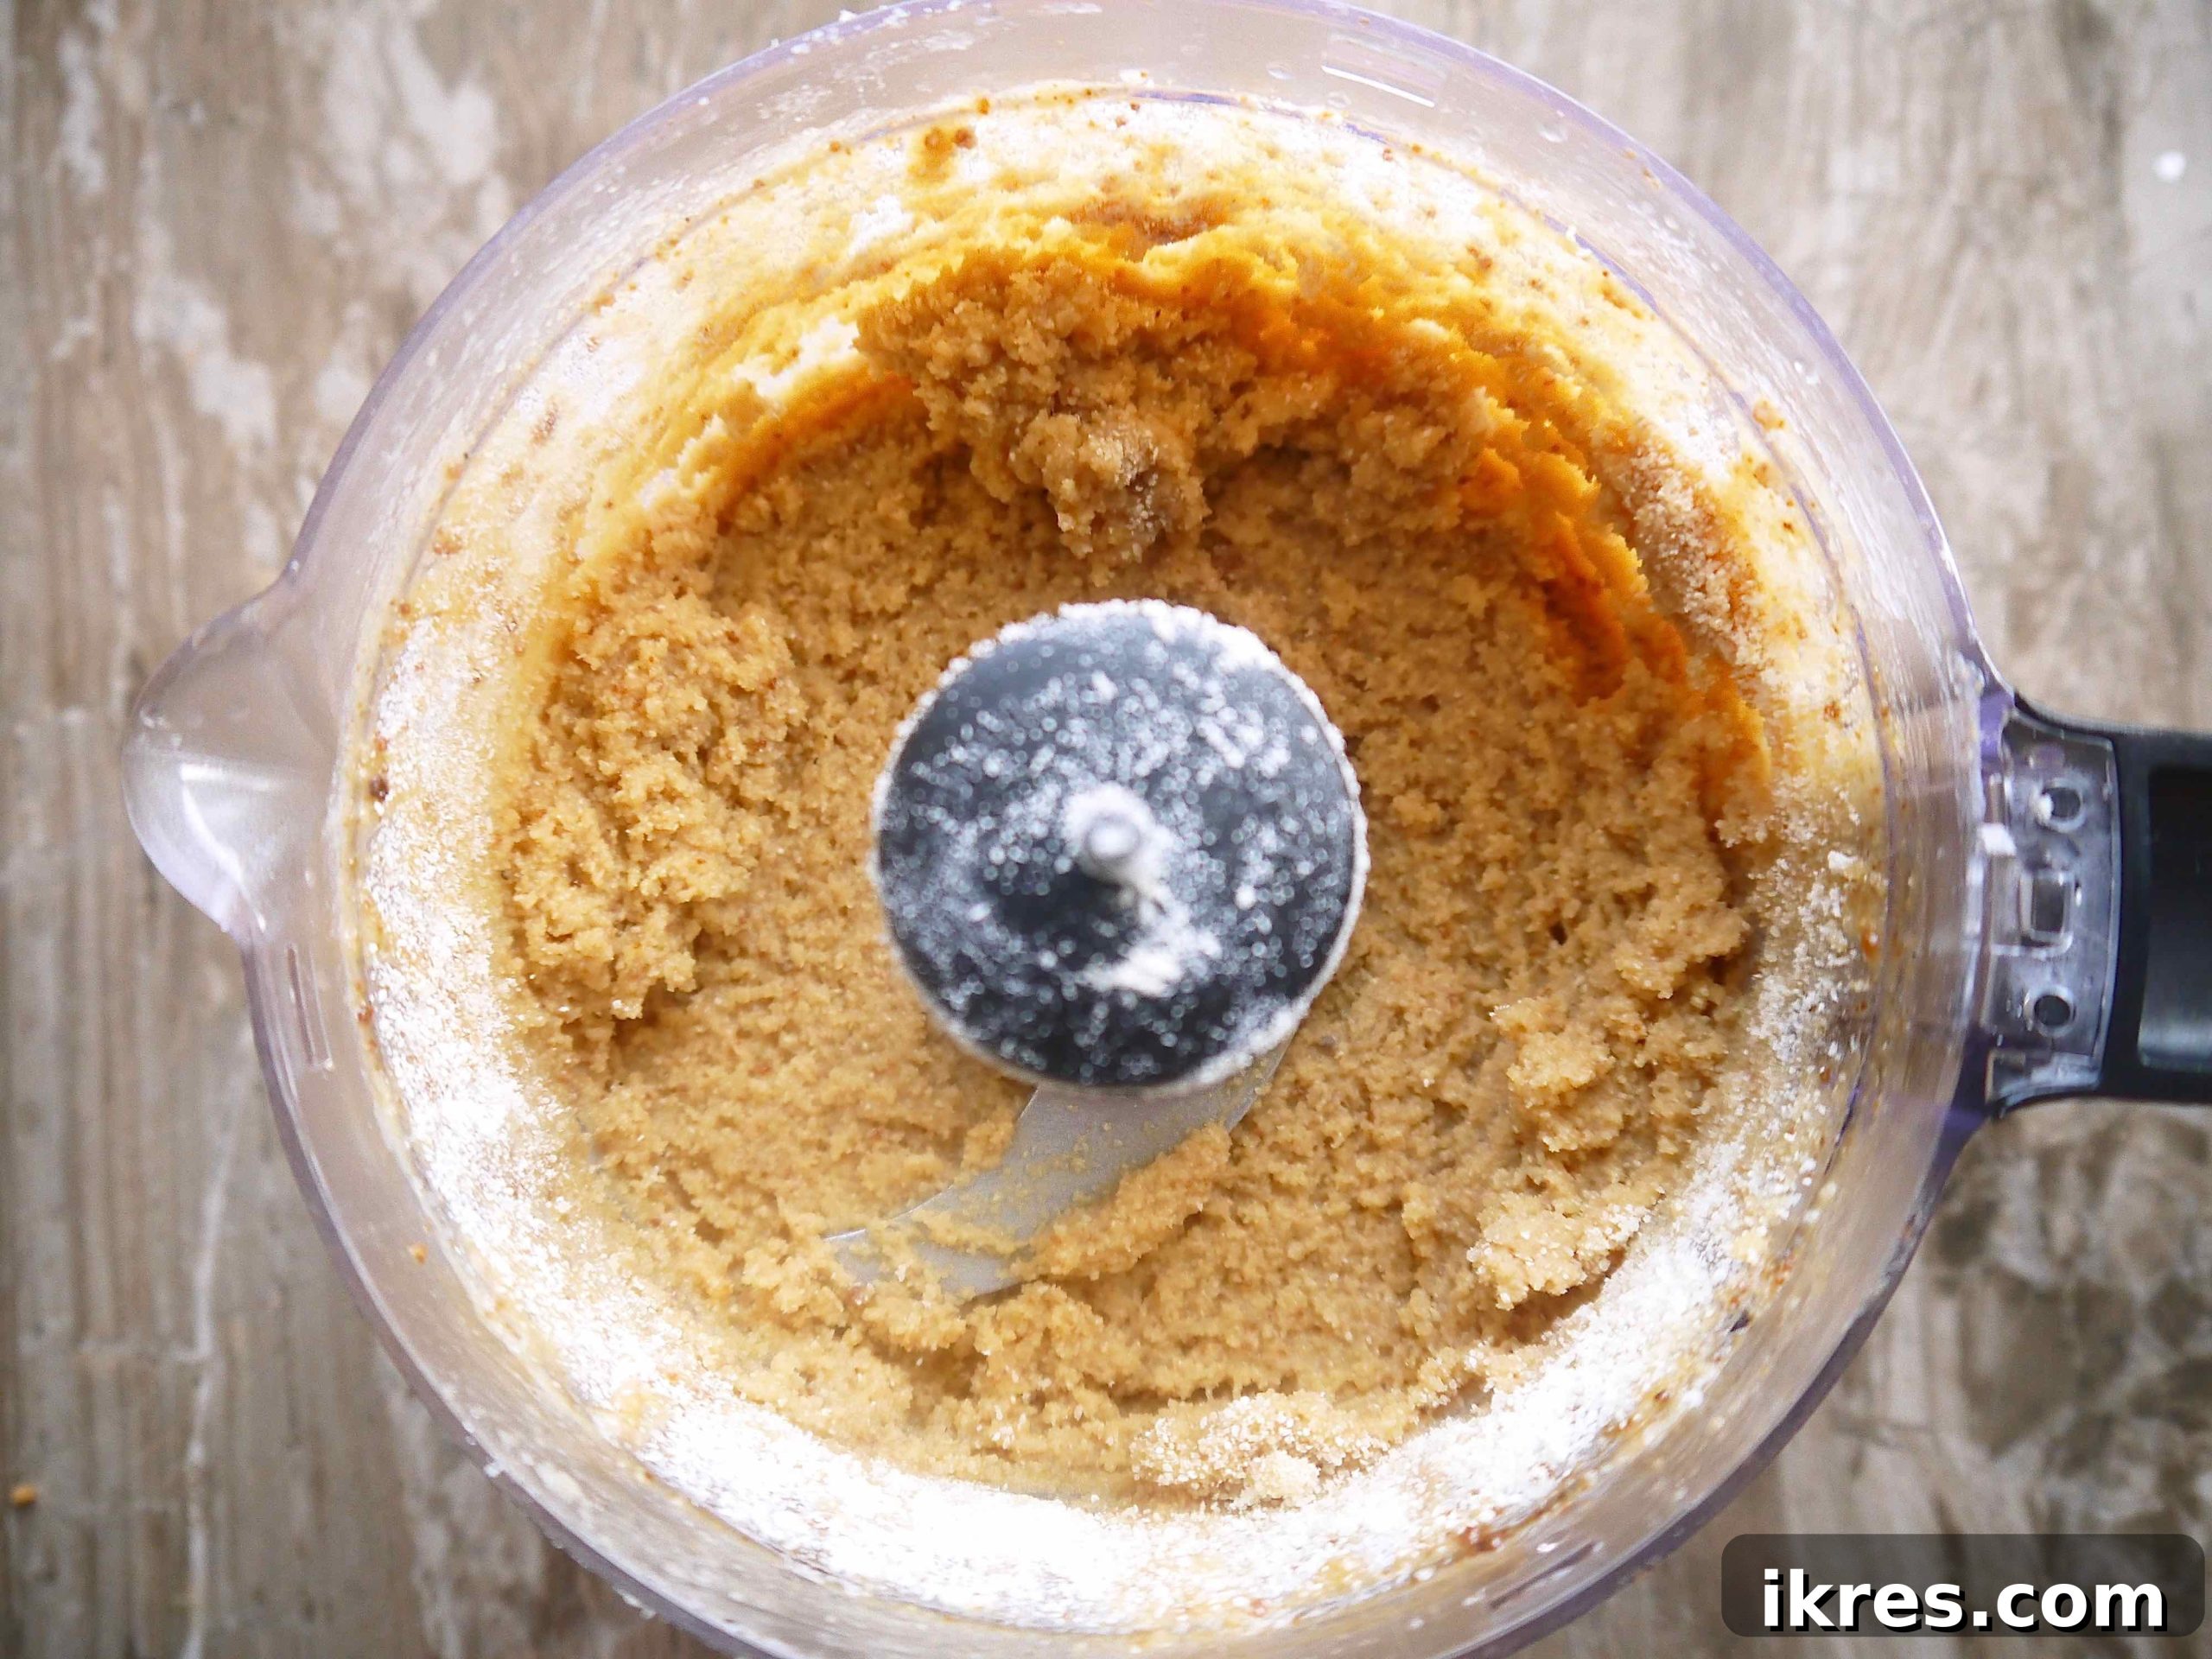
- Prepare the Cookie Dough: Begin by preheating your oven to 350°F (175°C) and lining a cookie sheet with parchment paper or a silicone baking mat. In a food processor (or using a handheld electric mixer), combine the melted coconut oil and coconut sugar. Beat until the mixture is well blended and creamy. Add the apple cider vinegar, egg, and vanilla extract, mixing thoroughly. Finally, incorporate the almond flour, coconut flour, and baking soda, beating again until a thick, uniform dough forms.
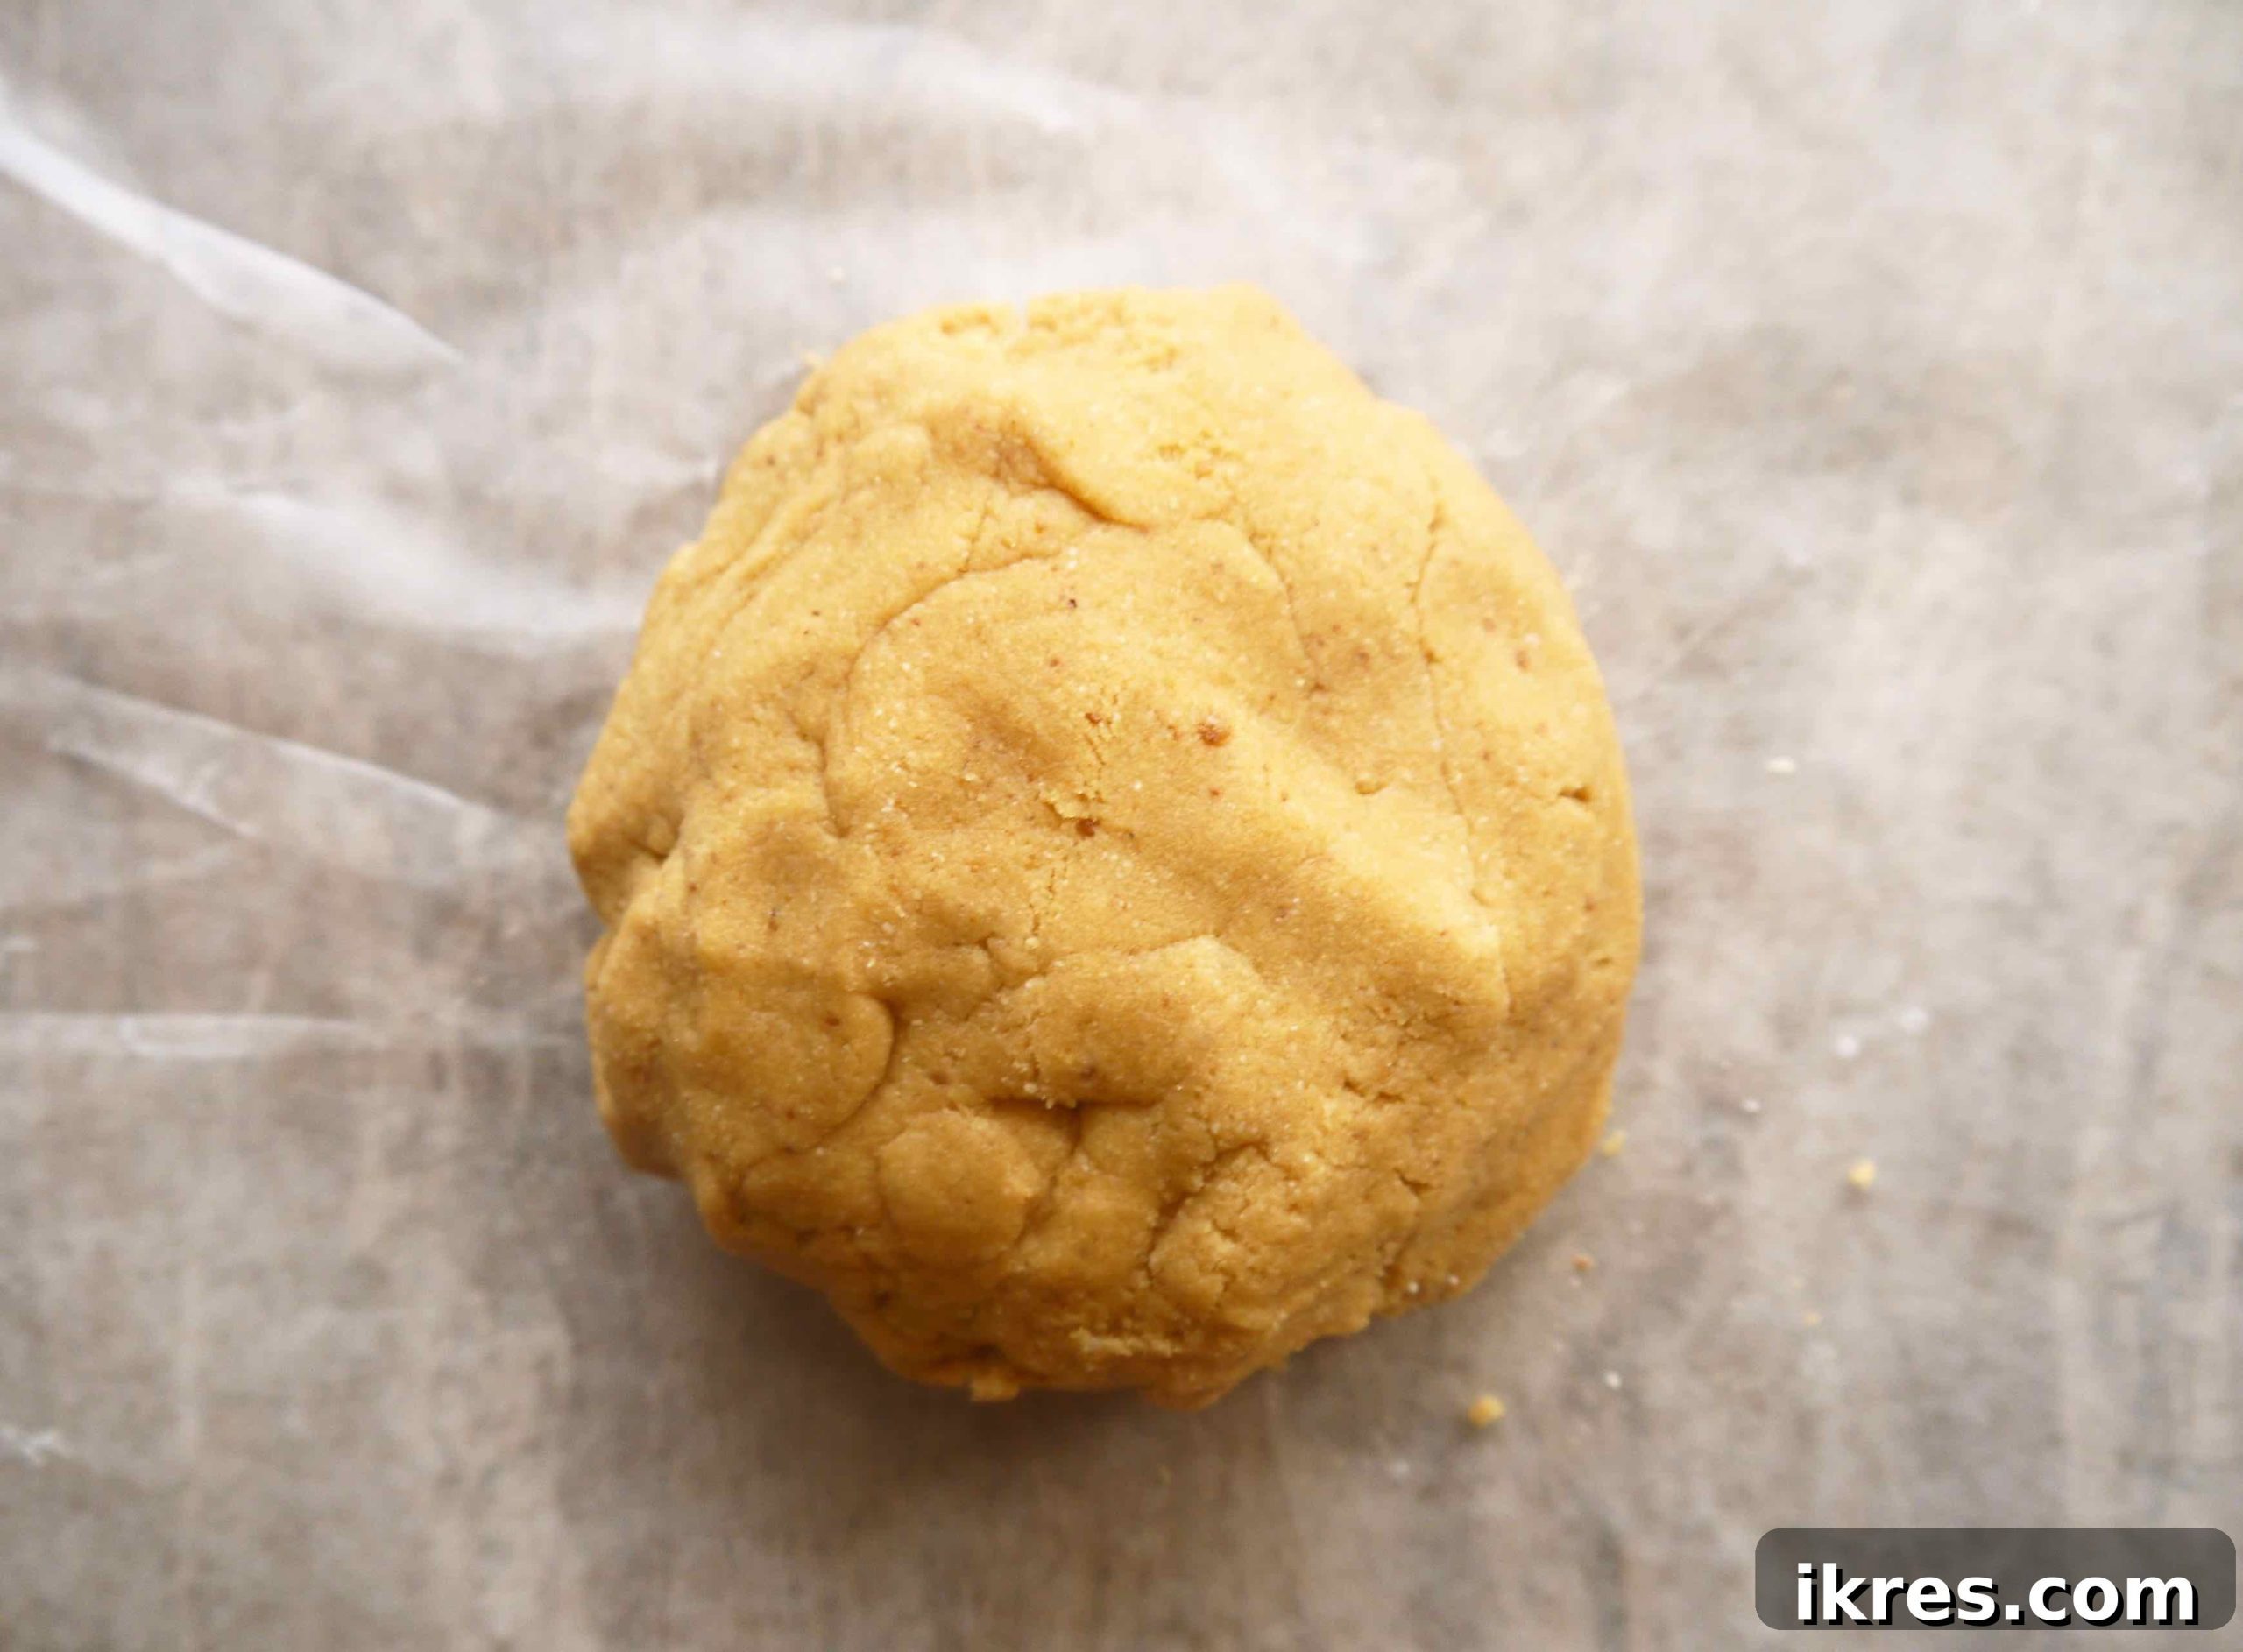
2. Shape the Cookies: Gather the dough into a smooth ball. Place it between two sheets of wax paper. Using a rolling pin, roll the dough evenly to about ¼ inch thickness. For perfectly sized truffles, use the end of a shot glass or a small round cookie cutter (approximately 1 to 1.5 inches in diameter) to cut out small, uniform cookie shapes. Carefully transfer each cut-out cookie onto your prepared cookie sheet. Re-roll any dough scraps and repeat the cutting process until all the dough is used.
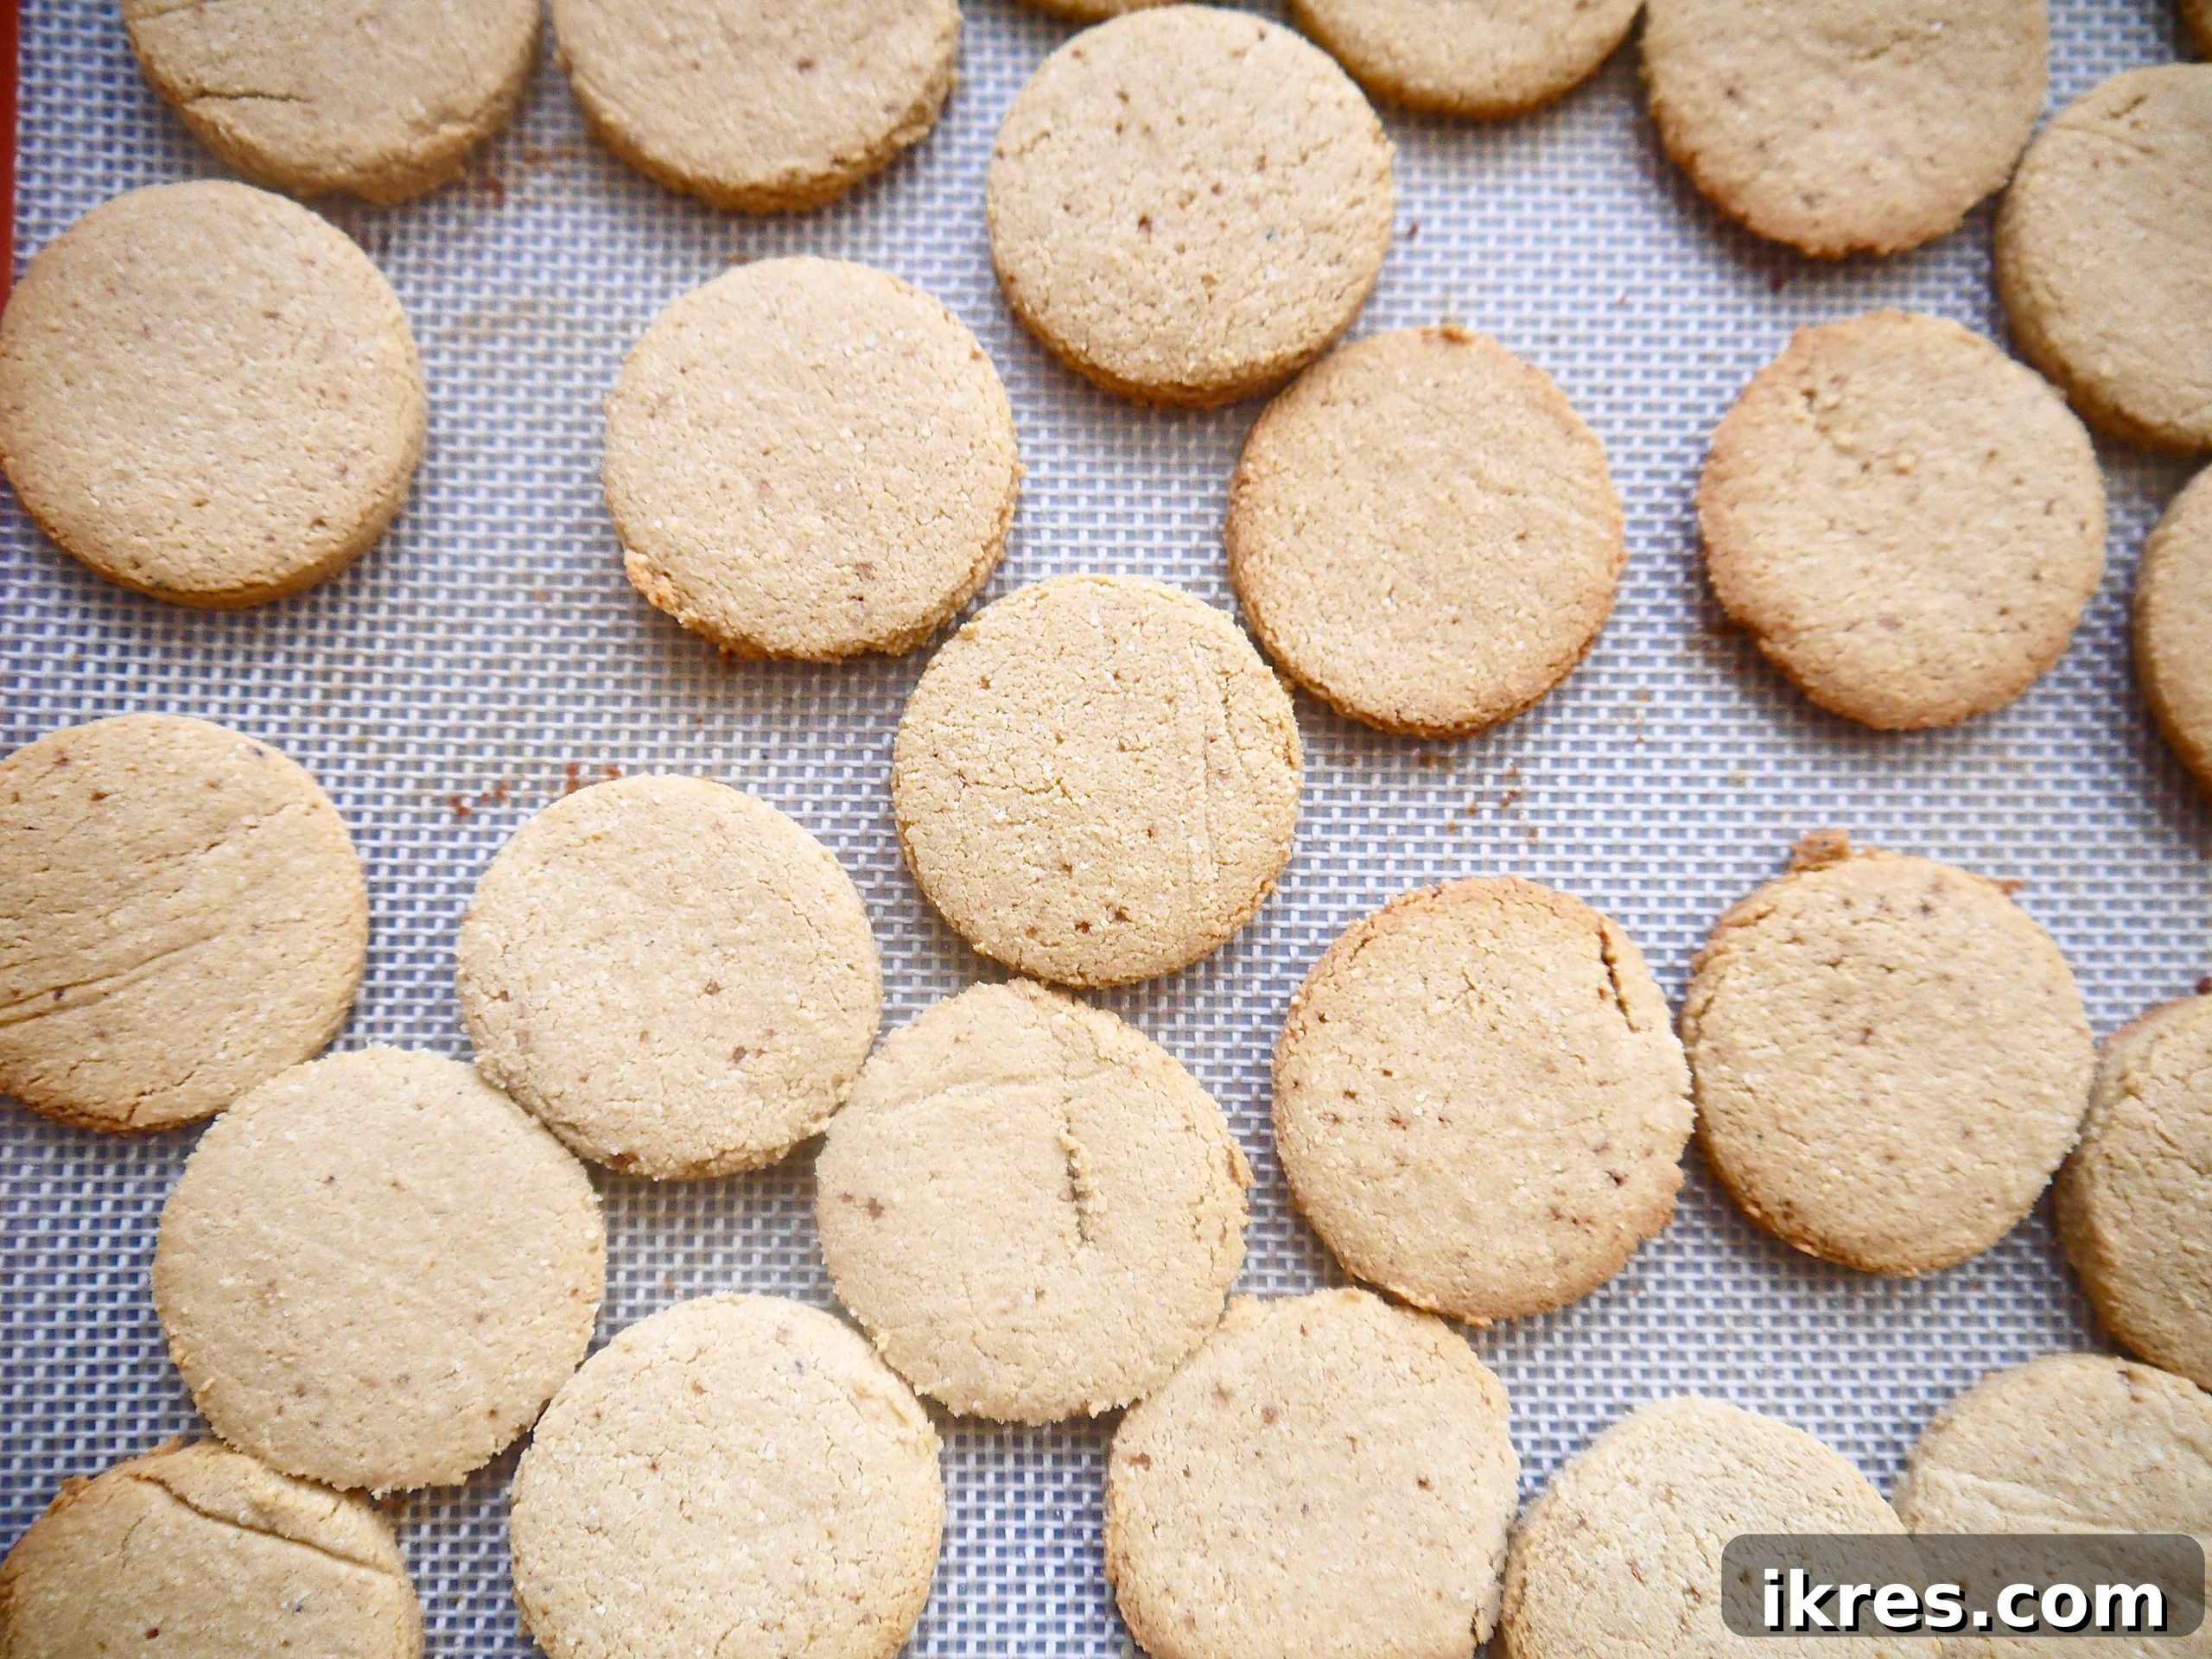
3. Bake to Perfection: Bake the cookies in the preheated oven for 16-18 minutes. Look for them to be lightly golden around the edges and firm to the touch. The precise baking time may vary slightly depending on your oven, so keep a close eye on them. Once baked, remove the cookie sheet from the oven and allow the cookies to cool completely on the sheet. It’s crucial for them to harden fully, as this will make them easier to crush into crumbs.
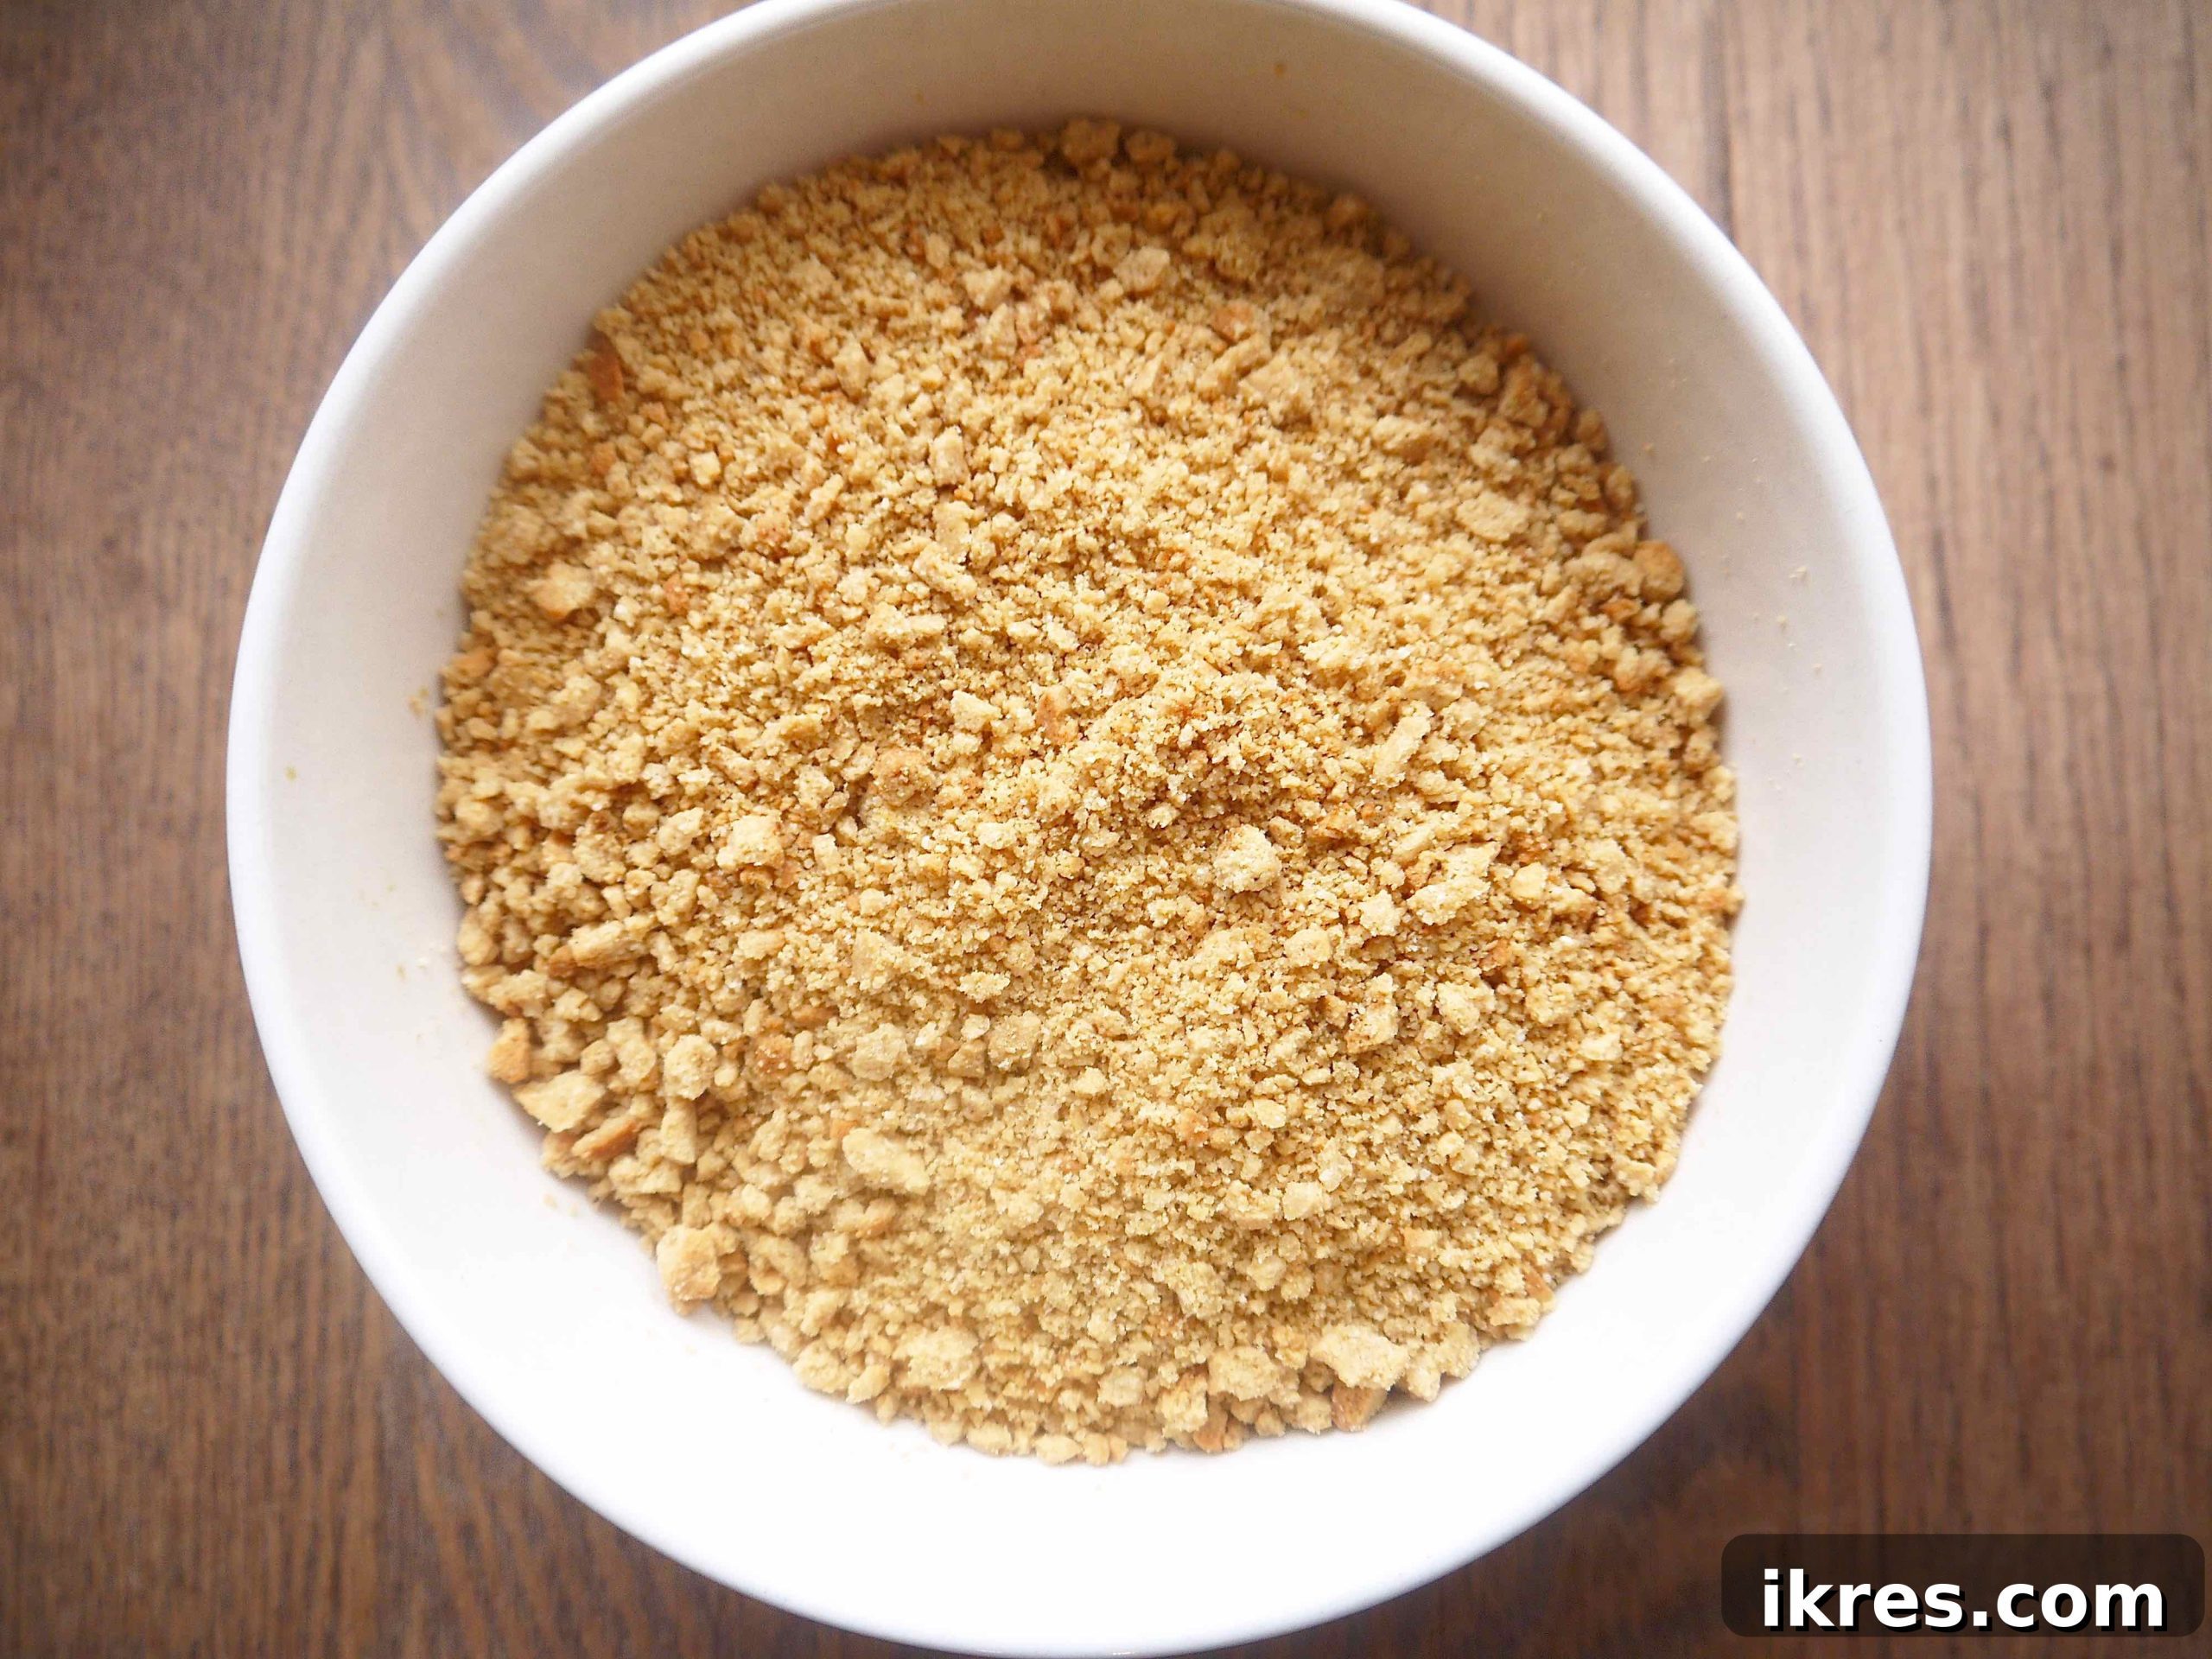
4. Transform into Crumbs: Once the cookies are completely cooled and firm, transfer them to a food processor. Pulse until they are transformed into fine cookie crumbs. Pour the crumbs into a shallow bowl, setting them aside for the final rolling stage. For added convenience, you can prepare these cookies a day in advance, allowing them to dry out further, which can enhance their crunchiness when crushed.
Step 2: Craft the Velvety Paleo Chocolate Mousse
This dairy-free chocolate mousse is the luscious heart of your truffles, offering a rich and creamy indulgence.
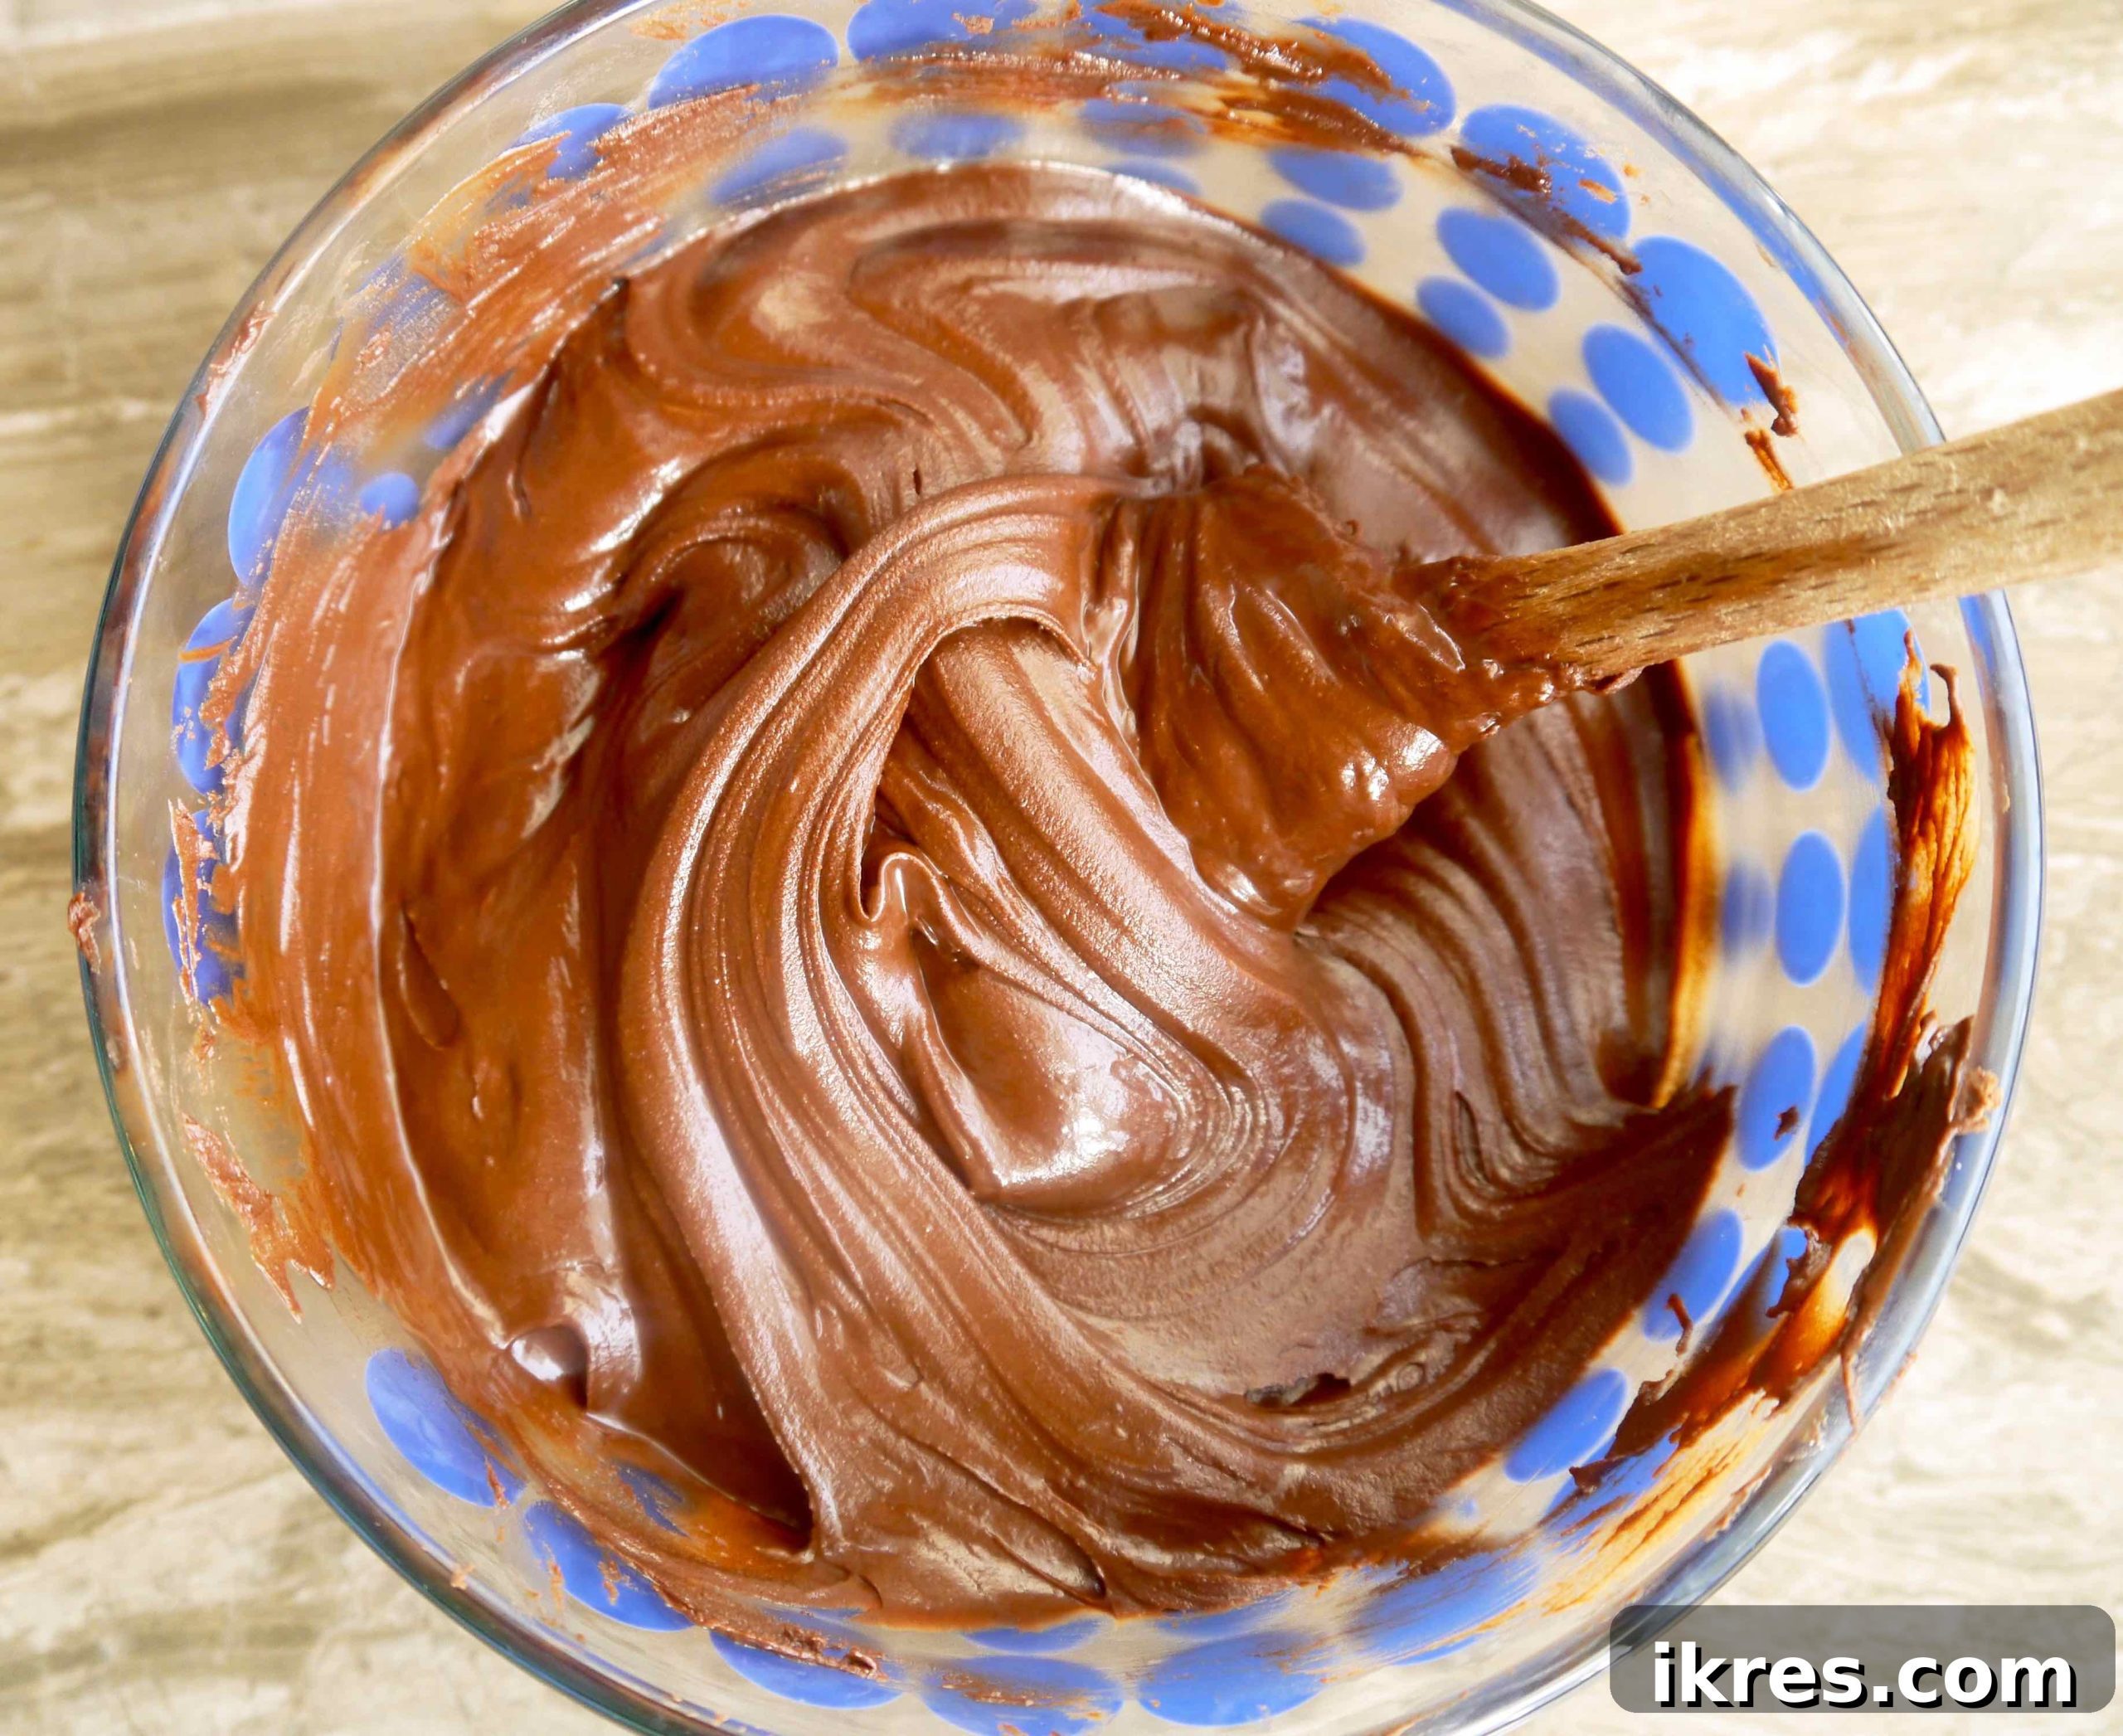
- Melt the Chocolate: In a microwave-safe bowl, combine the 2 cups of dairy-free chocolate chips with 1 teaspoon of olive oil. Microwave in 20-second intervals, stirring thoroughly after each, until the chocolate is completely melted and smooth. Be extremely careful not to overheat or burn the chocolate, as this can make it seize. Once melted, add an additional 3 teaspoons of olive oil and mix until you achieve a silky, desirable consistency. Allow the melted chocolate to cool completely to room temperature, ensuring it remains smooth and not hardened, before proceeding.
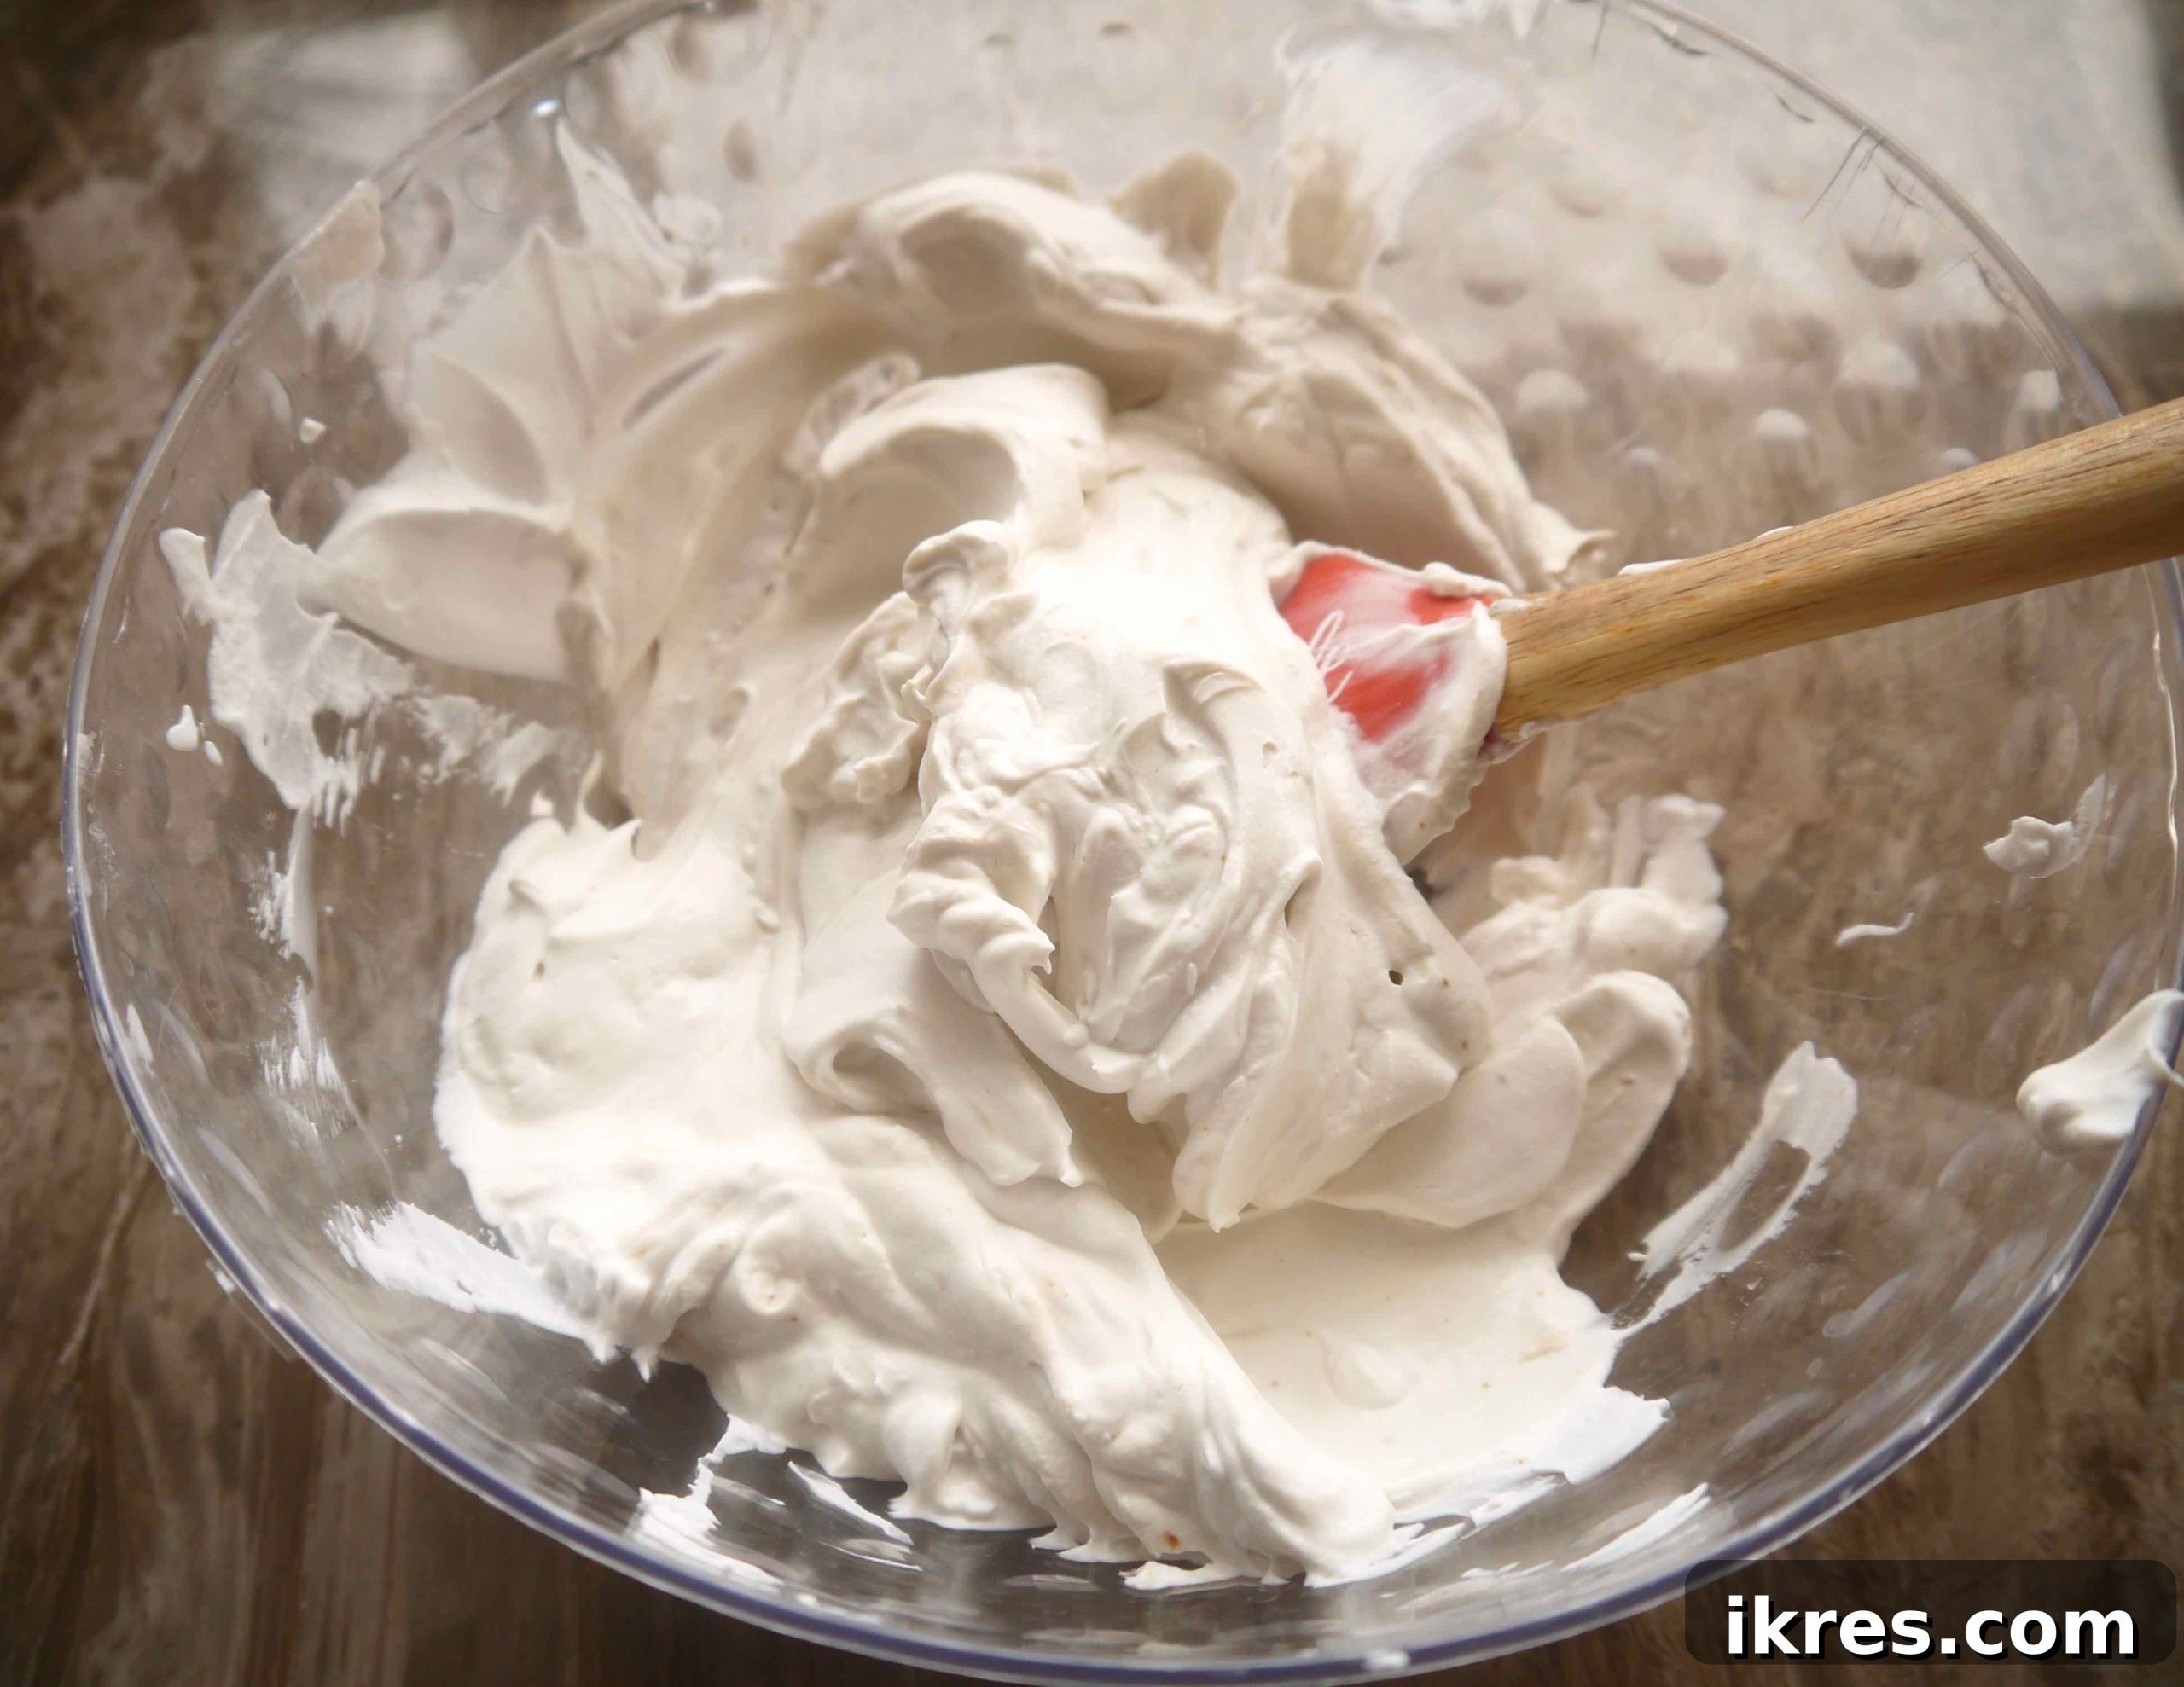
2. Whip the Coconut Cream: Several days prior to making the mousse, place your cans of coconut cream in the refrigerator. This allows the thick cream to separate from the liquid. Scoop out only the hardened coconut cream into a large mixing bowl or food processor. Add 2 tablespoons of honey and whip the mixture until it becomes light, airy, and forms soft peaks, much like traditional whipped cream. The consistency should be thick and fluffy.
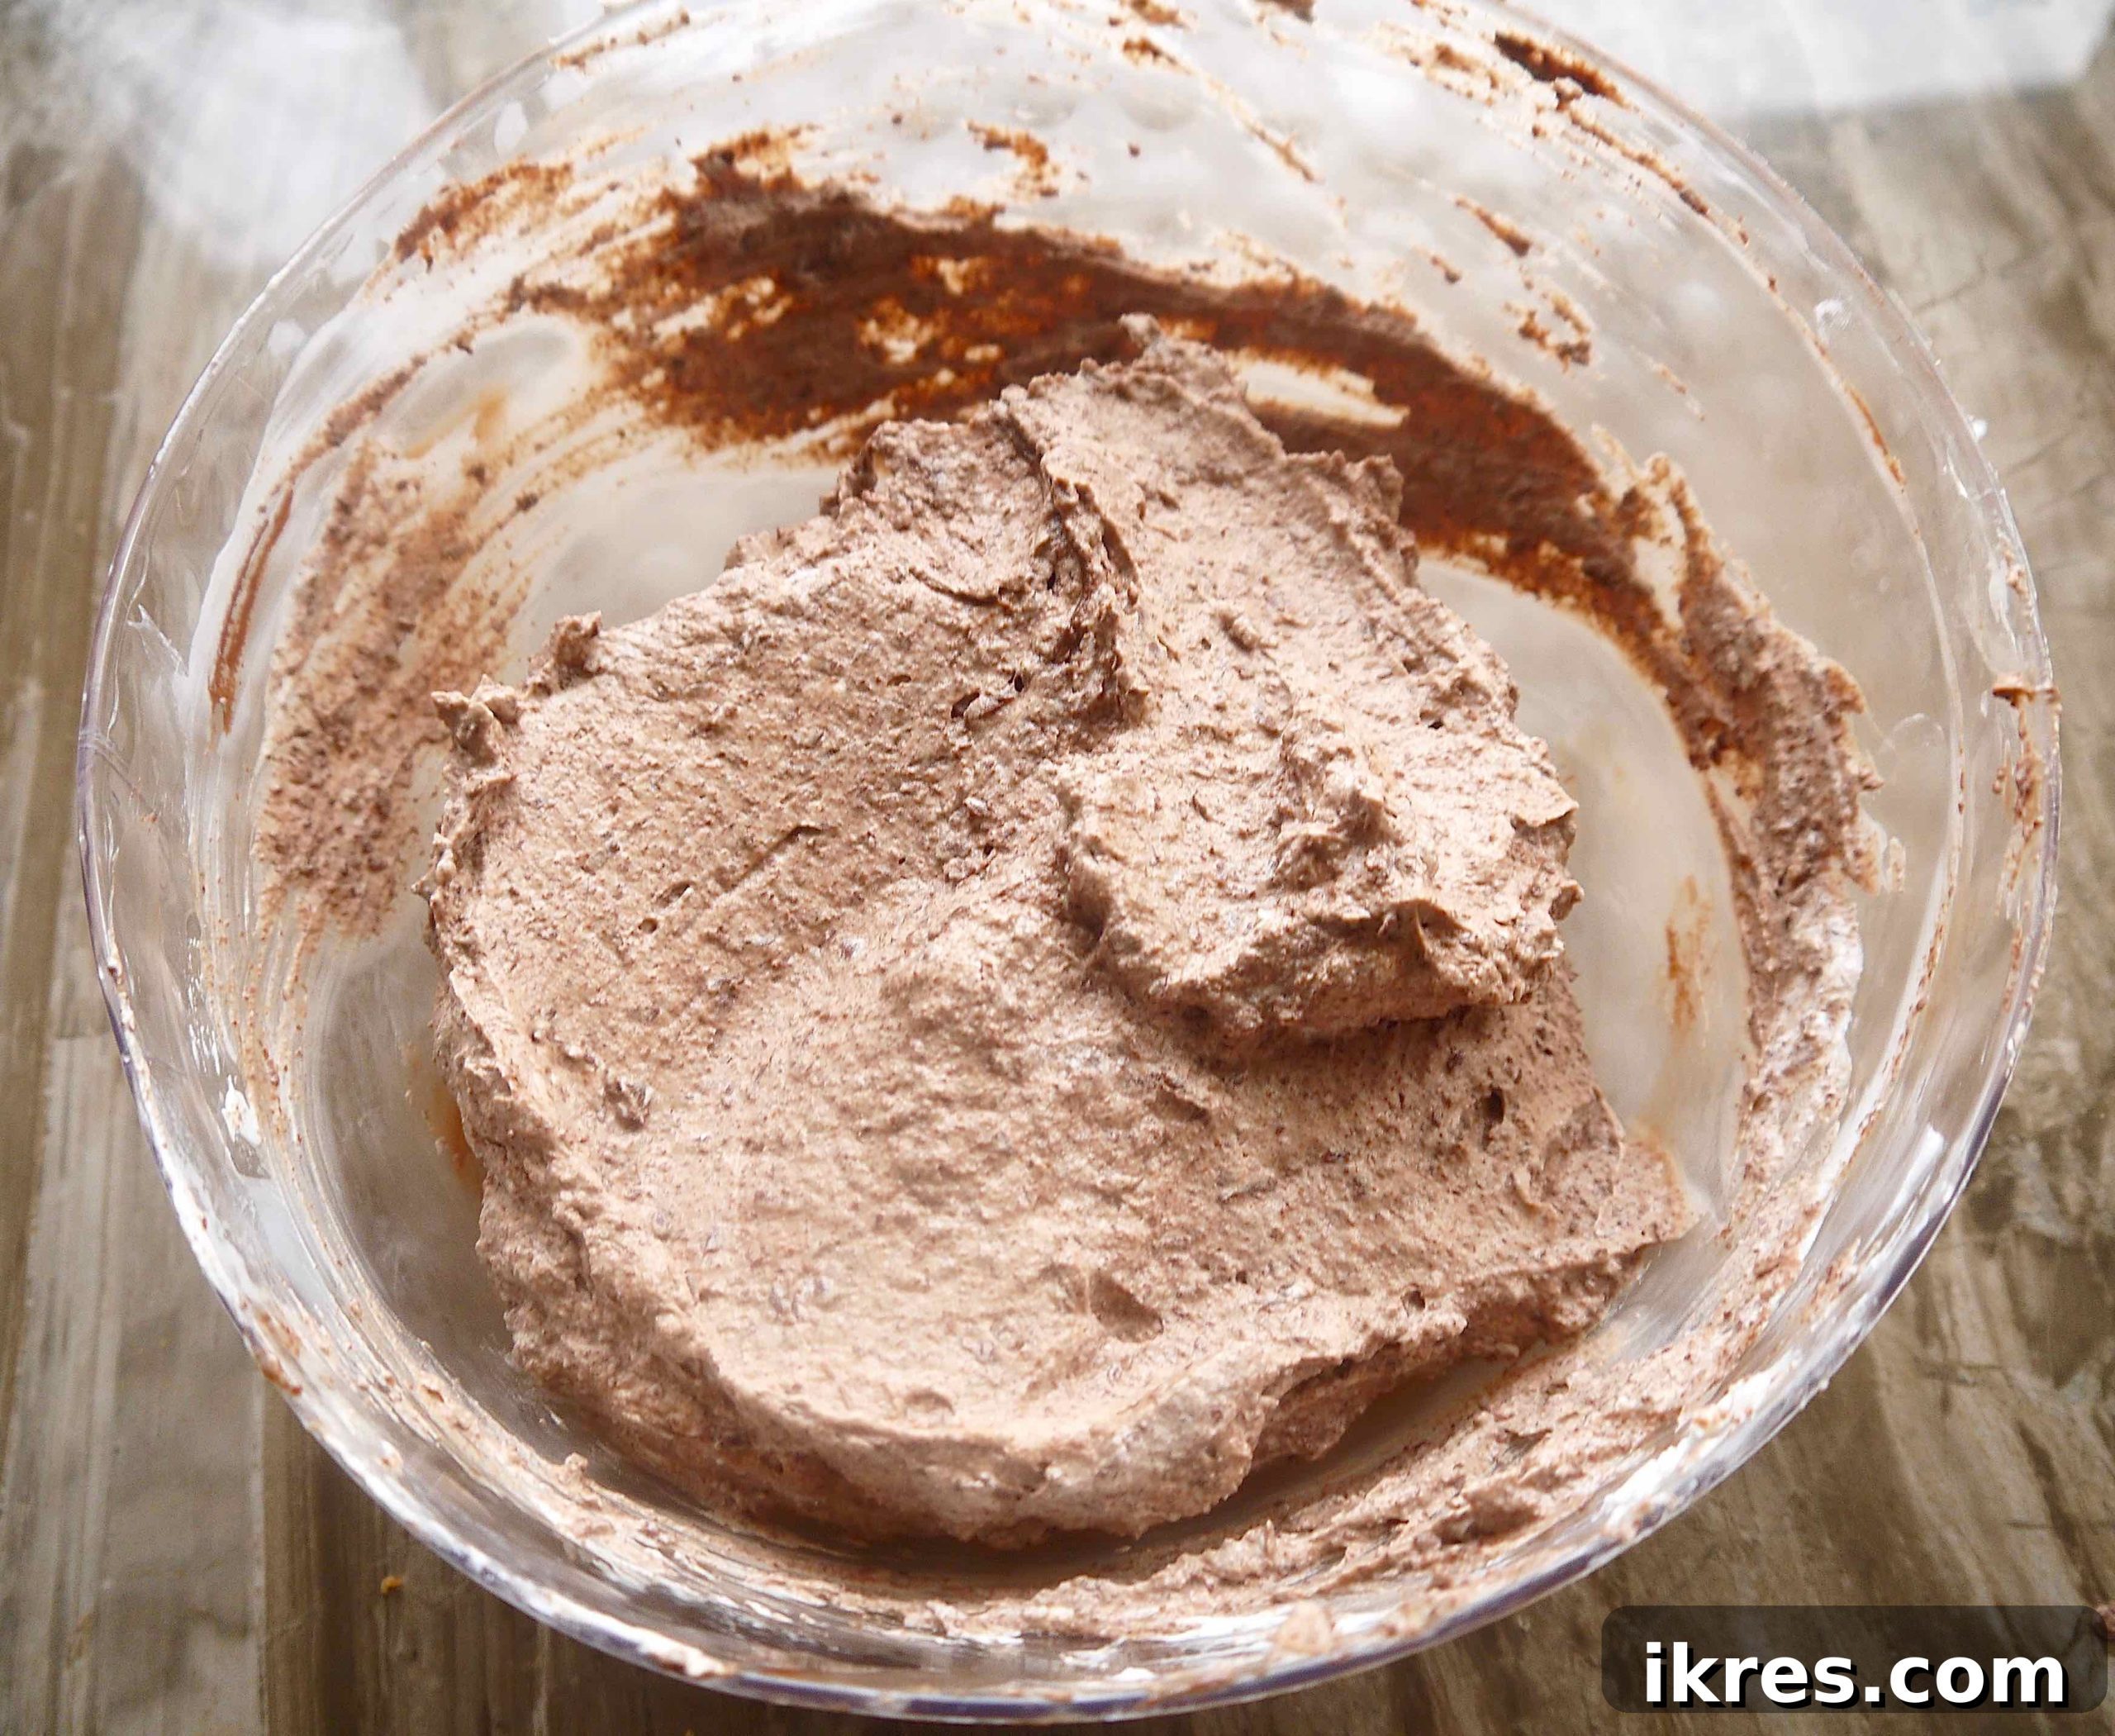
3. Combine for Mousse: Once the melted chocolate has cooled completely to room temperature but is still silky smooth, gently fold it into the whipped coconut cream. Work quickly and carefully with a spatula, folding the chocolate into the cream until a uniform, airy chocolate mousse forms. Avoid overmixing, as this can deflate the mousse. Transfer the chocolate mousse to the freezer for approximately 20 minutes, just until it hardens slightly but is not frozen solid. After 20 minutes, you can either proceed directly to rolling the truffles or store the mousse in the refrigerator until you’re ready.
Step 3: Roll and Coat the Paleo Chocolate Mousse Truffles
The exciting final stage! This is where your delicious mousse and crunchy cookie crumbs come together to create perfect truffles.
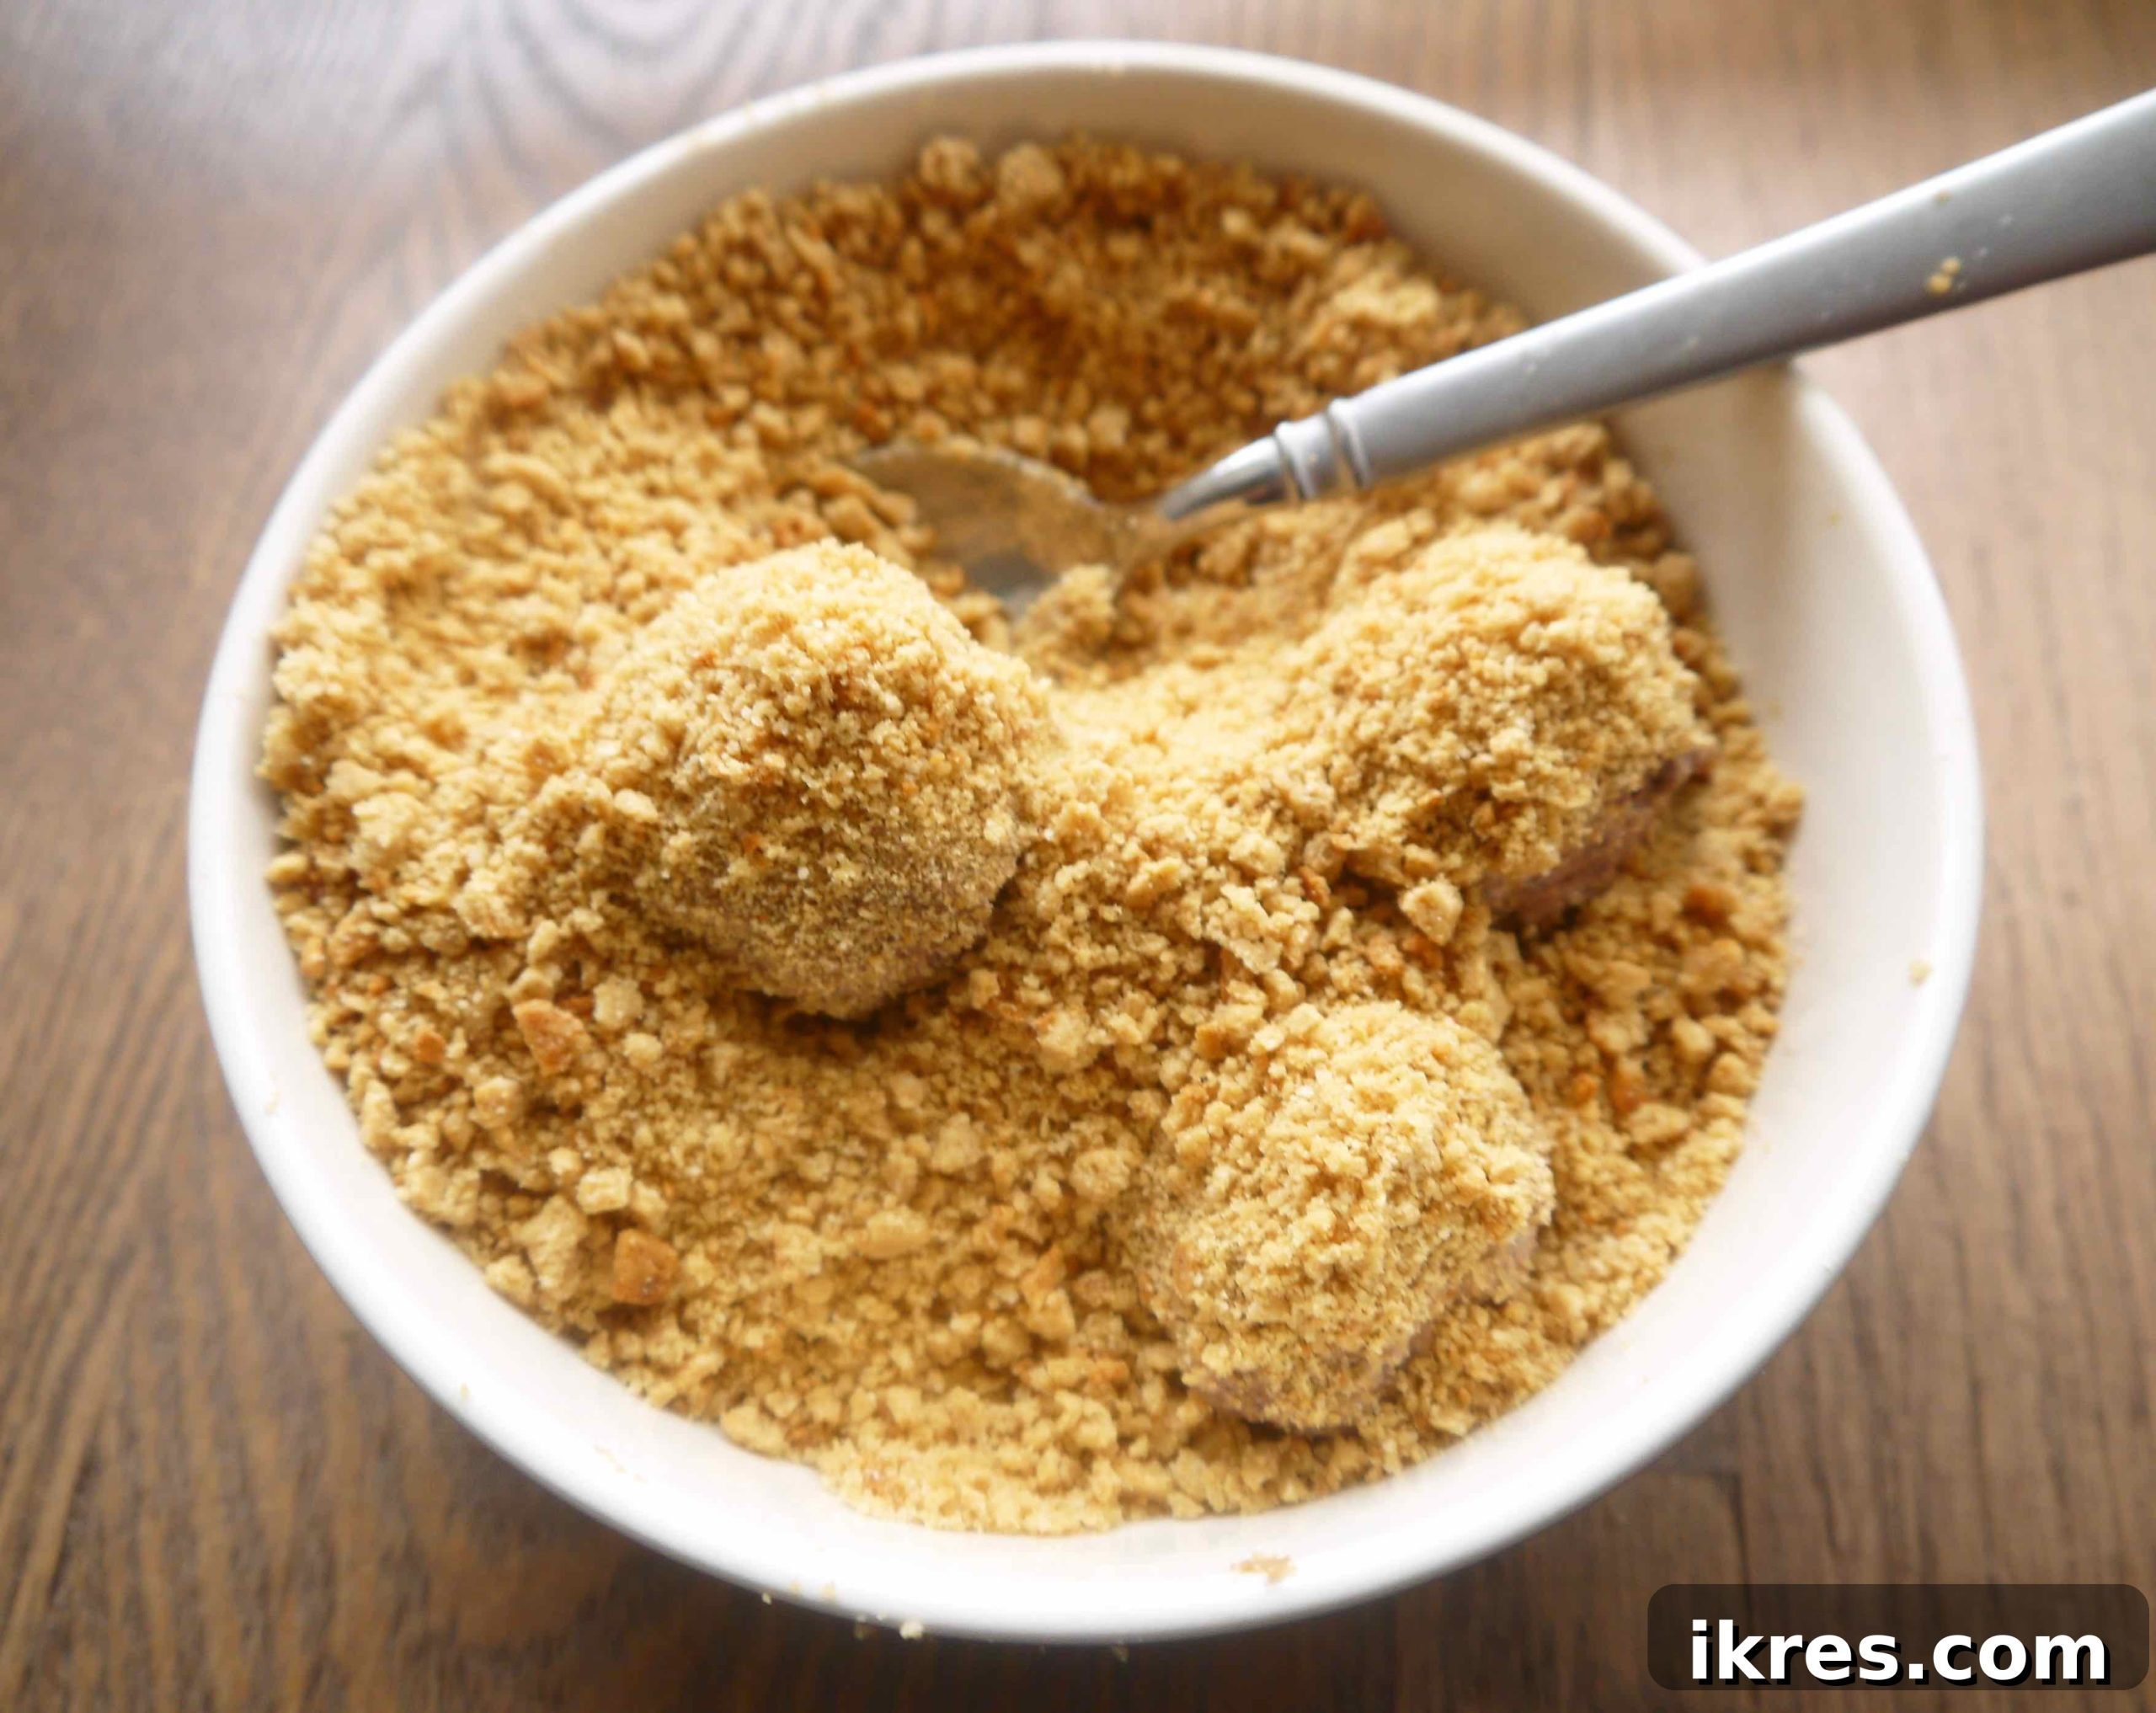
- First Coating: Take about 1 tablespoon of the chilled chocolate mousse and carefully drop it into the bowl of prepared cookie crumbs. Using a spoon, gently cover the mousse with crumbs, ensuring it’s fully coated. The goal here is to create a preliminary layer of crumbs that makes handling easier.
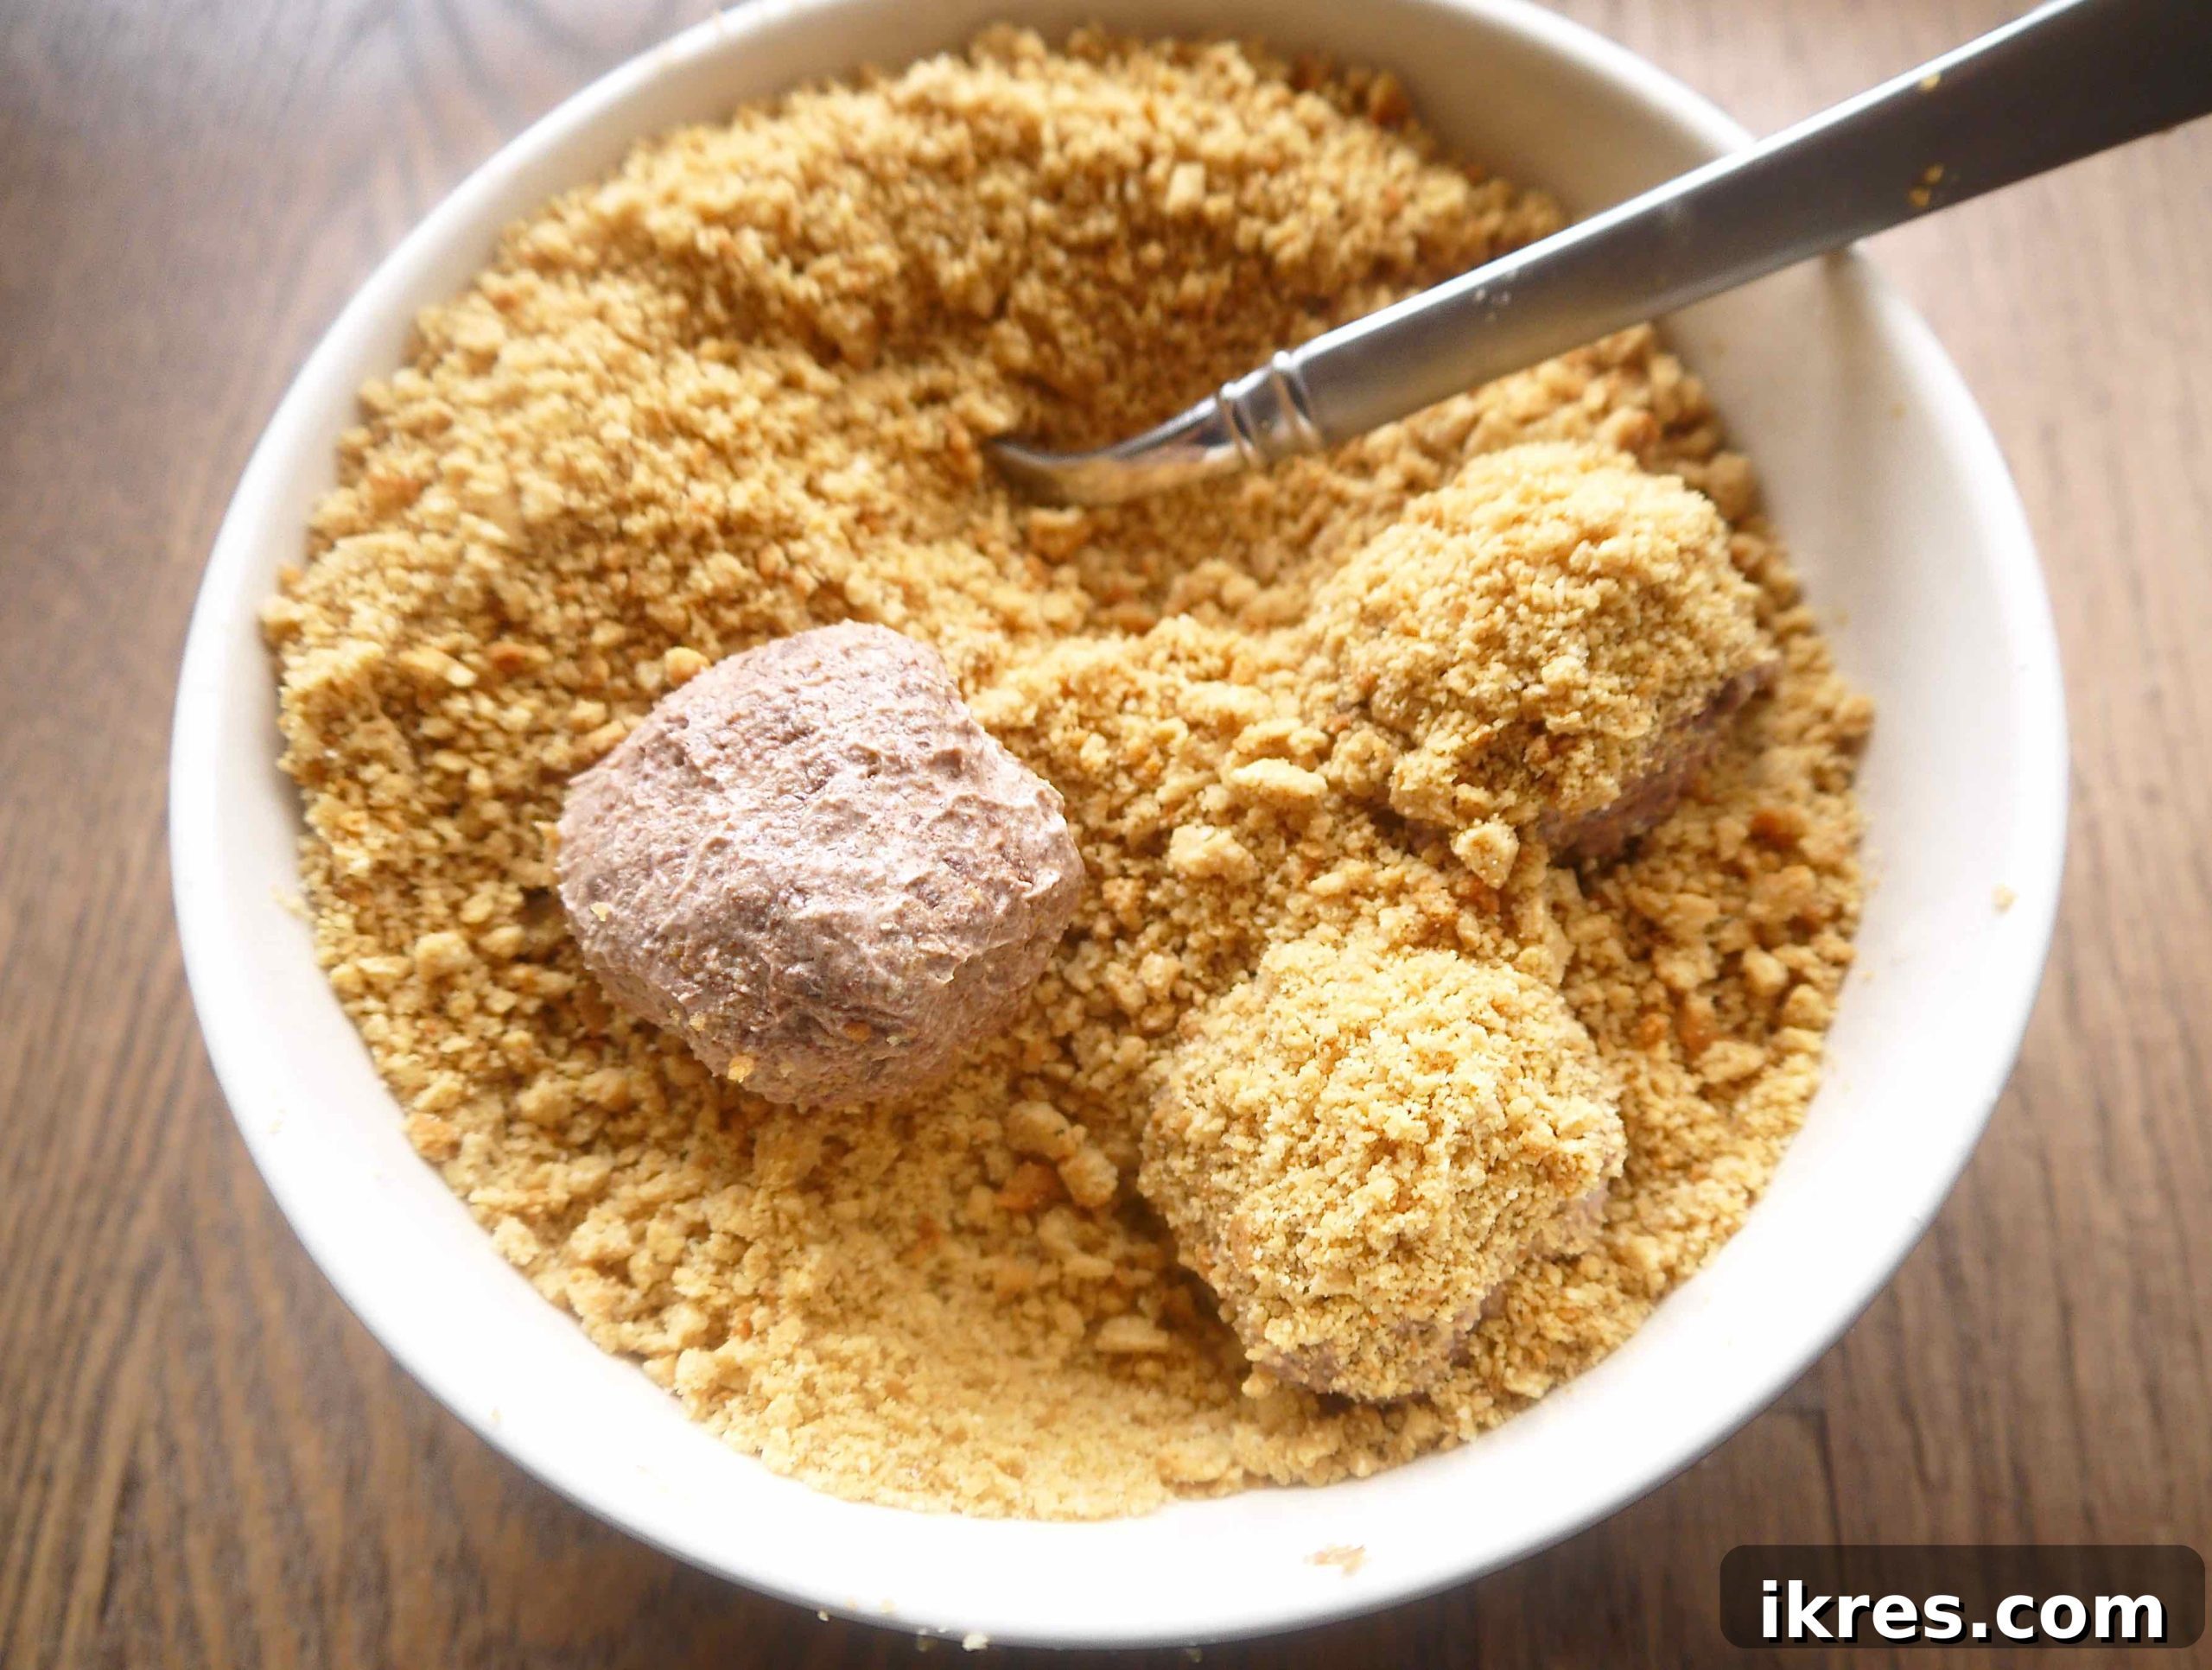
2. Roll and Double Coat: Once coated with the first layer of crumbs, pick up the mousse (now a semi-formed ball) and gently roll it between your palms to shape it into a perfectly round truffle. Return this newly shaped ball to the bowl of cookie crumbs and roll it again, ensuring it receives a generous second coating. This double-coating method creates a beautiful, even crust and helps maintain the truffle’s spherical shape. Place the finished truffle on a plate or baking sheet lined with parchment paper.
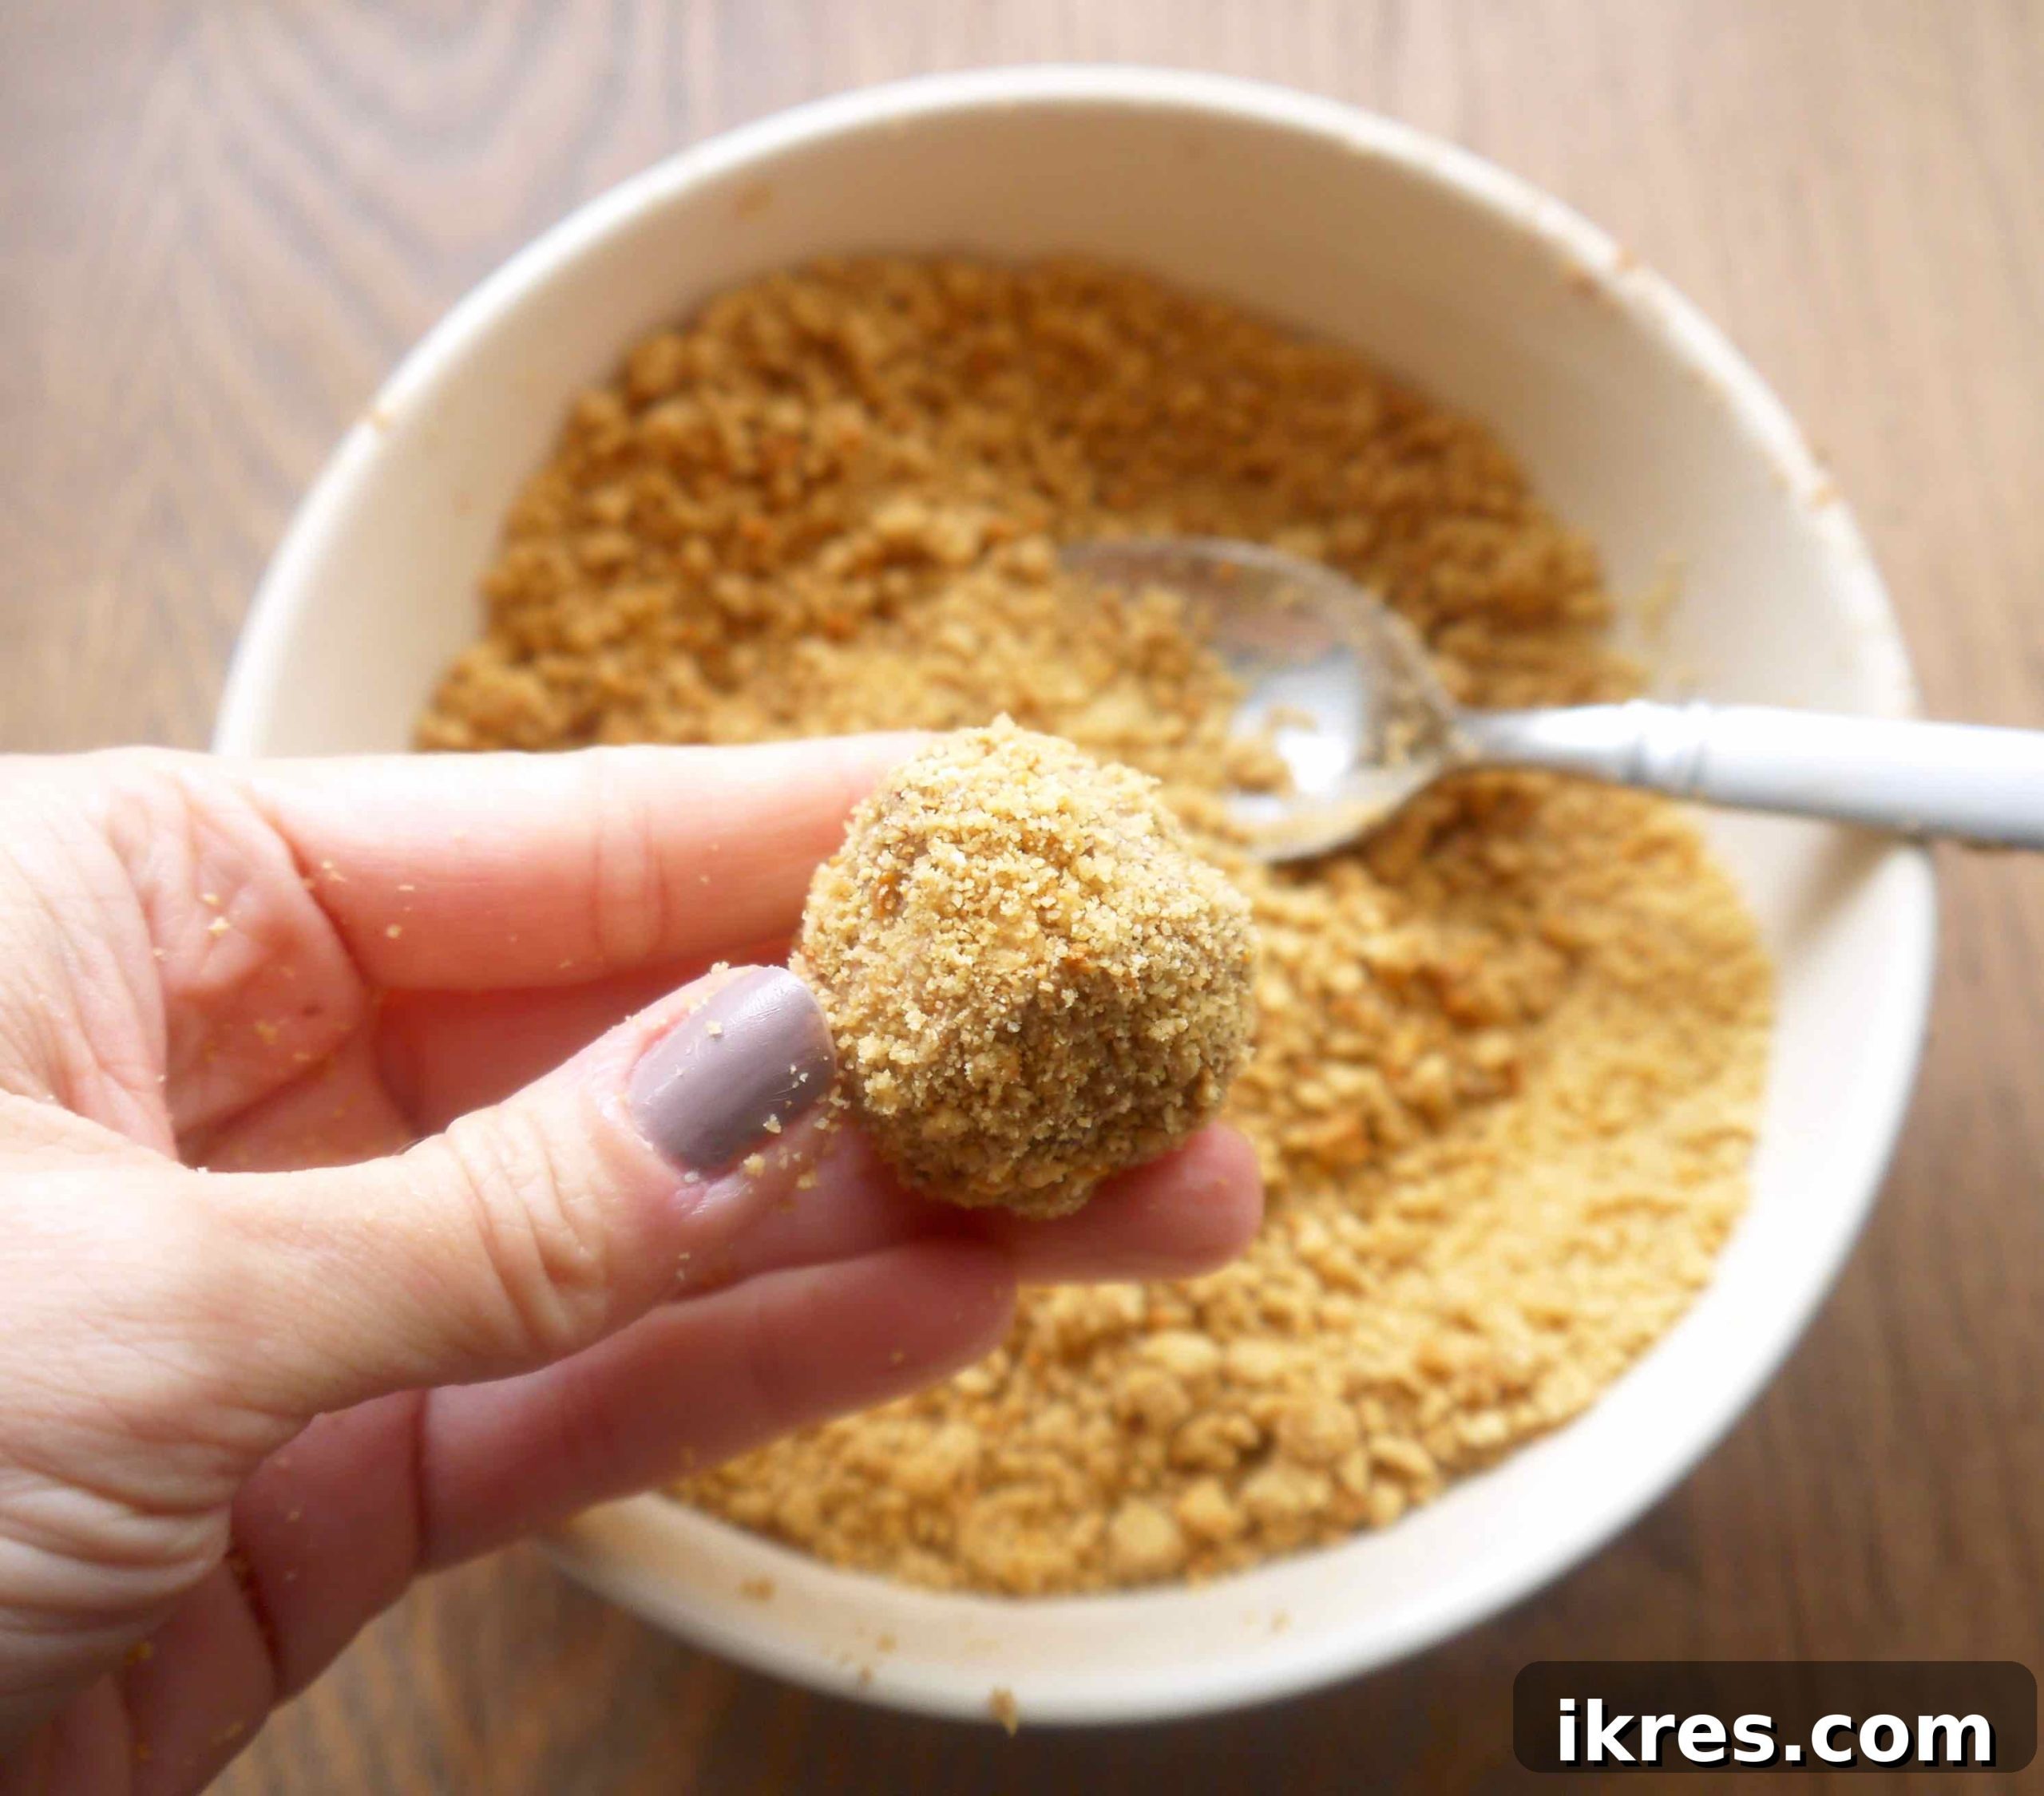
3. Repeat and Chill: Continue this process, taking a tablespoon of mousse, coating, rolling, and double-coating, until all the chocolate mousse is transformed into beautiful truffles, fully covered in cookie crumbs. This step can get a little messy, so don’t hesitate to wash your hands a few times during the process to keep them clean and prevent the mousse from sticking excessively. Once all truffles are formed, refrigerate them for at least 30 minutes (or freeze them for quicker setting) before serving. This chilling period allows the truffles to firm up, ensuring a delightful texture.
Expert Tips and Tricks for Perfect Paleo Chocolate Mousse Truffles
Achieving perfection with these truffles is easy with a few insider tips:
- Coconut Cream Prep is Key: For the best whipped coconut cream, place the cans of coconut cream in the refrigerator for at least a couple of days before you plan to make the mousse. This crucial step ensures the solid cream separates from the liquid, allowing you to scoop out only the thick, whip-able portion.
- Plan Ahead with Cookies: To streamline your truffle-making process, consider baking the Paleo vanilla cookies a day or two in advance. Not only does this save time on the main assembly day, but allowing the cookies to dry out slightly overnight can also result in even crispier crumbs, enhancing the overall texture of your truffles.
- Quality Coconut Cream Matters: The type of coconut cream you use significantly impacts the mousse’s flavor and texture. Opt for brands that are free from preservatives and gums, as these additives can hinder the cream from whipping properly and can leave an unpleasant aftertaste. Savoy coconut cream is a highly recommended brand known for its amazing taste and tendency for the entire can to solidify into cream, making it ideal for whipping.
- Olive Oil for Smooth Chocolate: Adding a small amount of olive oil to the dairy-free chocolate while melting helps to achieve a smoother, more fluid consistency. This prevents the chocolate from becoming too thick or seizing, ensuring it blends beautifully into the whipped coconut cream.
- Temperature is Critical for Mousse: Always ensure the melted chocolate has cooled completely to room temperature before you mix it into the whipped coconut cream. If the chocolate is too warm, it will melt the whipped coconut cream, resulting in a runny mousse that won’t set properly. It should be smooth and liquid, but cool to the touch.
- Don’t Fear the Mess: Rolling the mousse balls in cookie crumbs can be a bit messy, especially as the mousse warms slightly from your hands. Don’t hesitate to wash your hands a few times during the process. This helps keep the mousse from sticking excessively to your hands and ensures a clean, even coating on each truffle. It’s a small effort that is definitely worth it for perfectly coated truffles!
More Irresistible Chocolate Recipes to Explore
If you love the rich flavors of these Paleo Chocolate Mousse Truffles, you might enjoy these other chocolate-inspired delights:
- For a quicker, equally delightful treat, try this dairy-free mousse ball recipe. It simplifies the process by using convenient ingredients like Cocowhip, Enjoy Life chocolate, and Simple Mills Cookies, making it perfect for when you’re short on time.
- Capture the cozy essence of the season with this Fall Chocolate Bark. It’s an effortlessly delicious way to enjoy all the wonderful flavors of autumn encapsulated in a rich, chocolatey form.
Did you create this amazing recipe? Please leave a ⭐ review below to share your experience!

Paleo Chocolate Mousse Truffles
A decadent chocolate mousse is made out of coconut cream and dairy-free chocolate, rolled up into balls and then covered in Paleo vanilla cookie crumbs to create paleo chocolate truffles. DREAMY.
By: Dominique
Servings: 50 balls
Prep time: 45 minutes
Cook time: 18 minutes
Total time: 1 hour 3 minutes
Ingredients
Paleo Vanilla Cookie ingredients:
- 4 Tbs coconut oil
- 1/4 cup coconut sugar
- 1/2 tsp apple cider vinegar
- 1 egg
- 1 Tbs vanilla
- 1 cup almond flour
- 1/4 cup + 2 Tbs coconut flour
- 1/4 tsp baking soda
Paleo Chocolate Mousse ingredients:
- 2 cups Enjoy Life mini chocolate chips (dairy-free chocolate)
- 4 tsp olive oil
- 2 cans coconut cream (Savoy recommended, refrigerated for a few days)
- 2 Tbs honey
Instructions
Step One: Make the Paleo Vanilla Cookies
- Preheat the oven to 350 degrees F (175 C). Cover a cookie sheet with parchment paper or a silicone sheet.
- Put the melted coconut oil and the coconut sugar into a food processor and beat until well mixed (or beat with a handheld electric mixer). Add the apple cider vinegar, egg, and vanilla and beat. Then add the almond flour, coconut flour, and baking soda and beat again. The mixture should form into a thick dough at this point.
- Roll the dough into a ball and put it onto a piece of wax paper. Top the dough with another piece of wax paper and press down. With a rolling pin, roll the dough to about 1/4 of an inch thick. Take a shot glass or small round cutter and press down into the dough to cut little circles, placing each little circle onto the cookie sheet. Roll the scraps of the dough into a ball and repeat until you have used up all the dough.
- Cook for 16-18 minutes, until hardened and lightly golden. Let the cookies cool completely on the cookie sheet (they need to be hard so that they break up into crumbs easily).
- Then put the cooled cookies into a food processor to turn them into cookie crumbles and put the cookie crumbs into a bowl.
- Note: you can make these the day before to make things easier, and so they dry out more.
Step Two: Make the Chocolate Mousse
- In a microwave-safe bowl, add the 2 cups of chocolate chips with 1 tsp of olive oil, and mix. Then microwave for 20 seconds. Mix and repeat until melted. Be careful to not burn the chocolate. Don’t be alarmed if the chocolate is soft and then hardens. Once the chocolate is melted, add 3 tsp of olive oil to the chocolate and mix until you have the desired consistency. Set the chocolate aside. It is ready to be used when it is at room temperature but still silky smooth.
- Then take the refrigerated coconut cream out of the fridge and put it into a bowl, or into a food processor. Add 2 Tbs of honey and mix until a whipped cream forms. Put the whipped cream into a large bowl. Add the melted chocolate (only if it is at room temperature and melted) to the bowl and mix very quickly, almost folding it together with a spatula, until a chocolate mousse forms. Put the chocolate mousse into the freezer for 20 minutes (until hardened but not frozen). After 20 minutes, you can put the mousse into the fridge until you are ready to make the mousse balls, or you can begin to make them.
Step Three: Make the Paleo Chocolate Mousse Balls
- Take 1 Tbs of the mousse and drop it into the bowl of cookie crumbs. Cover the mousse in the crumbs and then grab it and roll it between your hands until a ball shape is formed. Dunk the ball into the crumbs until fully covered again and then place on a plate. Repeat until all the mousse is used up. (You may need to wash your hands a few times in the process).
- Note: if the mousse becomes too liquidy, take a break and put it into the freezer for 15 minutes, then go back to making the mousse balls.
- Refrigerate the mousse balls for at least 30 minutes (or freeze) and serve.
- Yields about 50 mousse balls.
Notes
- * Put the coconut cream cans into the refrigerator for a few days prior to making the mousse.
- * You can also make the cookies ahead of time to make things easier.
- * Use a good coconut cream to ensure the best flavor. I like to use ones without preservatives or gums. Savoy coconut cream is my all-time favorite brand. Not only does it taste amazing, the whole can hardens into cream, instead of separating.
- * It helps to add a little olive oil to the chocolate while melting it.
- * Let the melted chocolate cool completely before mixing it into the whipped coconut cream.
- * When you are rolling the balls into the cookie crumbs, it helps to wash your hands a few times during the process. It may be a bit messy, but worth it!
Nutrition
Serving: 1 ball
Calories: 121 kcal
Carbohydrates: 15 g
Protein: 1.3 g
Fat: 7.1 g
Nutrition information is automatically calculated, so should only be used as an approximation.
Additional Info
Course: Dessert
Cuisine: American
Tried this recipe?
Mention @perchancetocook or tag #perchancetocook!